2010 GMC SIERRA brake light
[x] Cancel search: brake lightPage 374 of 630
StabiliTrak®System
The vehicle may have a vehicle stability enhancement
system called StabiliTrak. It is an advanced computer
controlled system that assists the driver with directional
control of the vehicle in difficult driving conditions.
StabiliTrak activates when the computer senses a
discrepancy between the intended path and the
direction the vehicle is actually traveling. StabiliTrak
selectively applies braking pressure at any one of the
vehicle's brakes to assist the driver with keeping the
vehicle on the intended path.
When the vehicle is started and begins to move, the
system performs several diagnostic checks to insure
there are no problems. The system may be heard or felt
while it is working. This is normal and does not mean
there is a problem with the vehicle. The system should
initialize before the vehicle reaches 20 mph (32 km/h).
In some cases, it may take approximately two miles of
driving before the system initializes.
If cruise control is being used when StabiliTrak
activates, the cruise control automatically disengages.
The cruise control can be re-engaged when road
conditions allow. SeeCruise Control
on page 4‑7for
more information. If the system fails to turn on or activate, the StabiliTrak
light along with one of the following messages will be
displayed on the Driver Information Center (DIC):
TRACTION CONTROL OFF, SERVICE TRACTION
CONTROL, STABILITRAK OFF, SERVICE
STABILITRAK. If these DIC messages appear, make
sure the StabiliTrak system has not been turned off
using the StabiliTrak on/off button. Then turn the
steering wheel clockwise from the nine o'clock position
to the three o'clock position. If this clears the
message(s), the vehicle does not need servicing. If this
does not clear the message(s), then turn the vehicle off,
wait 15 seconds, and then turn it back on again to reset
the system. If any of these messages still appear on the
DIC, the vehicle should be taken in for service. For
more information on the DIC messages, see
DIC
Warnings and Messages on page 4‑65.
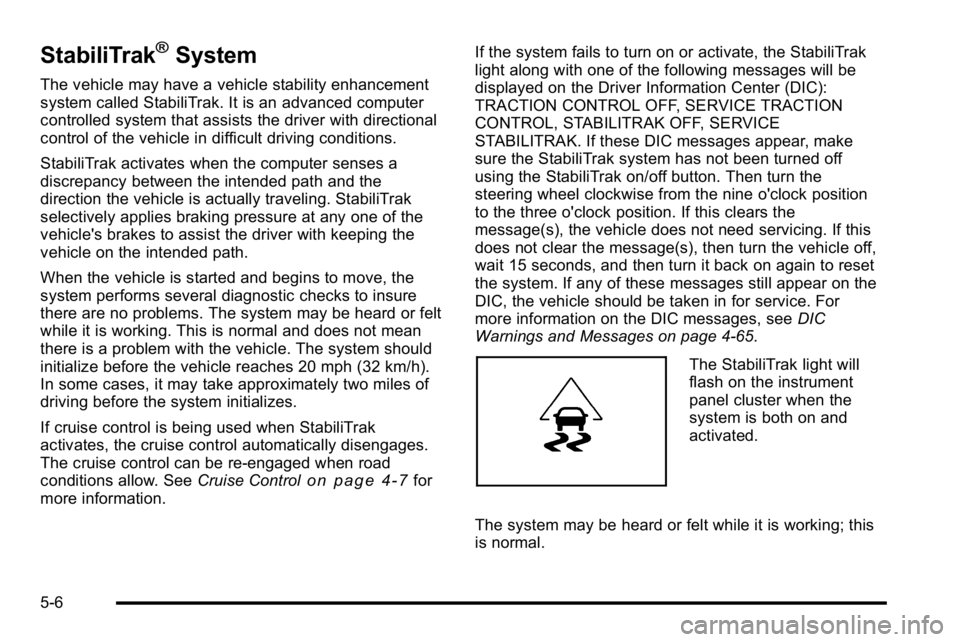
The StabiliTrak light will
flash on the instrument
panel cluster when the
system is both on and
activated.
The system may be heard or felt while it is working; this
is normal.
5-6
Page 375 of 630
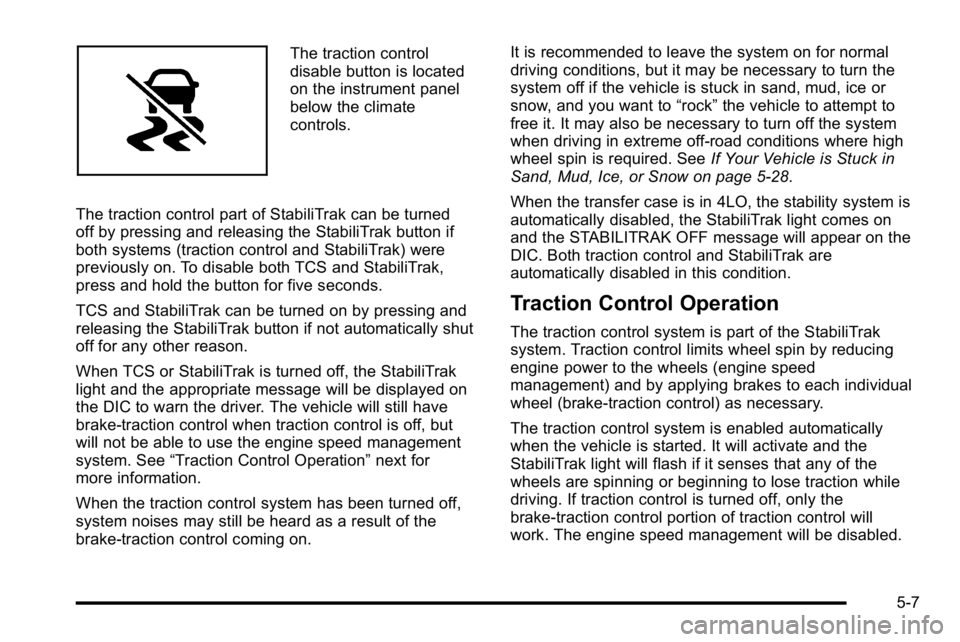
The traction control
disable button is located
on the instrument panel
below the climate
controls.
The traction control part of StabiliTrak can be turned
off by pressing and releasing the StabiliTrak button if
both systems (traction control and StabiliTrak) were
previously on. To disable both TCS and StabiliTrak,
press and hold the button for five seconds.
TCS and StabiliTrak can be turned on by pressing and
releasing the StabiliTrak button if not automatically shut
off for any other reason.
When TCS or StabiliTrak is turned off, the StabiliTrak
light and the appropriate message will be displayed on
the DIC to warn the driver. The vehicle will still have
brake-traction control when traction control is off, but
will not be able to use the engine speed management
system. See “Traction Control Operation” next for
more information.
When the traction control system has been turned off,
system noises may still be heard as a result of the
brake-traction control coming on. It is recommended to leave the system on for normal
driving conditions, but it may be necessary to turn the
system off if the vehicle is stuck in sand, mud, ice or
snow, and you want to
“rock”the vehicle to attempt to
free it. It may also be necessary to turn off the system
when driving in extreme off-road conditions where high
wheel spin is required. See If Your Vehicle is Stuck in
Sand, Mud, Ice, or Snow on page 5‑28.
When the transfer case is in 4LO, the stability system is
automatically disabled, the StabiliTrak light comes on
and the STABILITRAK OFF message will appear on the
DIC. Both traction control and StabiliTrak are
automatically disabled in this condition.
Traction Control Operation
The traction control system is part of the StabiliTrak
system. Traction control limits wheel spin by reducing
engine power to the wheels (engine speed
management) and by applying brakes to each individual
wheel (brake-traction control) as necessary.
The traction control system is enabled automatically
when the vehicle is started. It will activate and the
StabiliTrak light will flash if it senses that any of the
wheels are spinning or beginning to lose traction while
driving. If traction control is turned off, only the
brake-traction control portion of traction control will
work. The engine speed management will be disabled.
5-7
Page 376 of 630

In this mode, engine power is not reduced automatically
and the driven wheels can spin more freely. This can
cause the brake-traction control to activate constantly.
Notice:If the wheel(s) of one axle is allowed to spin
excessively while the StabiliTrak, ABS and brake
warning lights and any relevant DIC messages are
displayed, the transfer case could be damaged.
The repairs would not be covered by the vehicle
warranty. Reduce engine power and do not spin the
wheel(s) excessively while these lights and
messages are displayed.
The traction control system may activate on dry or
rough roads or under conditions such as heavy
acceleration while turning or abrupt upshifts/downshifts
of the transmission. When this happens, a reduction in
acceleration may be noticed, or a noise or vibration may
be heard. This is normal.
If cruise control is being used when the system
activates, the StabiliTrak light will flash and cruise
control will automatically disengage. Cruise control may
be reengaged when road conditions allow. See Cruise
Control on page 4‑7.
StabiliTrak may also turn off automatically if it
determines that a problem exists with the system.
If the problem does not clear itself after restarting the
vehicle, see your dealer/retailer for service.Locking Rear Axle
Vehicles with a locking rear axle can give more traction
on snow, mud, ice, sand or gravel. It works like a
standard axle most of the time, but when traction is low,
this feature will allow the rear wheel with the most
traction to move the vehicle.
Steering
Power Steering
If the vehicle is a Two‐mode Hybrid, see the Two‐mode
Hybrid manual for more information.
If power steering assist is lost because the engine stops
or the system is not functioning, the vehicle can be
steered but it will take more effort.
Steering Tips
It is important to take curves at a reasonable speed.
Traction in a curve depends on the condition of the tires
and the road surface, the angle at which the curve is
banked, and vehicle speed. While in a curve, speed is
the one factor that can be controlled.
If there is a need to reduce speed, do it before entering
the curve, while the front wheels are straight.
5-8
Page 378 of 630
Off-Road Recovery
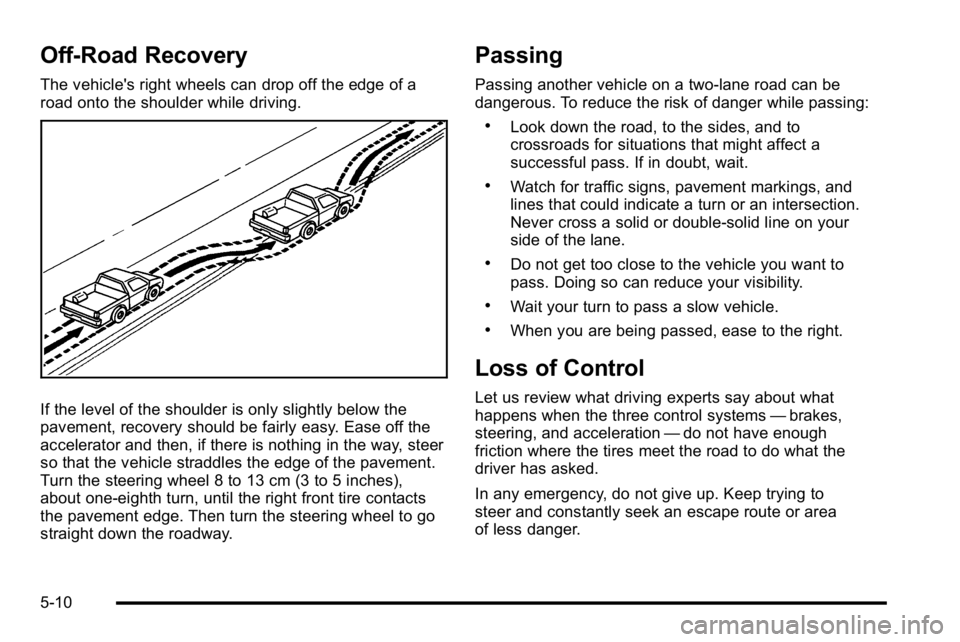
The vehicle's right wheels can drop off the edge of a
road onto the shoulder while driving.
If the level of the shoulder is only slightly below the
pavement, recovery should be fairly easy. Ease off the
accelerator and then, if there is nothing in the way, steer
so that the vehicle straddles the edge of the pavement.
Turn the steering wheel 8 to 13 cm (3 to 5 inches),
about one-eighth turn, until the right front tire contacts
the pavement edge. Then turn the steering wheel to go
straight down the roadway.
Passing
Passing another vehicle on a two-lane road can be
dangerous. To reduce the risk of danger while passing:
.Look down the road, to the sides, and to
crossroads for situations that might affect a
successful pass. If in doubt, wait.
.Watch for traffic signs, pavement markings, and
lines that could indicate a turn or an intersection.
Never cross a solid or double‐solid line on your
side of the lane.
.Do not get too close to the vehicle you want to
pass. Doing so can reduce your visibility.
.Wait your turn to pass a slow vehicle.
.When you are being passed, ease to the right.
Loss of Control
Let us review what driving experts say about what
happens when the three control systems—brakes,
steering, and acceleration —do not have enough
friction where the tires meet the road to do what the
driver has asked.
In any emergency, do not give up. Keep trying to
steer and constantly seek an escape route or area
of less danger.
5-10
Page 387 of 630
{WARNING:
Heavy braking when going down a hill can cause
your brakes to overheat and fade. This could
cause loss of control and a serious accident.
Apply the brakes lightly when descending a
hill and use a low gear to keep vehicle speed
under control.
Things not to do when driving down a hill:
.When driving downhill, avoid turns that take you
across the incline of the hill. A hill that is not too
steep to drive down might be too steep to drive
across. The vehicle could roll over.
.Never go downhill with the transmission in
N (Neutral), called free-wheeling. The brakes will
have to do all the work and could overheat
and fade. Vehicles are much more likely to stall when going uphill,
but if it happens when going downhill:
1. Stop the vehicle by applying the regular brakes and apply the parking brake.
2. Shift to P (Park) and, while still braking, restart the engine.
3. Shift back to a low gear, release the parking brake, and drive straight down.
4. If the engine will not start, get out and get help.
5-19
Page 391 of 630
Driving at Night
Night driving is more dangerous than day driving
because some drivers are likely to be impaired—by
alcohol or drugs, with night vision problems, or by
fatigue.
Night driving tips include:
.Drive defensively.
.Do not drink and drive.
.Reduce headlamp glare by adjusting the inside
rearview mirror.
.Slow down and keep more space between you and
other vehicles because headlamps can only light
up so much road ahead.
.Watch for animals.
.When tired, pull off the road.
.Do not wear sunglasses.
.Avoid staring directly into approaching headlamps.
.Keep the windshield and all glass on your vehicle
clean —inside and out.
.Keep your eyes moving, especially during turns
or curves.
No one can see as well at night as in the daytime.
But, as we get older, these differences increase.
A 50-year-old driver might need at least twice as much
light to see the same thing at night as a 20-year-old.
Driving in Rain and on Wet Roads
Rain and wet roads can reduce vehicle traction and
affect your ability to stop and accelerate. Always drive
slower in these types of driving conditions and avoid
driving through large puddles and deep‐standing or
flowing water.
{WARNING:
Wet brakes can cause crashes. They might not
work as well in a quick stop and could cause
pulling to one side. You could lose control of
the vehicle.
After driving through a large puddle of water or a
car/vehicle wash, lightly apply the brake pedal
until the brakes work normally.
Flowing or rushing water creates strong forces.
Driving through flowing water could cause your
vehicle to be carried away. If this happens, you
and other vehicle occupants could drown. Do not
ignore police warnings and be very cautious about
trying to drive through flowing water.
5-23
Page 442 of 630

Maintenance When Trailer Towing
The vehicle needs service more often when pulling a
trailer. See this manual's Maintenance Schedule or
Index for more information. Things that are especially
important in trailer operation are automatic transmission
fluid, engine oil, axle lubricant, belts, cooling system
and brake system. It is a good idea to inspect these
before and during the trip.
Check periodically to see that all hitch nuts and bolts
are tight.
Trailer Wiring Harness
The vehicle is equipped with one of the following wiring
harnesses for towing a trailer or hauling a slide-in
camper.
Basic Trailer Wiring
All regular, extended cab and crew cab pickups have a
seven‐wire trailer towing harness.
For vehicles not equipped with heavy duty trailering, the
harness is secured to the vehicle's frame behind the
spare tire mount. The harness requires the installation
of a trailer connector, which is available through your
dealer/retailer.
If towing a light‐duty trailer with a standard four‐way
round pin connector, an adapter is available from your
dealer/retailer.
Heavy-DutyTrailer Wiring Harness
Package
For vehicles equipped with heavy duty trailering, the
harness is connected to a bracket on the hitch platform.
The seven-wire harness contains the following trailer
circuits:
.Yellow: Left Stop/Turn Signal
.Dark Green: Right Stop/Turn Signal
.Brown: Taillamps
.White: Ground
.Light Green: Back-up Lamps
.Red: Battery Feed*
.Dark Blue: Trailer Brake*
5-74
Page 443 of 630

*The fuses for these two circuits are installed in the
underhood electrical center, but the wires are not
connected. They should be connected by your dealer/
retailer or a qualified service center. The fuse and wire
for the ITBC is factory installed and connected if the
vehicle is equipped with an ITBC. The fuse for the
battery feed is not required if the vehicle has an
auxiliary battery. If the vehicle does not have an
auxiliary battery, have your dealer/retailer or authorized
service center install the required fuse.
If charging a remote (non-vehicle) battery, press the
Tow/Haul mode button, if equipped, located at the end
of the shift lever. This will boost the vehicle system
voltage and properly charge the battery. If the trailer is
too light for Tow/Haul mode, or the vehicle is not
equipped with Tow/Haul, turn on the headlamps as a
second way to boost the vehicle system and charge
the battery.Camper/Fifth-Wheel Trailer Wiring Package
The seven-wire camper harness is located under the
front edge of the pickup box on the drivers side of the
vehicle, attached to the frame bracket. A connector
must be added to the wiring harness which connects to
the camper.
The harness contains the following camper/trailer
circuits:
.Yellow: Left Stop/Turn Signal
.Dark Green: Right Stop/Turn Signal
.Brown: Taillamps
.White: Ground
.Light Green: Back-up Lamps
.Red: Battery Feed
.Dark Blue: Trailer Brake
5-75