2010 GMC SIERRA DENALI center console
[x] Cancel search: center consolePage 25 of 550
Setting the Clock
To set the time and date for the radio with CD, DVD,
and USB Port:1. Turn the ignition key to ACC/ACCESSORY or ON/RUN, then press
O, to turn the radio on.
2. Press
Gto display HR, MIN, MM, DD, YYYY
(hour, minute, month, day, and year).
3. Press the softkey located under any one of the labels to be changed.
4. To increase or decrease the time or date, turn
fclockwise or counter‐clockwise.
For detailed instructions on setting the clock for the
vehicle's specific audio system, see Setting the Clock
on page 4‑77.
Satellite Radio
XM is a satellite radio service that is based in the
48 contiguous United States and 10 Canadian
provinces. XM satellite radio has a wide variety of
programming and commercial-free music,
coast-to-coast, and in digital-quality sound.
A fee is required to receive the XM service.
For more information, refer to:
.www.xmradio.com or call 1-800-929-2100 (U.S.)
.www.xmradio.ca or call 1-877-438-9677 (Canada)
See “XM Satellite Radio Service” underRadio(s)
on
page 4‑79.
Portable Audio Devices
This vehicle may have an auxiliary input located on the
radio faceplate and a USB port located in the center
console or the dashboard. External devices such as
iPod
®, laptop computers, MP3 players, CD changers,
USB storage device, etc. can be connected to the
auxiliary port using a 3.5 mm (1/8 in) input jack or the
USB port depending on the audio system.
See “Using the Auxiliary Input Jack” and“Using the
USB Port” underRadio(s) on page 4‑79.
1-19
Page 29 of 550

Rear Vision Camera (RVC)
The rear vision camera displays a view of the area
behind the vehicle when the vehicle is shifted into
R (Reverse) on the inside rear view mirror or the
navigation screen, if equipped.
To clean the camera lens, located in the bezel for the
tailgate handle, rinse it with water and wipe it with a soft
cloth.
For more information, seeRear Vision Camera (RVC)
on page 3‑45.
Ultrasonic Parking Assist
This feature uses sensors on the rear bumper to detect
objects while parking the vehicle. It operates at speeds
less than 8 km/h (5 mph). URPA uses audio beeps to
provide distance and system information.
Keep the sensors on the vehicle's rear bumper clean to
ensure proper operation.
The system can be disabled by pressing the rear park
aid disable button located next to the radio.
SeeUltrasonic Rear Parking Assist (URPA)
on
page 3‑43for more information.
Power Outlets
Accessory power outlets can be used to connect
auxiliary electrical equipment, such as a cellular
telephone.
There are two accessory power outlets on the
instrument panel, one inside the center floor console
and one on the rear of the center floor console.
The accessory power outlets are powered, even when
the ignition is in LOCK/OFF. Continuing to use power
outlets while the ignition is in LOCK/OFF may cause the
vehicle's battery to run down.
Universal Remote System
The Universal Home Remote System allows for garage
door openers, security systems, and home automation
devices to be programmed to work with these buttons in
the vehicle.
See Universal Home Remote System
on page 3‑51.
1-23
Page 112 of 550
Section 3 Features and Controls
Object Detection Systems. . . . . . . . . . . . . . . . . . . . . . .3-43
Ultrasonic Rear Parking Assist (URPA) . . . . . . . . 3-43
Rear Vision Camera (RVC) . . . . . . . . . . . . . . . . . . . . 3-45
Universal Home Remote System . . . . . . . . . . . . . . . .3-51
Universal Home Remote System Operation
(With Three Round LED) . . . . . . . . . . . . . . . . . . . . 3-51 Storage Areas
. . . . . . . . . . . . . . . . . . . . . . . . . . . . . . . . . . . . 3-57
Glove Box . . . . . . . . . . . . . . . . . . . . . . . . . . . . . . . . . . . . . 3-57
Cupholders . . . . . . . . . . . . . . . . . . . . . . . . . . . . . . . . . . . . 3-57
Instrument Panel Storage . . . . . . . . . . . . . . . . . . . . . 3-58
Center Console Storage . . . . . . . . . . . . . . . . . . . . . . 3-58
Roof Rack System . . . . . . . . . . . . . . . . . . . . . . . . . . . . . 3-59
Rear Seat Armrest . . . . . . . . . . . . . . . . . . . . . . . . . . . . . 3-60
Cargo Management System . . . . . . . . . . . . . . . . . . . 3-60
Sunroof . . . . . . . . . . . . . . . . . . . . . . . . . . . . . . . . . . . . . . . . . . . 3-61
3-2
Page 127 of 550
Express Down Windows
Vehicles with the express down feature allow the driver
and front passenger windows to be lowered without
holding the switch. Press down fully on the window
switch, then release, to activate the express down
mode. The express down mode can be canceled at any
time by pulling up on the switch. To open the window
partway, press the switch to the first depression
position, until the window is at the desired position.
Window Lockout
o(Window Lockout) : If your crew cab or extended
cab vehicle has power windows, the driver's door power
window switch has a lockout feature. The lockout switch
is located in front of the window switches. This feature
prevents the rear windows from operating, except from
the driver's position. Press the switch to engage or
disengage the lockout feature. An indicator light on the
switch will come on when the lockout feature is
engaged, and will go off when disengaged.
Sliding Rear Window
If your vehicle has this feature, squeeze the latch in the
center of the window and slide the glass to open.
When you close the window, be sure the latch is
engaged.
The sliding rear window does not have rear defogger.
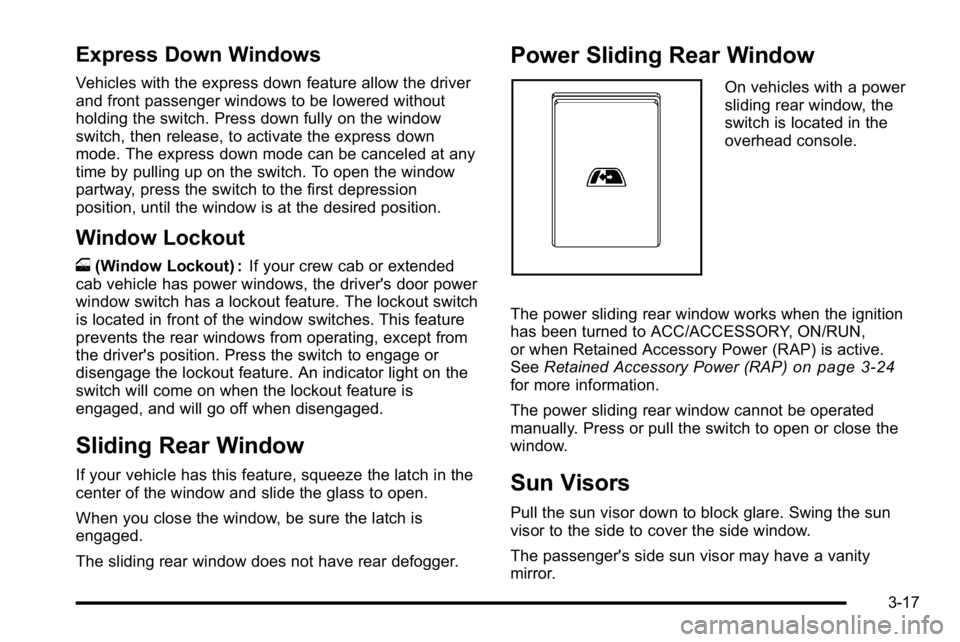
Power Sliding Rear Window
On vehicles with a power
sliding rear window, the
switch is located in the
overhead console.
The power sliding rear window works when the ignition
has been turned to ACC/ACCESSORY, ON/RUN,
or when Retained Accessory Power (RAP) is active.
See Retained Accessory Power (RAP)
on page 3‑24for more information.
The power sliding rear window cannot be operated
manually. Press or pull the switch to open or close the
window.
Sun Visors
Pull the sun visor down to block glare. Swing the sun
visor to the side to cover the side window.
The passenger's side sun visor may have a vanity
mirror.
3-17
Page 167 of 550
Reprogramming Universal Home
Remote Buttons
Any of the three buttons can be reprogrammed by
repeating the instructions.
Erasing Universal Home Remote
Buttons
The programmed buttons should be erased when the
vehicle is sold or the lease ends.
To erase either Rolling Code or Fixed Code on the
Universal Home Remote device:1. Press and hold the two outside buttons at the same time for approximately 20 seconds, until the
indicator lights, located directly above the buttons,
begin to blink rapidly.
2. Once the indicator lights begin to blink, release both buttons. The codes from all buttons will be
erased.
For help or information on the Universal Home Remote
System, call the customer assistance phone number
under Customer Assistance Offices on page 8‑6.
Storage Areas
Glove Box
Lift up on the glove box lever to open it.
Cupholders
Vehicles with cupholders have them located on and
behind the center console and in the rear seat armrest.
Pull the loop down on the rear seat armrest to access
the cupholders.
Pull downward on the cover to access the cupholders
behind the center console.
3-57
Page 168 of 550
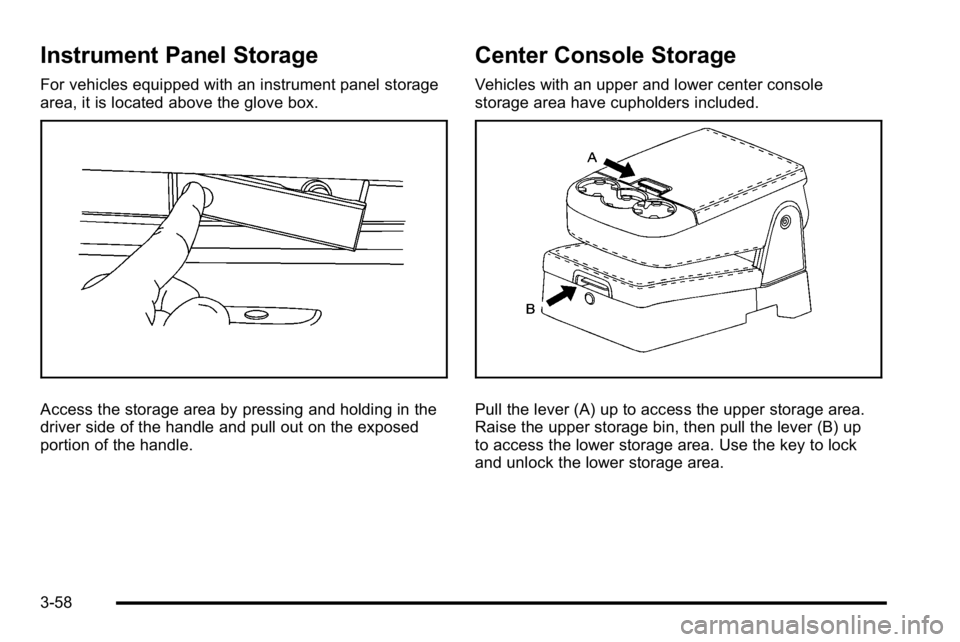
Instrument Panel Storage
For vehicles equipped with an instrument panel storage
area, it is located above the glove box.
Access the storage area by pressing and holding in the
driver side of the handle and pull out on the exposed
portion of the handle.
Center Console Storage
Vehicles with an upper and lower center console
storage area have cupholders included.
Pull the lever (A) up to access the upper storage area.
Raise the upper storage bin, then pull the lever (B) up
to access the lower storage area. Use the key to lock
and unlock the lower storage area.
3-58
Page 171 of 550
To remove or install cargo tie-downs at the front of the
bed, slide the corner cap towards the center of the bed
to expose the rail notches. To remove the corner cap,
pull either edge away from the rail.
To remove the system, loosen the toggle bolts on each
rail until they can be removed from the bed of the truck.
To replace the system, place the toggle bolts and rails
into their original locations and tighten them to a torque
setting of 12.5 ft lbs (17Y).
If the system is removed to install a bed liner, make
sure there is no bed liner material in the installation
points.
Notice: If cargo is tied down using the horizontal
slots on the top of the pickup box, the box could be
damaged. Using the horizontal slots on the top of
the pickup box for tie-down locations may cause
damage to the pickup box and would not be
covered by the vehicle warranty. Only use the
tie-down loops if the vehicle does not have the
cargo management system.Sunroof
On vehicles with a power sliding sunroof, the ignition
needs to be turned to RUN, or the Retained Accessory
Power (RAP) must be activated to open or close the
sunroof. When RAP is active, the sunroof will work for
10 minutes after the ignition is turned off, or until the
driver's door is opened. See Retained Accessory Power
(RAP)
on page 3‑24for more information.
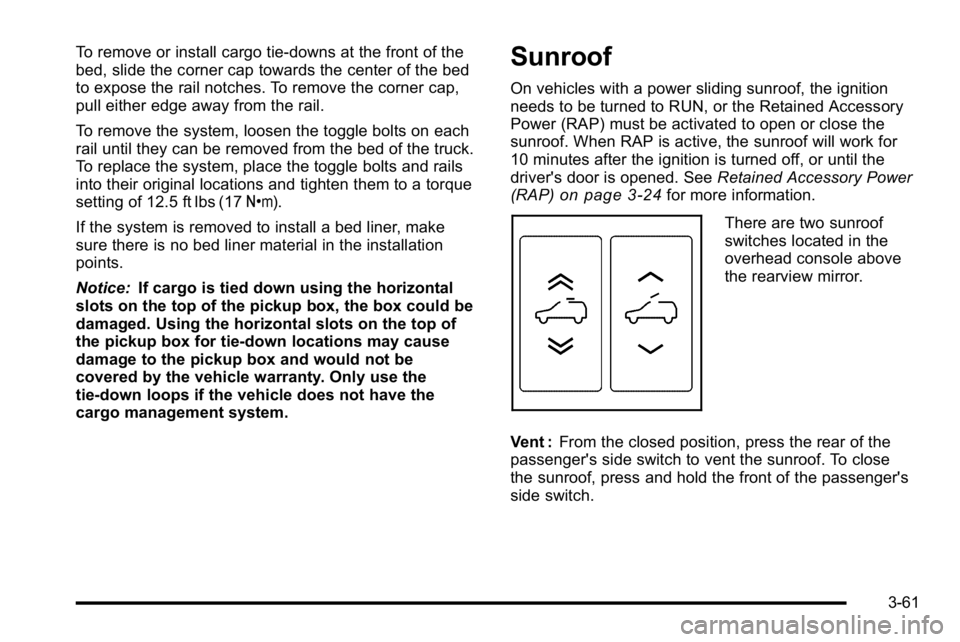
There are two sunroof
switches located in the
overhead console above
the rearview mirror.
Vent : From the closed position, press the rear of the
passenger's side switch to vent the sunroof. To close
the sunroof, press and hold the front of the passenger's
side switch.
3-61
Page 188 of 550
Accessory Power Outlet(s)
Accessory power outlets can be used to connect
auxiliary electrical equipment, such as a cellular
telephone.
There are two accessory power outlets on the
instrument panel, one inside the center floor console
and one on the rear of the center floor console.
To access the accessory power outlet inside the center
floor console, press the button on the side of the
console door. SeeCenter Console Storage
on
page 3‑58for more information.
To use an accessory power outlet, remove the
protective cap. When not in use, always cover the
accessory power outlet with the protective cap.
Notice: If electrical devices are left plugged into a
power outlet, the battery may drain causing the
vehicle not to start or damage to the battery. This
would not be covered by the vehicle warranty.
Always unplug all electrical devices when turning
off the vehicle.
Certain electrical accessories are not compatible with
the accessory power outlets and could result in blown
vehicle or adapter fuses. If you experience a problem,
see your dealer/retailer for additional information on
accessory power outlets. The accessory power outlets are powered, even when
the ignition is in LOCK/OFF. Continuing to use power
outlets while the ignition is in LOCK/OFF may cause the
vehicle's battery to run down.
Notice:
Adding any electrical equipment to the
vehicle can damage it or keep other components
from working as they should. The repairs would not
be covered by the vehicle warranty. Do not use
equipment exceeding maximum amperage rating of
20 amperes. Check with your dealer/retailer before
adding electrical equipment.
When adding electrical equipment, be sure to follow the
proper installation instructions included with the
equipment.
Notice: Improper use of the power outlet can cause
damage not covered by the vehicle warranty. Do not
hang any type of accessory or accessory bracket
from the plug because the power outlets are
designed for accessory power plugs only.
4-16