2010 GMC CANYON ignition
[x] Cancel search: ignitionPage 212 of 448
BAND:Press this button to listen to the radio when a
CD is playing. The inactive CD remains inside the radio
for future listening.
CD AUX (Auxiliary):Press this button to play a CD
when listening to the radio. The CD symbol illuminates
on the display when a CD is loaded.
Z(Eject):Press this button to eject a CD. Eject can
activate while either the ignition or radio is off. CDs can
be loaded with the ignition and radio off if this button is
pressed first.
XM Radio Messages
XL (Explicit Language Channels):These channels,
or any others, can be blocked at a customer’s request,
by calling 1-800-852-XMXM (9696).
Updating:The encryption code in the receiver is being
updated, and no action is required. This process
should take no longer than 30 seconds.
No Signl:The system is functioning correctly, but the
vehicle is in a location that is blocking the XM signal.
When the vehicle is moved into an open area, the signal
should return.Loading:The radio system is acquiring and processing
audio and text data. No action is needed. This message
should disappear shortly.
Off Air:This channel is not currently in service.
Tune to another channel.
CH Unavl:This previously assigned channel is no
longer assigned. Tune to another station. If this station
was one of the presets, choose another station for
that preset button.
Unauth:This channel is blocked or cannot be received
with your XM Subscription package.
No Info:No artist, song title, category, or text
information is available at this time on this channel.
The system is working properly.
NotFound:No artist, song title, category, or text
information is available at this time on this channel.
The system is working properly.
XM Lock:The XM receiver in your vehicle could
have previously been in another vehicle. For security
purposes, XM receivers cannot be swapped between
vehicles. If this message is received after having your
vehicle serviced, check with your dealer/retailer.
4-60
Page 215 of 448
Fixed Mast Antenna
The fixed mast antenna can withstand most car washes
without being damaged as long as it is securely attached
to the base. If the mast becomes slightly bent, straighten
it out by hand. If the mast is badly bent, replace it.
Occasionally check to make sure the antenna is
tightened to its base. If tightening is required, tighten
by hand until fully seated plus one quarter turn.
XM™ Satellite Radio Antenna
System
The XM Satellite Radio antenna is located on the roof of
the vehicle. Keep the antenna clear of obstructions for
clear radio reception.
If the vehicle has a sunroof, the performance of the
XM system may be affected if the sunroof is open.
Chime Level Adjustment
The radio is used to adjust the vehicle’s chime level.
To change the volume level of the chime, press and
hold pushbutton 6 with the ignition on and the radio
power off. The volume level will change from the normal
level to loud, and LOUD will appear on the radio display.
To change back to the default or normal setting, press
and hold pushbutton 6 again. The volume level will
change from the loud level to normal, and NORMAL will
appear on the radio display. Each time the chime volume
is changed, three chimes will sound to indicate the new
volume selected. Removing the radio and not replacing it
with a factory radio or chime module will disable vehicle
chimes.
4-63
Page 223 of 448
StabiliTrak and Traction Control (TCS) come on
automatically whenever the vehicle is started and the
systems are reset with each ignition cycle. However,
when the transfer case is placed in Four-Wheel-Low
mode, StabiliTrak is automatically disabled. See
Four-Wheel Drive on page 3-25for more information.
It is recommended to leave the system on for normal
driving conditions, but it may be necessary to turn
the TCS portion of the system off if the vehicle is stuck
in sand, mud, ice, or snow, and it is necessary to
“rock” the vehicle to attempt to free it. If traction control
is turned off, only the brake-traction control portion
of traction control will work. The engine speed
management will be disabled. In this mode, engine
power is not reduced automatically and the drive wheels
can spin more freely. This can cause the brake-traction
control to activate constantly. SeeIf Your Vehicle is
Stuck in Sand, Mud, Ice, or Snow on page 5-31.
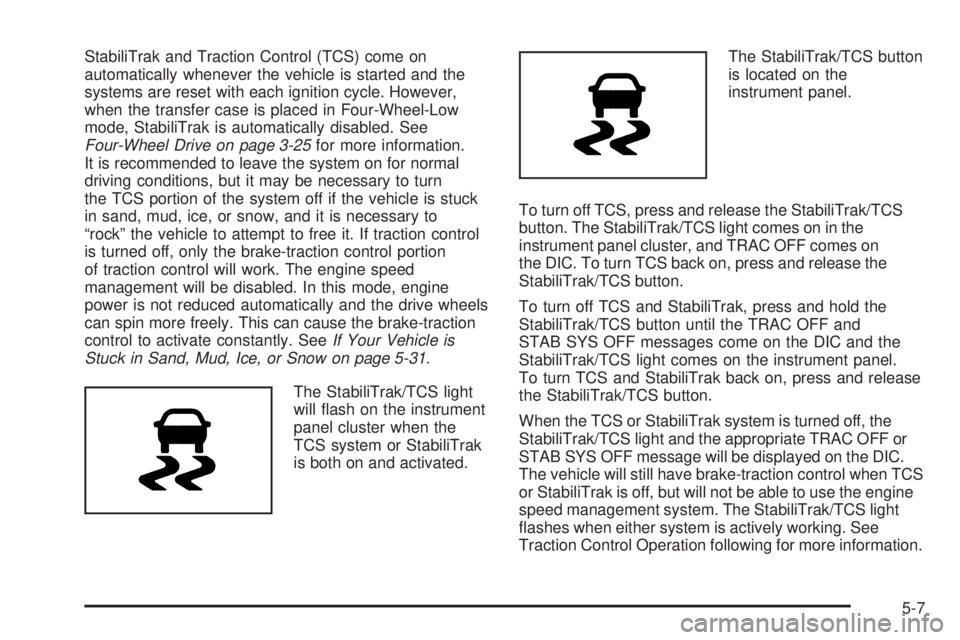
The StabiliTrak/TCS light
will flash on the instrument
panel cluster when the
TCS system or StabiliTrak
is both on and activated.The StabiliTrak/TCS button
is located on the
instrument panel.
To turn off TCS, press and release the StabiliTrak/TCS
button. The StabiliTrak/TCS light comes on in the
instrument panel cluster, and TRAC OFF comes on
the DIC. To turn TCS back on, press and release the
StabiliTrak/TCS button.
To turn off TCS and StabiliTrak, press and hold the
StabiliTrak/TCS button until the TRAC OFF and
STAB SYS OFF messages come on the DIC and the
StabiliTrak/TCS light comes on the instrument panel.
To turn TCS and StabiliTrak back on, press and release
the StabiliTrak/TCS button.
When the TCS or StabiliTrak system is turned off, the
StabiliTrak/TCS light and the appropriate TRAC OFF or
STAB SYS OFF message will be displayed on the DIC.
The vehicle will still have brake-traction control when TCS
or StabiliTrak is off, but will not be able to use the engine
speed management system. The StabiliTrak/TCS light
flashes when either system is actively working. See
Traction Control Operation following for more information.
5-7
Page 240 of 448

Driving in Water
{WARNING:
Driving through rushing water can be dangerous.
Deep water can sweep your vehicle downstream
and you and your passengers could drown. If it is
only shallow water, it can still wash away the
ground from under your tires, and you could lose
traction and roll the vehicle over. Do not drive
through rushing water.
Heavy rain can mean flash flooding, and flood waters
demand extreme caution.
Find out how deep the water is before driving through it.
Do not try it if it is deep enough to cover the wheel
hubs, axles, or exhaust pipe — you probably will not get
through. Deep water can damage the axle and other
vehicle parts.If the water is not too deep, drive slowly through it.
At faster speeds, water splashes on the ignition system
and the vehicle can stall. Stalling can also occur if
you get the tailpipe under water. If the tailpipe is under
water, you will never be able to start the engine.
When going through water, remember that when the
brakes get wet, it might take longer to stop. SeeDriving
in Rain and on Wet Roads on page 5-26.
After Off-Road Driving
Remove any brush or debris that has collected on the
underbody, chassis, or under the hood. These
accumulations can be a fire hazard.
After operation in mud or sand, have the brake linings
cleaned and checked. These substances can cause
glazing and uneven braking. Check the body structure,
steering, suspension, wheels, tires, and exhaust system
for damage and check the fuel lines and cooling system
for any leakage.
The vehicle requires more frequent service due to
off-road use. Refer to the Maintenance Schedule for
additional information.
5-24
Page 244 of 448
Hill and Mountain Roads
Driving on steep hills or through mountains is different
than driving on flat or rolling terrain. Tips for driving
in these conditions include:
•Keep the vehicle serviced and in good shape.
•Check all fluid levels and brakes, tires, cooling
system, and transmission.
•Going down steep or long hills, shift to a
lower gear.
{WARNING:
If you do not shift down, the brakes could get so
hot that they would not work well. You would then
have poor braking or even none going down a hill.
You could crash. Shift down to let the engine
assist the brakes on a steep downhill slope.
{WARNING:
Coasting downhill in N (Neutral) or with the ignition
off is dangerous. The brakes will have to do all the
work of slowing down and they could get so hot
that they would not work well. You would then
have poor braking or even none going down a hill.
You could crash. Always have the engine running
and the vehicle in gear when going downhill.
•Stay in your own lane. Do not swing wide or cut
across the center of the road. Drive at speeds
that let you stay in your own lane.
•Top of hills: Be alert — something could be in your
lane (stalled car, accident).
•Pay attention to special road signs (falling rocks
area, winding roads, long grades, passing or
no-passing zones) and take appropriate action.
SeeOff-Road Driving on page 5-13for information
about driving off-road.
5-28
Page 259 of 448
3. Turn the engine off and firmly set the parking brake.
SeeParking Brake on page 3-30.
4. Securely attach the vehicle being towed to the tow
vehicle.
{WARNING:
Shifting a full-time four-wheel-drive vehicle’s
transfer case into N (Neutral) can cause the
vehicle to roll even if the automatic transmission is
in P (Park) or the manual transmission is in any
gear. You or others could be injured. Make sure
the parking brake is firmly set before the transfer
case is shifted to N (Neutral).5. Shift the transfer case to N (Neutral). See “Shifting
into N (Neutral)” underFour-Wheel Drive on
page 3-25.
6. Turn the ignition to LOCK/OFF and remove the
key — the front wheels will still turn.
7. Release the parking brake only after the vehicle
being towed is firmly attached to the towing
vehicle.
After towing see “Shifting Out of N (Neutral)” under
Four-Wheel Drive on page 3-25.
If the vehicle being towed will not be started or driven
for six weeks or more, remove the battery cable from the
negative terminal (post) of the battery to prevent the
battery from draining.
5-43
Page 261 of 448
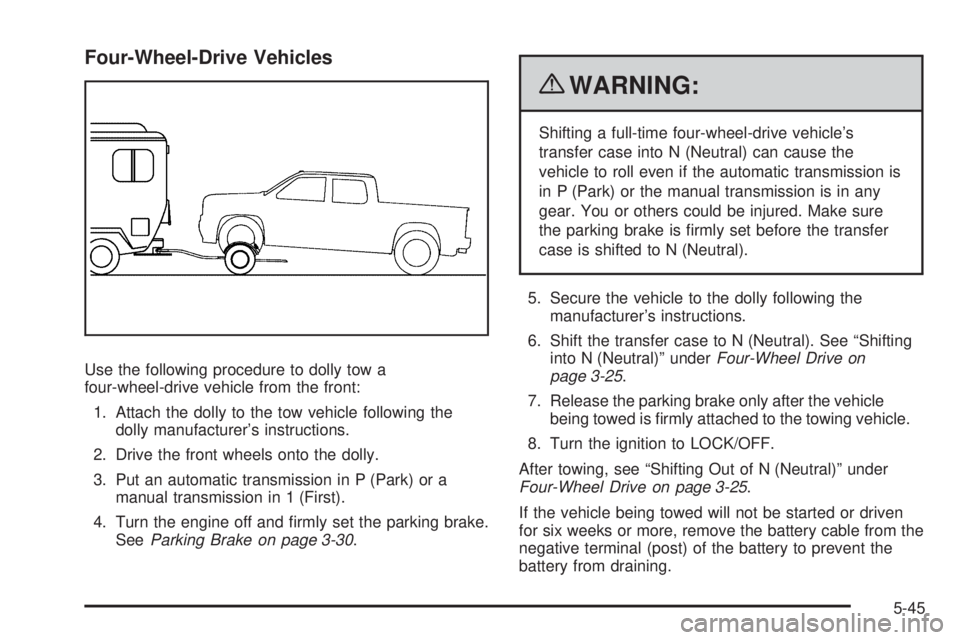
Four-Wheel-Drive Vehicles
Use the following procedure to dolly tow a
four-wheel-drive vehicle from the front:
1. Attach the dolly to the tow vehicle following the
dolly manufacturer’s instructions.
2. Drive the front wheels onto the dolly.
3. Put an automatic transmission in P (Park) or a
manual transmission in 1 (First).
4. Turn the engine off and firmly set the parking brake.
SeeParking Brake on page 3-30.
{WARNING:
Shifting a full-time four-wheel-drive vehicle’s
transfer case into N (Neutral) can cause the
vehicle to roll even if the automatic transmission is
in P (Park) or the manual transmission is in any
gear. You or others could be injured. Make sure
the parking brake is firmly set before the transfer
case is shifted to N (Neutral).
5. Secure the vehicle to the dolly following the
manufacturer’s instructions.
6. Shift the transfer case to N (Neutral). See “Shifting
into N (Neutral)” underFour-Wheel Drive on
page 3-25.
7. Release the parking brake only after the vehicle
being towed is firmly attached to the towing vehicle.
8. Turn the ignition to LOCK/OFF.
After towing, see “Shifting Out of N (Neutral)” under
Four-Wheel Drive on page 3-25.
If the vehicle being towed will not be started or driven
for six weeks or more, remove the battery cable from the
negative terminal (post) of the battery to prevent the
battery from draining.
5-45
Page 262 of 448
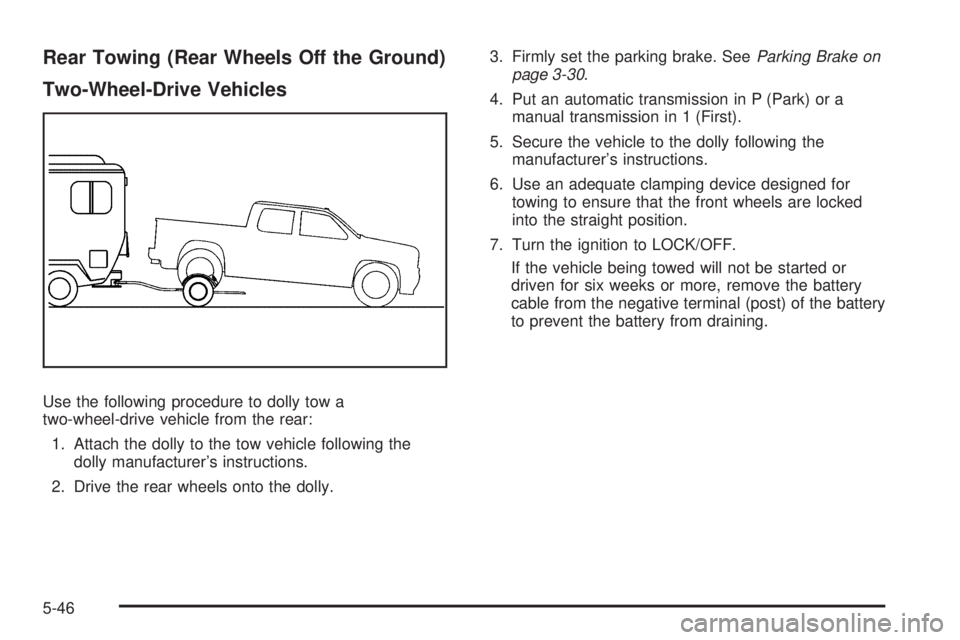
Rear Towing (Rear Wheels Off the Ground)
Two-Wheel-Drive Vehicles
Use the following procedure to dolly tow a
two-wheel-drive vehicle from the rear:
1. Attach the dolly to the tow vehicle following the
dolly manufacturer’s instructions.
2. Drive the rear wheels onto the dolly.3. Firmly set the parking brake. SeeParking Brake on
page 3-30.
4. Put an automatic transmission in P (Park) or a
manual transmission in 1 (First).
5. Secure the vehicle to the dolly following the
manufacturer’s instructions.
6. Use an adequate clamping device designed for
towing to ensure that the front wheels are locked
into the straight position.
7. Turn the ignition to LOCK/OFF.
If the vehicle being towed will not be started or
driven for six weeks or more, remove the battery
cable from the negative terminal (post) of the battery
to prevent the battery from draining.
5-46