Page 176 of 448

Charging System Light
This light comes on briefly
when the ignition key is
turned to START, but the
engine is not running, as a
check to show it is working.
If it does not, have the vehicle serviced by your
dealer/retailer.
The light should go out once the engine starts. If it stays
on, or comes on while driving, there could be a problem
with the charging system. A charging system message
in the Driver Information Center (DIC) can also appear.
SeeDIC Warnings and Messages on page 4-37for more
information. This light could indicate that there are
problems with a generator drive belt, or that there is an
electrical problem. Have it checked right away. If the
vehicle must be driven a short distance with the light
on, turn off accessories, such as the radio and air
conditioner.
Up-Shift Light
The vehicle may have an
up-shift light.
When this light comes on, shift to the next higher gear if
weather, road, and traffic conditions allow.
SeeManual Transmission Operation on page 3-23for
more information.
4-24
Page 177 of 448

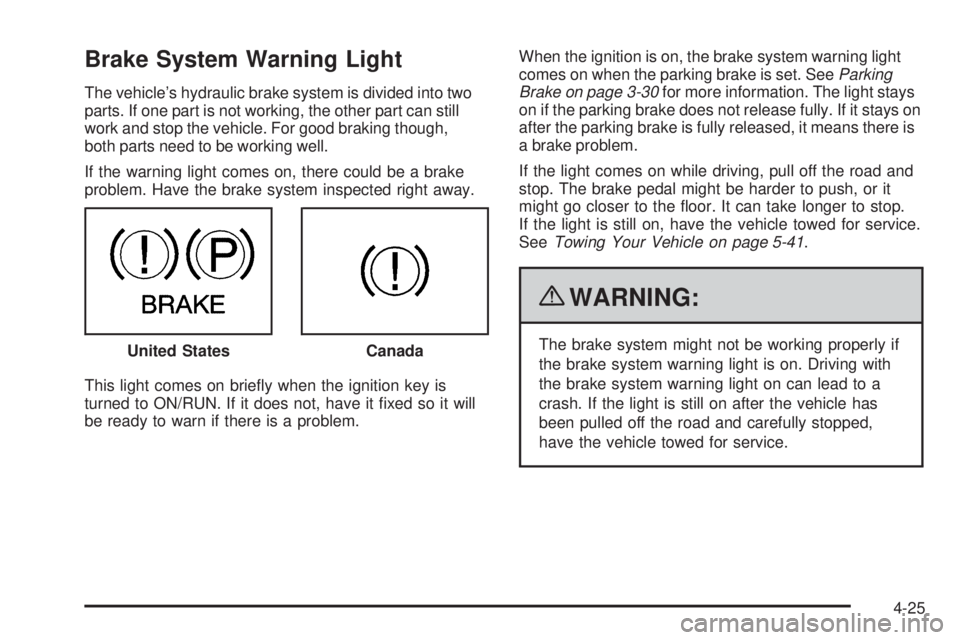
Brake System Warning Light
The vehicle’s hydraulic brake system is divided into two
parts. If one part is not working, the other part can still
work and stop the vehicle. For good braking though,
both parts need to be working well.
If the warning light comes on, there could be a brake
problem. Have the brake system inspected right away.
This light comes on briefly when the ignition key is
turned to ON/RUN. If it does not, have it fixed so it will
be ready to warn if there is a problem.When the ignition is on, the brake system warning light
comes on when the parking brake is set. SeeParking
Brake on page 3-30for more information. The light stays
on if the parking brake does not release fully. If it stays on
after the parking brake is fully released, it means there is
a brake problem.
If the light comes on while driving, pull off the road and
stop. The brake pedal might be harder to push, or it
might go closer to the floor. It can take longer to stop.
If the light is still on, have the vehicle towed for service.
SeeTowing Your Vehicle on page 5-41.
{WARNING:
The brake system might not be working properly if
the brake system warning light is on. Driving with
the brake system warning light on can lead to a
crash. If the light is still on after the vehicle has
been pulled off the road and carefully stopped,
have the vehicle towed for service. United StatesCanada
4-25
Page 178 of 448

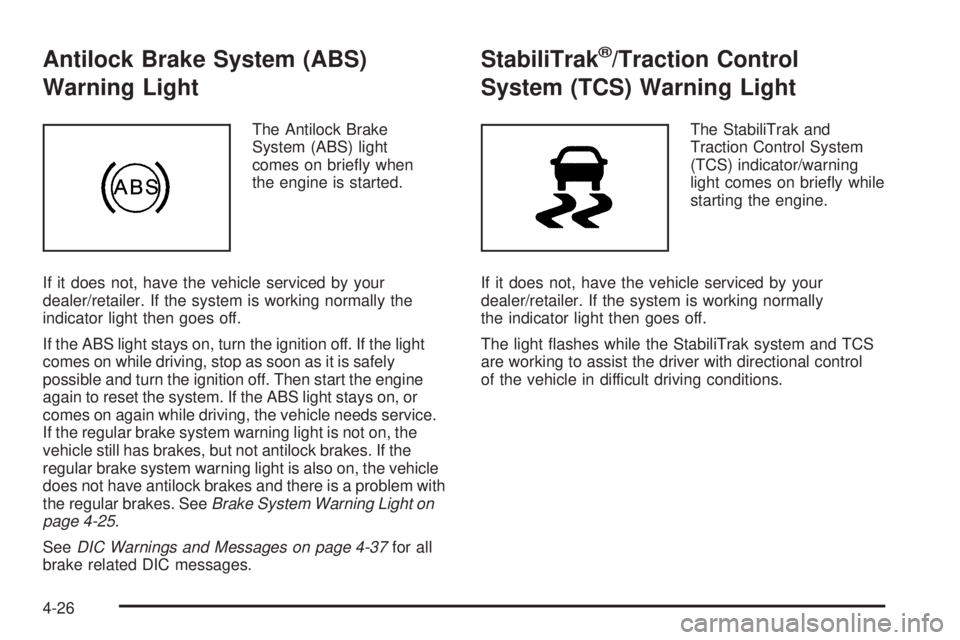
Antilock Brake System (ABS)
Warning Light
The Antilock Brake
System (ABS) light
comes on briefly when
the engine is started.
If it does not, have the vehicle serviced by your
dealer/retailer. If the system is working normally the
indicator light then goes off.
If the ABS light stays on, turn the ignition off. If the light
comes on while driving, stop as soon as it is safely
possible and turn the ignition off. Then start the engine
again to reset the system. If the ABS light stays on, or
comes on again while driving, the vehicle needs service.
If the regular brake system warning light is not on, the
vehicle still has brakes, but not antilock brakes. If the
regular brake system warning light is also on, the vehicle
does not have antilock brakes and there is a problem with
the regular brakes. SeeBrake System Warning Light on
page 4-25.
SeeDIC Warnings and Messages on page 4-37for all
brake related DIC messages.
StabiliTrak®/Traction Control
System (TCS) Warning Light
The StabiliTrak and
Traction Control System
(TCS) indicator/warning
light comes on briefly while
starting the engine.
If it does not, have the vehicle serviced by your
dealer/retailer. If the system is working normally
the indicator light then goes off.
The light flashes while the StabiliTrak system and TCS
are working to assist the driver with directional control
of the vehicle in difficult driving conditions.
4-26
Page 180 of 448

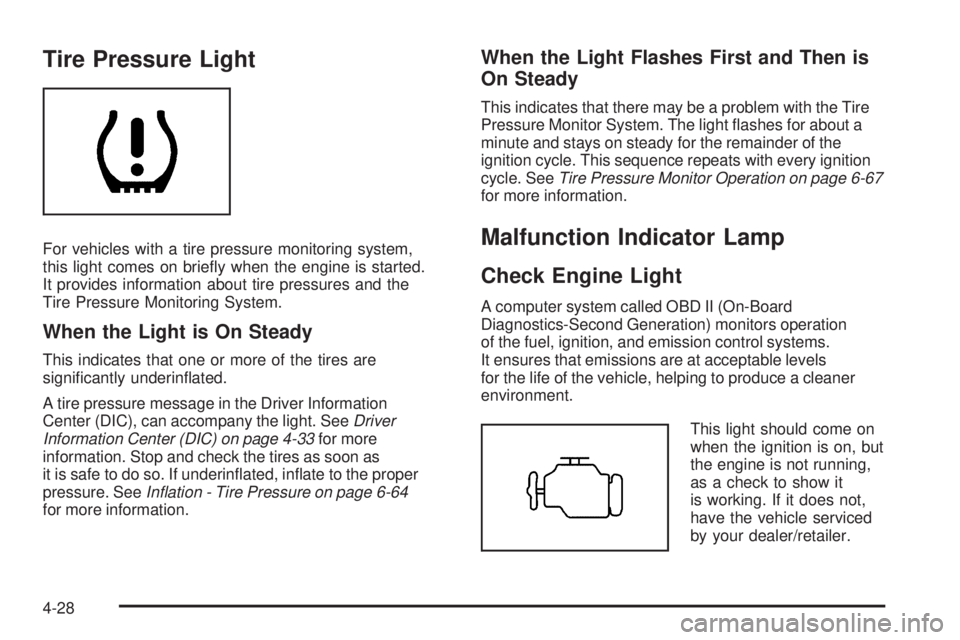
Tire Pressure Light
For vehicles with a tire pressure monitoring system,
this light comes on briefly when the engine is started.
It provides information about tire pressures and the
Tire Pressure Monitoring System.
When the Light is On Steady
This indicates that one or more of the tires are
significantly underinflated.
A tire pressure message in the Driver Information
Center (DIC), can accompany the light. SeeDriver
Information Center (DIC) on page 4-33for more
information. Stop and check the tires as soon as
it is safe to do so. If underinflated, inflate to the proper
pressure. SeeIn�ation - Tire Pressure on page 6-64
for more information.
When the Light Flashes First and Then is
On Steady
This indicates that there may be a problem with the Tire
Pressure Monitor System. The light flashes for about a
minute and stays on steady for the remainder of the
ignition cycle. This sequence repeats with every ignition
cycle. SeeTire Pressure Monitor Operation on page 6-67
for more information.
Malfunction Indicator Lamp
Check Engine Light
A computer system called OBD II (On-Board
Diagnostics-Second Generation) monitors operation
of the fuel, ignition, and emission control systems.
It ensures that emissions are at acceptable levels
for the life of the vehicle, helping to produce a cleaner
environment.
This light should come on
when the ignition is on, but
the engine is not running,
as a check to show it
is working. If it does not,
have the vehicle serviced
by your dealer/retailer.
4-28
Page 184 of 448
If the light comes on and stays on, it means that oil is
not flowing through the engine properly. The vehicle
could be low on oil and it might have some other system
problem.
Security Light
For information regarding
this light and the vehicle’s
security system, see
Content Theft-Deterrent
on page 3-13.
Cruise Control Light
The cruise control light
comes on whenever the
cruise control is set.
The light goes out when the cruise control is turned off.
SeeCruise Control on page 4-7for more information.
Highbeam On Light
This light comes on when
the high-beam headlamps
are in use.
SeeHeadlamp High/Low-Beam Changer on page 4-5
for more information.
Fuel Gage
When the ignition is on,
the fuel gage shows how
much fuel the vehicle
has remaining in the
fuel tank.
4-32
Page 185 of 448

An arrow on the fuel gage indicates the side of the
vehicle the fuel door is on.
Here are four things that some owners ask about.
None of these indicate a problem with the vehicle’s
fuel gage:
•At the gas station, the gas pump shuts off before
the gage reads full.
•It takes a little more or less fuel to fill up than the
gage indicated. For example, the gage may have
indicated the tank was half full, but it actually took
a little more or less than half the tank’s capacity
to fill the tank.
•The gage moves a little while turning a corner or
speeding up.
•The gage does not go back to empty when the
ignition is turned off.
When the fuel in the fuel tank is low, a LOW FUEL
message will display on the Driver Information
Center (DIC). SeeDIC Warnings and Messages
on page 4-37for more information.
Driver Information Center (DIC)
The Driver Information Center (DIC) displays information
such as the trip odometer, personalization features,
and warning messages. The DIC display is located
on the instrument panel cluster.
DIC Operation and Displays
The Driver Information Center (DIC) comes on when the
ignition is on.
If a problem is detected, a warning message appears
on the display. Pressing and releasing the trip odometer
reset stem on the DIC acknowledges some current
warnings or service messages. Some messages only
clear after the required action has been taken.
The DIC has different menu items which can be accessed
by pressing the trip odometer reset stem on the DIC.
This includes trip information, such as the odometer and
trip odometer, engine oil life reset, and personalization
features that are explained in the following information.
The DIC trip odometer reset stem is located on the
instrument panel cluster next to the DIC display.
4-33
Page 187 of 448

Automatic Door Locks
This feature allows you to program the door locks to a
preferred setting.
To set your choice for this feature:
1. With the engine off, turn the key to LOCK/OFF.
Do not remove the key from the ignition.
2. Press and hold the power door lock button until the
DIC display shows the current door lock mode.
3. To view the next available mode, press and hold
the reset stem until the mode appears. Release
the reset stem and press and hold again to view
the next mode.
4. Once the desired mode is shown on the DIC
display, briefly press the reset stem to set your
choice. The DIC display then clears.
The following are the available modes:
Lock 1 (default):On vehicles with an automatic
transmission, this mode locks all of the doors when
the vehicle is shifted out of P (Park) and unlocks all
of the doors when the vehicle is shifted into P (Park).On vehicles with a manual transmission, this mode
locks all of the doors when the vehicle speed is greater
than 15 mph (24 km/h) and unlocks all of the doors
when the key is removed from the ignition.
Lock 2:On vehicles with an automatic transmission,
this mode locks all of the doors when the vehicle
is shifted out of P (Park) and unlocks the driver’s
door when the vehicle is shifted into P (Park).
On vehicles with a manual transmission, this mode
locks all of the doors when the vehicle speed is greater
than 15 mph (24 km/h) and unlocks the driver’s door
when the key is removed from the ignition.
Lock 3:On vehicles with an automatic transmission,
this mode locks all of the doors when the vehicle
is shifted out of P (Park). The doors will not
automatically unlock.
On vehicles with a manual transmission, this mode
locks all of the doors when the vehicle speed is greater
than 15 mph (24 km/h). The doors will not automatically
unlock.
4-35
Page 188 of 448

Remote Keyless Entry (RKE) Feedback
This feature allows you to program the Remote Keyless
Entry (RKE) feedback to a preferred setting.
To set your choice for this feature:
1. With the engine off, turn the key to LOCK/OFF.
Do not remove the key from the ignition.
2. Press and hold the lock and unlock buttons on
the RKE transmitter at the same time. Hold both
buttons until the DIC display shows the current RKE
feedback mode.
3. To view the next available mode, press and hold
the reset stem until the mode appears. Release
the reset stem and press and hold again to view
the next mode.
4. Once the desired mode is shown on the DIC
display, briefly press the reset stem to set your
choice. The DIC display then clears.The following are the available modes:
RFA 1 (default):This mode flashes the parking lamps
when you press the lock or unlock buttons on the
RKE transmitter.
RFA 2:This mode flashes the parking lamps and
sounds the horn when you press the lock button on the
RKE transmitter. This mode also flashes the parking
lamps when you press the unlock button on the
RKE transmitter.
RFA 3:This mode flashes the parking lamps and
sounds the horn when you press the lock or unlock
buttons on the RKE transmitter.
RFA 4:This mode disables RKE feedback. There will
be no feedback when you press the lock or unlock
buttons on the RKE transmitter.
4-36