Page 164 of 408
SEATING
WARNING: Reclining the seatback can cause an occupant to
slide under the seat’s safety belt, resulting in severe personal
injuries in the event of a collision.
WARNING: Do not pile cargo higher than the seatbacks to
reduce the risk of injury in a collision or sudden stop.
WARNING: Before returning the seatback to its original
position, make sure that cargo or any objects are not trapped
behind the seatback. After returning the seatback to its original
position, pull on the seatback to ensure that it has fully latched. An
unlatched seat may become dangerous in the event of a sudden stop or
collision.
Non-adjustable head restraints
Your vehicle is equipped with front row outboard non-adjustable head
restraints.
WARNING: To minimize the risk of neck injury in the event of a
crash, the driver and passenger occupants should not sit in
and/or operate the vehicle, until the seatback is placed in its proper
position. The driver should never adjust the seatback while the vehicle
is in motion.
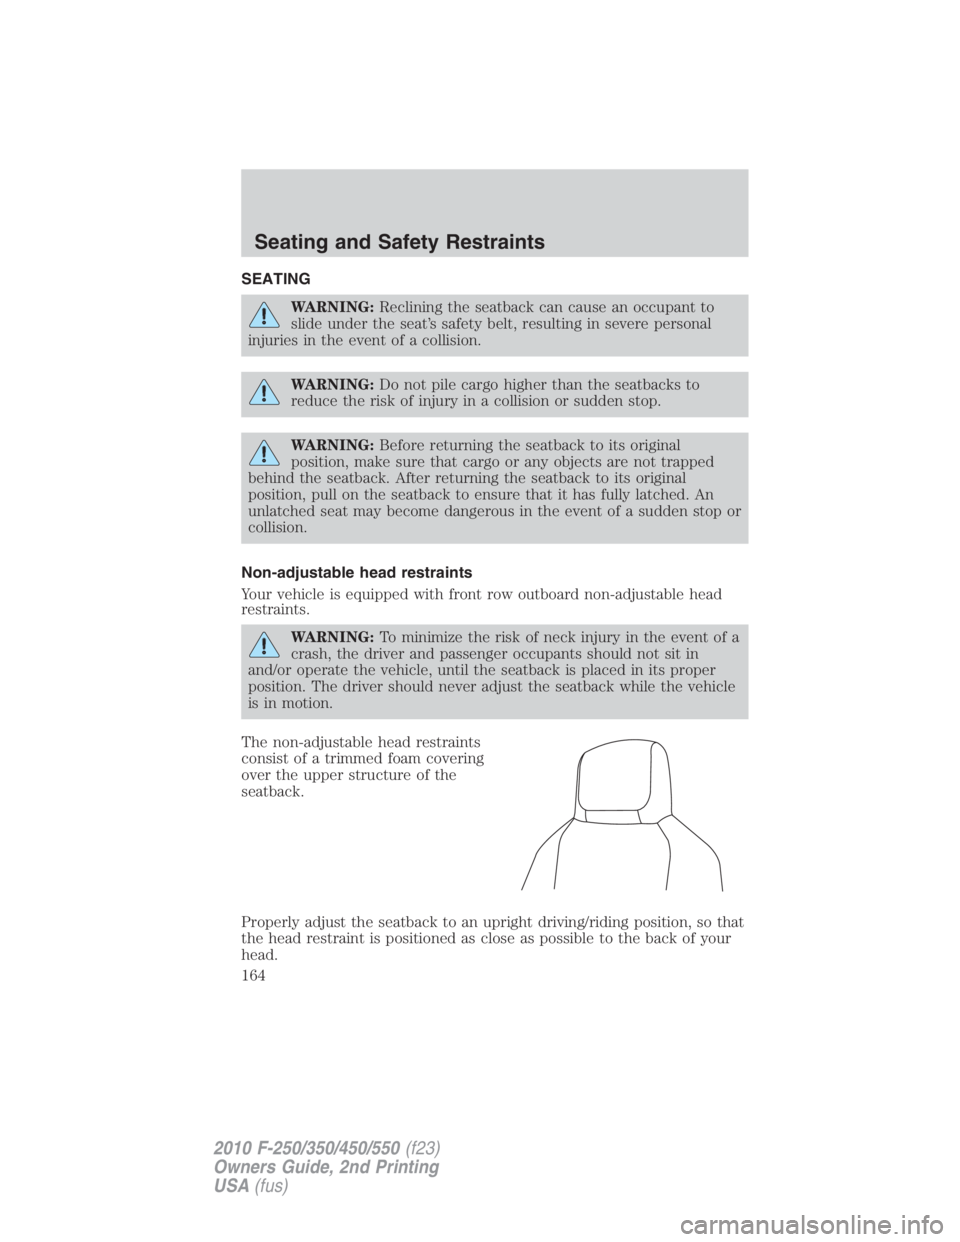
The non-adjustable head restraints
consist of a trimmed foam covering
over the upper structure of the
seatback.
Properly adjust the seatback to an upright driving/riding position, so that
the head restraint is positioned as close as possible to the back of your
head.Seating and Safety Restraints
164
2010 F-250/350/450/550 (f23)
Owners Guide, 2nd Printing
USA (fus)
Page 167 of 408
Captain’s chair (if equipped)
• Lift the bar to move the seat
forward or rearward. Make sure
that the seat is relatched into
place.
• To recline the seatback, pull the
release lever handle located on
the side of the seat up.
• Push down the lever (if
equipped) located at the bottom
of the seatback to quickly fold the
seatback forward.
Adjusting the front power seat (if equipped)
WARNING: Never adjust the driver’s seat or seatback when the
vehicle is moving.
WARNING: Do not pile cargo higher than the seatbacks to avoid
injuring people in a collision or sudden stop.
WARNING: Always drive and ride with your seatback upright
and the lap belt snug and low across the hips.
WARNING: Reclining the seatback can cause an occupant to
slide under the seat’s safety belt, resulting in severe personal
injuries in the event of a collision. Seating and Safety Restraints
167
2010 F-250/350/450/550 (f23)
Owners Guide, 2nd Printing
USA (fus)
Page 169 of 408
Heated seats (if equipped)
The heated seat control is located on the climate control panel.
WARNING: Persons who are unable to feel pain to the skin
because of advanced age, chronic illness, diabetes, spinal cord
injury, medication, alcohol use, exhaustion, or other physical
conditions, must exercise care when using the seat heater. The seat
heater may cause burns even at low temperatures, especially if used
for long periods of time. Do not place anything on the seat that
insulates against heat, such as a blanket or cushion, because this may
cause the seat heater to overheat. Do not puncture the seat with pins,
needles, or other pointed objects because this may damage the heating
element which may cause the seat heater to overheat. An overheated
seat may cause serious personal injury.
Note: Do not do the following:
• Place heavy objects on the seat.
• Operate the seat heater if water or any other liquid is spilled on the
seat. Allow the seat to dry thoroughly.
To operate the heated seats, do the following (engine must be running):
Press to activate; push again to deactivate.
The indicator light on the control will illuminate when activated.
Memory seats/power mirrors/adjustable pedals (if equipped)
This system allows automatic
positioning of the driver seat, power
mirrors, and adjustable pedals to
two programmable positions.
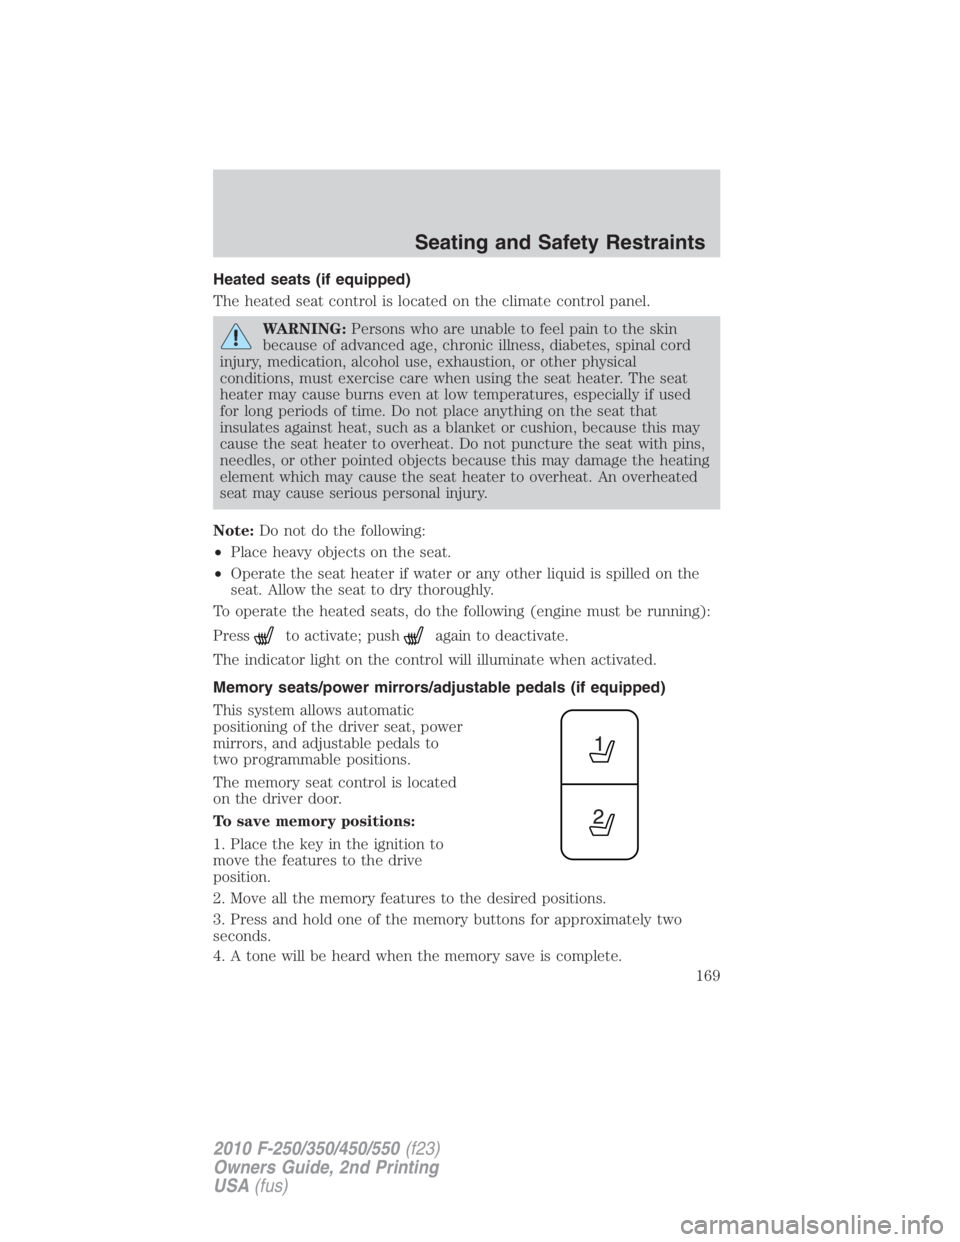
The memory seat control is located
on the driver door.
To save memory positions:
1. Place the key in the ignition to
move the features to the drive
position.
2. Move all the memory features to the desired positions.
3. Press and hold one of the memory buttons for approximately two
seconds.
4. A tone will be heard when the memory save is complete. Seating and Safety Restraints
169
2010 F-250/350/450/550 (f23)
Owners Guide, 2nd Printing
USA (fus)
Page 171 of 408
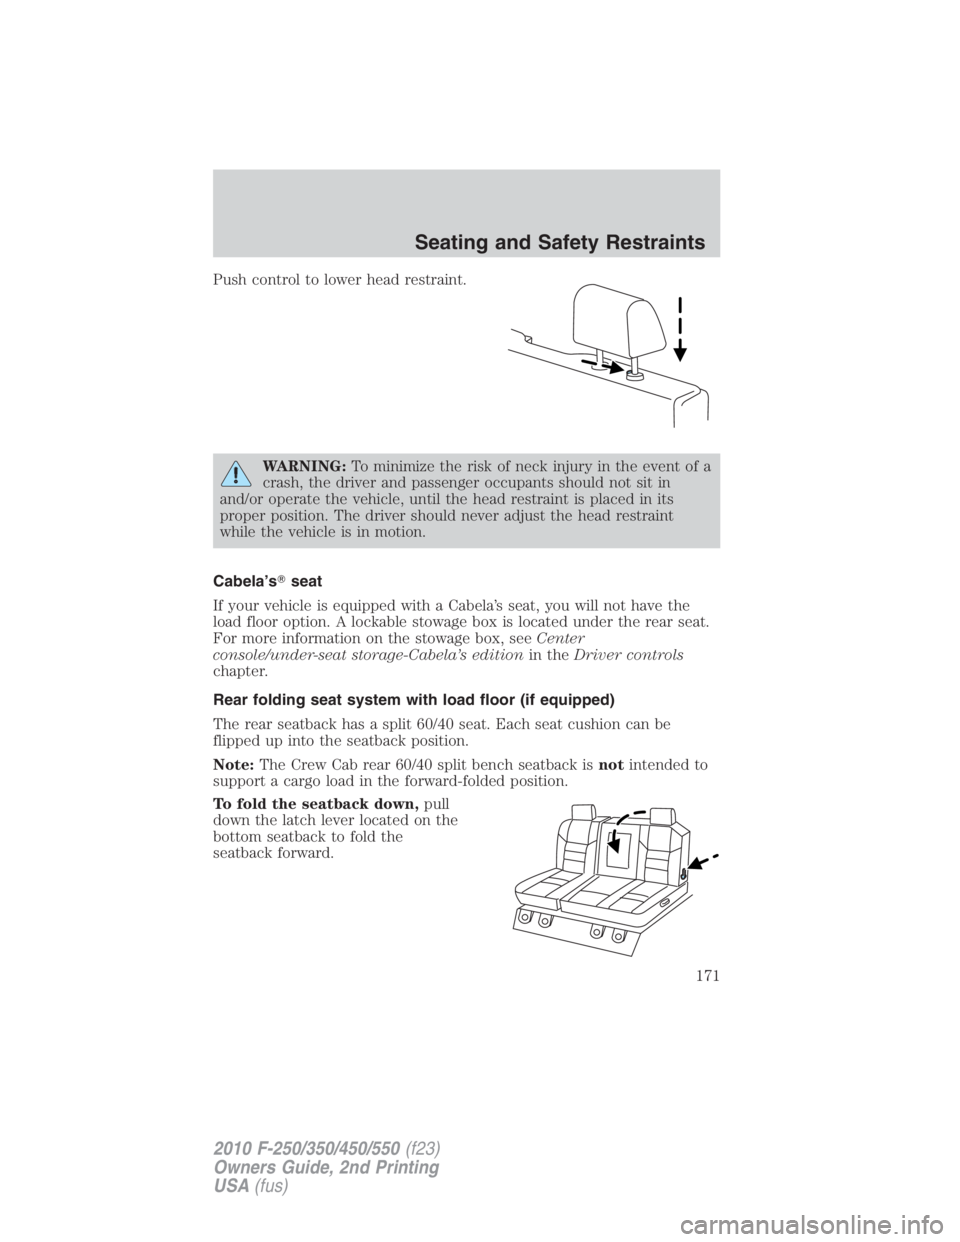
Push control to lower head restraint.
WARNING: To minimize the risk of neck injury in the event of a
crash, the driver and passenger occupants should not sit in
and/or operate the vehicle, until the head restraint is placed in its
proper position. The driver should never adjust the head restraint
while the vehicle is in motion.
Cabela’s � seat
If your vehicle is equipped with a Cabela’s seat, you will not have the
load floor option. A lockable stowage box is located under the rear seat.
For more information on the stowage box, see Center
console/under-seat storage-Cabela’s edition in the Driver controls
chapter.
Rear folding seat system with load floor (if equipped)
The rear seatback has a split 60/40 seat. Each seat cushion can be
flipped up into the seatback position.
Note: The Crew Cab rear 60/40 split bench seatback is not intended to
support a cargo load in the forward-folded position.
To fold the seatback down, pull
down the latch lever located on the
bottom seatback to fold the
seatback forward. Seating and Safety Restraints
171
2010 F-250/350/450/550 (f23)
Owners Guide, 2nd Printing
USA (fus)
Page 172 of 408
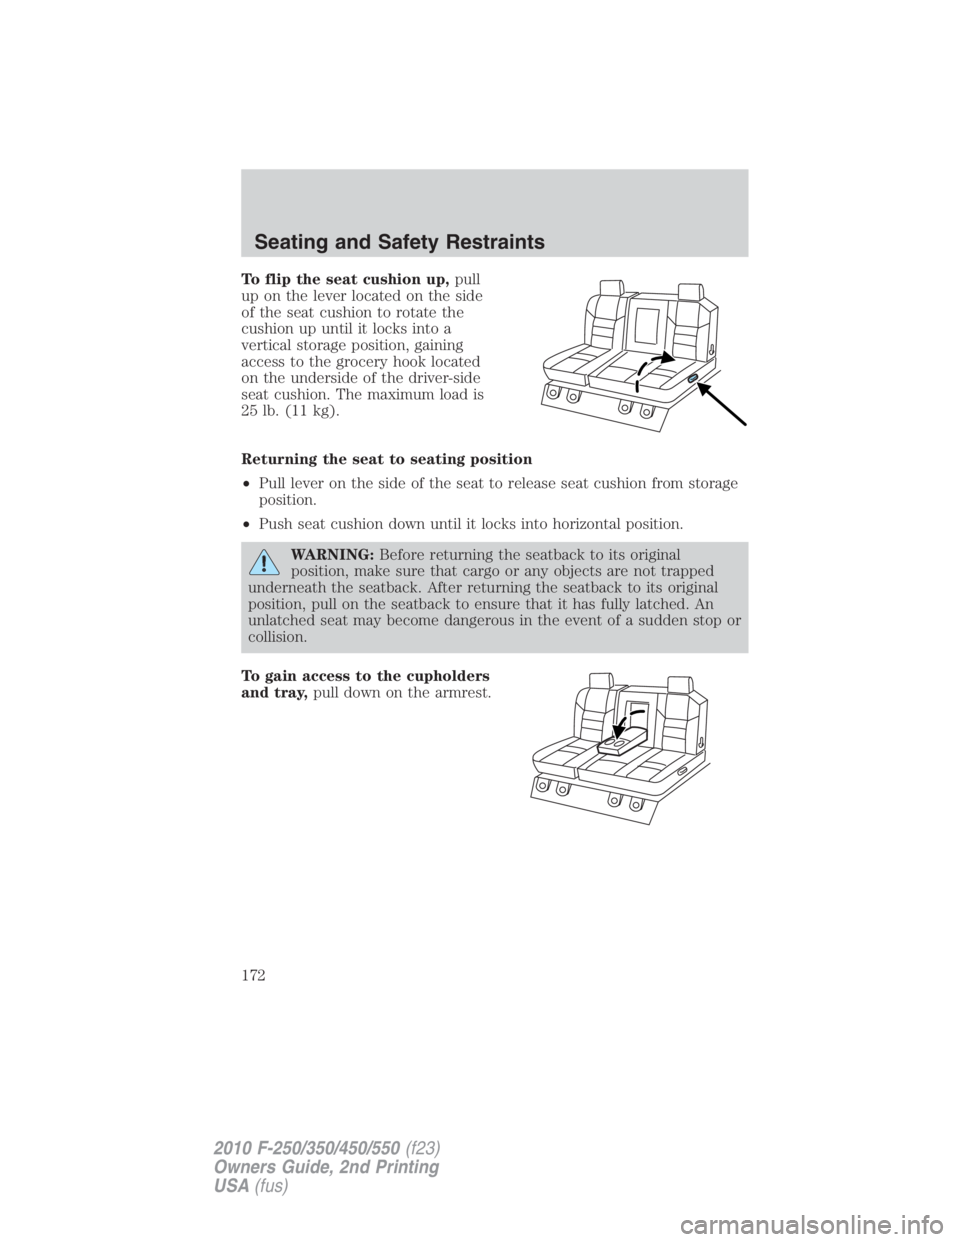
To flip the seat cushion up, pull
up on the lever located on the side
of the seat cushion to rotate the
cushion up until it locks into a
vertical storage position, gaining
access to the grocery hook located
on the underside of the driver-side
seat cushion. The maximum load is
25 lb. (11 kg).
Returning the seat to seating position
• Pull lever on the side of the seat to release seat cushion from storage
position.
• Push seat cushion down until it locks into horizontal position.
WARNING: Before returning the seatback to its original
position, make sure that cargo or any objects are not trapped
underneath the seatback. After returning the seatback to its original
position, pull on the seatback to ensure that it has fully latched. An
unlatched seat may become dangerous in the event of a sudden stop or
collision.
To gain access to the cupholders
and tray, pull down on the armrest.Seating and Safety Restraints
172
2010 F-250/350/450/550 (f23)
Owners Guide, 2nd Printing
USA (fus)
Page 173 of 408
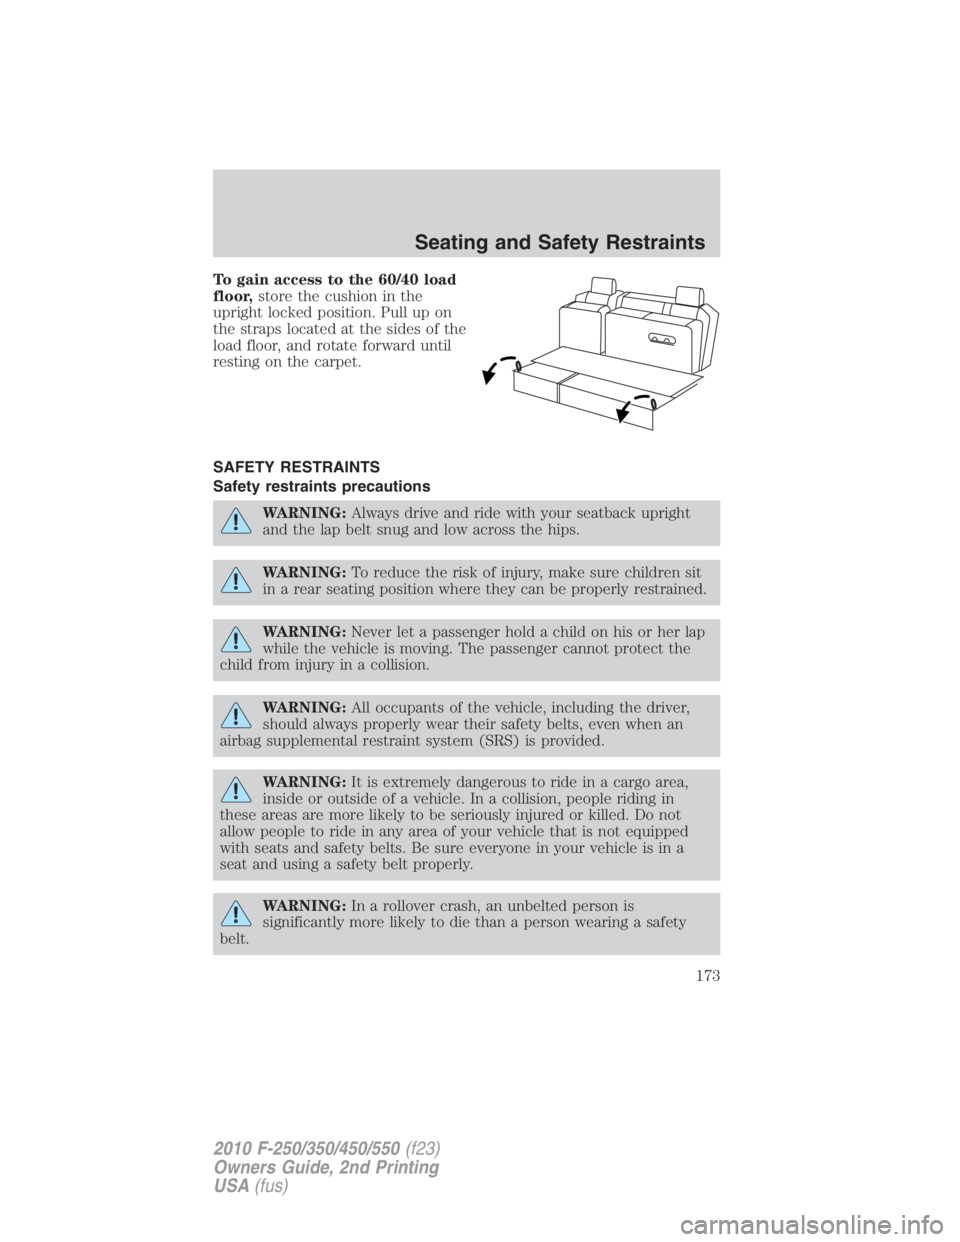
To gain access to the 60/40 load
floor, store the cushion in the
upright locked position. Pull up on
the straps located at the sides of the
load floor, and rotate forward until
resting on the carpet.
SAFETY RESTRAINTS
Safety restraints precautions
WARNING: Always drive and ride with your seatback upright
and the lap belt snug and low across the hips.
WARNING: To reduce the risk of injury, make sure children sit
in a rear seating position where they can be properly restrained.
WARNING: Never let a passenger hold a child on his or her lap
while the vehicle is moving. The passenger cannot protect the
child from injury in a collision.
WARNING: All occupants of the vehicle, including the driver,
should always properly wear their safety belts, even when an
airbag supplemental restraint system (SRS) is provided.
WARNING: It is extremely dangerous to ride in a cargo area,
inside or outside of a vehicle. In a collision, people riding in
these areas are more likely to be seriously injured or killed. Do not
allow people to ride in any area of your vehicle that is not equipped
with seats and safety belts. Be sure everyone in your vehicle is in a
seat and using a safety belt properly.
WARNING: In a rollover crash, an unbelted person is
significantly more likely to die than a person wearing a safety
belt. Seating and Safety Restraints
173
2010 F-250/350/450/550 (f23)
Owners Guide, 2nd Printing
USA (fus)
Page 174 of 408
WARNING: Each seating position in your vehicle has a specific
safety belt assembly which is made up of one buckle and one
tongue that are designed to be used as a pair. 1) Use the shoulder belt
on the outside shoulder only. Never wear the shoulder belt under the
arm. 2) Never swing the safety belt around your neck over the inside
shoulder. 3) Never use a single belt for more than one person.
WARNING: When possible, all children 12 years old and under
should be properly restrained in a rear seating position.
WARNING: Safety belts and seats can become hot in a vehicle
that has been closed up in sunny weather; they could burn a
small child. Check seat covers and buckles before you place a child
anywhere near them.
WARNING: Front and rear seat occupants, including pregnant
women, should wear safety belts for optimum protection in an
accident.
Combination lap and shoulder belts
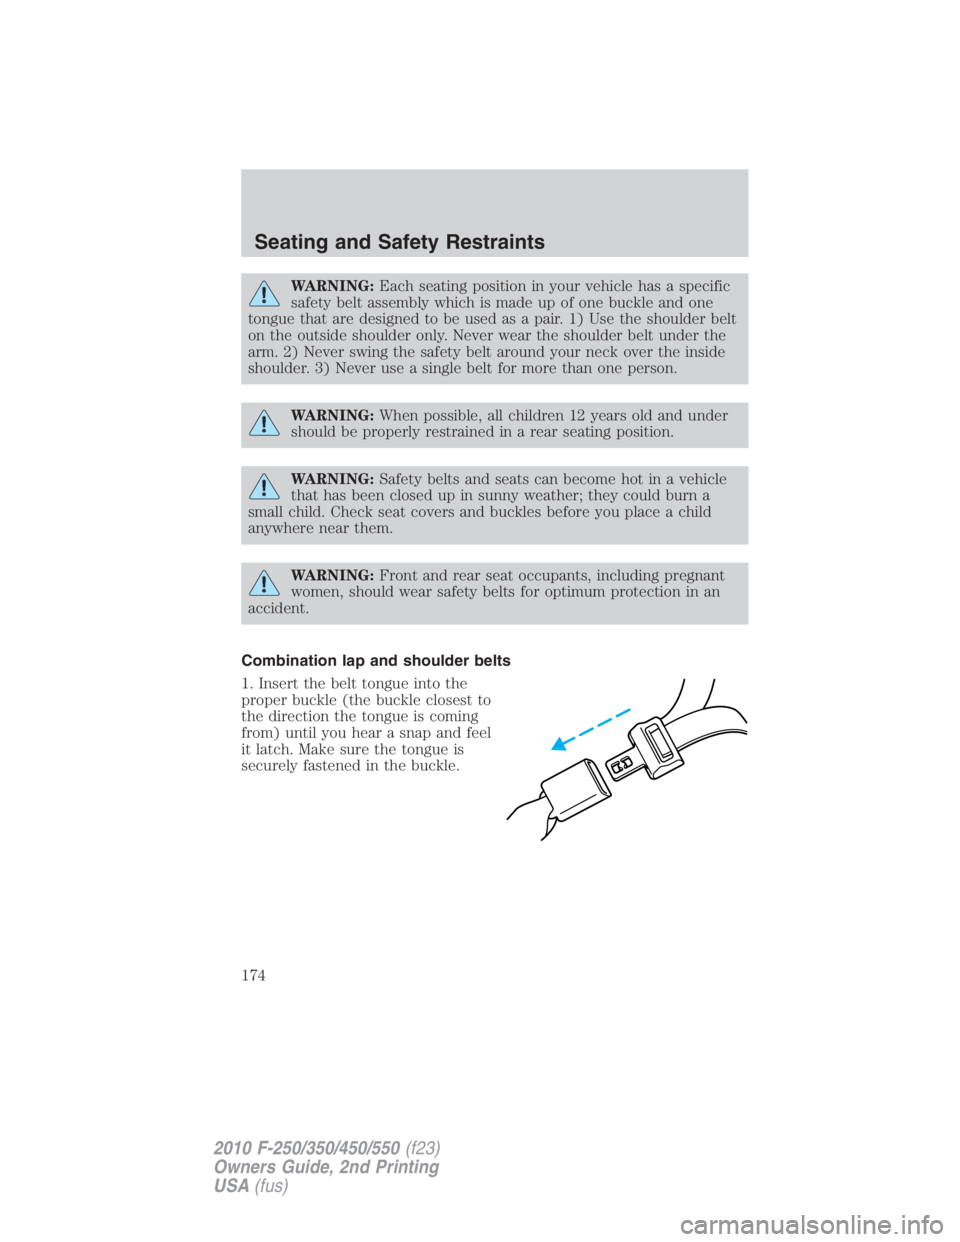
1. Insert the belt tongue into the
proper buckle (the buckle closest to
the direction the tongue is coming
from) until you hear a snap and feel
it latch. Make sure the tongue is
securely fastened in the buckle.Seating and Safety Restraints
174
2010 F-250/350/450/550 (f23)
Owners Guide, 2nd Printing
USA (fus)
Page 176 of 408
How to use the automatic locking mode
• Buckle the combination lap and
shoulder belt.
• Grasp the shoulder portion and
pull downward until the entire
belt is pulled out.
• Allow the belt to retract. As the belt retracts, you will hear a clicking
sound. This indicates the safety belt is now in the automatic locking
mode.
How to disengage the automatic locking mode
Disconnect the combination lap/shoulder belt and allow it to retract
completely to disengage the automatic locking mode and activate the
vehicle sensitive (emergency) locking mode.
WARNING: After any vehicle collision, the front passenger and
rear outboard safety belt systems must be checked by an
authorized dealer to verify that the “automatic locking retractor”
feature for child seats is still functioning properly. In addition, all safety
belts should be checked for proper function.Seating and Safety Restraints
176
2010 F-250/350/450/550 (f23)
Owners Guide, 2nd Printing
USA (fus)