Page 122 of 408
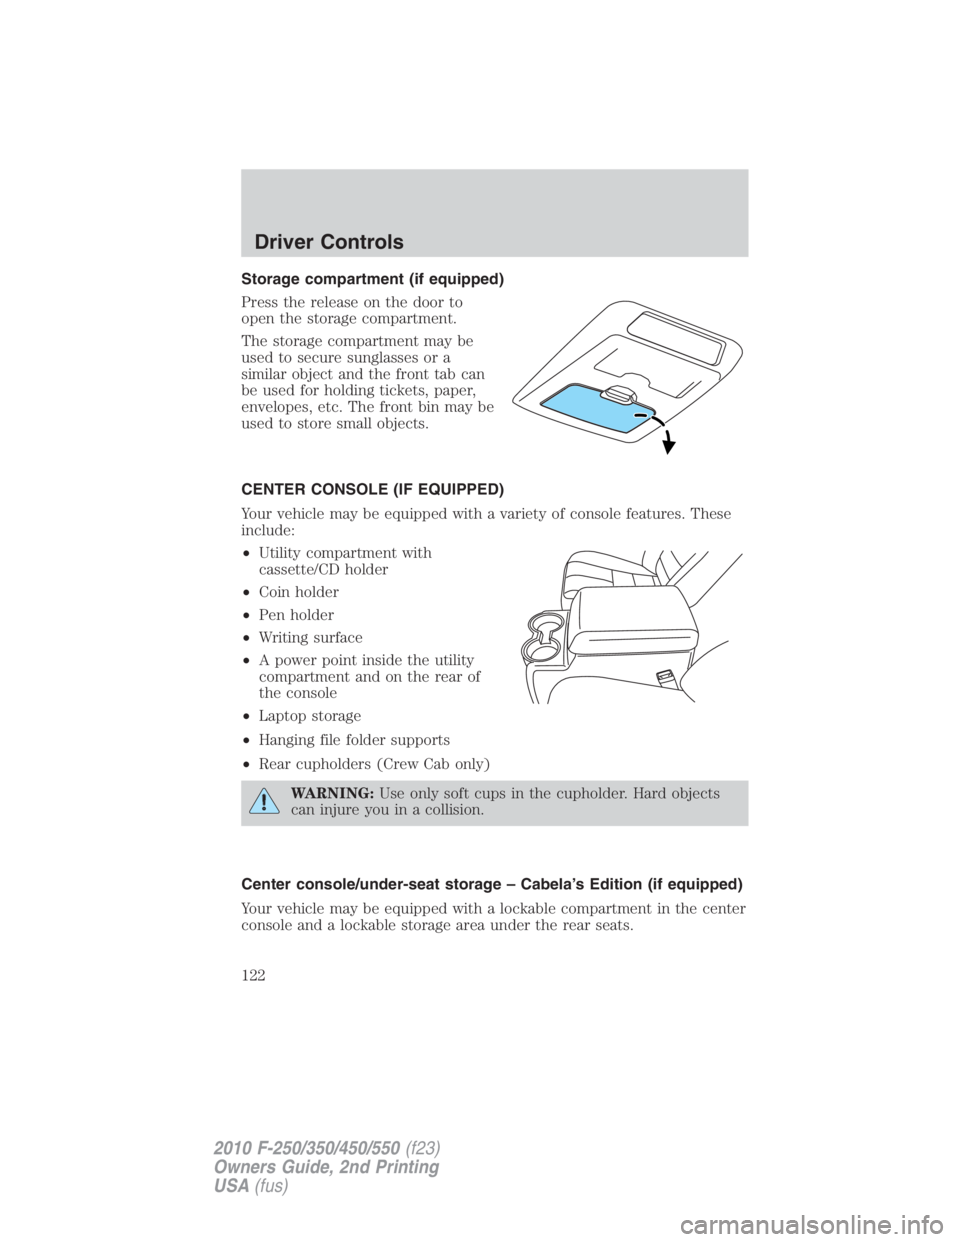
Storage compartment (if equipped)
Press the release on the door to
open the storage compartment.
The storage compartment may be
used to secure sunglasses or a
similar object and the front tab can
be used for holding tickets, paper,
envelopes, etc. The front bin may be
used to store small objects.
CENTER CONSOLE (IF EQUIPPED)
Your vehicle may be equipped with a variety of console features. These
include:
• Utility compartment with
cassette/CD holder
• Coin holder
• Pen holder
• Writing surface
• A power point inside the utility
compartment and on the rear of
the console
• Laptop storage
• Hanging file folder supports
• Rear cupholders (Crew Cab only)
WARNING: Use only soft cups in the cupholder. Hard objects
can injure you in a collision.
Center console/under-seat storage – Cabela’s Edition (if equipped)
Your vehicle may be equipped with a lockable compartment in the center
console and a lockable storage area under the rear seats.Driver Controls
122
2010 F-250/350/450/550 (f23)
Owners Guide, 2nd Printing
USA (fus)
Page 124 of 408

• On the rear of the center console (if equipped) (SuperCab and Crew
Cab models)
Do not use the power point for operating the cigarette lighter element (if
equipped).
To prevent the fuse from being blown, do not use the power point(s)
over the vehicle capacity of 12 VDC/180W. If the power point or cigar
lighter socket is not working, a fuse may have blown. Refer to Fuses and
relays in the Roadside Emergencies chapter for information on
checking and replacing fuses.
To have full capacity usage of your power point, the engine is required to
be running to avoid unintentional discharge of the battery. To prevent
the battery from being discharged:
• do not use the power point longer than necessary when the engine is
not running,
• do not leave battery chargers, video game adapters, computers and
other devices plugged in overnight or when the vehicle is parked for
extended periods.
Always keep the power point caps closed when not being used.
POWER WINDOWS (IF EQUIPPED)
WARNING: Do not leave children unattended in the vehicle and
do not let children play with the power windows. They may
seriously injure themselves.
WARNING: When closing the power windows, you should verify
they are free of obstructions and ensure that children and/or
pets are not in the proximity of the window openings.
Press and pull the window switches
to open and close windows.
• Press down (to the first detent)
and hold the switch to open.
• Pull up (to the first detent) and
hold the switch to close.
Rear Window Buffeting: When one or both of the rear windows are
open, the vehicle may demonstrate a wind throb or buffeting noise. This
noise can be alleviated by lowering a front window approximately two to
three inches.Driver Controls
124
2010 F-250/350/450/550 (f23)
Owners Guide, 2nd Printing
USA (fus)
Page 125 of 408
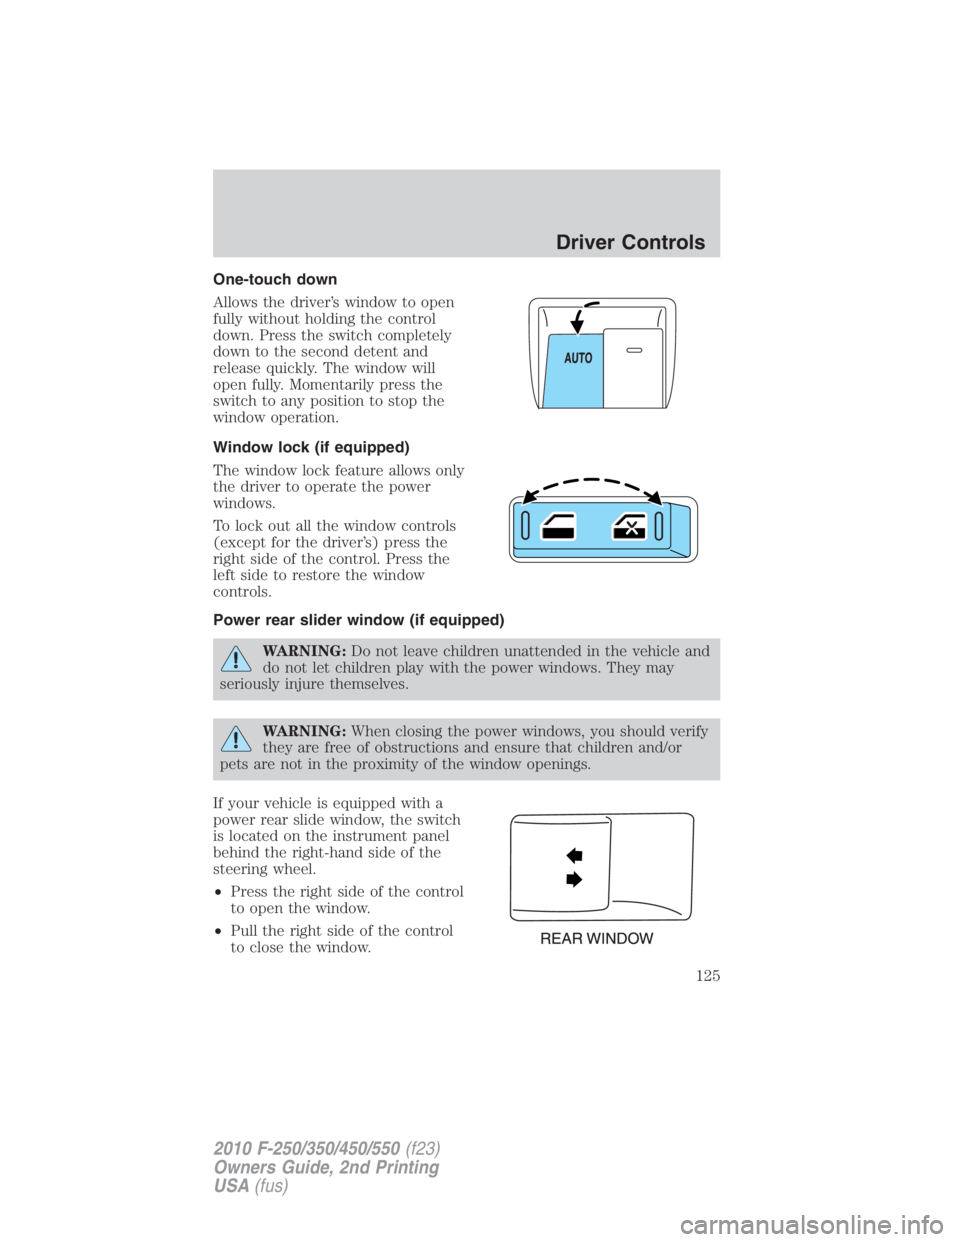
One-touch down
Allows the driver’s window to open
fully without holding the control
down. Press the switch completely
down to the second detent and
release quickly. The window will
open fully. Momentarily press the
switch to any position to stop the
window operation.
Window lock (if equipped)
The window lock feature allows only
the driver to operate the power
windows.
To lock out all the window controls
(except for the driver’s) press the
right side of the control. Press the
left side to restore the window
controls.
Power rear slider window (if equipped)
WARNING: Do not leave children unattended in the vehicle and
do not let children play with the power windows. They may
seriously injure themselves.
WARNING: When closing the power windows, you should verify
they are free of obstructions and ensure that children and/or
pets are not in the proximity of the window openings.
If your vehicle is equipped with a
power rear slide window, the switch
is located on the instrument panel
behind the right-hand side of the
steering wheel.
• Press the right side of the control
to open the window.
• Pull the right side of the control
to close the window. Driver Controls
125
2010 F-250/350/450/550 (f23)
Owners Guide, 2nd Printing
USA (fus)
Page 126 of 408

Accessory delay
With accessory delay, the window switches may be used for up to
10 minutes after the ignition switch is turned to the off position or until
either front door is opened.
INTERIOR MIRROR
The interior rear view mirror has two pivot points on the support arm
which lets you adjust the mirror up or down and from side to side.
WARNING: Do not adjust the mirror while the vehicle is in
motion.
Automatic dimming interior rear view mirror (if equipped)
Your vehicle may be equipped with an interior rear view mirror which
has an auto-dimming function. The electronic day/night mirror will
change from the normal (high reflective) state to the non-glare
(darkened) state when bright lights (glare) reach the mirror. When the
mirror detects bright light from behind the vehicle, it will automatically
adjust (darken) to minimize glare.
The mirror will automatically return to the normal state whenever the
vehicle is placed in R (Reverse) to ensure a bright clear view when
backing up.
Do not block the sensors on the front and back of the interior
rear view mirror since this may impair proper mirror
performance.
Do not clean the housing or glass of any mirror with harsh
abrasives, fuel or other petroleum-based cleaning products.
Note: If equipped with a rearview camera system, a video image will be
displayed in the mirror or the navigation system (if equipped) when the
vehicle is put in R (Reverse). As you shift into any other gear from R
(Reverse), the image will remain for a few seconds and then turn off.
Refer to Rearview camera system in the Driving chapter.Driver Controls
126
2010 F-250/350/450/550 (f23)
Owners Guide, 2nd Printing
USA (fus)
Page 131 of 408
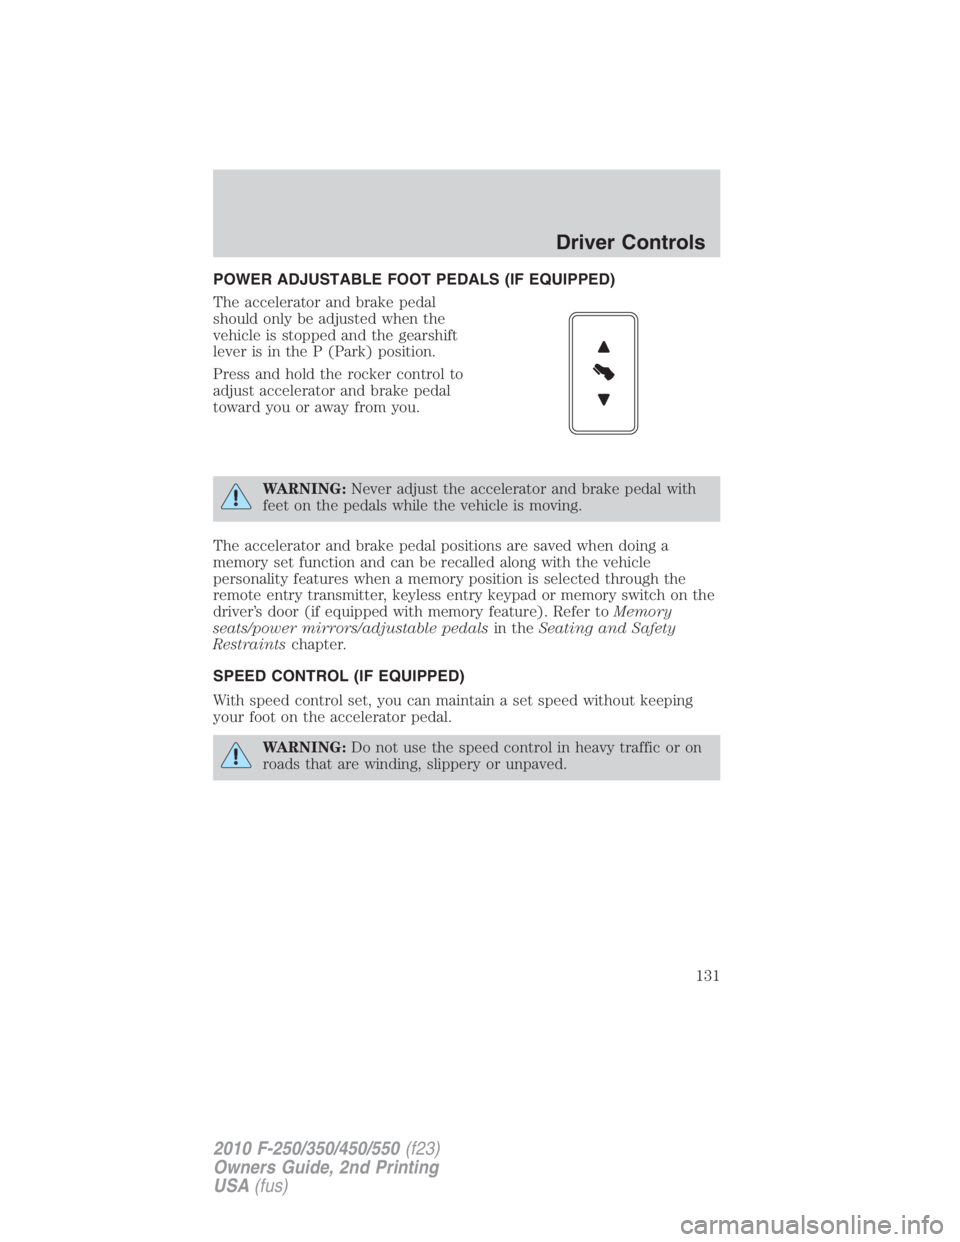
POWER ADJUSTABLE FOOT PEDALS (IF EQUIPPED)
The accelerator and brake pedal
should only be adjusted when the
vehicle is stopped and the gearshift
lever is in the P (Park) position.
Press and hold the rocker control to
adjust accelerator and brake pedal
toward you or away from you.
WARNING: Never adjust the accelerator and brake pedal with
feet on the pedals while the vehicle is moving.
The accelerator and brake pedal positions are saved when doing a
memory set function and can be recalled along with the vehicle
personality features when a memory position is selected through the
remote entry transmitter, keyless entry keypad or memory switch on the
driver’s door (if equipped with memory feature). Refer to Memory
seats/power mirrors/adjustable pedals in the Seating and Safety
Restraints chapter.
SPEED CONTROL (IF EQUIPPED)
With speed control set, you can maintain a set speed without keeping
your foot on the accelerator pedal.
WARNING: Do not use the speed control in heavy traffic or on
roads that are winding, slippery or unpaved. Driver Controls
131
2010 F-250/350/450/550 (f23)
Owners Guide, 2nd Printing
USA (fus)
Page 138 of 408
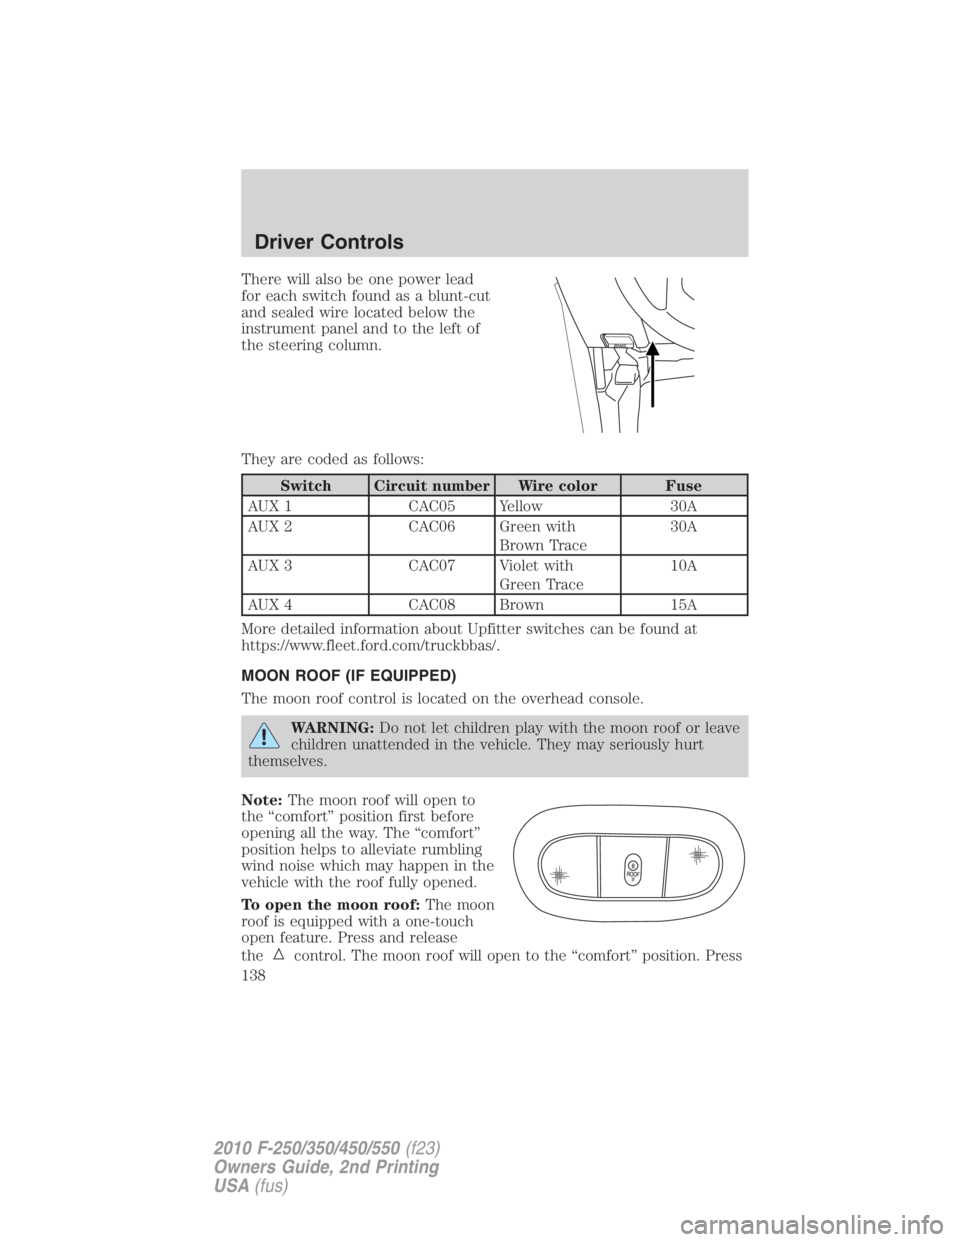
There will also be one power lead
for each switch found as a blunt-cut
and sealed wire located below the
instrument panel and to the left of
the steering column.
They are coded as follows:
Switch Circuit number Wire color Fuse
AUX 1 CAC05 Yellow 30A
AUX 2 CAC06 Green with
Brown Trace 30A
AUX 3 CAC07 Violet with
Green Trace 10A
AUX 4 CAC08 Brown 15A
More detailed information about Upfitter switches can be found at
https://www.fleet.ford.com/truckbbas/.
MOON ROOF (IF EQUIPPED)
The moon roof control is located on the overhead console.
WARNING: Do not let children play with the moon roof or leave
children unattended in the vehicle. They may seriously hurt
themselves.
Note: The moon roof will open to
the “comfort” position first before
opening all the way. The “comfort”
position helps to alleviate rumbling
wind noise which may happen in the
vehicle with the roof fully opened.
To open the moon roof: The moon
roof is equipped with a one-touch
open feature. Press and release
the control. The moon roof will open to the “comfort” position. PressDriver Controls
138
2010 F-250/350/450/550 (f23)
Owners Guide, 2nd Printing
USA (fus)
Page 139 of 408
and release the control again to fully open. To stop the one-touch open
feature, press either the or control again.
WARNING: When closing the moon roof, you should verify that
it is free of obstructions and ensure that children and/or pets are
not in the proximity of the moon roof opening.
To close the moon roof: Press and hold the control until the glass
panel stops moving. When fully closed, the rear portion of the glass panel
will appear higher than the front portion.
To vent the moon roof: Press and hold the control. The moon
roof must be in the closed position in order to move it into the
vent position. To close, press and hold the control until the glass
panel stops moving.
The moon roof has a built-in sliding shade that can be manually opened
or closed when the glass panel is shut. To close the shade, pull it toward
the front of the vehicle.
HOMELINK � WIRELESS CONTROL SYSTEM (IF EQUIPPED)
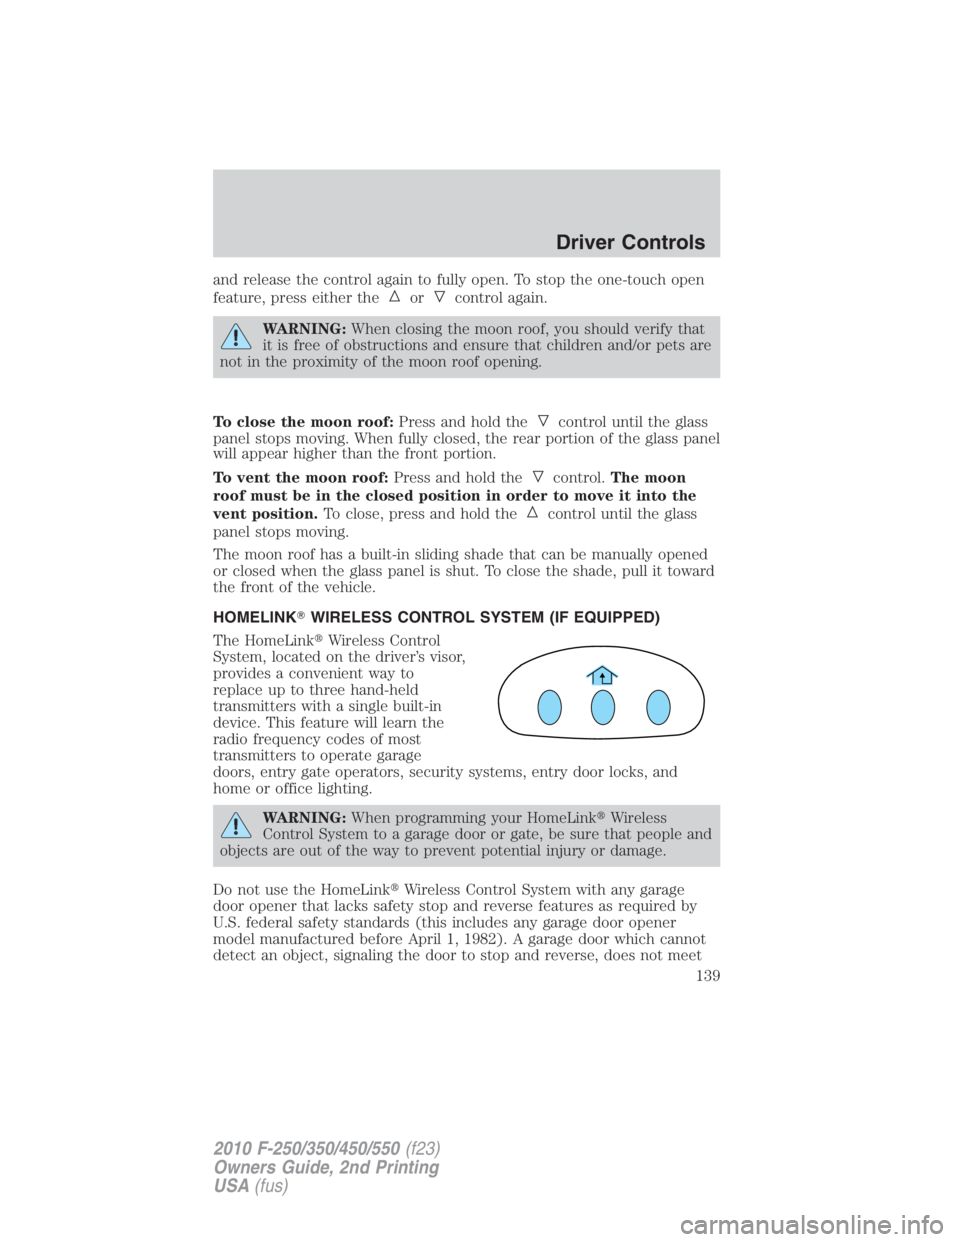
The HomeLink � Wireless Control
System, located on the driver’s visor,
provides a convenient way to
replace up to three hand-held
transmitters with a single built-in
device. This feature will learn the
radio frequency codes of most
transmitters to operate garage
doors, entry gate operators, security systems, entry door locks, and
home or office lighting.
WARNING: When programming your HomeLink � Wireless
Control System to a garage door or gate, be sure that people and
objects are out of the way to prevent potential injury or damage.
Do not use the HomeLink � Wireless Control System with any garage
door opener that lacks safety stop and reverse features as required by
U.S. federal safety standards (this includes any garage door opener
model manufactured before April 1, 1982). A garage door which cannot
detect an object, signaling the door to stop and reverse, does not meet Driver Controls
139
2010 F-250/350/450/550 (f23)
Owners Guide, 2nd Printing
USA (fus)
Page 143 of 408
TAILGATE LOCK (IF EQUIPPED)
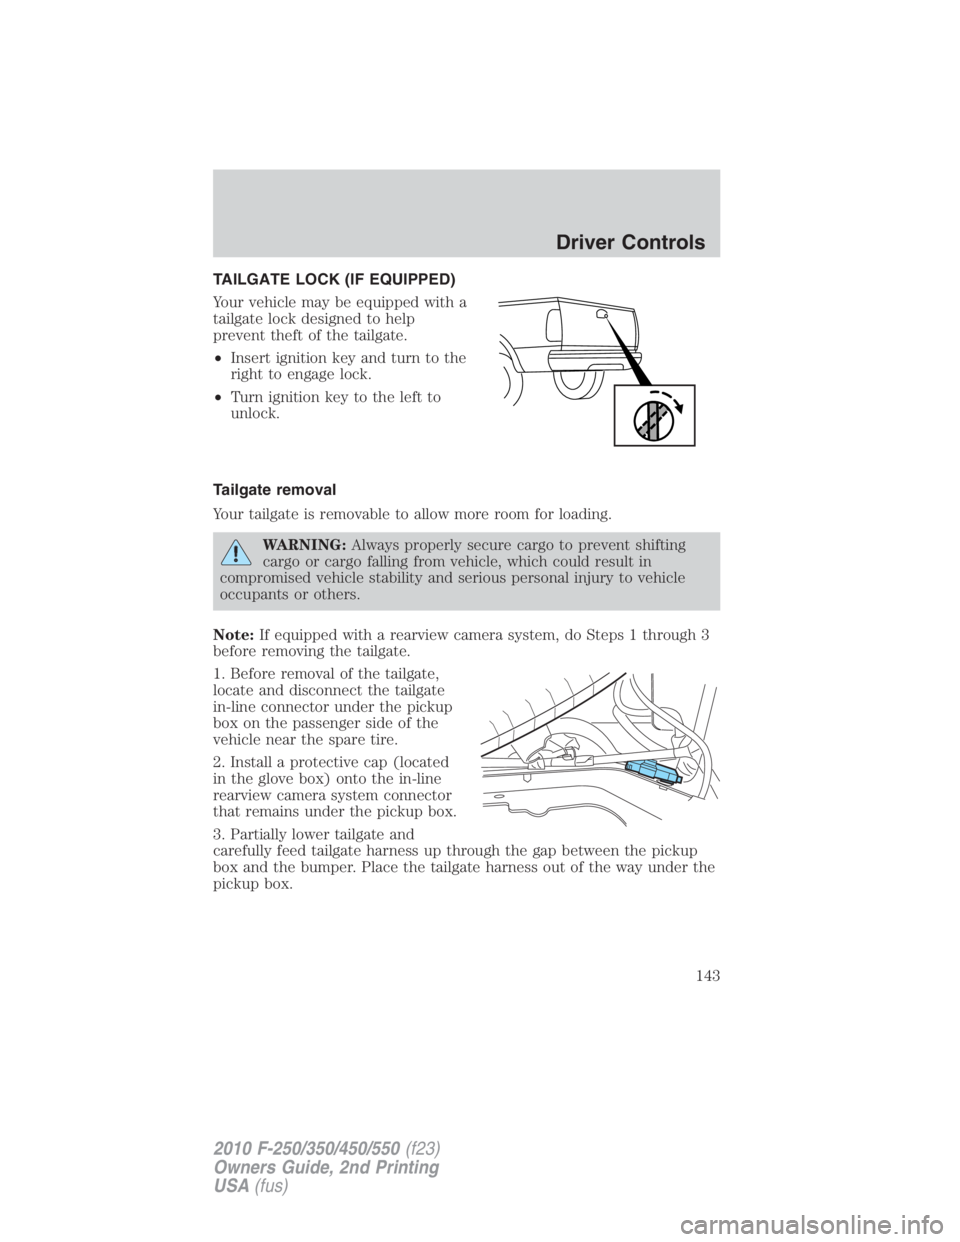
Your vehicle may be equipped with a
tailgate lock designed to help
prevent theft of the tailgate.
• Insert ignition key and turn to the
right to engage lock.
• Turn ignition key to the left to
unlock.
Tailgate removal
Your tailgate is removable to allow more room for loading.
WARNING: Always properly secure cargo to prevent shifting
cargo or cargo falling from vehicle, which could result in
compromised vehicle stability and serious personal injury to vehicle
occupants or others.
Note: If equipped with a rearview camera system, do Steps 1 through 3
before removing the tailgate.
1. Before removal of the tailgate,
locate and disconnect the tailgate
in-line connector under the pickup
box on the passenger side of the
vehicle near the spare tire.
2. Install a protective cap (located
in the glove box) onto the in-line
rearview camera system connector
that remains under the pickup box.
3. Partially lower tailgate and
carefully feed tailgate harness up through the gap between the pickup
box and the bumper. Place the tailgate harness out of the way under the
pickup box. Driver Controls
143
2010 F-250/350/450/550 (f23)
Owners Guide, 2nd Printing
USA (fus)