Page 179 of 530
ParkSense�System Usage Precautions
NOTE:
•Ensure that the rear bumper is free of dirt and debris
to keep the ParkSense� Rear Park Assist system oper-
ating properly.
•Jackhammers, large trucks, and other vibrations could
affect the performance of the ParkSense� system.
•When you turn ParkSense�off, the instrument cluster
will display “PARK ASSIST DISABLED.” Further-
more, once you turn ParkSense� off, it remains off
until you turn it on again, even if you cycle the ignition
key.
•When you move the shift lever to the REVERSE
position and ParkSense� is turned off, the instrument
cluster will display “PARK ASSIST DISABLED” mes-
sage for as long as the vehicle is in REVERSE.
•ParkSense�, when on, will MUTE the radio when it is
sounding a tone.
•If a ParkSense� system malfunction occurs, a single
chime will sound once per ignition cycle. In addition,
the Electronic Vehicle Information Center (EVIC) will
display “SERVICE PARK ASSIST SYSTEM”. If this
occurs making sure the rear fascia/bumper is free
from snow, ice, mud, dirt and debris, see your autho-
rized dealer.
178 UNDERSTANDING THE FEATURES OF YOUR VEHICLE
Page 221 of 530
�Media Center 730N/430 (RER/REN/RBZ) —
AM/FM Stereo Radio And CD/DVD/HDD/
NAV — If Equipped .................... 257
▫ Operating Instructions — Voice Command
System (VR) — If Equipped ............. 258
▫ Operating Instructions — Uconnect™
Phone — If Equipped ................. 258
▫ Clock Setting Procedure — RBZ Radio ..... 258
▫ Clock Setting Procedure —
RER/REN Radio ..................... 260
� Media Center 130 (RES) — AM/FM Stereo
Radio With CD Player (MP3 AUX Jack) ....... 262
▫ Operating Instructions — Radio Mode ..... 263
▫ Operation Instructions — CD Mode For CD
And MP3 Audio Play ................. 266 ▫
Notes On Playing MP3 Files ............ 268
▫ Operation Instructions - Auxiliary Mode .... 270
� Media Center 130 (RES/RSC) — AM/FM
Stereo Radio With CD Player (MP3 AUX Jack)
And Sirius Radio ...................... 271
▫ Operating Instructions — Radio Mode ..... 271
▫ Operation Instructions — CD Mode For CD
And MP3 Audio Play ................. 277
▫ Notes On Playing MP3 Files ............ 279
▫ List Button (CD Mode For MP3 Play) ...... 281
▫ Info Button (CD Mode For MP3 Play) ...... 282
▫ Operating Instructions - Uconnect™ Phone
(If Equipped) ....................... 283
220 UNDERSTANDING YOUR INSTRUMENT PANEL
Page 263 of 530
Changing the Time Zone
1. Turn on the radio.
2. Touch the screen where the time is displayed.
3. Touch the screen where “User Clock” is displayed, the
clock setting menu will appear on the screen.
4. Touch the screen where the words “Set Time Zone” are
displayed. The time zone selection menu will appear on
the screen.
5. Select a time zone by touching the screen where your
selection appears. If you do not see a time zone that you
want to select, touch the screen where the word “Page” is
displayed to view additional time zones in the menu.
6. Touch the screen where the word “Save” is displayed.
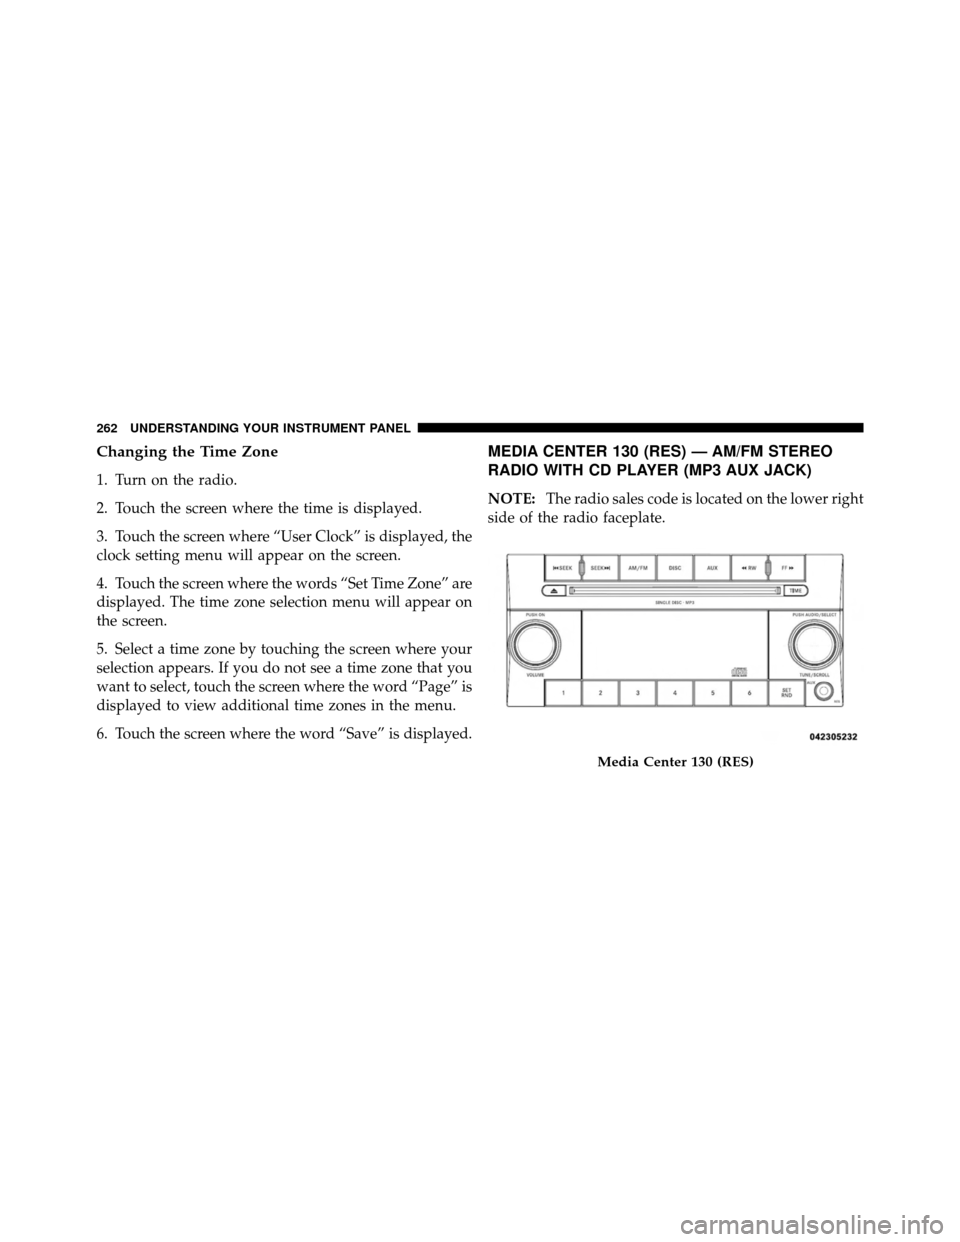
MEDIA CENTER 130 (RES) — AM/FM STEREO
RADIO WITH CD PLAYER (MP3 AUX JACK)
NOTE:The radio sales code is located on the lower right
side of the radio faceplate.
Media Center 130 (RES)
262 UNDERSTANDING YOUR INSTRUMENT PANEL
Page 271 of 530
Playback of MP3 Files
When a medium containing MP3 data is loaded, the
radio checks all files on the medium. If the medium
contains a lot of folders or files, the radio will take more
time to start playing the MP3 files.
Loading times for playback of MP3 files may be affected
by the following:
•Media - CD-RW media may take longer to load than
CD-R media
•Medium formats - Multisession discs may take longer
to load than non-multisession discs
•Number of files and folders - Loading times will
increase with more files and folders
To increase the speed of disc loading, it is recommended
to use CD-R media and single-session discs. To create a
single-session disc, enable the “Disc at Once” option
before writing to the disc.
Operation Instructions - Auxiliary Mode
The auxiliary (AUX) jack is an audio input jack, which
allows the user to plug in a portable device, such as an
MP3 player, or cassette player, and utilize the vehicle’s
audio system to amplify the source and play through the
vehicle speakers.
Pressing the DISC/AUX button will change the mode to
auxiliary device if the AUX jack is connected.
NOTE: The AUX device must be turned on and the
device’s volume set to proper level. If the AUX audio is
not loud enough, turn the device’s volume up. If the AUX
audio sounds distorted, turn the device’s volume down.
TIME Button (Auxiliary Mode)
Press this button to change the display to time of day. The
time of day will display for five seconds (when ignition is
OFF).
270 UNDERSTANDING YOUR INSTRUMENT PANEL
Page 272 of 530
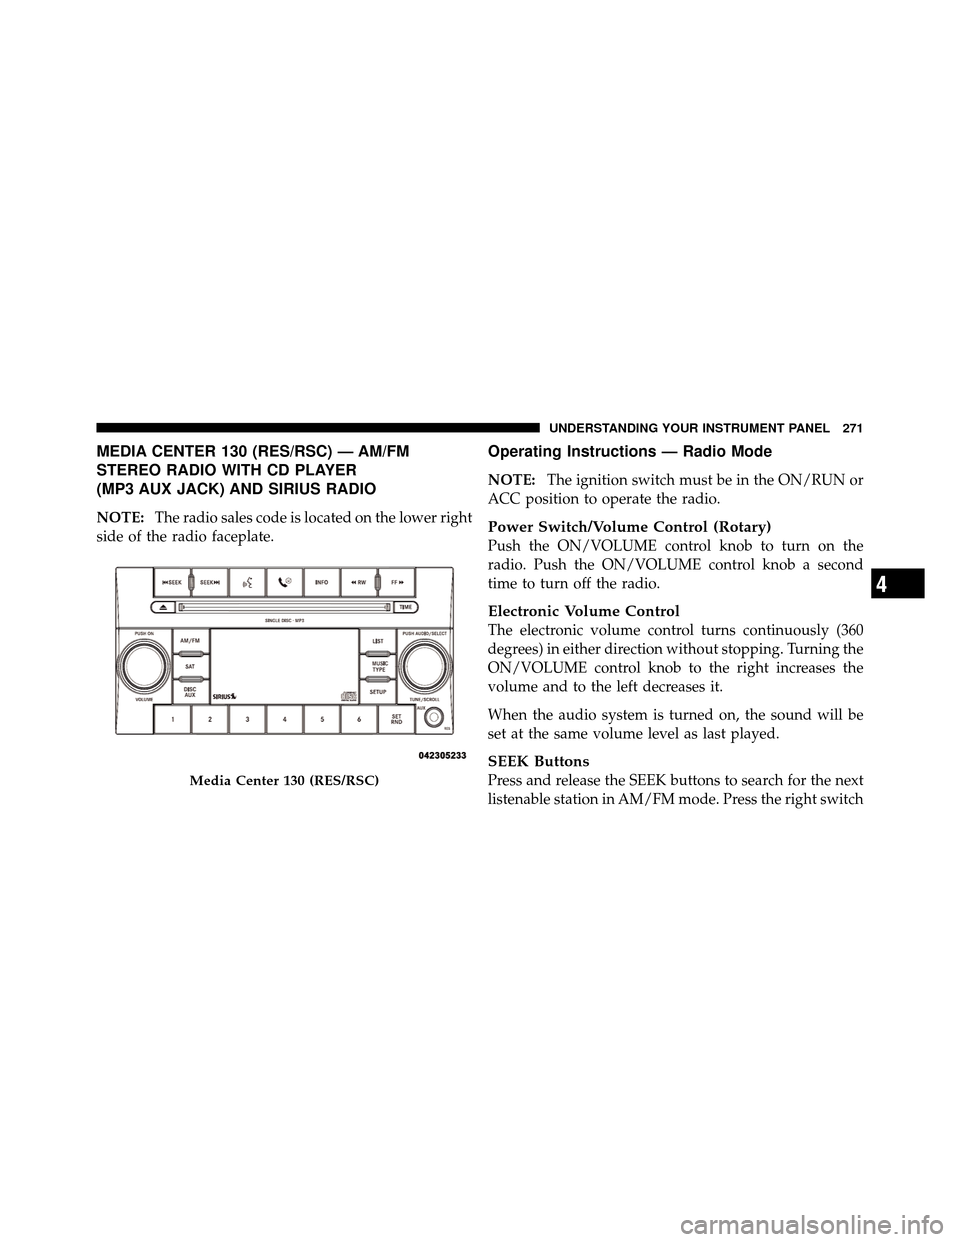
MEDIA CENTER 130 (RES/RSC) — AM/FM
STEREO RADIO WITH CD PLAYER
(MP3 AUX JACK) AND SIRIUS RADIO
NOTE:The radio sales code is located on the lower right
side of the radio faceplate.
Operating Instructions — Radio Mode
NOTE: The ignition switch must be in the ON/RUN or
ACC position to operate the radio.
Power Switch/Volume Control (Rotary)
Push the ON/VOLUME control knob to turn on the
radio. Push the ON/VOLUME control knob a second
time to turn off the radio.
Electronic Volume Control
The electronic volume control turns continuously (360
degrees) in either direction without stopping. Turning the
ON/VOLUME control knob to the right increases the
volume and to the left decreases it.
When the audio system is turned on, the sound will be
set at the same volume level as last played.
SEEK Buttons
Press and release the SEEK buttons to search for the next
listenable station in AM/FM mode. Press the right switchMedia Center 130 (RES/RSC)
4
UNDERSTANDING YOUR INSTRUMENT PANEL 271
Page 283 of 530
begin playing the files contained in that folder (or the
next folder in sequence if the selection does not contain
playable files).
The folder list will time out after five seconds.
INFO Button (CD Mode for MP3 Play)
Pressing the INFO button repeatedly will scroll through
the following TAG information: Song Title, Artist, File
Name, and Folder Name (if available).
Press the INFO button once more to return to�elapsed
time� priority mode.
Press and hold the INFO button for three seconds or
more and the radio will display song titles for each file.
Press and hold the INFO button again for three seconds
to return to �elapsed time� display.
Operation Instructions - Auxiliary Mode
The auxiliary (AUX) jack is an audio input jack which
allows the user to plug in a portable device such as an
MP3 player or cassette player and utilize the vehicle’s
audio system to amplify the source and play through the
vehicle speakers.
Pressing the AUX button will change the mode to auxil-
iary device if the AUX jack is connected.
NOTE:The AUX device must be turned on and the
device’s volume set to the proper level. If the AUX audio
is not loud enough, turn the device’s volume up. If the
AUX audio sounds distorted, turn the device’s volume
down.
TIME Button (Auxiliary Mode)
Press this button to change the display to time of day. The
time of day will display for five seconds (when the
ignition is OFF).
282 UNDERSTANDING YOUR INSTRUMENT PANEL
Page 295 of 530
•Video and audio input jacks available in rear seating
area
•Ten different medias to choose from in each screen
(AM, FM, Sirius Radio, Sirius Backseat TV™, DVD1,
DVD2, Hard Disc Drive (HDD), AUX in radio, AUX1,
AUX2)
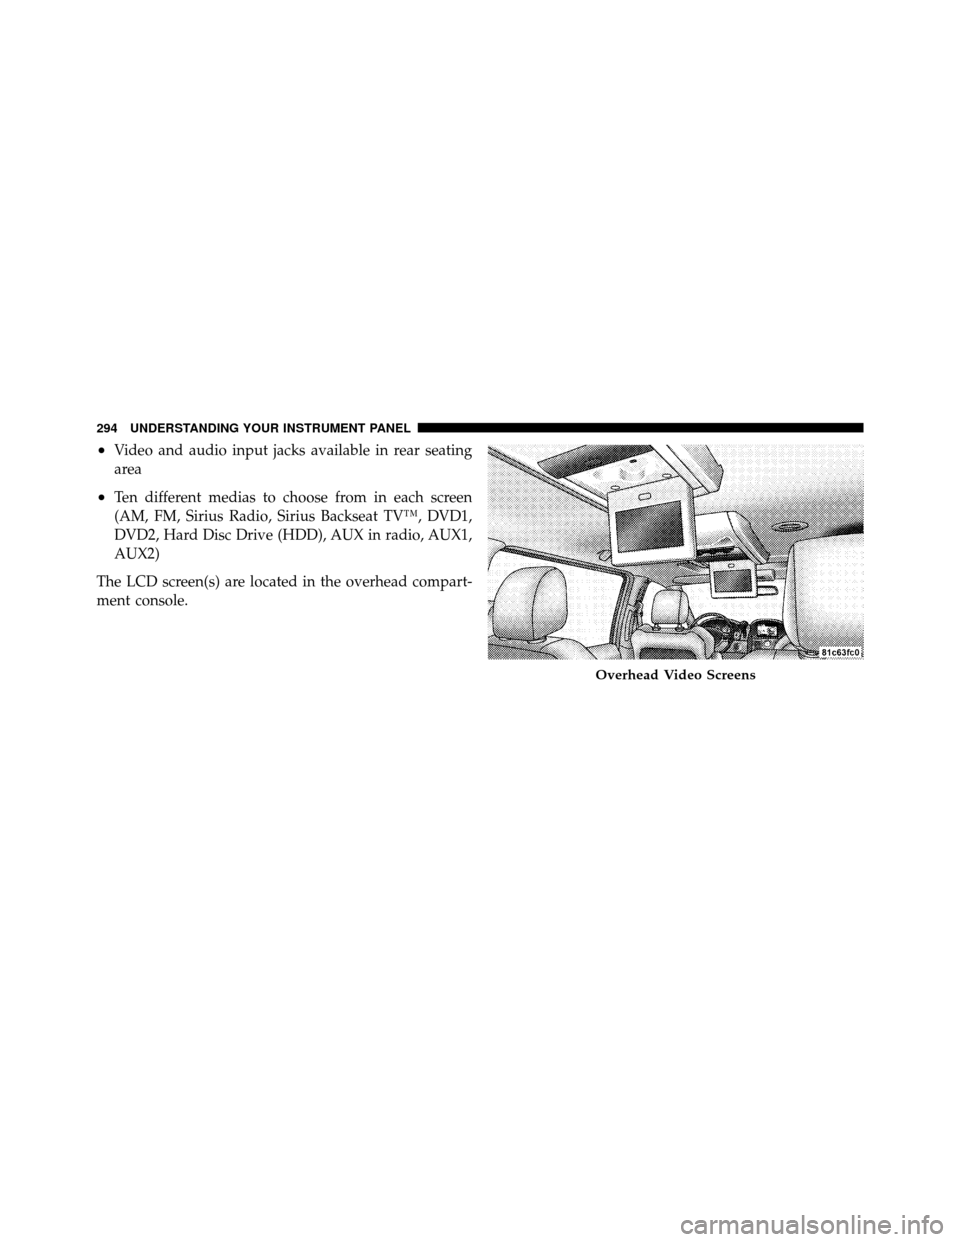
The LCD screen(s) are located in the overhead compart-
ment console.
Overhead Video Screens
294 UNDERSTANDING YOUR INSTRUMENT PANEL
Page 406 of 530
WHAT TO DO IN EMERGENCIES
CONTENTS
�Hazard Warning Flasher ................ 406
� If Your Engine Overheats ................ 406
� Jacking And Tire Changing ............... 407
▫ Jack Location ....................... 408
▫ Spare Tire Removal ................... 409
▫ Preparations For Jacking ............... 410
▫ Jacking Instructions ................... 410
▫ Wheel Nuts ........................ 419 ▫
Secure The Spare Tire ................. 419
� Jump-Starting Procedure ................ 421
▫ Preparations For Jump-Start ............. 422
▫ Jump-Starting Procedure ............... 423
� Freeing A Stuck Vehicle ................. 425
� Towing A Disabled Vehicle ............... 426
▫ Towing With The Ignition Key ........... 426
6