Page 233 of 450
•Dense tree coverage may interrupt reception in the
form of short audio mutes.
•Driving under wide bridges or along tall buildings can
cause intermittent reception.
•Placing objects over or too close to the antenna can
cause signal blockage.
Operating Instructions — Uconnect™ Multimedia
(Satellite) Mode
NOTE:The ignition switch must be in the ON or ACC
position to operate the radio.
SEEK Buttons
Press and release the SEEK buttons to search for the next
channel in Satellite mode. Press the right switch to seek
up and the left switch to seek down. The radio will
remain tuned to the new channel until you make another
selection. Holding either button will bypass channels
without stopping until you release it.
SCAN Button (When Equipped)
Pressing the SCAN button causes the tuner to search for
the next channel, pausing for eight seconds before con-
tinuing to the next. To stop the search, press the SCAN
button a second time.
INFO Button — Except REU Radio
Pressing the INFO button will cycle the display informa-
tion between Artist, Song Title, and Composer (if avail-
able). Also, pressing and holding the INFO button for an
additional three seconds will make the radio display the
song title all of the time (press and hold again to return to
normal display).
INFO Button — REU Radio
Pressing the INFO button will display information about
Artist, Song Title, and Composer (if available). Pressing
the INFO button again will close the INFO screen.
232 UNDERSTANDING YOUR INSTRUMENT PANEL
Page 234 of 450
RW/FF
Pressing the RW (Rewind) or FF (Fast Forward) buttons
causes the tuner to search for the next channel in the
direction of the arrows.
TUNE Control (Rotary)
Turn the rotary TUNE/SCROLL control knob clockwise
to increase or counterclockwise to decrease the channel.
MUSIC TYPE Button — Except REU Radio
Pressing this button once will turn on the Music Type mode
for five seconds. Pressing the MUSIC TYPE button or
turning the TUNE/SCROLL control knob within five sec-
onds will allow the program format type to be selected.
Toggle the MUSIC TYPE button again to select the music
type.
By pressing the SEEK button when the Music Type
function is active, the radio will be tuned to the next
channel with the same selected Music Type name.If a preset button is activated while in the Music Type
(Program Type) mode, the Music Type mode will be
exited and the radio will tune to the preset channel.
MUSIC TYPE Button — REU Radio
Pressing this button provides a Music Type list from
which you can make a selection. Once a selection is
made, you can seek up or down or scan the channels and
the radio will tune to the next station matching the
selected format. There is no time-out for this screen.
Pressing the MUSIC TYPE button again will close the
Music Type screen. Once closed, seek up, seek down, and
scan will no longer be based on your selection.
SETUP Button
Pressing the SETUP button allows you to select the
following items:
•Display Sirius ID number — Press the AUDIO/
SELECT button to display the Sirius ID number. This
number is used to activate, deactivate, or change the
Sirius subscription.
4
UNDERSTANDING YOUR INSTRUMENT PANEL 233
Page 235 of 450
SET Button – To Set the Pushbutton Memory
When you are receiving a channel that you wish to
commit to pushbutton memory, press the SET button.
The symbol SET 1 will now show in the display window.
Select the button (1-6) you wish to lock onto this channel
and press and release that button. If a button is not
selected within five seconds after pressing the SET but-
ton, the channel will continue to play but will not be
stored into pushbutton memory.
You may add a second channel to each pushbutton by
repeating the above procedure with this exception: Press
the SET button twice and SET 2 will show in the display
window. Each button can be set for SET 1 and SET 2. This
allows a total of 12 Satellite channels to be stored into
pushbutton memory. The channels stored in SET 2
memory can be selected by pressing the pushbutton
twice.Every time a preset button is used, a corresponding
button number will display.
Buttons 1 - 6
These buttons tune the radio to the channels that you
commit to pushbutton memory (12 Satellite stations).
Operating Instructions — Uconnect™ Phone (If
Equipped)
Refer to “Uconnect™ Phone” in “Understanding The
Features Of Your Vehicle”.
Operating Instructions — Video Entertainment
System (VES)™ (If Equipped)
Refer to separate “Video Entertainment System (VES)™
Guide.”
234 UNDERSTANDING YOUR INSTRUMENT PANEL
Page 240 of 450
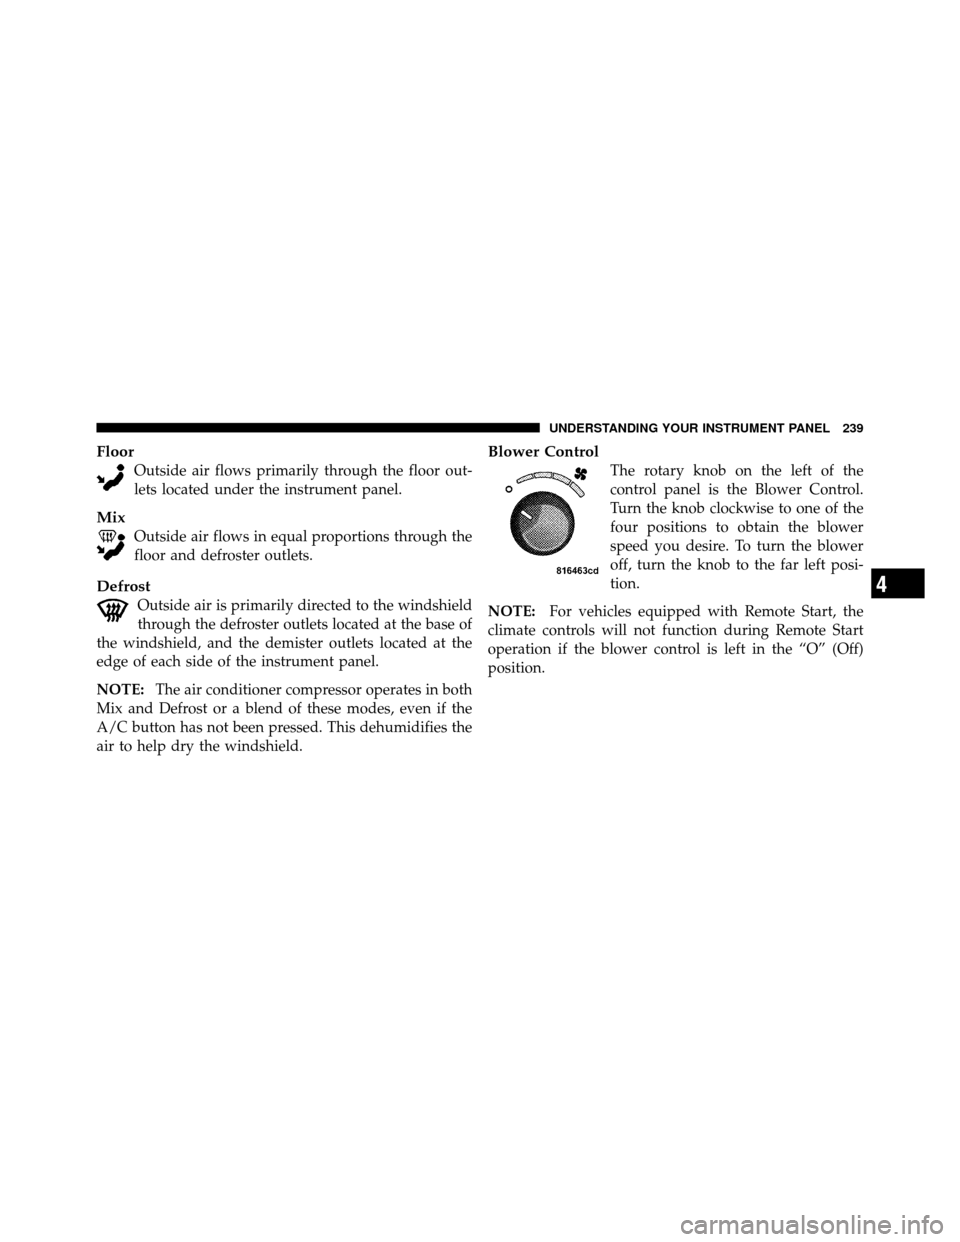
Floor
Outside air flows primarily through the floor out-
lets located under the instrument panel.
Mix
Outside air flows in equal proportions through the
floor and defroster outlets.
Defrost
Outside air is primarily directed to the windshield
through the defroster outlets located at the base of
the windshield, and the demister outlets located at the
edge of each side of the instrument panel.
NOTE: The air conditioner compressor operates in both
Mix and Defrost or a blend of these modes, even if the
A/C button has not been pressed. This dehumidifies the
air to help dry the windshield.
Blower Control
The rotary knob on the left of the
control panel is the Blower Control.
Turn the knob clockwise to one of the
four positions to obtain the blower
speed you desire. To turn the blower
off, turn the knob to the far left posi-
tion.
NOTE: For vehicles equipped with Remote Start, the
climate controls will not function during Remote Start
operation if the blower control is left in the “O” (Off)
position.
4
UNDERSTANDING YOUR INSTRUMENT PANEL 239
Page 246 of 450
STARTING AND OPERATING
CONTENTS
�Starting Procedures .................... 249
▫ Automatic Transmission ............... 249
▫ Normal Starting ..................... 249
▫ Extreme Cold Weather
(Below –20°F Or –29°C) ................ 250
▫ If Engine Fails To Start ................ 250
▫ After Starting ....................... 251
� Engine Block Heater — If Equipped ........ 251
� Automatic Transmission ................. 252 ▫
Key Ignition Park Interlock ............. 252
▫ Brake/Transmission Interlock System ...... 253
▫ Automatic Transmission ............... 253
▫ Gear Ranges ........................ 253
� Four-Wheel Drive Operation — If Equipped . . 258
▫ NV233/243 GII Transfer Case Operating
Information/Precautions ............... 258
▫ Shifting Procedure – NV233/243 Transfer
Case ............................. 262
5
Page 247 of 450
�Limited-Slip Rear Axle Differential —
If Equipped .......................... 264
� Driving On Slippery Surfaces ............. 264
� Driving Through Water ................. 265
▫ Flowing/Rising Water ................. 265
▫ Shallow Standing Water ............... 265
� Power Steering ....................... 267
▫ Power Steering Fluid Check ............. 268
� Parking Brake ........................ 269
� Brake System ........................ 270
▫ Rear-Wheel Anti-Lock Brake System (ABS) . . 270
▫ Four-Wheel Anti-Lock Brake System (ABS) —
If Equipped ........................ 271
� Tire Safety Information ................. 273 ▫
Tire Markings ....................... 273
▫ Tire Identification Number (TIN) ......... 277
▫ Tire Terminology And Definitions ......... 278
▫ Tire Loading And Tire Pressure .......... 279
� Tires — General Information ............. 283
▫ Tire Pressure ....................... 283
▫ Tire Inflation Pressures ................ 284
▫ Tire Pressures For High Speed Operation . . . 285
▫ Radial Ply Tires ..................... 286
▫ Tire Spinning ....................... 286
▫ Tread Wear Indicators ................. 287
▫ Life Of Tire ........................ 288
▫ Replacement Tires .................... 288
246 STARTING AND OPERATING
Page 250 of 450
STARTING PROCEDURES
Before starting your vehicle, adjust your seat, adjust both
inside and outside mirrors, and fasten your seat belts.
WARNING!
Do not leave children or animals inside parked
vehicles in hot weather. Interior heat buildup may
cause serious injury or death.
Automatic Transmission
Start the engine with the shift lever in NEUTRAL or
PARK position. Apply the brake before shifting to any
driving range.
NOTE: This vehicle is equipped with a transmission
shift interlocking system. The brake pedal must be
pressed to shift out of PARK.
Tip Start Feature
Turn the ignition switch to START position and release it
as soon as the starter engages. The starter motor will
continue to run, but will automatically disengage itself
when the engine is running. If the engine fails to start, the
starter will disengage automatically in 10 seconds. If this
occurs, turn the ignition switch to the LOCK position,
wait 10 to 15 seconds, then repeat the “Normal Starting”
procedure.
Normal Starting
NOTE:Normal starting of either a warm or cold engine
is obtained without pumping or pressing the accelerator
pedal.
Turn the ignition switch to the START position and
release when the engine starts. If the engine fails to start
within 10 seconds, turn the key to the OFF position, wait
5 seconds, then repeat the “Normal Starting” procedure.
5
STARTING AND OPERATING 249
Page 251 of 450
Extreme Cold Weather (below –20°F or –29°C)
To ensure reliable starting at these temperatures, use of
an externally powered electric engine block heater (avail-
able from your dealer) is recommended.
If Engine Fails To Start
WARNING!
•Never pour fuel or other flammable liquids into
the throttle body air inlet opening in an attempt to
start the vehicle. This could result in a flash fire
causing serious personal injury.(Continued)
WARNING! (Continued)
•Do not attempt to push or tow your vehicle to get
it started. Vehicles equipped with an automatic
transmission cannot be started this way. Unburned
fuel could enter the catalytic converter and once
the engine has started, ignite and damage the
converter and vehicle. If the vehicle has a dis-
charged battery, booster cables may be used to
obtain a start from a booster battery or the battery
in another vehicle. This type of start can be dan-
gerous if done improperly. Refer to “Jump Start-
ing” in “What To Do In Emergencies” for further
information.
If the engine fails to start after you have followed the
“Normal Starting” procedure, it may be flooded. Push
the accelerator pedal all the way to the floor and hold it
there while cranking the engine. This should clear any
excess fuel, in case the engine is flooded.
250 STARTING AND OPERATING