Page 328 of 450
6.Using the point of a ballpoint pen or similar object, press
the transfer case NEUTRAL button for four seconds.
7. After the shift is completed and the NEUTRAL light
comes on, release the NEUTRAL button.
8. Start the engine.
9. Shift the transmission into REVERSE. 10. Release the brake pedal for five seconds and ensure
that there is no vehicle movement.
11. Repeat Steps 9 and 10 with the transmission in
DRIVE.
12. Shut the engine OFF, and place the ignition key into
the unlocked OFF position.
13. Shift the transmission into PARK.
14. Attach vehicle to tow vehicle with tow bar.
15. Disconnect the negative battery cable.
NOTE:
•Steps 1 through 5 are requirements that must be met
prior to pressing the NEUTRAL button, and must
continue to be met until the four seconds elapse and
the shift has been completed. If any of these require-
ments (with the exception of 3 - Key ON) are not met
prior to pressing the NEUTRAL button or are noNEUTRAL Button
5
STARTING AND OPERATING 327
Page 333 of 450
HAZARD WARNING FLASHER
The Hazard Warning flasher switch is located on the top
of the steering column, just behind the steering wheel.Press the switch to turn on the Hazard Warning
flasher. When the switch is activated, all directional
turn signals will flash on and off to warn oncoming
traffic of an emergency. Press the switch a second time to
turn off the Hazard Warning flasher.
This is an emergency warning system and should not be
used when the vehicle is in motion. Use it when your
vehicle is disabled and is creating a safety hazard for
other motorists.
If it is necessary to leave the vehicle to go for service, the
Hazard Warning flasher will continue to operate with the
ignition key removed and the vehicle locked.
NOTE: With extended use, the Hazard Warning flasher
may wear down your battery.
Hazard Warning Flasher Switch
332 WHAT TO DO IN EMERGENCIES
Page 336 of 450
WARNING!
The jack is designed as a tool for changing tires only.
The jack should not be used to lift the vehicle for
service purposes, unless suitable supports are placed
under the vehicle as a safety measure. The vehicle
should be jacked on a firm level surface only. Avoid
icy or slippery areas.
Removing The Spare Tire
Remove the spare tire before attempting to jack the truck.
Attach the wheel wrench to the jack extension tube. Insert
the tube through the access hole in the rear bumper and
into the winch mechanism tube. Rotate the wheel wrench
handle counterclockwise until the spare tire is on the
ground with enough cable slack to allow you to pull it
out from under the vehicle. When the spare is clear, tilt
the retainer at the end of the cable and pull it through the
center of the wheel.Steps for Removing the Spare Tire
•Remove the jack from the stowage compartment using
the supplied finger-assist tool.
•Remove the finger-assist tool from jack and set aside
until jack is stowed.
•Assemble the jack tools.
•Locate the tire carrier access hole on the rear bumper.
•Place assembled jack tool extension rod into the access
hole in the direction of the arrow on the bumper trim.
•Rotate the tool counterclockwise to release and lower
the spare tire to the ground so that it can be pulled
from under the vehicle.
6
WHAT TO DO IN EMERGENCIES 335
Page 337 of 450
•Rotate clockwise to stow the spare tire.
Inserting Lug Wrench and Extension
Turning Lug Wrench and Extension
336 WHAT TO DO IN EMERGENCIES
Page 339 of 450
Preparations
1. Park the vehicle on a firm, level surface. Avoid icy or
slippery areas.
WARNING!
Do not attempt to change a tire on the side of the
vehicle close to moving traffic. Pull far enough off
the road to avoid the danger of being hit when
operating the jack or changing the wheel.
2. Set the parking brake.
3. Place the shift lever in PARK (automatic transmission).
On 4-Wheel Drive vehicles, shift the transfer case to the
4L position.
4. Turn the ignition OFF.
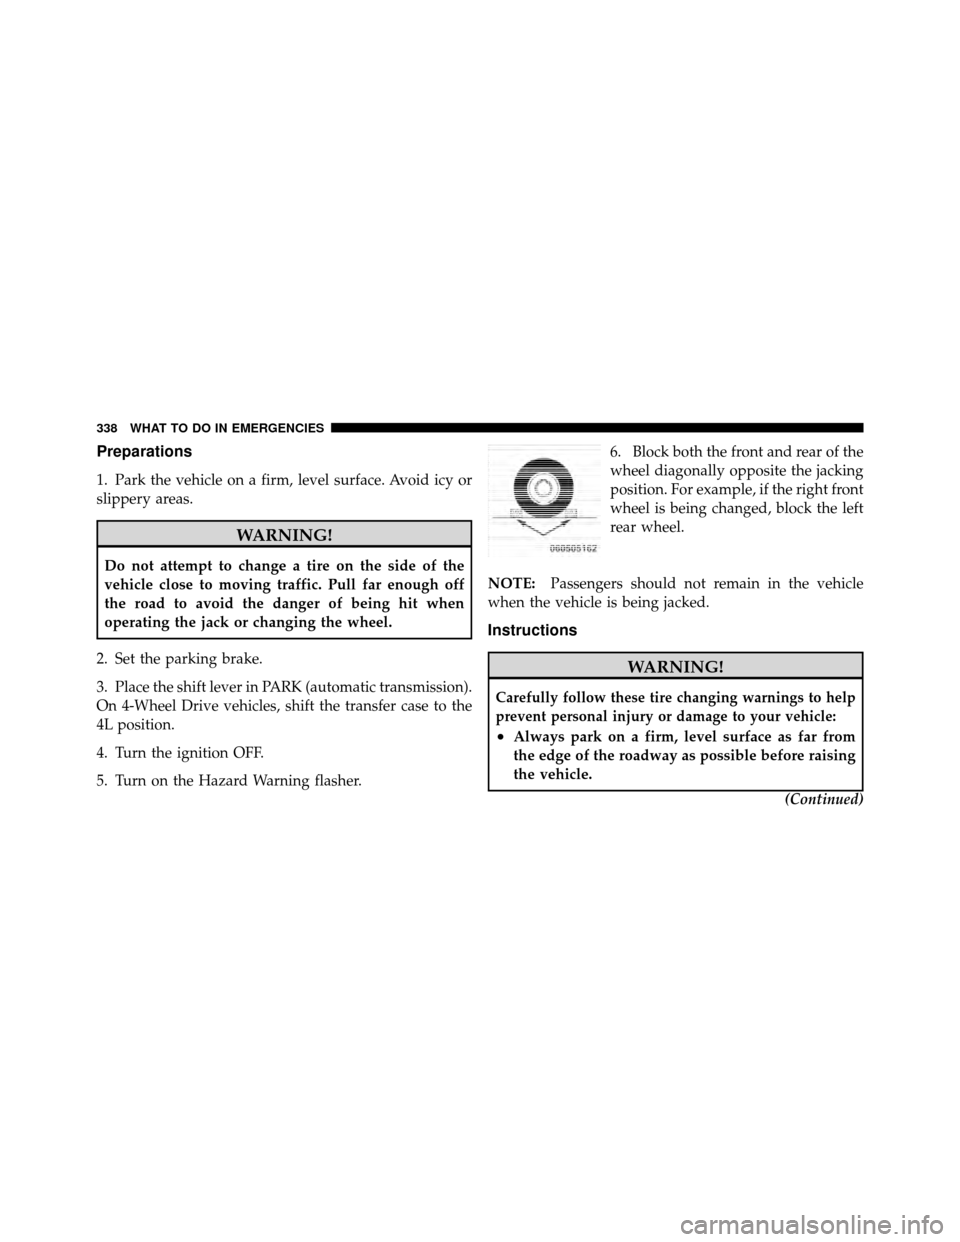
5. Turn on the Hazard Warning flasher. 6. Block both the front and rear of the
wheel diagonally opposite the jacking
position. For example, if the right front
wheel is being changed, block the left
rear wheel.
NOTE: Passengers should not remain in the vehicle
when the vehicle is being jacked.
Instructions
WARNING!
Carefully follow these tire changing warnings to help
prevent personal injury or damage to your vehicle:
•Always park on a firm, level surface as far from
the edge of the roadway as possible before raising
the vehicle.
(Continued)
338 WHAT TO DO IN EMERGENCIES
Page 340 of 450
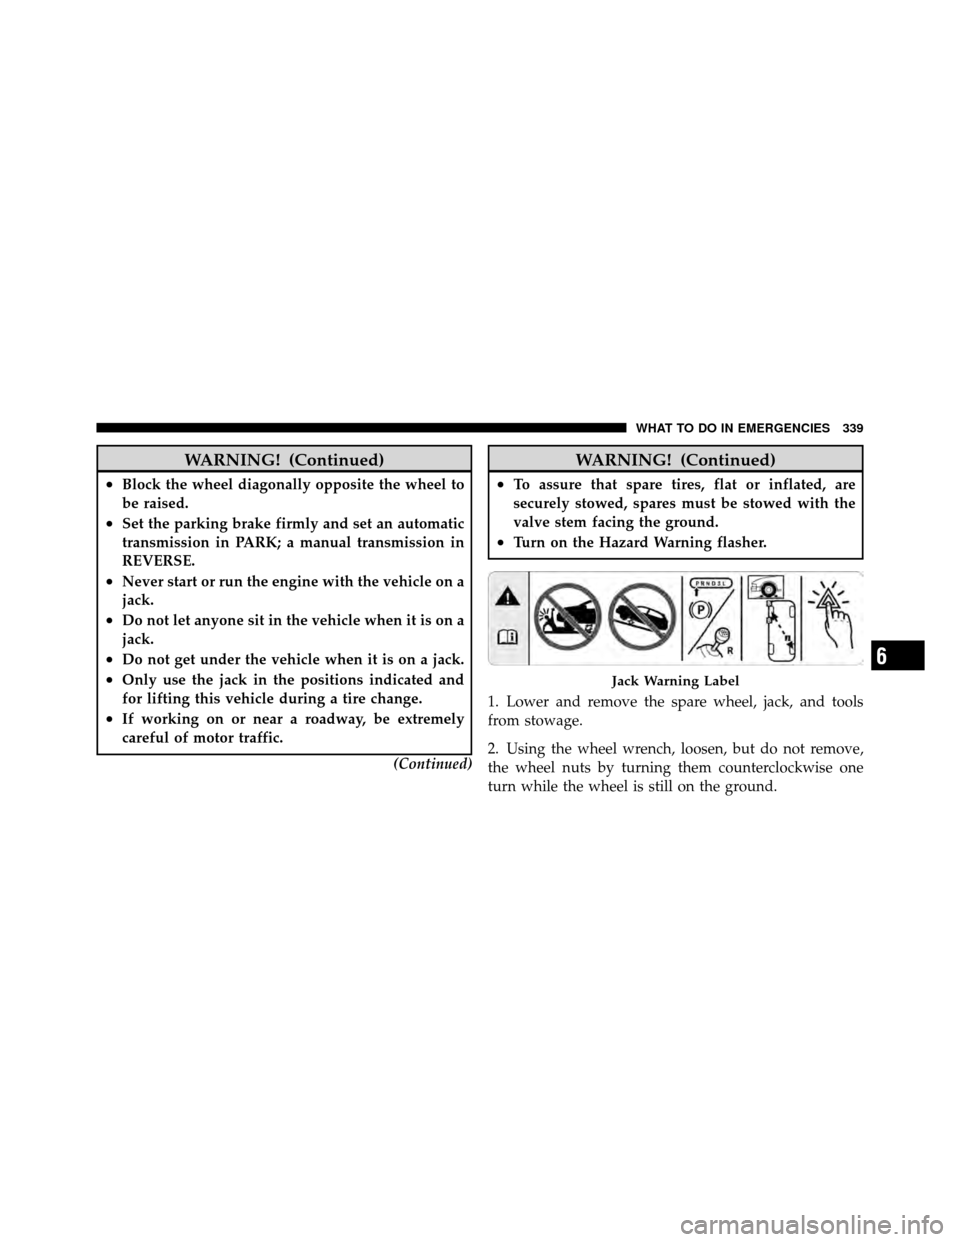
WARNING! (Continued)
•Block the wheel diagonally opposite the wheel to
be raised.
•Set the parking brake firmly and set an automatic
transmission in PARK; a manual transmission in
REVERSE.
•Never start or run the engine with the vehicle on a
jack.
•Do not let anyone sit in the vehicle when it is on a
jack.
•Do not get under the vehicle when it is on a jack.
•Only use the jack in the positions indicated and
for lifting this vehicle during a tire change.
•If working on or near a roadway, be extremely
careful of motor traffic.(Continued)
WARNING! (Continued)
•To assure that spare tires, flat or inflated, are
securely stowed, spares must be stowed with the
valve stem facing the ground.
•Turn on the Hazard Warning flasher.
1. Lower and remove the spare wheel, jack, and tools
from stowage.
2. Using the wheel wrench, loosen, but do not remove,
the wheel nuts by turning them counterclockwise one
turn while the wheel is still on the ground.
Jack Warning Label
6
WHAT TO DO IN EMERGENCIES 339
Page 342 of 450
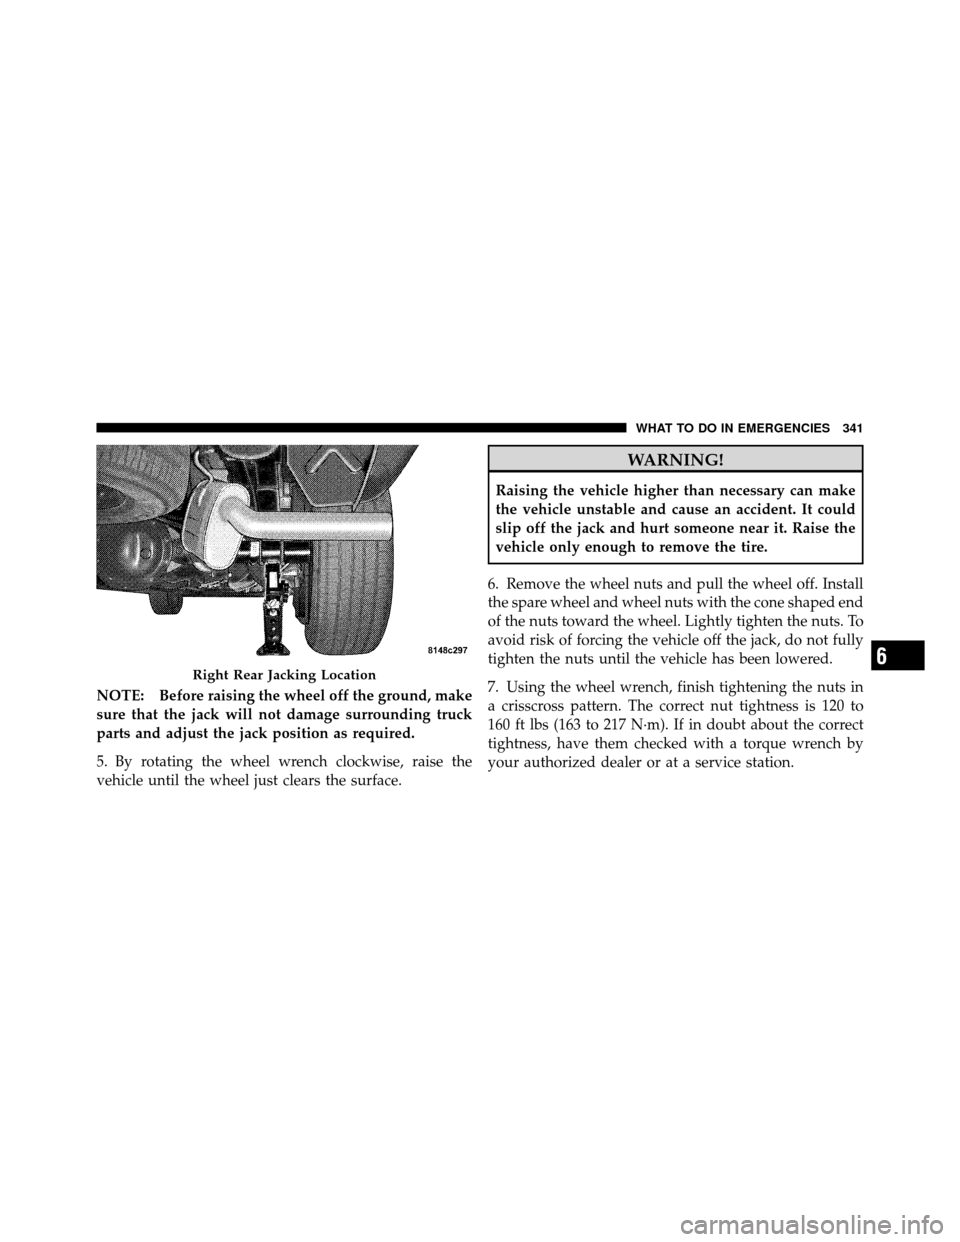
NOTE: Before raising the wheel off the ground, make
sure that the jack will not damage surrounding truck
parts and adjust the jack position as required.
5. By rotating the wheel wrench clockwise, raise the
vehicle until the wheel just clears the surface.
WARNING!
Raising the vehicle higher than necessary can make
the vehicle unstable and cause an accident. It could
slip off the jack and hurt someone near it. Raise the
vehicle only enough to remove the tire.
6. Remove the wheel nuts and pull the wheel off. Install
the spare wheel and wheel nuts with the cone shaped end
of the nuts toward the wheel. Lightly tighten the nuts. To
avoid risk of forcing the vehicle off the jack, do not fully
tighten the nuts until the vehicle has been lowered.
7. Using the wheel wrench, finish tightening the nuts in
a crisscross pattern. The correct nut tightness is 120 to
160 ft lbs (163 to 217 N·m). If in doubt about the correct
tightness, have them checked with a torque wrench by
your authorized dealer or at a service station.
Right Rear Jacking Location6
WHAT TO DO IN EMERGENCIES 341
Page 343 of 450
WARNING!
A loose tire or jack thrown forward in a collision or
hard stop could injure someone in the vehicle. Al-
ways stow the jack, tools and the extra tire and wheel
in the places provided.
8. Lower the jack to its fully closed position. Stow the
replaced tire, jack, and tools as previously described.
9. Adjust the tire pressure when possible.
NOTE: Do not oil wheel studs. For chrome wheels, do
not substitute with chrome plated wheel nuts.
WARNING!
Carefully follow these tire changing warnings to
help prevent personal injury or damage to your
vehicle:
(Continued)
WARNING! (Continued)
•Always park on a firm, level surface as far from
the edge of the roadway as possible before raising
the vehicle.
•Block the wheel diagonally opposite the wheel to
be raised.
•Apply the parking brake firmly before jacking.
•Never start the engine with the vehicle on a jack.
•Do not let anyone sit in the vehicle when it is on a
jack.
•Do not get under the vehicle when it is on a jack.
•Only use the jack in the positions indicated.
•If working on or near a roadway, be extremely
careful of motor traffic.
•To assure that spare tires, flat or inflated, are
securely stowed, spares must be stowed with the
valve stem facing the ground.
342 WHAT TO DO IN EMERGENCIES