Page 349 of 484

RECREATIONAL TOWING (BEHIND
MOTORHOME, ETC.)
Two-Wheel Drive and All-Wheel Drive
Recreational towing (with all four wheels on the ground)
is allowedONLYif the rear driveshaft is removed and
the transmission is in NEUTRAL (for both RWD and
AWD vehicles).
WARNING!
If the driveshaft is removed, the vehicle can roll even
if the transmission is in PARK, which could cause
serious injury or death. The parking brake must be firmly engaged and the
wheels chocked during driveshaft removal and installa-
tion. The parking brake must remain engaged unless the
vehicle is securely and properly connected to the tow
vehicle, or the driveshaft is completely reinstalled. See
your authorized dealer for proper driveshaft removal
and reinstallation procedures, including flange
orientation/alignment, use of thread-locking compound,
proper bolt torque specifications, etc.CAUTION!
Towing this vehicle in violation of the above require-
ments can cause severe transmission and/or transfer
case damage. Such damage is not covered by the New
Vehicle Limited Warranty.
348 STARTING AND OPERATING
Page 350 of 484
WHAT TO DO IN EMERGENCIES
CONTENTS
�Hazard Warning Flasher ................ 350
� If Your Engine Overheats ................ 350
� Jacking And Tire Changing ............... 351
▫ Jack Location/Spare Tire Stowage ........ 352
▫ Preparations For Jacking ............... 354
▫ Jacking And Changing a Tire ............ 354
▫ Compact Spare Tire ................... 359
▫ Wheel Cover Or Center Cap Installation — If
Equipped .......................... 360 �
Jump-Starting Procedures ................ 362
▫ Preparations For Jump-Start ............. 363
▫ Jump-Starting Procedure ............... 364
� Freeing A Stuck Vehicle ................. 366
� Towing A Disabled Vehicle ............... 367
▫ Without The Ignition Key .............. 367
▫
Towing This Vehicle Behind Another Vehicle. . 368
▫ Towing This Vehicle Behind Another Vehicle
With A Tow Dolly .................... 369
6
Page 352 of 484

CAUTION!
Driving with a hot cooling system could damage
your vehicle. If the temperature gauge reads “H,”
pull over and stop the vehicle. Idle the vehicle with
the air conditioner turned off until the pointer drops
back into the normal range. If the pointer remains on
the “H,” turn the engine off immediately and call for
service.
WARNING!
You or others can be badly burned by hot engine
coolant (antifreeze) or steam from your radiator. If
you see or hear steam coming from under the hood,
do not open the hood until the radiator has had time
to cool. Never try to open a cooling system pressure
cap when the radiator or coolant bottle is hot.
JACKING AND TIRE CHANGING
WARNING!
•Do not attempt to change a tire on the side of the
vehicle close to moving traffic. Pull far enough off
the road to avoid the danger of being hit when
operating the jack or changing the wheel.
•Getting under a jacked-up vehicle is dangerous.
The vehicle could slip off the jack and fall on you.
You could be crushed. Never get any part of your
body under a vehicle that is on a jack. Never start
or run the engine while the vehicle is on a jack. If
you need to get under a raised vehicle, take it to a
service center where it can be raised on a lift.(Continued)
6
WHAT TO DO IN EMERGENCIES 351
Page 355 of 484

Preparations for Jacking
1. Park the vehicle on a firm, level surface as far from the
edge of the roadway as possible. Avoid icy or slippery
areas.
WARNING!
Do not attempt to change a tire on the side of the
vehicle close to moving traffic. Pull far enough off
the road to avoid being hit when operating the jack
or changing the wheel.
2. Set the parking brake.
3. Place the shift lever into PARK.
4. Turn OFF the ignition.
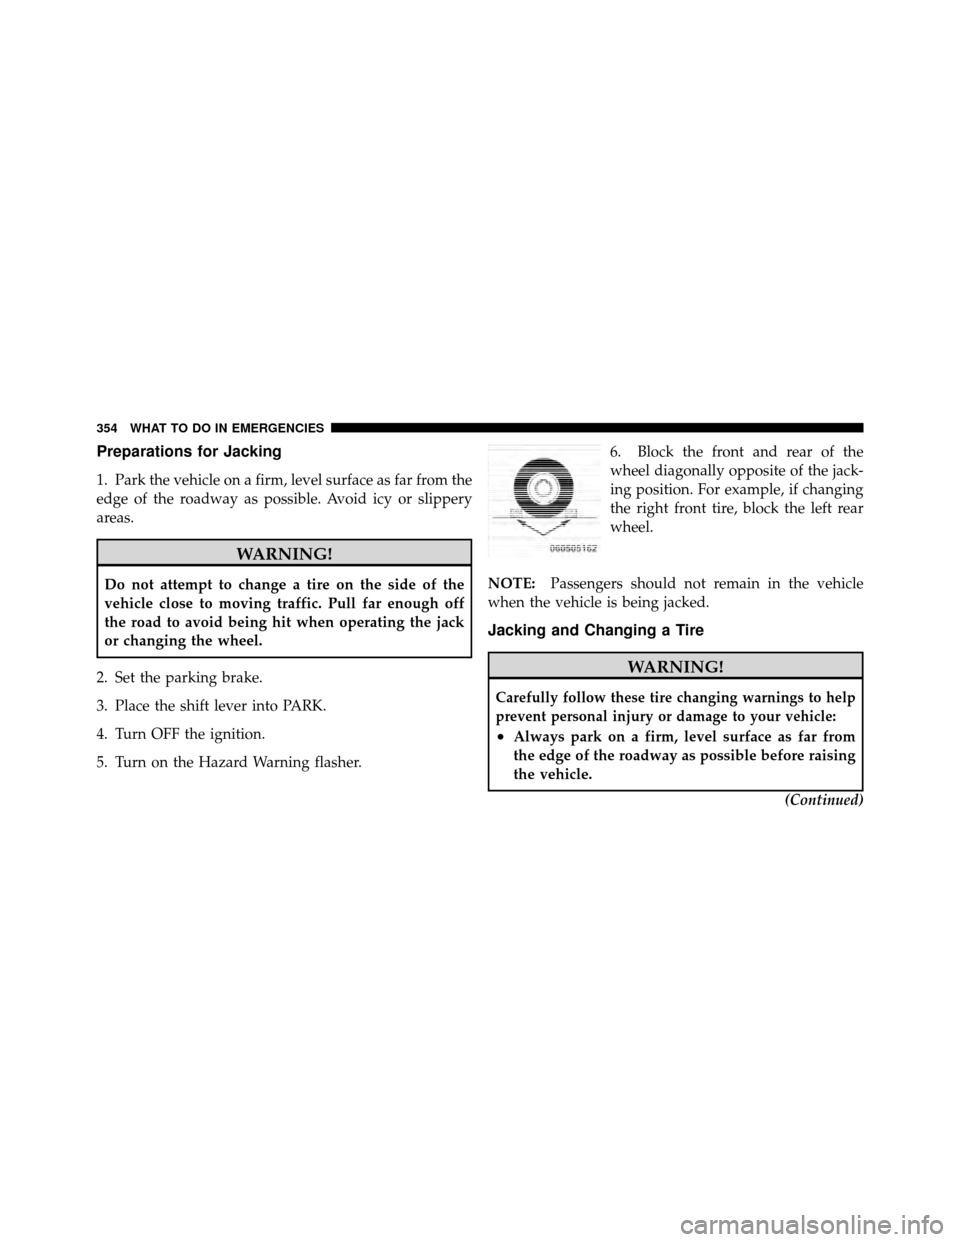
5. Turn on the Hazard Warning flasher. 6. Block the front and rear of the
wheel diagonally opposite of the jack-
ing position. For example, if changing
the right front tire, block the left rear
wheel.
NOTE: Passengers should not remain in the vehicle
when the vehicle is being jacked.
Jacking and Changing a Tire
WARNING!
Carefully follow these tire changing warnings to help
prevent personal injury or damage to your vehicle:
•Always park on a firm, level surface as far from
the edge of the roadway as possible before raising
the vehicle.
(Continued)
354 WHAT TO DO IN EMERGENCIES
Page 356 of 484
WARNING! (Continued)
•Block the wheel diagonally opposite the wheel to
be raised.
•Set the parking brake firmly and set an automatic
transmission in PARK; a manual transmission in
REVERSE.
•Never start or run the engine with the vehicle on a
jack.
•Do not let anyone sit in the vehicle when it is on a
jack.
•Do not get under the vehicle when it is on a jack.
•Only use the jack in the positions indicated and
for lifting this vehicle during a tire change.
•If working on or near a roadway, be extremely
careful of motor traffic.(Continued)
WARNING! (Continued)
•To assure that spare tires, flat or inflated, are
securely stowed, spares must be stowed with the
valve stem facing the ground.
•Turn on the Hazard Warning flasher.
1. Remove the spare tire, jack, and lug wrench.
Jack Warning Label
6
WHAT TO DO IN EMERGENCIES 355
Page 357 of 484
2. If equipped with steel wheels, do not remove the
wheel cover at this time. If equipped with aluminum
wheels where the center cap covers the lug nuts, use the
lug wrench to pry the center cap off carefully before
raising the vehicle.WARNING!
To avoid possible personal injury, handle the wheel
covers with care to avoid contact with the metal edges
and retention teeth.
3. Before raising the vehicle, use the lug wrench to
loosen, but not remove, the lug nuts on the wheel with
the flat tire. Turn the lug nuts counterclockwise one turn
while the wheel is still on the ground.
Center Cap Removal
356 WHAT TO DO IN EMERGENCIES
Page 359 of 484
5. Raise the vehicle just enough to remove the flat tire
and install the spare tire.
WARNING!
Raising the vehicle higher than necessary can make
the vehicle less stable. It could slip off the jack and
hurt someone near it. Raise the vehicle only enough
to remove the tire.
6. Remove the lug nuts, wheel cover (if equipped), and
tire. Remove the cover by hand. Do not pry it off.
7. Mount the spare tire.
NOTE: For vehicles equipped with a center cap or
wheel cover, do not attempt to install it on the compact
spare. However, when reinstalling the road tire, follow
the procedure under “Wheel Cover or Center Cap Instal-
lation” in place of the remaining steps in this procedure.
8. Install the lug nuts with the cone shaped end of the lug
nut toward the wheel. Lightly tighten the lug nuts. To
Rear Jacking Location
358 WHAT TO DO IN EMERGENCIES
Page 361 of 484

WARNING!
The limited-use spare tires are for emergency use
only. Installation of this limited-use spare tire affects
vehicle handling. With this tire, do not drive more
than 60 mph (100 km/h). Keep inflated to the cold tire
inflation pressure listed on either your tire placard or
limited-use spare tire and wheel assembly. Replace
(or repair) the original tire at the first opportunity
and reinstall it on your vehicle. Failure to do so could
result in loss of vehicle control.
Wheel Cover or Center Cap Installation — If
Equipped
NOTE:Do not attempt to install a center cap or wheel
cover on the compact spare.
1. Mount the road tire on the axle. For vehicles equipped
with wheel covers, perform Steps 2 and 3. For vehicles
equipped with center caps, proceed to Step 4.
2. Install two lug nuts on the mounting studs, which are
on each side of the stud that is in alignment with the
valve stem. Install the lug nuts with the cone shaped end
of the nut toward the wheel. Lightly tighten the lug nuts.
To avoid the risk of forcing the vehicle off the jack, do not
tighten the lug nuts fully until the vehicle is lowered to
the ground.
360 WHAT TO DO IN EMERGENCIES