2010 DODGE CHARGER change time
[x] Cancel search: change timePage 201 of 484

when exiting the vehicle. To make your selection, press
and release the FUNCTION SELECT button until “0,”
“30,” “60,” or “90” appears.
“Turn Headlights On with Remote Key Unlock”
When this feature is selected, the headlights will activate
and remain on for up to 90 seconds when the doors are
unlocked with the RKE transmitter. To make your selec-
tion, press and release the FUNCTION SELECT button
until “OFF,” “30 sec.,” “60 sec.,” or “90 sec.” appears.
“Delay Power Off to Accessories Until Exit”
When this feature is selected, the power WINDOW
switches, radio, hands-free system (if equipped), DVD
video system (if equipped), power sunroof (if equipped),
and power outlets will remain active for up to 60 minutes
after the ignition switch is turned OFF. Opening a vehicle
door will cancel this feature. To make your selection,press and release the FUNCTION SELECT button until
“Off,” “45 sec.,” “5 min.,” “10 min.,” “30 min.,” or “60
min.” appears.
“AWD System Displays”
When in this display you may select “ON” or “OFF”.
When ON is selected, the EVIC displays the current
mode of the transfer-case. A five second display appears
any time the transfer-case changes from All Wheel Drive
(AWD) to Rear Wheel Drive (RWD) or from RWD to
AWD. The EVIC also displays the current mode of the
transfer-case when you shift into drive or reverse. To
make your selection, press and release the FUNCTION
SELECT button until “ON” or “OFF” appears.
200 UNDERSTANDING YOUR INSTRUMENT PANEL
Page 203 of 484

Refer to your Uconnect™ Multimedia REN, RER or RBZ
user’s manual for detailed operating instructions.
Operating Instructions — Voice Command
System (VR) — If Equipped
Refer to “Voice Command” in the Uconnect™ User
Manual located on the DVD for further details.
Operating Instructions — Uconnect™ Phone — If
Equipped
Refer to “Uconnect™ Phone” in the Uconnect™ User
Manual located on the DVD for further details.
Clock Setting Procedure — RBZ Radio
To Manually Set the Clock
1. Turn on the radio.
2. Touch the screen where the time is displayed, the clock
setting menu will appear on the screen.3. To move the hour forward, touch the screen where the
word “Hour” with the arrow pointing upward is dis-
played. To move the hour backward, touch the screen
where the word “Hour” with the arrow pointing down-
ward is displayed.
4. To move the minute forward, touch the screen where
the word “Min” with the arrow pointing upward is
displayed. To move the minute backward, touch the
screen where the word “Min” with the arrow pointing
downward is displayed.
5. To save the new time setting, touch the screen where
the word “Save” is displayed.
Changing Daylight Savings Time
When selected, this feature will display the time of day in
daylight savings time. Proceed as follows to change the
current setting:
1. Turn on the radio.
202 UNDERSTANDING YOUR INSTRUMENT PANEL
Page 204 of 484

2. Touch the screen where the time is displayed. The
clock setting menu will appear on the screen.
3. When this feature is on, a check mark will appear in
the box next to the words “Daylight Savings.” Touch the
screen where the words “Daylight Savings” are dis-
played to change the current setting.
Show Time if Radio is Off
When selected, this feature will display the time of day
on the touch screen when the radio is turned off. Proceed
as follows to change the current setting:
1. Turn on the radio.
2. Touch the screen where the time is displayed. The
clock setting menu will appear on the screen.
3. When this feature is on, a check mark will appear in
the box next to the words “Show Time if Radio is Off.”
Touch the screen where the words “Show Time if Radio is
Off” are displayed to change the current setting.
Changing the Time Zone
1. Turn on the radio.
2. Touch the screen where the time is displayed. The
clock setting menu will appear on the screen.
3. Touch the screen where the words “Set Time Zone” are
displayed. The time zone selection menu will appear on
the screen.
4. Select a time zone by touching the screen where your
selection appears. If you do not see a time zone that you
want to select, touch the screen where the word “Page” is
displayed to view additional time zones in the menu.
5. Touch the screen where the word “Save” is displayed.
Clock Setting Procedure — RER/REN Radio
Uconnect™ gps — RER Only
The GPS receiver used in this system is synchronized to
the time data being transmitted by the GPS satellite. The
4
UNDERSTANDING YOUR INSTRUMENT PANEL 203
Page 205 of 484

satellite clock is Greenwich Mean Time (GMT). This is the
worldwide standard for time. This makes the system’s
clock very accurate once the appropriate time zone and
daylight savings information is set.
To Manually Set the Clock — RER/REN
1. Turn on the radio.
2. Touch the screen where the time is displayed.
3. Touch the screen where “User Clock” is displayed, the
clock setting menu will appear on the screen.
4. To move the hour forward, touch the screen where the
word “Hour” with the arrow pointing upward is dis-
played. To move the hour backward, touch the screen
where the word “Hour” with the arrow pointing down-
ward is displayed.
5. To move the minute forward, touch the screen where
the word “Min” with the arrow pointing upward isdisplayed. To move the minute backward, touch the
screen where the word “Min” with the arrow pointing
downward is displayed.
6. To save the new time setting, touch the screen where
the word “Save” is displayed.Changing Daylight Savings Time
When selected, this feature will display the time of day in
daylight savings time. Proceed as follows to change the
current setting:
1. Turn on the radio.
2. Touch the screen where “User Clock” is displayed, the
clock setting menu will appear on the screen.
3. When this feature is on, a check mark will appear in
the box next to the words “Daylight Savings.” Touch the
screen where the words “Daylight Savings” are dis-
played to change the current setting.
204 UNDERSTANDING YOUR INSTRUMENT PANEL
Page 206 of 484

Show Time if Radio is Off
When selected, this feature will display the time of day
on the touch screen when the radio is turned off. Proceed
as follows to change the current setting:
1. Turn on the radio.
2. Touch the screen where the time is displayed.
3. Touch the screen where “User Clock” is displayed, the
clock setting menu will appear on the screen.
4. When this feature is on, a check mark will appear in
the box next to the words “Show Time if Radio is Off.”
Touch the screen where the words “Show Time if Radio is
Off” are displayed to change the current setting.
Changing the Time Zone
1. Turn on the radio.
2. Touch the screen where the time is displayed.
3. Touch the screen where “User Clock” is displayed, the
clock setting menu will appear on the screen.
4. Touch the screen where the words “Set Time Zone” are
displayed. The time zone selection menu will appear on
the screen.
5. Select a time zone by touching the screen where your
selection appears. If you do not see a time zone that you
want to select, touch the screen where the word “Page” is
displayed to view additional time zones in the menu.
6. Touch the screen where the word “Save” is displayed.
4
UNDERSTANDING YOUR INSTRUMENT PANEL 205
Page 208 of 484

SEEK Buttons
Press and release the SEEK buttons to search for the next
listenable station in AM/FM mode. Press the right switch
to seek up and the left switch to seek down. The radio
will remain tuned to the new station until you make
another selection. Holding either button will bypass
stations without stopping, until you release it.
TIME Button
Press the TIME button to alternate display of the time
and radio frequency.
Clock Setting Procedure
1. Press and hold the TIME button until the hours blink.
2. Adjust the hours by turning the right side TUNE/
SCROLL control knob.
3. After adjusting the hours, press the right side TUNE/
SCROLL control knob to set the minutes. The minutes
will begin to blink.4. Adjust the minutes using the right side TUNE/
SCROLL control knob. Press the TUNE/SCROLL control
knob to save time change.
5. To exit, press any button/knob, or wait five seconds.
RW/FF
Pressing the RW (Rewind) or FF (Fast Forward) buttons
causes the tuner to search for the next frequency in the
direction of the arrows. This feature operates in either
AM or FM frequencies.
TUNE Control
Turn the rotary TUNE/SCROLL control knob clockwise
to increase or counterclockwise to decrease the frequency.
Setting the Tone, Balance, and Fade
Push the rotary TUNE/SCROLL control knob and BASS
will display. Turn the TUNE/SCROLL control knob to
the right or left to increase or decrease the bass tones.
4
UNDERSTANDING YOUR INSTRUMENT PANEL 207
Page 212 of 484

TIME Button
Press this button to change the display from a large CD
playing time display to a small CD playing time display.
RW/FF
Press and hold the FF (Fast Forward) button and the CD
player will begin to fast forward until FF is released, or
RW or another CD button is pressed. The RW (Reverse)
button works in a similar manner.
AM/FM Button
Press the button to select either AM or FM mode.
SET/RND Button (Random Play Button)
Press this button while the CD is playing to activate
Random Play. This feature plays the selections on the
compact disc in random order to provide an interesting
change of pace.
Press the right SEEK button to move to the next ran-
domly selected track.Press the RND button a second time to stop Random
Play.
Notes on Playing MP3 Files
The radio can play MP3 files; however, acceptable MP3
file recording media and formats are limited. When
writing MP3 files, pay attention to the following restric-
tions.
Supported Media (Disc Types)
The MP3 file recording media supported by the radio are
CDDA, CD-R, CD-RW, MP3, and CDDA+MP3.
Supported Medium Formats (File Systems)
The medium formats supported by the radio are ISO 9660
Level 1 and Level 2 and includes the Joliet extension.
When reading discs recorded using formats other than
ISO 9660 Level 1 and Level 2, the radio may fail to read
files properly and may be unable to play the file nor-
mally. UDF and Apple HFS formats are not supported.
4
UNDERSTANDING YOUR INSTRUMENT PANEL 211
Page 215 of 484

Operation Instructions - Auxiliary Mode
The auxiliary (AUX) jack is an audio input jack, which
allows the user to plug in a portable device, such as an
MP3 player, or cassette player, and utilize the vehicle’s
audio system to amplify the source and play through the
vehicle speakers.
Pressing the DISC/AUX button will change the mode to
auxiliary device if the AUX jack is connected.
NOTE:The AUX device must be turned on and the
device’s volume set to proper level. If the AUX audio is
not loud enough, turn the device’s volume up. If the AUX
audio sounds distorted, turn the device’s volume down.
TIME Button (Auxiliary Mode)
Press this button to change the display to time of day. The
time of day will display for five seconds (when ignition is
OFF).
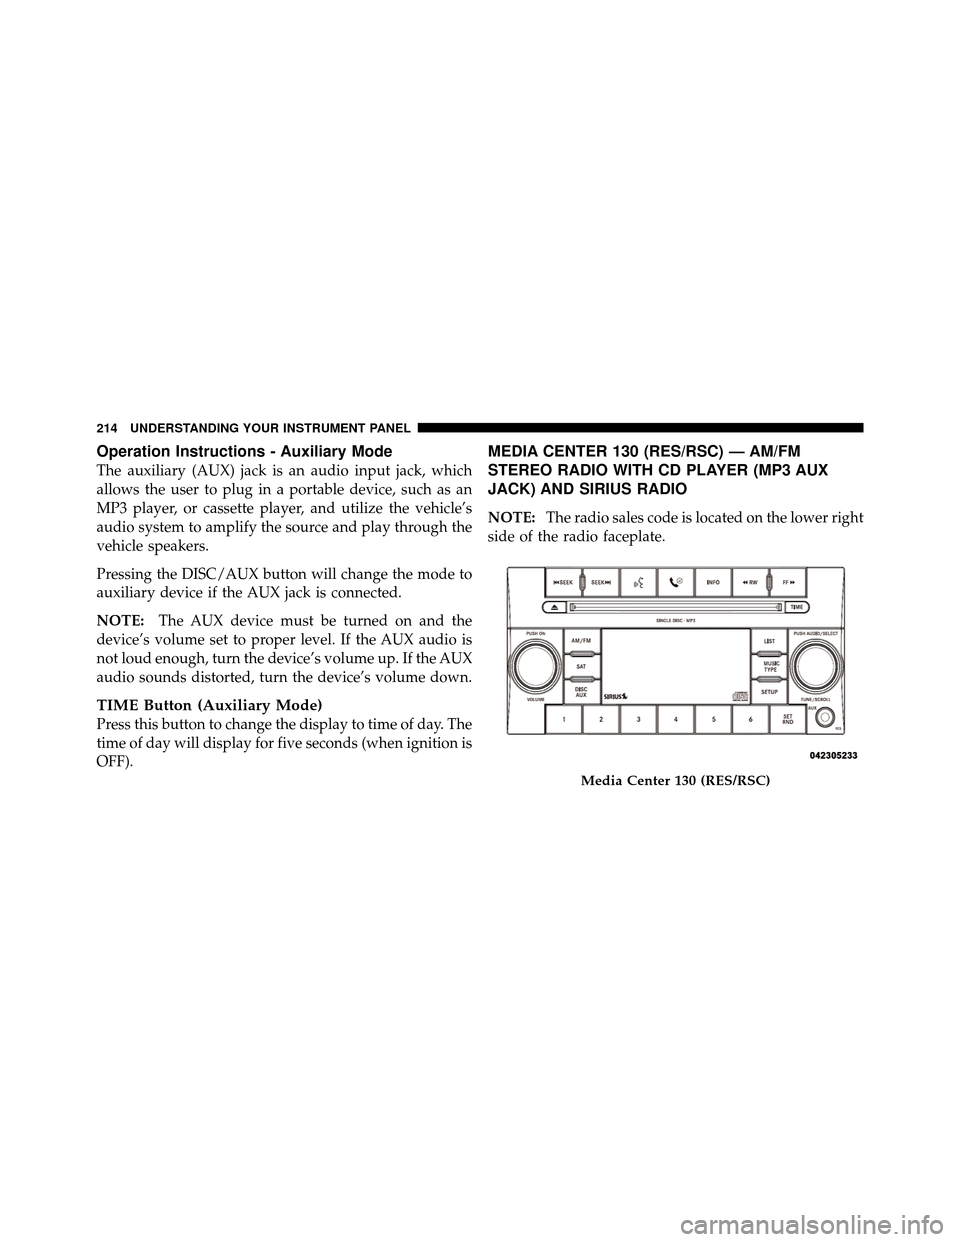
MEDIA CENTER 130 (RES/RSC) — AM/FM
STEREO RADIO WITH CD PLAYER (MP3 AUX
JACK) AND SIRIUS RADIO
NOTE: The radio sales code is located on the lower right
side of the radio faceplate.
Media Center 130 (RES/RSC)
214 UNDERSTANDING YOUR INSTRUMENT PANEL