Page 142 of 436

▫List Button
(Disc Mode For MP3/WMA Play) ......... 183
▫ Info Button
(Disc Mode For MP3/WMA Play) ......... 183
� Sales Code (RER/REN) — AM/FM/CD/DVD
Radio – If Equipped .................... 186
▫ Operating Instructions — Voice Recognition
System (VR) — If Equipped ............. 186
▫ Operating Instructions — uconnect™ phone
— If Equipped ...................... 186
▫ Clock Setting Procedure ............... 186
� Sales Code RES — AM/FM Stereo Radio With
CD Player (MP3 AUX Jack)............... 188
▫ Operating Instructions — Radio Mode ..... 188▫
Operation Instructions — CD Mode For CD
And MP3 Audio Play ................. 191
▫ Notes On Playing MP3 Files ............ 193
▫ Operation Instructions - Auxiliary Mode .... 196
� Sales Code RES/RSC — AM/FM Stereo Radio
With CD Player (MP3 AUX Jack) And
Sirius Radio .......................... 197
▫ Operating Instructions — Radio Mode ..... 197
▫ Operation Instructions — CD Mode For CD
And MP3 Audio Play ................. 203
▫ Notes On Playing MP3 Files ............ 205
▫ List Button (CD Mode For MP3 Play) ...... 207
▫ Info Button (CD Mode For MP3 Play) ...... 208
142 UNDERSTANDING YOUR INSTRUMENT PANEL
Page 143 of 436

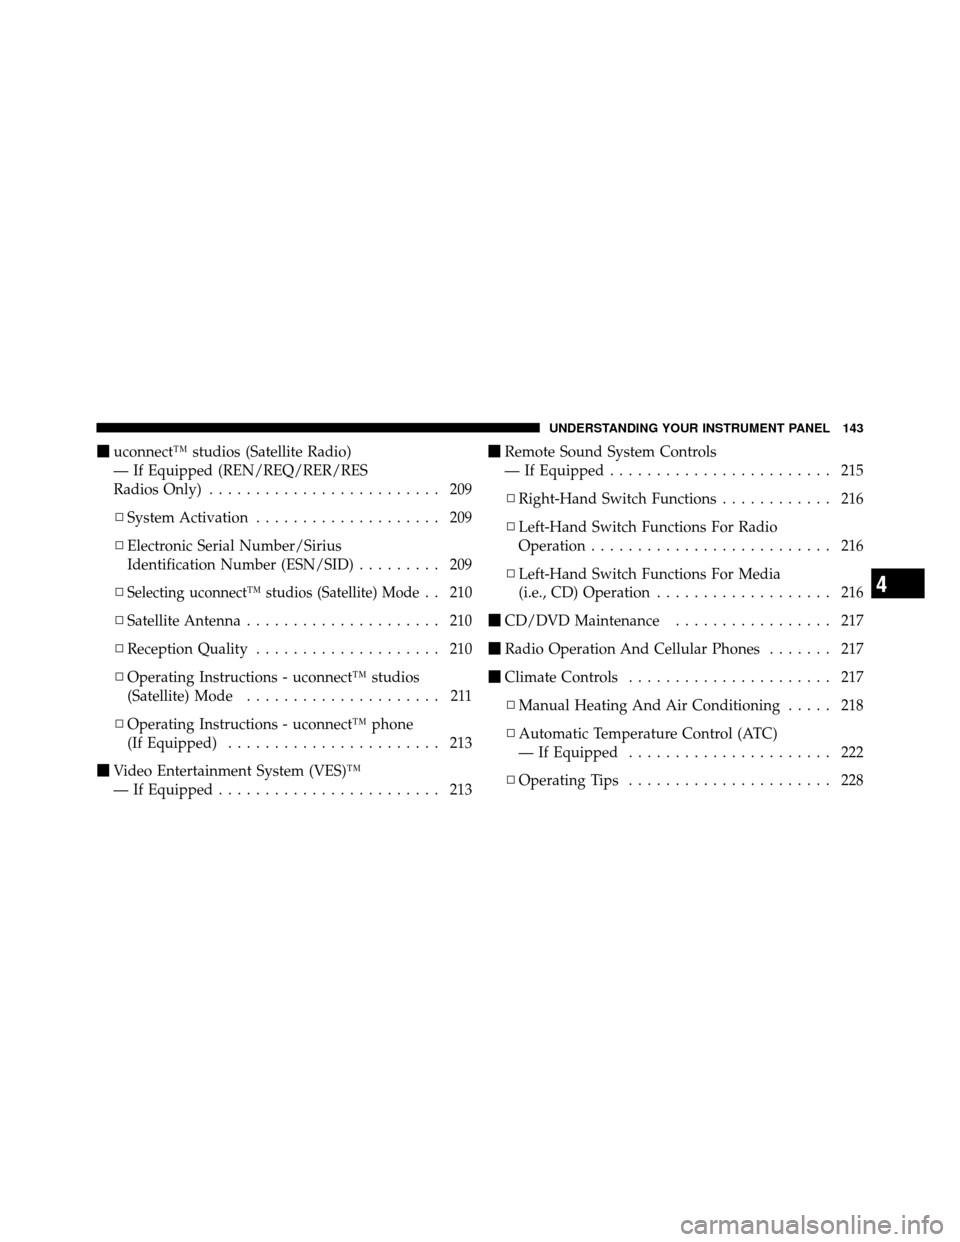
�uconnect™ studios (Satellite Radio)
— If Equipped (REN/REQ/RER/RES
Radios Only) ......................... 209
▫ System Activation .................... 209
▫ Electronic Serial Number/Sirius
Identification Number (ESN/SID) ......... 209
▫
Selecting uconnect™ studios (Satellite) Mode. . 210
▫ Satellite Antenna ..................... 210
▫ Reception Quality .................... 210
▫ Operating Instructions - uconnect™ studios
(Satellite) Mode ..................... 211
▫ Operating Instructions - uconnect™ phone
(If Equipped) ....................... 213
� Video Entertainment System (VES)™
— If Equipped ........................ 213 �
Remote Sound System Controls
— If Equipped ........................ 215
▫ Right-Hand Switch Functions ............ 216
▫ Left-Hand Switch Functions For Radio
Operation .......................... 216
▫ Left-Hand Switch Functions For Media
(i.e., CD) Operation ................... 216
� CD/DVD Maintenance ................. 217
� Radio Operation And Cellular Phones ....... 217
� Climate Controls ...................... 217
▫ Manual Heating And Air Conditioning ..... 218
▫ Automatic Temperature Control (ATC)
— If Equipped ...................... 222
▫ Operating Tips ...................... 2284
UNDERSTANDING YOUR INSTRUMENT PANEL 143
Page 144 of 436
INSTRUMENT PANEL FEATURES
1 — Air Outlet6 — Radio11 — Storage Compartment
2 — Side Window Demister Outlet 7 — Passenger Airbag 12 — Climate Control
3 — Instrument Cluster 8 — Glove Compartment13 — Trunk Release Button
4 — Ignition Switch 9 — Heated Seat Switch – If Equipped
5 — Analog Clock 10 — Hazard Switch
144 UNDERSTANDING YOUR INSTRUMENT PANEL
Page 160 of 436

The EVIC consists of the following:
•System status
•Vehicle information warning message displays
•Personal Settings (Customer-Programmable Features)
•Compass heading display (N, S, E, W, NE, NW, SE,
SW)
•Outside temperature display (°F or °C)
•Trip computer functions
•Audio mode displays – 12 preset Radio Stations or CD
Title and Track number when playing
•Tire Pressure Monitor System (TPMS) displays (if
equipped)The system allows the driver to select information by
pressing the following buttons on the instrument panel
switch bank located below the climate controls:
Press and release the MENU button to advance
the display to Trip Functions or Personal set-
tings or to return to the default System status
display.
Press and release the STEP button to advance
the display through the various Trip Functions
or Personal settings.
Press and release the COMPASS button to
display the compass heading and the outside
temperature.
MENU Button
STEP
Button
COMPASS Button
160 UNDERSTANDING YOUR INSTRUMENT PANEL
Page 168 of 436

Sound Horn with Lock
When ON is selected, a short horn sound will occur when
the RKE transmitter LOCK button is pressed. This feature
may be selected with or without the Flash Lights with
Lock feature. To make your selection, press and release
the RESET button until ON or OFF appears.
Flash Lights with Lock
When ON is selected, the front and rear turn signals will
flash when the doors are locked or unlocked with the
RKE transmitter. This feature may be selected with or
without the Sound Horn on lock feature selected. To
make your selection, press and release the RESET button
until ON or OFF appears.
Headlights Off Delay
When this feature is selected, the driver can choose to
have the headlights remain on for 0, 30, 60, or 90 secondswhen exiting the vehicle. To make your selection, press
and hold the RESET button until 0, 30, 60, or 90 seconds
appears.
Headlights With Wipers (Available with Auto
Headlights Only)
When ON is selected, and the headlight switch is in the
AUTO position, the headlights will turn on approxi-
mately 10 seconds after the wipers are turned on. The
headlights will also turn off when the wipers are turned
off if they were turned on by this feature. To make your
selection, press and hold the RESET button until ON or
OFF appears.
NOTE:
Turning the headlights on during the daytime
causes the instrument panel lights to dim. To increase the
brightness, refer to “Lights” in Section 3 of this manual.
Key-Off Power Delay
When this feature is selected, the power window
switches, radio, uconnect™ phone (if equipped), and
168 UNDERSTANDING YOUR INSTRUMENT PANEL
Page 170 of 436
SALES CODE REQ — AM/FM STEREO RADIO
AND 6–DISC CD/DVD CHANGER (MP3/WMA AUX
JACK)
NOTE:The radio sales code is located on the lower right
side of the radio faceplate.
Operating Instructions - Radio Mode
NOTE: The ignition switch must be in the ON or ACC
position to operate the radio.
Power Switch/Volume Control (Rotary)
Push the ON/VOLUME control knob to turn on the
radio. Press the ON/VOLUME control knob a second
time to turn off the radio.
Electronic Volume Control
The electronic volume control turns continuously (360
degrees) in either direction without stopping. Turning the
ON/VOLUME control knob to the right increases the
volume and to the left decreases it.
When the audio system is turned ON, the sound will be
set at the same volume level as last played.
REQ Radio
170 UNDERSTANDING YOUR INSTRUMENT PANEL
Page 171 of 436

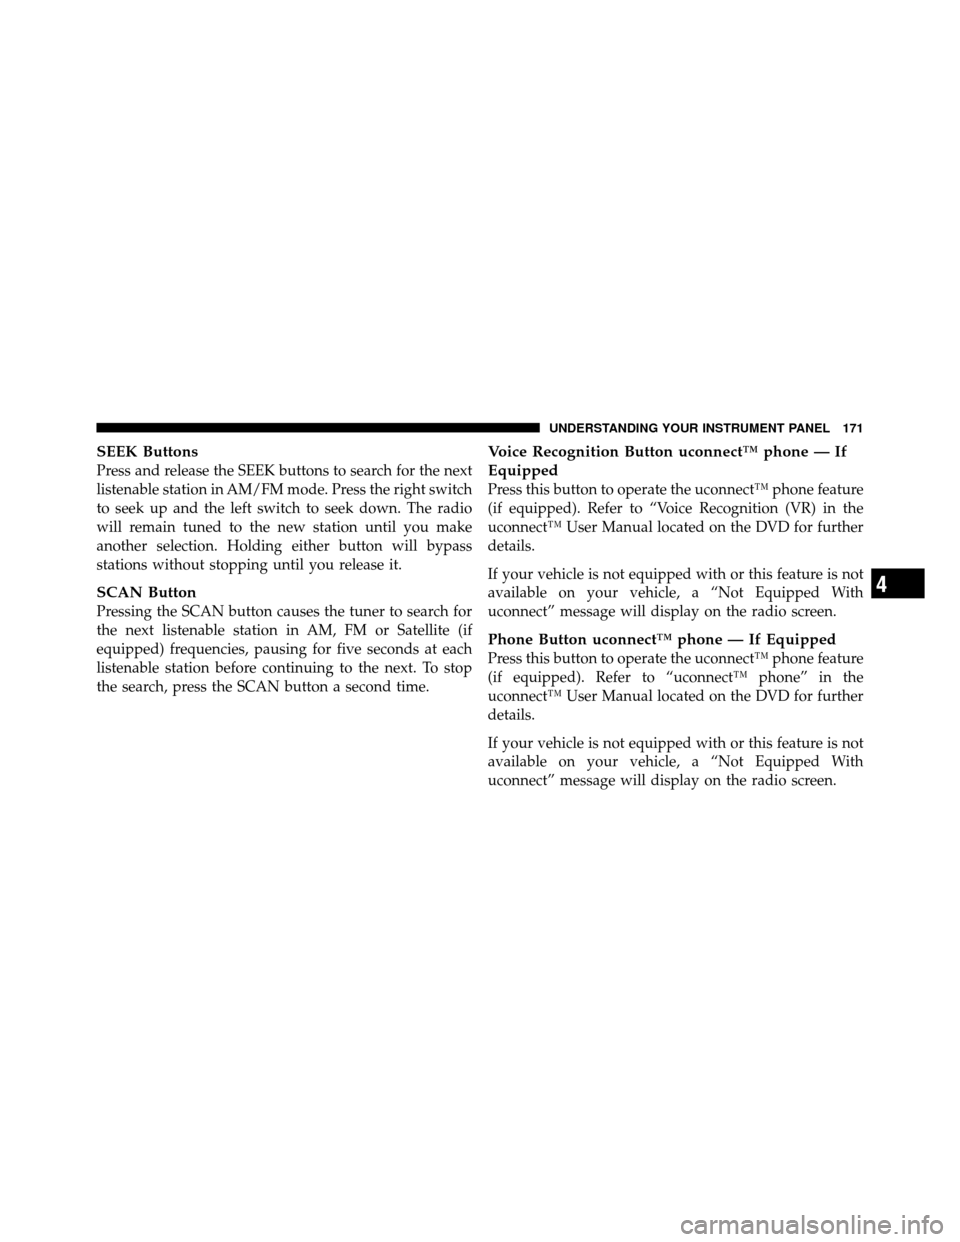
SEEK Buttons
Press and release the SEEK buttons to search for the next
listenable station in AM/FM mode. Press the right switch
to seek up and the left switch to seek down. The radio
will remain tuned to the new station until you make
another selection. Holding either button will bypass
stations without stopping until you release it.
SCAN Button
Pressing the SCAN button causes the tuner to search for
the next listenable station in AM, FM or Satellite (if
equipped) frequencies, pausing for five seconds at each
listenable station before continuing to the next. To stop
the search, press the SCAN button a second time.
Voice Recognition Button uconnect™ phone — If
Equipped
Press this button to operate the uconnect™ phone feature
(if equipped). Refer to “Voice Recognition (VR) in the
uconnect™ User Manual located on the DVD for further
details.
If your vehicle is not equipped with or this feature is not
available on your vehicle, a “Not Equipped With
uconnect” message will display on the radio screen.
Phone Button uconnect™ phone — If Equipped
Press this button to operate the uconnect™ phone feature
(if equipped). Refer to “uconnect™ phone” in the
uconnect™ User Manual located on the DVD for further
details.
If your vehicle is not equipped with or this feature is not
available on your vehicle, a “Not Equipped With
uconnect” message will display on the radio screen.
4
UNDERSTANDING YOUR INSTRUMENT PANEL 171
Page 172 of 436

TIME Button
Press the TIME button to alternate locations of the time
and frequency display.
Clock Setting Procedure
1. Press and hold the TIME button until the hours blink.
2. Adjust the hours by turning the right side TUNE/
SCROLL control knob.
3. After adjusting the hours, press the right side TUNE/
SCROLL control knob to set the minutes. The minutes
will begin to blink.
4. Adjust the minutes using the right side TUNE/
SCROLL control knob. Press the TUNE/SCROLL control
knob to save the time change.
5. To exit, press any button/knob or wait five seconds.The clock can also be set by pressing the SETUP button
and selecting the “SET HOME CLOCK” entry. Once in
this display follow the above procedure, starting at
step 2.INFO Button
Press the INFO button for an RDS station (one with call
letters displayed). The radio will return a Radio Text
message broadcast from an FM station (FM mode only).
RW/FF
Pressing the RW (Rewind) or FF (Fast Forward) buttons
causes the tuner to search for the next frequency in the
direction of the arrows. This feature operates in AM, FM
or Satellite (if equipped) frequencies.
TUNE Control
Turn the rotary TUNE/SCROLL control knob clockwise
to increase or counterclockwise to decrease the frequency.
172 UNDERSTANDING YOUR INSTRUMENT PANEL