Page 332 of 465
1. Signal interference due to electronic devices or driving
next to facilities emitting the same radio frequencies as
the TPM sensors.
2. Installing aftermarket window tinting that contains
materials that may block radio wave signals.
3. Accumulation of snow or ice around the wheels or
wheel housings.
4. Using tire chains on the vehicle.
5. Using wheels/tires not equipped with TPM sensors.
Vehicles with Full Size Spare
1. The matching full size spare wheel and tire assembly
has a TPM sensor that can be monitored by the TPMS.
2. If you install the full size spare in place of a road tire
that has a pressure below the low-pressure warning limit,
upon the next ignition switch cycle, a chime will sound
and the TPM Telltale Light will turn ON. In addition, theEVIC will display a low pressure message and a graphic
showing the low tire pressure value flashing.
3. After driving the vehicle for up to 20 minutes above
15 mph (25 km/h) the TPM Telltale Light will turn OFF,
as long as no tire pressure is below the low-pressure
warning limit in any of the four active road tires.
Vehicles with Compact Spare
1. The compact spare tire does not have a TPM sensor.
Therefore, the TPMS will not monitor the pressure in the
compact spare tire.
2. If you install the compact spare tire in place of a road
tire that has a pressure below the low-pressure warning
limit, upon the next ignition switch cycle, the TPM
Telltale Light will remain ON and a chime will sound. In
addition, the graphic in the EVIC will still display a
flashing pressure value.
5
STARTING AND OPERATING 331
Page 333 of 465
3. After driving the vehicle for up to 20 minutes above
15 mph (25 km/h), the TPM Telltale Light will flash on
and off for 75 seconds and then remain on solid. In
addition, the EVIC will display a�CHECK TPM SYS-
TEM� message for three seconds and then display dashes
(- -) in place of the pressure value.
4. For each subsequent ignition switch cycle, a chime will
sound, the TPM Telltale Light will flash on and off for
75 seconds and then remain on solid, and the EVIC will
display a �CHECK TPM SYSTEM� message for three
seconds and then display dashes (- -) in place of the
pressure value.
5. Once you repair or replace the original road tire and
reinstall it on the vehicle in place of the compact spare,
the TPMS will update automatically. In addition, the
TPM Telltale Light will turn OFF and the graphic in the
EVIC will display a new pressure value instead of dashes
(- -), as long as no tire pressure is below the low-pressure warning limit in any of the four active road tires. The
vehicle may need to be driven for up to 20 minutes above
15 mph (25 km/h) in order for the TPMS to receive this
information.
General Information
This device complies with Part 15 of the FCC rules and
RSS 210 of Industry Canada. Operation is subject to the
following conditions:
•This device may not cause harmful interference.
•This device must accept any interference received,
including interference that may cause undesired
operation.
The TPM sensors are regulated under one of the follow-
ing licenses:
United States ..................... KR5S120123
Canada ........................ 2671-S120123
332 STARTING AND OPERATING
Page 342 of 465
WARNING!
Because the front wheels steer the vehicle, it is
important that you do not exceed the maximum front
or rear GAWR. A dangerous driving condition can
result if either rating is exceeded. You could lose
control of the vehicle and have an accident.
Overloading
The load carrying components (axle, springs, tires,
wheels, etc.) of your vehicle will provide satisfactory
service as long as you do not exceed the GVWR and the
front and rear GAWR.
The best way to figure out the total weight of your
vehicle is to weigh it when it is fully loaded and ready for
operation. Weigh it on a commercial scale to ensure that
it is not over the GVWR.Figure out the weight on the front and rear of the vehicle
separately. It is important that you distribute the load
evenly over the front and rear axles.
Overloading can cause potential safety hazards and
shorten useful service life. Heavier axles or suspension
components do not necessarily increase the vehicle’s
GVWR.
Loading
To load your vehicle properly, first figure out its empty
weight, axle-by-axle and side-by-side. Store heavier items
down low and be sure you distribute their weight as
evenly as possible. Stow all loose items securely before
driving. If weighing the loaded vehicle shows that you
have exceeded either GAWR, but the total load is within
the specified GVWR, you must redistribute the weight.
Improper weight distribution can have an adverse effect
on the way your vehicle steers and handles and the way
the brakes operate.5
STARTING AND OPERATING 341
Page 349 of 465
TIREFIT Usage Precautions
•
Replace the TIREFIT Sealant Bottle (1) and Sealant
Hose (6) prior to the expiration date (printed on the
bottle label) to assure optimum operation of the sys-
tem. Refer to “Sealing a Tire with TIREFIT” section (F)
“Sealant Bottle and Hose Replacement”.
•The Sealant Bottle (1) and Sealant Hose (6) is a one tire
application use. After each use, always immediately
replace these components at an authorized dealer.
•When the TIREFIT sealant is in a liquid form, clean
water, and a damp cloth will remove the material from
the vehicle or tire and wheel components. Once the
sealant dries, it can easily be peeled off and properly
discarded.
•For optimum performance, make sure the valve stem
on the wheel is free of debris before connecting the
TIREFIT kit.
•You can use the TIREFIT air pump to inflate bicycle
tires. The kit also comes with two needles located in
the Accessory Storage Compartment (located on the
bottom of the air pump) for inflating sport balls, rafts,
or like inflatable items. However, use only the Air
Pump Hose (7) and make sure the Mode Select Knob
(5) is in the Air Mode when inflating such items to
avoid injecting sealant into them. The TIREFIT Sealant
is only intended to seal punctures less than
1�4” (6mm)
diameter in the tread of your vehicle.
•Do not lift or carry TIREFIT kit by hoses.
WARNING!
•Do not attempt to seal a tire on the side of the
vehicle close to traffic. Pull far enough off the road
to avoid the danger of being hit when using the
TIREFIT kit.
(Continued)
348 WHAT TO DO IN EMERGENCIES
Page 361 of 465
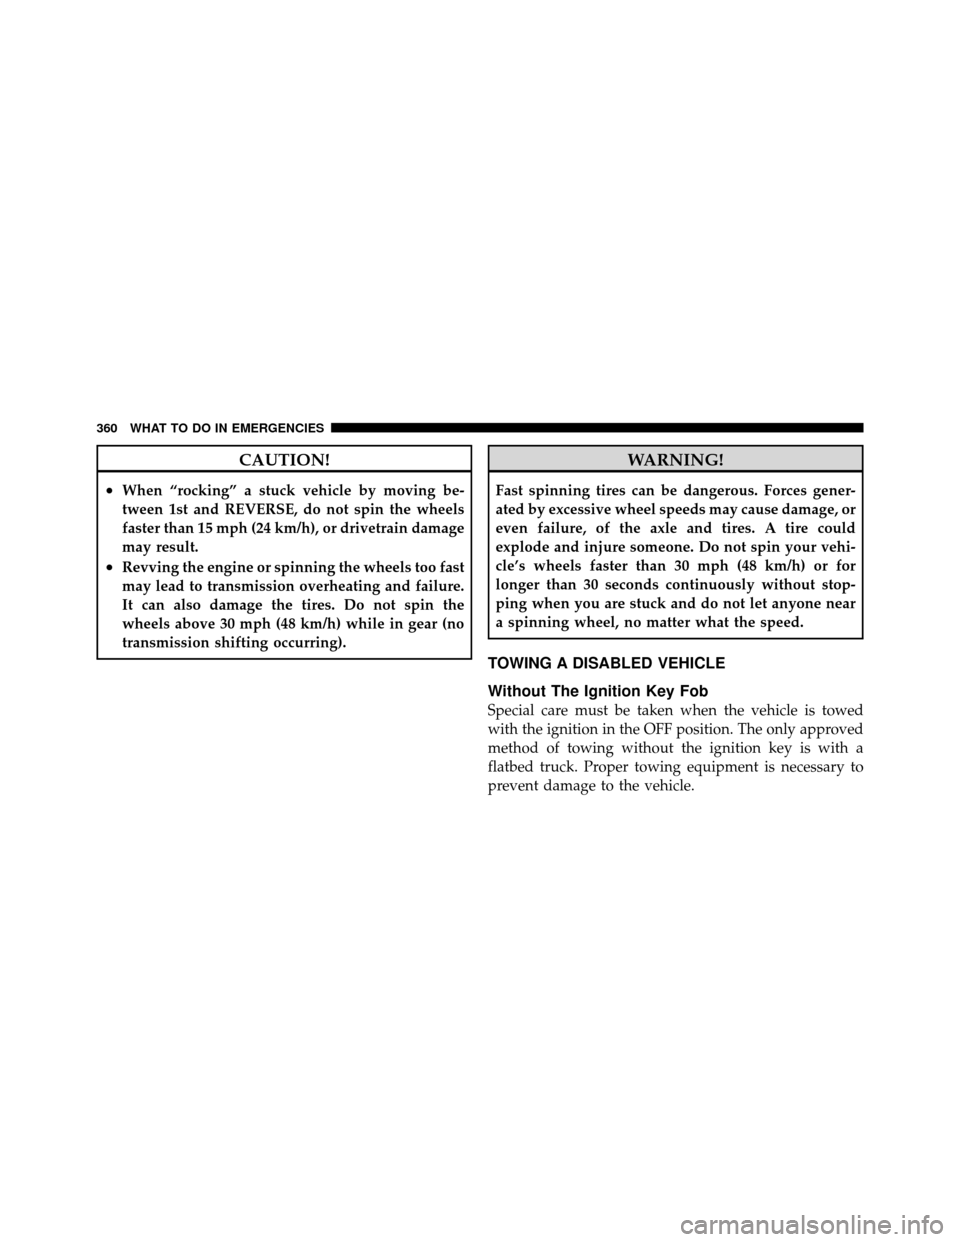
CAUTION!
•When “rocking” a stuck vehicle by moving be-
tween 1st and REVERSE, do not spin the wheels
faster than 15 mph (24 km/h), or drivetrain damage
may result.
•Revving the engine or spinning the wheels too fast
may lead to transmission overheating and failure.
It can also damage the tires. Do not spin the
wheels above 30 mph (48 km/h) while in gear (no
transmission shifting occurring).
WARNING!
Fast spinning tires can be dangerous. Forces gener-
ated by excessive wheel speeds may cause damage, or
even failure, of the axle and tires. A tire could
explode and injure someone. Do not spin your vehi-
cle’s wheels faster than 30 mph (48 km/h) or for
longer than 30 seconds continuously without stop-
ping when you are stuck and do not let anyone near
a spinning wheel, no matter what the speed.
TOWING A DISABLED VEHICLE
Without The Ignition Key Fob
Special care must be taken when the vehicle is towed
with the ignition in the OFF position. The only approved
method of towing without the ignition key is with a
flatbed truck. Proper towing equipment is necessary to
prevent damage to the vehicle.
360 WHAT TO DO IN EMERGENCIES
Page 420 of 465
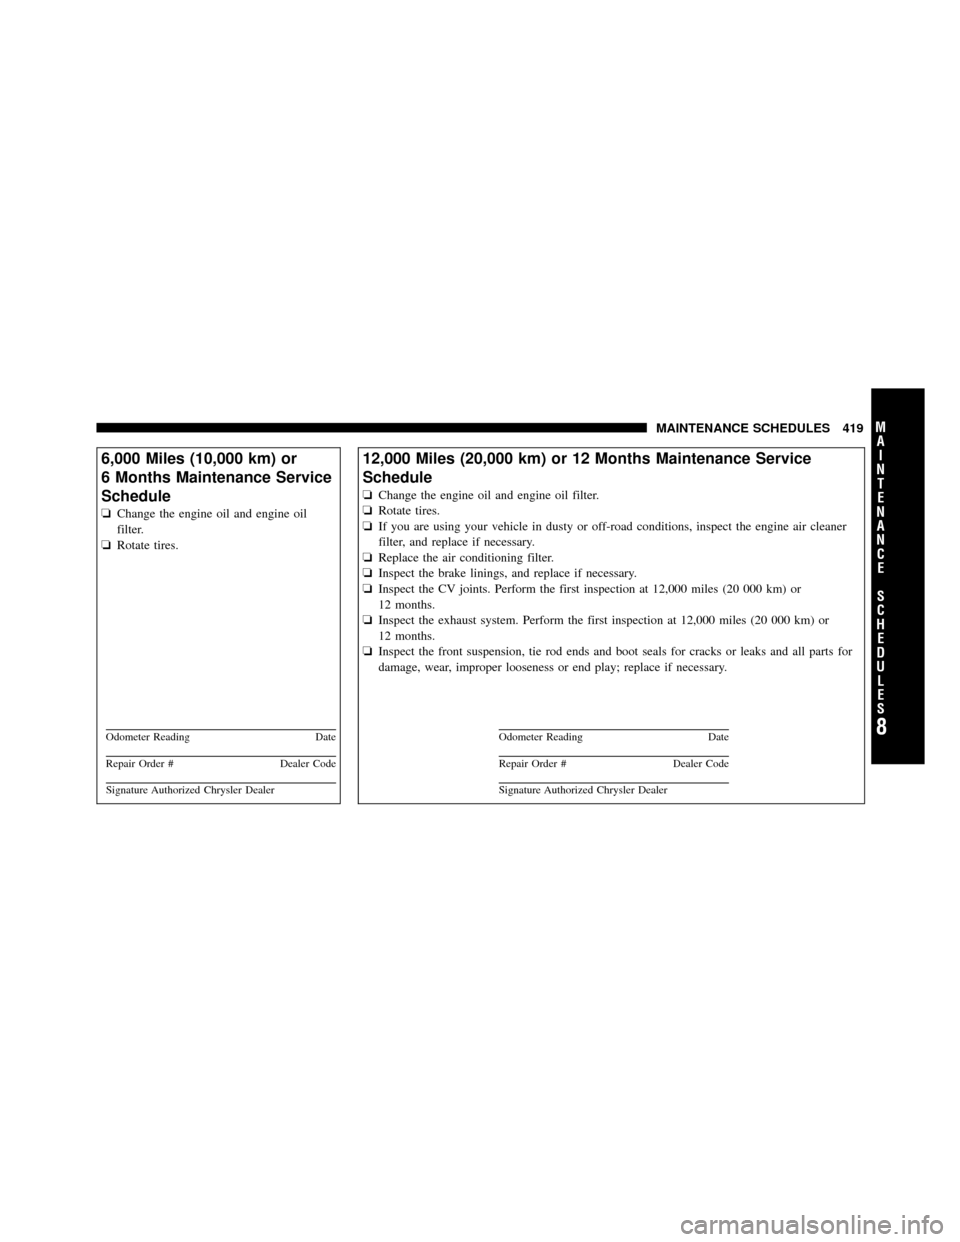
6,000 Miles (10,000 km) or
6 Months Maintenance Service
Schedule
❏Change the engine oil and engine oil
filter.
❏ Rotate tires.
Odometer Reading Date
Repair Order #Dealer Code
Signature Authorized Chrysler Dealer
12,000 Miles (20,000 km) or 12 Months Maintenance Service
Schedule
❏Change the engine oil and engine oil filter.
❏ Rotate tires.
❏ If you are using your vehicle in dusty or off-road conditions, inspect the engine air cleaner
filter, and replace if necessary.
❏ Replace the air conditioning filter.
❏ Inspect the brake linings, and replace if necessary.
❏ Inspect the CV joints. Perform the first inspection at 12,000 miles (20 000 km) or
12 months.
❏ Inspect the exhaust system. Perform the first inspection at 12,000 miles (20 000 km) or
12 months.
❏ Inspect the front suspension, tie rod ends and boot seals for cracks or leaks and all parts for
damage, wear, improper looseness or end play; replace if necessary.
Odometer Reading Date
Repair Order #Dealer Code
Signature Authorized Chrysler Dealer
8
M
A I
N T
E
N A
N CE
S
C
H E
D
U L
E
SMAINTENANCE SCHEDULES 419
Page 421 of 465
18,000 Miles (30,000 km) or
18 Months Maintenance
Service Schedule
❏Change the engine oil and engine oil
filter.
❏ Rotate tires.
❏ Inspect the rear axle fluid.
Odometer Reading Date
Repair Order #Dealer Code
Signature Authorized Chrysler Dealer
24,000 Miles (40,000 km) or 24 Months Maintenance Service
Schedule
❏Change the engine oil and engine oil filter.
❏ Rotate tires.
❏ If you are using your vehicle in dusty or off-road conditions, inspect the engine air cleaner
filter, and replace if necessary.
❏ Replace the air conditioning filter.
❏ Inspect the brake linings, and replace if necessary.
❏ Inspect the CV joints.
❏ Inspect the exhaust system.
❏ Inspect the front suspension, tie rod ends and boot seals for cracks or leaks and all parts for
damage, wear, improper looseness or end play; replace if necessary.
Odometer Reading Date
Repair Order #Dealer Code
Signature Authorized Chrysler Dealer
8
M
A I
N T
E
N A
N CE
S
C
H E
D
U L
E
S420 MAINTENANCE SCHEDULES
Page 422 of 465
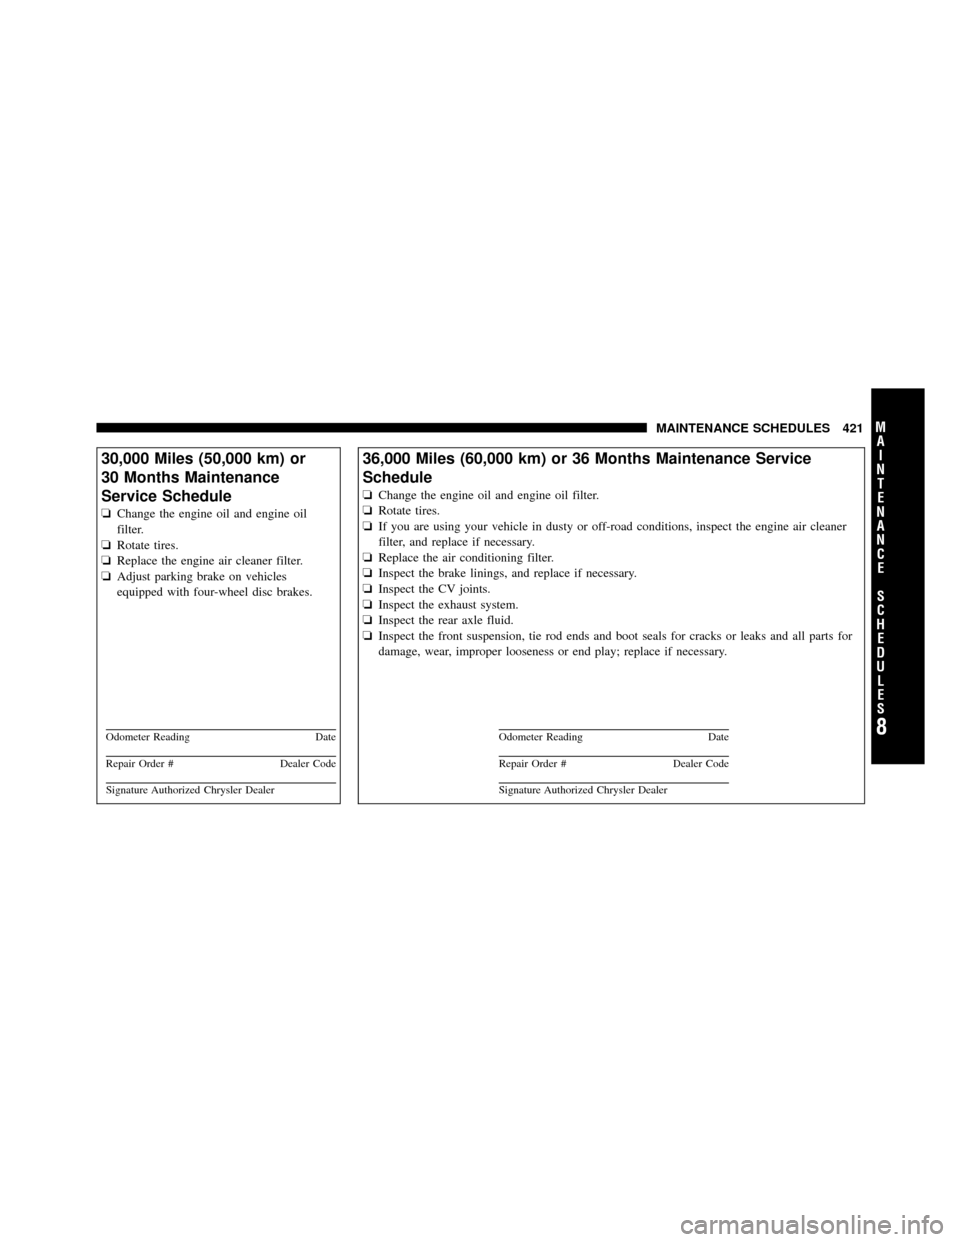
30,000 Miles (50,000 km) or
30 Months Maintenance
Service Schedule
❏Change the engine oil and engine oil
filter.
❏ Rotate tires.
❏ Replace the engine air cleaner filter.
❏ Adjust parking brake on vehicles
equipped with four-wheel disc brakes.
Odometer Reading Date
Repair Order #Dealer Code
Signature Authorized Chrysler Dealer
36,000 Miles (60,000 km) or 36 Months Maintenance Service
Schedule
❏Change the engine oil and engine oil filter.
❏ Rotate tires.
❏ If you are using your vehicle in dusty or off-road conditions, inspect the engine air cleaner
filter, and replace if necessary.
❏ Replace the air conditioning filter.
❏ Inspect the brake linings, and replace if necessary.
❏ Inspect the CV joints.
❏ Inspect the exhaust system.
❏ Inspect the rear axle fluid.
❏ Inspect the front suspension, tie rod ends and boot seals for cracks or leaks and all parts for
damage, wear, improper looseness or end play; replace if necessary.
Odometer Reading Date
Repair Order #Dealer Code
Signature Authorized Chrysler Dealer
8
M
A I
N T
E
N A
N CE
S
C
H E
D
U L
E
SMAINTENANCE SCHEDULES 421