Page 33 of 465
Passive Entry System — If Equipped
The Passive Entry system is an enhancement to the
vehicle’s Remote Keyless Entry (RKE) system. This fea-
ture allows you to lock and unlock the vehicle’s door(s)
without having to press the RKE transmitter lock or
unlock buttons.
NOTE:
•Passive Entry may be programmed ON/OFF, refer to
“Electronic Vehicle Information Center (EVIC)/
Personal Settings (Customer-Programmable Fea-
tures)” in “Understanding Your Instrument Panel” for
further information.
•If a passive entry door handle has not been used for
72 hours the passive entry feature for that handle may
time out. Also, if it has been raining on a passive entry
door handle for 24 hours, that door handle’s passive
entry feature may be deactivated. Pulling the deacti-
vated front door handle will reactivate that door
handle’s passive entry feature.
•If wearing hand gloves, the Passive Entry door handle
unlock sensitivity can be affected, resulting in a slower
response time.
To Unlock From The Driver’s Side:
With a valid Passive Entry RKE transmitter within 5 ft
(1.5 m) of the driver’s side of the vehicle, grab the front
driver door handle to unlock the driver’s door automati-
cally.
NOTE: If “Unlock All Doors 1st Press” is programmed
all doors will unlock when you grab hold of the front
driver ’s door handle. To select between “Unlock Driver
Door 1st Press” and “Unlock All Doors 1st Press”, refer to
“Electronic Vehicle Information Center (EVIC)/Personal
Settings (Customer-Programmable Features)” in “Under-
standing Your Instrument Panel” for further information.
32 THINGS TO KNOW BEFORE STARTING YOUR VEHICLE
Page 42 of 465
The trunk lid can be released from
outside the vehicle by pressing the
TRUNK button on the Remote
Keyless Entry (RKE) transmitter
twice within five seconds.
With the ignition switch in the RUN position, the Trunk
Open symbol will display in the instrument cluster
indicating that the trunk is open. The odometer display
will reappear once the trunk is closed.
With the ignition switch in the OFF position or the key
removed from the ignition switch, the Trunk Open sym-
bol will display until the trunk is closed. Refer to “Passive Entry — If Equipped” under “Door
Locks” in this section for more information on trunk
operation with the Passive Entry feature.
TRUNK SAFETY WARNING
WARNING!
Do not allow children to have access to the trunk,
either by climbing into the trunk from outside, or
through the inside of the vehicle. Always close the
trunk lid when your vehicle is unattended. Once in
the trunk, young children may not be able to escape,
even if they entered through the rear seat. If trapped
in the trunk, children can die from suffocation or
heat stroke.Trunk Release
Button
2
THINGS TO KNOW BEFORE STARTING YOUR VEHICLE 41
Page 165 of 465
Courtesy/Reading Lights
At the forward end of the console are two courtesy/
reading lights.
Press the lens to turn on the light. Press it a second time
to turn off the light.
These lights also turn on when a door is opened, when
the UNLOCK button on the Remote Keyless Entry (RKE)
transmitter is pressed, when the Passive Entry door
handle is used (refer to “Passive Entry” in “Things to
Know Before Starting Your Vehicle” for further informa-
tion) or when the dimmer control is turned fully upward,
past the second detent.
Sunglasses Storage
At the rear of the overhead console, a compartment is
provided for the storage of a pair of sunglasses.The storage compartment access is a
�push/push�design.
Push on the raised bar on the compartment door to open.
Push on the raised bar to close.
GARAGE DOOR OPENER — IF EQUIPPED
HomeLink� replaces up to three remote controls (hand-
held transmitters) that operate devices such as garage
door openers, motorized gates, lighting or home security
systems. The HomeLink� unit operates off your vehicle’s
battery.
The HomeLink� buttons are located in the overhead
console, and contain one, two or three dots/lines desig-
nating the different HomeLink� channels.
164 UNDERSTANDING THE FEATURES OF YOUR VEHICLE
Page 206 of 465
•Right Front Low Pressure (with a single chime). Refer
to information on “Tire Pressure” and “Tire Pressure
Monitor” under “Starting And Operating.”
•Right Rear Low Pressure (with a single chime). Refer
to information on “Tire Pressure” and “Tire Pressure
Monitor” under “Starting And Operating.”
•Check TPM System (with a single chime). Refer to
information on “Tire Pressure” and “Tire Pressure
Monitor” under “Starting And Operating.”
•Check Gascap (refer to “Adding Fuel” in “Starting
And Operating”)
•Service Park Assist System (with a single chime)
•Turn To Run (refer to “Remote Starting System” in
“Things To Know Before Starting Your Vehicle”)
•Upshift
•0-60 mph (0-100 km/h) (if equipped with Performance
Pages)
•Braking Distance (if equipped with Performance
Pages)
•1/8 Mile (if equipped with Performance Pages)
•1/4 Mile (if equipped with Performance Pages)
•Instantaneous G-Force (if equipped with Performance
Pages)
•Peak G-Force (if equipped with Performance Pages)
•Digital Speedometer (if equipped with Performance
Pages)
4
UNDERSTANDING YOUR INSTRUMENT PANEL 205
Page 266 of 465
After 10 minutes, the system will return to normal AUTO
mode function and the indicator will turn off.
NOTE:
•The surface of the climate control panel and the top
center of the instrument panel should be kept free of
debris due to the location of the climate control
sensors. Mud on the windshield may also cause poor
operation of this system.
•Extended use of recirculation may cause the windows
to fog. If the interior of the windows begin to fog, press
the recirculation button to return to outside air. Some
temp/humidity conditions will cause captured inte-
rior air to condense on windows and hamper visibility.
For this reason, the system will not allow recirculation
to be selected while in Defrost or Defrost/Floor mode.
Attempting to use the recirculation while in these
modes will cause the indicator in the control button to
blink and then turn off.
Manual Operation
This system offers a full complement of manual override
features, which consist of blower preferred automatic,
mode preferred automatic, or blower and mode preferred
automatic. This means the operator can override the
blower, the mode, or both. There is a manual blower
range for times when the AUTO setting is not desired.
The blower can be set to any fixed blower speed by
rotating the blower control knob (on the left).
NOTE:
•For vehicles equipped with Remote Start, the climate
controls will not function during Remote Start opera-
tion if the blower control is left in the “O” (Off)
position.
•Please read the Automatic Temperature Control Op-
eration Chart that follows for details.
4
UNDERSTANDING YOUR INSTRUMENT PANEL 265
Page 277 of 465
Do notpress the accelerator. Use the Fob with Integrated
Key to briefly turn the ignition switch to the START
position and release it as soon as the starter engages. The
starter motor will continue to run, and it will disengage
automatically when the engine is running. If the engine
fails to start, the starter will disengage automatically in
10 seconds. If this occurs, turn the ignition switch to the
LOCK position, wait 10 to 15 seconds, then repeat the
“Normal Starting” procedure.
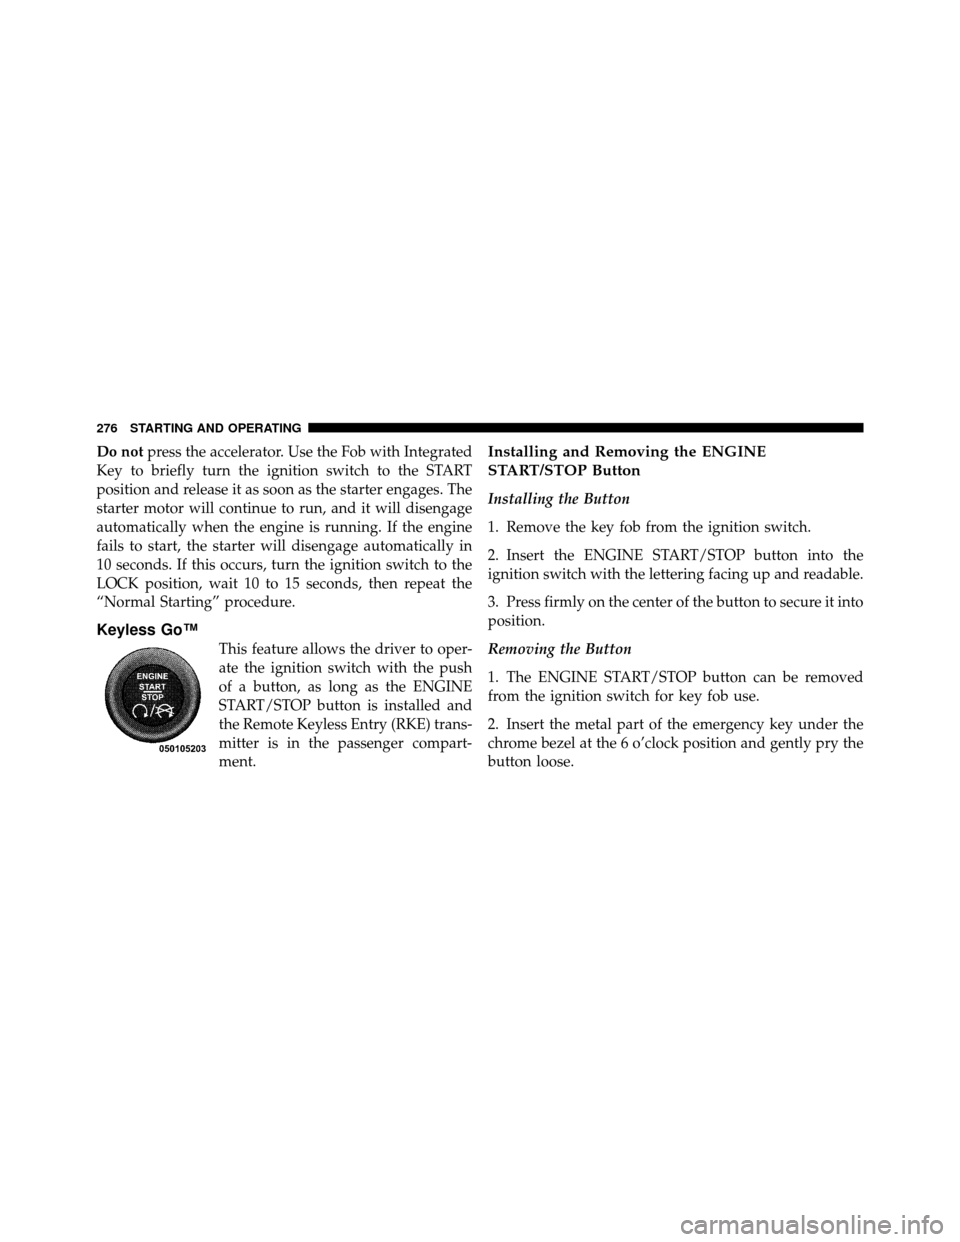
Keyless Go™
This feature allows the driver to oper-
ate the ignition switch with the push
of a button, as long as the ENGINE
START/STOP button is installed and
the Remote Keyless Entry (RKE) trans-
mitter is in the passenger compart-
ment.
Installing and Removing the ENGINE
START/STOP Button
Installing the Button
1. Remove the key fob from the ignition switch.
2. Insert the ENGINE START/STOP button into the
ignition switch with the lettering facing up and readable.
3. Press firmly on the center of the button to secure it into
position.
Removing the Button
1. The ENGINE START/STOP button can be removed
from the ignition switch for key fob use.
2. Insert the metal part of the emergency key under the
chrome bezel at the 6 o’clock position and gently pry the
button loose.
276 STARTING AND OPERATING
Page 357 of 465
CAUTION!
Do not use a portable battery booster pack or any
other booster source with a system voltage greater
than 12 Volts or damage to the battery, starter motor,
alternator or electrical system may occur.
WARNING!
Do not attempt jump-starting if the battery is frozen.
It could rupture or explode and cause personal injury.
Preparations for Jump-Start
The battery is stored under an access cover in the trunk.
Remote battery posts are located on the right side of the
engine compartment for jump-starting.NOTE:
The remote battery posts are viewed by standing
on the right side of the vehicle looking over the fender.
1 — Remote Negative (-) Post
2 — Remote Positive (+) Post
356 WHAT TO DO IN EMERGENCIES
Page 358 of 465
Remote Battery Posts
WARNING!
•Take care to avoid the radiator cooling fan when-
ever the hood is raised. It can start anytime the
ignition switch is on. You can be injured by
moving fan blades.
•Remove any metal jewelry such as watch bands or
bracelets that might make an inadvertent electrical
contact. You could be seriously injured.
•Batteries contain sulfuric acid that can burn your
skin or eyes and generate hydrogen gas which is
flammable and explosive. Keep open flames or
sparks away from the battery.
1. Set the parking brake, shift the automatic transmission
into PARK and turn the ignition to LOCK. 2. Turn off the heater, radio, and all unnecessary electri-
cal accessories.
3. If using another vehicle to jump-start the battery, park
the vehicle within the jumper cables reach, set the
parking brake and make sure the ignition is OFF.
WARNING!
Do not allow vehicles to touch each other as this
could establish a ground connection and personal
injury could result.
Jump-Starting Procedure
WARNING!
Failure to follow this procedure could result in per-
sonal injury or property damage due to battery ex-
plosion.
6
WHAT TO DO IN EMERGENCIES 357