Page 137 of 465
 button to activate
the memory save function. It also contains a rocker
switch labeled with the number (1)")
The Memory switch is located on the driver’s door trim
panel. The switch contains an S (SET) button to activate
the memory save function. It also contains a rocker
switch labeled with the number (1) and the number (2).
The rocker switch allows the driver to recall either of two
pre-programmed memory profiles by pressing the appro-
priate side of the switch.Programming the Memory Feature
To create a new memory profile, perform the following:
NOTE:Saving a new memory profile will erase an
existing profile from memory.
1. Adjust all memory profile settings to desired prefer-
ences (i.e., seat, side mirror, adjustable pedals, power tilt
and telescopic steering column, and radio station pre-
sets).
2. Press and release the SET button on the Memory
switch, then press the side of the rocker switch labeled (1)
within five seconds. The Electronic Vehicle Information
Center (EVIC) will display which memory position is
being set.
If desired, a second memory profile can be stored into
memory as follows:
Memory Switch
136 UNDERSTANDING THE FEATURES OF YOUR VEHICLE
Page 138 of 465
.
2. Press and release the")
1. Adjust all memory profile settings to desired prefer-
ences (i.e., seat, side mirror, adjustable pedals, power tilt,
telescopic steering column, and radio station presets).
2. Press and release the SET button on the Memory
switch, then press the side of the rocker switch labeled (2)
within five seconds. The EVIC will display which
memory position is being set.
NOTE:
•Memory profiles can be set without the vehicle in
PARK, but the vehicle must be in PARK to recall a
memory profile.
•The Recall Memory with Remote Key Unlock feature
can be enabled or disabled. For details, refer to “Elec-
tronic Vehicle Information Center (EVIC)/Customer-
Programmable Features” in “Understanding Your In-
strument Panel” for further information.
Linking and Unlinking the Remote Keyless Entry
Transmitter to Memory
Your RKE transmitters can be programmed to recall one
of two pre-programmed memory profiles by pressing the
UNLOCK button on the RKE transmitter.
To program your RKE transmitters, perform the follow-
ing:
1. Remove the Key Fob from the ignition (or change the
ignition to OFF, for vehicles equipped with Keyless
Go™).
2. Select the desired memory profile 1 or 2.
3. Press and release the SET button on the Memory
switch, then press and release the side of the rocker
switch labeled 1 or 2 accordingly.�Memory Profile Set” (1
or 2) will display in the EVIC.
4. Press and release the LOCK button on the RKE
transmitter within 10 seconds.
3
UNDERSTANDING THE FEATURES OF YOUR VEHICLE 137
Page 139 of 465
 button followed
by the UNLOCK button on the RKE transmitter in Step 4
above.
Memory Position Recall
NOTE: The")
NOTE:Your RKE transmitters can be unlinked to your
memory settings by pressing the SET (S) button followed
by the UNLOCK button on the RKE transmitter in Step 4
above.
Memory Position Recall
NOTE: The vehicle must be in PARK to recall memory
positions. If a recall is attempted when the vehicle is not
in PARK, a message will display in the EVIC.
To recall the memory settings for driver one, press
MEMORY button number 1 on the driver’s door or the
UNLOCK button on the RKE transmitter linked to
memory position 1.
To recall the memory setting for driver two, press
MEMORY button number 2 on the driver’s door or the
UNLOCK button on the RKE transmitter linked to
memory position 2. A recall can be cancelled by pressing any of the
MEMORY buttons (S, 1, or 2) on the driver’s door during
a recall. When a recall is cancelled, the driver seat, side
mirror, adjustable pedals, power tilt and telescopic steer-
ing column stop moving. A delay of one second will
occur before another recall can be selected.Easy Entry/Exit Seat (Available with Memory Seat
Only)
This feature provides automatic driver seat positioning to
enhance driver mobility when entering and exiting the
vehicle.
The distance the driver seat moves depends on where
you have the driver seat positioned when you remove the
Key Fob from the ignition (or change the ignition to OFF,
for vehicles equipped with Keyless Go™).
138 UNDERSTANDING THE FEATURES OF YOUR VEHICLE
Page 144 of 465
/Customer-Programmable Features” in “Under-
standing Your Instrument Panel")
The Headlights On with Wipers feature can be enabled or
disabled. Refer to “Electronic Vehicle Information Center
(EVIC)/Customer-Programmable Features” in “Under-
standing Your Instrument Panel” for further information.
SmartBeam™ — If Equipped
The SmartBeam™ system provides increased forward
lighting at night by automating high beam control
through the use of a digital camera mounted on the
inside rearview mirror. This camera detects vehicle spe-
cific light and automatically switches from high beams to
low beams until the approaching vehicle is out of view.
To Activate
1. Select “Automatic High Beams — ON” through the
Electronic Vehicle Information Center (EVIC). Refer to
“Electronic Vehicle Information Center (EVIC)/
Customer-Programmable Features” in “Understanding
Your Instrument Panel” for further information.2. Rotate the headlight switch counterclockwise to the
AUTO position.
3. Push the multifunction lever away from you to switch
the headlights to the high beam position.
NOTE:
This system will not activate until the vehicle is
at or above 25 mph (40 km/h).
To Deactivate
Perform either of the following steps to deactivate the
SmartBeam™ system.
1. Pull the multifunction lever toward you to switch the
headlights from the high beam to the low beam position.
2. Rotate the headlight switch clockwise from the AUTO
to the on position.
NOTE: Broken, muddy, or obstructed headlights and
taillights of vehicles in the field of view will cause
headlights to remain on longer (closer to the vehicle).
3
UNDERSTANDING THE FEATURES OF YOUR VEHICLE 143
Page 160 of 465
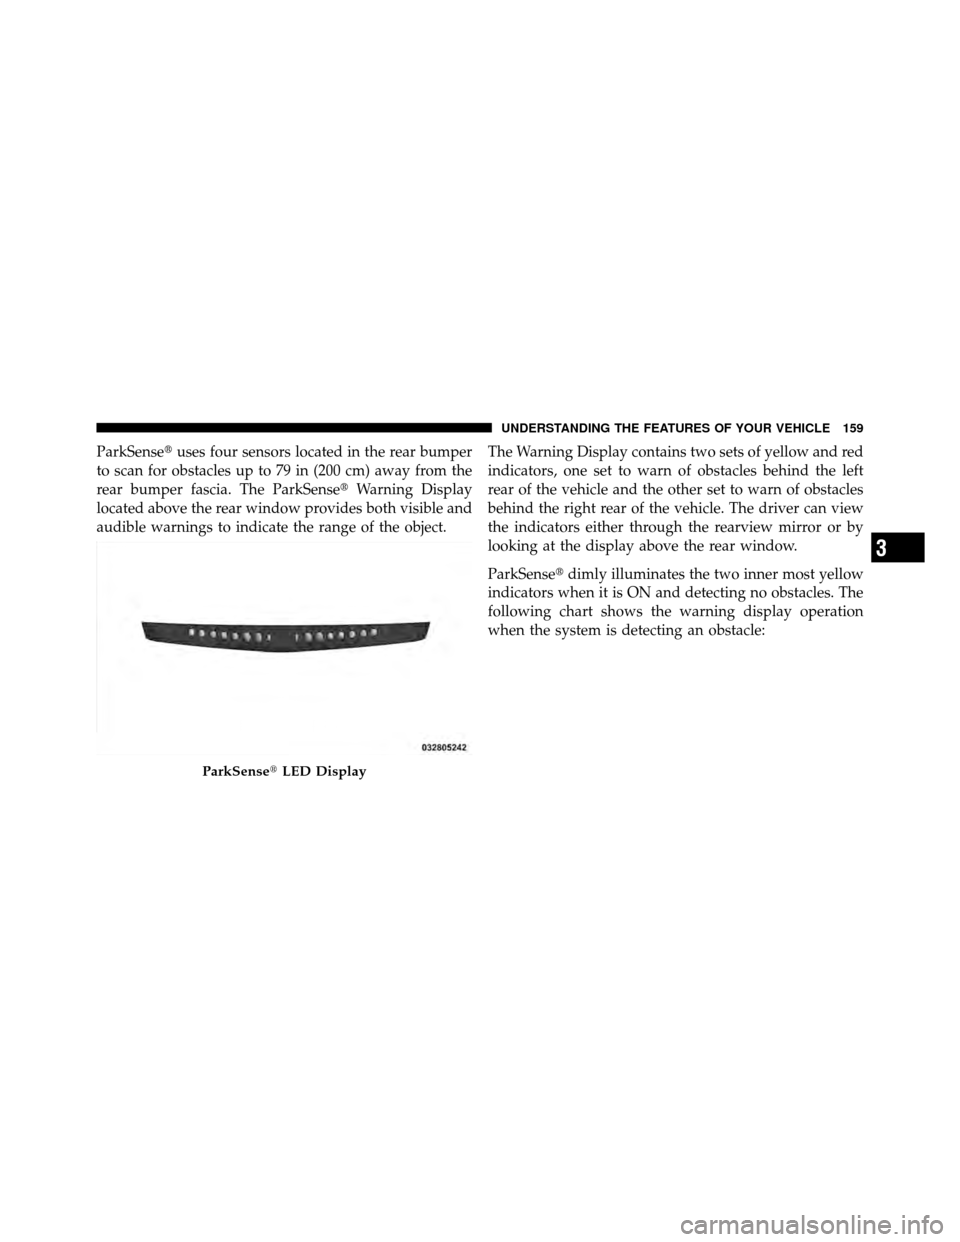
ParkSense�uses four sensors located in the rear bumper
to scan for obstacles up to 79 in (200 cm) away from the
rear bumper fascia. The ParkSense� Warning Display
located above the rear window provides both visible and
audible warnings to indicate the range of the object. The Warning Display contains two sets of yellow and red
indicators, one set to warn of obstacles behind the left
rear of the vehicle and the other set to warn of obstacles
behind the right rear of the vehicle. The driver can view
the indicators either through the rearview mirror or by
looking at the display above the rear window.
ParkSense�
dimly illuminates the two inner most yellow
indicators when it is ON and detecting no obstacles. The
following chart shows the warning display operation
when the system is detecting an obstacle:
ParkSense� LED Display
3
UNDERSTANDING THE FEATURES OF YOUR VEHICLE 159
Page 182 of 465

REAR WINDOW FEATURES
Rear Window Defroster
The rear window defroster button is located on the
climate control. Press this button to turn on the
rear window defroster and the heated outside mirrors (if
equipped). An indicator in the button will illuminate
when the rear window defroster is on. The rear window
defroster automatically turns off after approximately
10 minutes. For an additional five minutes of operation,
press the button a second time.
CAUTION!
Failure to follow these cautions can cause damage to
the heating elements:
(Continued)
CAUTION! (Continued)
•Use care when washing the inside of the rear
window. Do not use abrasive window cleaners on
the interior surface of the window. Use a soft cloth
and a mild washing solution, wiping parallel to
the heating elements. Labels can be peeled off
after soaking with warm water.
•Do not use scrapers, sharp instruments, or abra-
sive window cleaners on the interior surface of the
window.
•Keep all objects a safe distance from the window.
3
UNDERSTANDING THE FEATURES OF YOUR VEHICLE 181
Page 219 of 465
, and power tilt and telescopic steering column
(if equipped), and a set of desi")
Each memory profile contains desired position settings
for the driver seat, side mirror, adjustable pedals (if
equipped), and power tilt and telescopic steering column
(if equipped), and a set of desired radio station presets.
When OFF is selected, only the memory switch on the
driver’s door panel will recall memory profiles. To make
your selection, press and release the FUNCTION SE-
LECT button until “ON” or “OFF” appears. Refer to
“Driver Memory Seat” in “Understanding The Features
Of Your Vehicle”.
“Sound Horn with Remote Key Lock”
When ON is selected, a short horn sound will occur when
the RKE transmitter LOCK button is pressed. This feature
may be selected with or without the flash lights on
lock/unlock feature. To make your selection, press and
release the FUNCTION SELECT button until “ON” or
“OFF” appears.
“Rain Sensing Intermittent Wipers”
When ON is selected, the system will automatically
activate the windshield wipers if it senses moisture on
the windshield. To make your selection, press and release
the FUNCTION SELECT button until “ON” or “OFF”
appears. When OFF is selected, the system reverts to the
standard intermittent wiper operation.
“Automatically Move Seat Back on Exit” — If
Equipped
This feature provides automatic driver seat positioning to
enhance driver mobility when entering and exiting the
vehicle. To make your selection, press and release the
FUNCTION SELECT button until “ON” or “OFF” ap-
pears.
NOTE:The seat will return to the memorized seat
location (if Recall Memory with Remote Key Unlock is set
to ON) when the RKE transmitter is used to unlock the
218 UNDERSTANDING YOUR INSTRUMENT PANEL
Page 220 of 465

door. Refer to “Driver Memory Seat” in “Understanding
The Features Of Your Vehicle” for further information.
“Flash Lights with Remote Key Lock”
When ON is selected, the front and rear turn signals will
flash when the doors are locked or unlocked with the
RKE transmitter. This feature may be selected with or
without the sound horn on lock feature selected. To make
your selection, press and release the FUNCTION SE-
LECT button until “ON” or “OFF” appears.
“Headlights On with Wipers”
When ON is selected, and the HEADLIGHT switch is in
the AUTO position, the headlights will turn on approxi-
mately 10 seconds after the wipers are turned on. The
headlights will also turn off when the wipers are turned
off if they were turned on by this feature. To make your
selection, press and release the FUNCTION SELECT
button until “ON” or “OFF” appears.NOTE:
Turning the headlights on during the daytime
causes the instrument panel lights to dim. To increase the
brightness, refer to “Lights” in “Understanding The
Features Of Your Vehicle”.
“Delay Turning Headlights Off”
When this feature is selected, the driver can choose to
have the headlights remain on for 0, 30, 60, or 90 seconds
when exiting the vehicle. To make your selection, press
and release the FUNCTION SELECT button until “0,”
“30,” “60,” or “90” appears.
“Tilt Mirrors Down in Reverse”
When ON is selected, the outside rearview mirrors will
tilt downward when the ignition switch is in the ON
position and the transmission is in the REVERSE posi-
tion. The mirrors will move back to their previous
position when the transmission is shifted out of RE-
VERSE. To make your selection, press and release the
FUNCTION SELECT button until “ON” or “OFF”
appears.
4
UNDERSTANDING YOUR INSTRUMENT PANEL 219