2010 CHRYSLER 300 SRT transmission oil
[x] Cancel search: transmission oilPage 25 of 465

2. Remove and replace the battery. Avoid touching the
new battery with your fingers. Skin oils may cause
battery deterioration. If you touch a battery, clean it with
rubbing alcohol.
3. Reposition the access door panel over the battery
opening and snap into place.
General Information
This device complies with Part 15 of the FCC rules and
RSS 210 of Industry Canada. Operation is subject to the
following conditions:
•This device may not cause harmful interference.
•This device must accept any interference received,
including interference that may cause undesired
operation.
NOTE: Changes or modifications not expressly ap-
proved by the party responsible for compliance could
void the user’s authority to operate the equipment. If your RKE transmitter fails to operate from a normal
distance, check for these two conditions:
1. A weak battery in the transmitter. The expected life of
the battery is a minimum of three years.
2. Closeness to a radio transmitter such as a radio station
tower, airport transmitter, and some mobile or CB radios.
REMOTE STARTING SYSTEM — IF EQUIPPED
This system uses the Key Fob Remote Keyless
Entry (RKE) transmitter to start the engine
conveniently from outside the vehicle while
still maintaining security. The system has a
range of approximately 300 ft (91 m).
NOTE:
•The vehicle must be equipped with an automatic
transmission to be equipped with Remote Start.
•Obstructions between the vehicle and the Key Fob
may reduce this range.
24 THINGS TO KNOW BEFORE STARTING YOUR VEHICLE
Page 217 of 465

System Warnings (Customer Information
Features)
Press and release the MENU button until “SYSTEM
WARNINGS” displays in the EVIC. Then, press the
SCROLL button to display anyone of the following
choices.
•Oil Temperature
Shows the actual oil temperature.
•Oil Pressure
Shows the actual oil pressure.
•Tire Pressure
Shows the actual tire pressure for each tire (EXCLUDING
THE SPARE TIRE).
Personal Settings (Customer-Programmable
Features)
Personal Settings allows the driver to set and recall
features when the transmission is in PARK. Press and release the MENU button until Personal Set-
tings displays in the EVIC.
Use the SCROLL button to display one of the following
choices:
“Language”
When in this display, you may select one of five lan-
guages for all display nomenclature, including the trip
functions and the navigation system (if equipped). Press
the FUNCTION SELECT button while in this display to
select English, Espanol, Deutsch, Italiano, or Francais.
Then, as you continue, the information will display in the
selected language.
NOTE:
The EVIC will not change the Uconnect™ lan-
guage selection. Refer to the Uconnect™ User Manual
located on the DVD for further details.
216 UNDERSTANDING YOUR INSTRUMENT PANEL
Page 284 of 465
WARNING!
Unintended movement of a vehicle could injure
those in and near the vehicle. As with all vehicles,
you should never exit a vehicle while the engine is
running. Before exiting a vehicle, you should always
shift the transmission into PARK, remove the key fob
from the ignition, and apply the parking brake. Once
the key fob is removed from the ignition, the shift
lever is locked in the PARK position, securing the
vehicle against unwanted movement. Furthermore,
you should never leave unattended children inside a
vehicle.
Over-Temperature Mode
The transmission electronics constantly monitor the
transmission oil temperature. If the transmission exceeds
normal operating temperature, the transmission will
change the way it shifts to help control the condition.This may result in a slightly different feeling or response
during normal operation in DRIVE position. After the
transmission cools down, it will return to normal
operation.
Key Ignition Park Interlock
This vehicle is equipped with a Key Ignition Park Inter-
lock which requires the shift lever to be placed in PARK
prior to rotating the ignition switch to the LOCK posi-
tion. The key fob can only be removed from the ignition
when the ignition switch is in the LOCK position and
once removed the shift lever is locked in PARK.
Brake/Transmission Shift Interlock System
This vehicle is equipped with a Brake Transmission Shift
Interlock (BTSI) system that holds the shift lever in the
PARK position when the ignition switch is in the LOCK
position (OFF position with Keyless Go™). To move the
shift lever out of the PARK position, the ignition switch
5
STARTING AND OPERATING 283
Page 293 of 465
Shallow Standing Water
Although your vehicle is capable of driving through
shallow standing water, consider the following Caution
and Warning before doing so.
CAUTION!
•Always check the depth of the standing water
before driving through it. Never drive through
standing water that is deeper than the bottom of
the tire rims mounted on the vehicle.
•Determine the condition of the road or the path
that is under water and if there are any obstacles in
the way before driving through the standing wa-
ter.
•Do not exceed 5 mph (8 km/h) when driving
through standing water. This will minimize wave
effects.(Continued)
CAUTION! (Continued)
•Driving through standing water may cause dam-
age to your vehicle’s drivetrain components. Al-
ways inspect your vehicle’s fluids (i.e., engine oil,
transmission, axle, etc.) for signs of contamination
(i.e., fluid that is milky or foamy in appearance)
after driving through standing water. Do not con-
tinue to operate the vehicle if any fluid appears
contaminated, as this may result in further dam-
age. Such damage is not covered by the New
Vehicle Limited Warranty.
•Getting water inside your vehicle’s engine can
cause it to lock up and stall out, and cause serious
internal damage to the engine. Such damage is not
covered by the New Vehicle Limited Warranty.
292 STARTING AND OPERATING
Page 352 of 465
3. Uncoil the Sealant Hose (6) and then remove the
yellow cap from the fitting at the end of the hose.
4. Place the TIREFIT kit flat on the ground next to the
deflated tire.
5. Remove the cap from the valve stem and then screw
the fitting at the end of the Sealant Hose (6) onto the
valve stem.
6. Uncoil the Power Plug (8) and then insert the plug into
the vehicle’s 12 Volt power outlet.
NOTE:Do not remove foreign objects (e.g., screws or
nails) from the tire.
(C) Injecting TIREFIT Sealant into the deflated
tire:
•
Always start the engine before turning ON the TIRE-
FIT kit. NOTE:
Manual transmission vehicles must have the
parking brake engaged and the shifter in NEUTRAL.
•After pressing the Power Button (4), the sealant (white
fluid) will flow from the Sealant Bottle (1) through the
Sealant Hose (6) and into the tire.
NOTE: Sealant may leak out through the puncture in
the tire.
If the sealant (white fluid) does not flow within 0 –
10 seconds through the Sealant Hose (6):
1. Press the Power Button (4) to turn OFF the TIREFIT
kit. Disconnect the Sealant Hose (6) from the valve stem.
Make sure the valve stem is free of debris. Reconnect the
Sealant Hose (6) to the valve stem. Check that the Mode
Select Knob (5) is in the sealant mode position and not air
mode. Press the Power Button (4) to turn ON the TIREFIT
kit.
6
WHAT TO DO IN EMERGENCIES 351
Page 371 of 465
CAUTION! (Continued)
•Your vehicle has been built with improved fluids
that protect the performance and durability of
your vehicle and also allow extended maintenance
intervals. Do not use chemical flushes in these
components as the chemicals can damage your
engine, transmission, power steering or air condi-
tioning. Such damage is not covered by the New
Vehicle Limited Warranty. If a flush is needed
because of component malfunction, use only the
specified fluid for the flushing procedure.
Engine Oil
Checking Oil Level
To assure proper engine lubrication, the engine oil must
be maintained at the correct level. Check the oil level at
regular intervals, such as every fuel stop. The best time tocheck the engine oil level is about five minutes after a
fully warmed engine is shut off or before starting the
engine after it has sat overnight.
Checking the oil while the vehicle is on level ground will
improve the accuracy of the oil level readings. Maintain
the oil level in the “SAFE” range. Adding 1.0 qt (1.0 l) of
oil when the reading is at the bottom of the “SAFE” range
will result in an oil level at the top of the “SAFE” range
on these engines.
CAUTION!
Overfilling or underfilling will cause oil aeration or
loss of oil pressure. This could damage your engine.
Change Engine Oil
The oil change indicator system will remind you that it is
time to take your vehicle in for scheduled maintenance.
Refer to “Maintenance Schedule” for further information.
370 MAINTAINING YOUR VEHICLE
Page 424 of 465
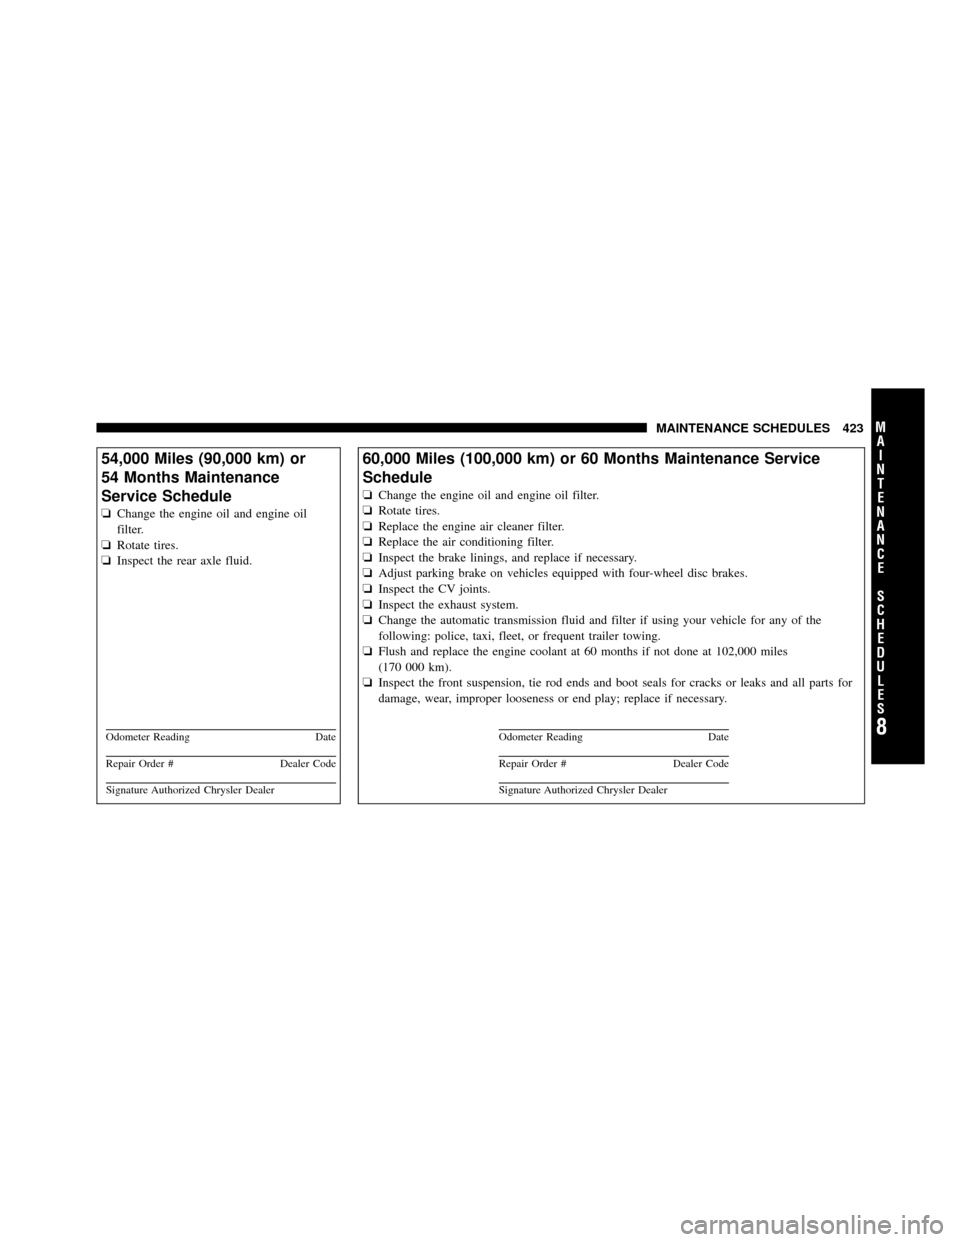
54,000 Miles (90,000 km) or
54 Months Maintenance
Service Schedule
❏Change the engine oil and engine oil
filter.
❏ Rotate tires.
❏ Inspect the rear axle fluid.
Odometer Reading Date
Repair Order #Dealer Code
Signature Authorized Chrysler Dealer
60,000 Miles (100,000 km) or 60 Months Maintenance Service
Schedule
❏Change the engine oil and engine oil filter.
❏ Rotate tires.
❏ Replace the engine air cleaner filter.
❏ Replace the air conditioning filter.
❏ Inspect the brake linings, and replace if necessary.
❏ Adjust parking brake on vehicles equipped with four-wheel disc brakes.
❏ Inspect the CV joints.
❏ Inspect the exhaust system.
❏ Change the automatic transmission fluid and filter if using your vehicle for any of the
following: police, taxi, fleet, or frequent trailer towing.
❏ Flush and replace the engine coolant at 60 months if not done at 102,000 miles
(170 000 km).
❏ Inspect the front suspension, tie rod ends and boot seals for cracks or leaks and all parts for
damage, wear, improper looseness or end play; replace if necessary.
Odometer Reading Date
Repair Order #Dealer Code
Signature Authorized Chrysler Dealer
8
M
A I
N T
E
N A
N CE
S
C
H E
D
U L
E
SMAINTENANCE SCHEDULES 423
Page 429 of 465
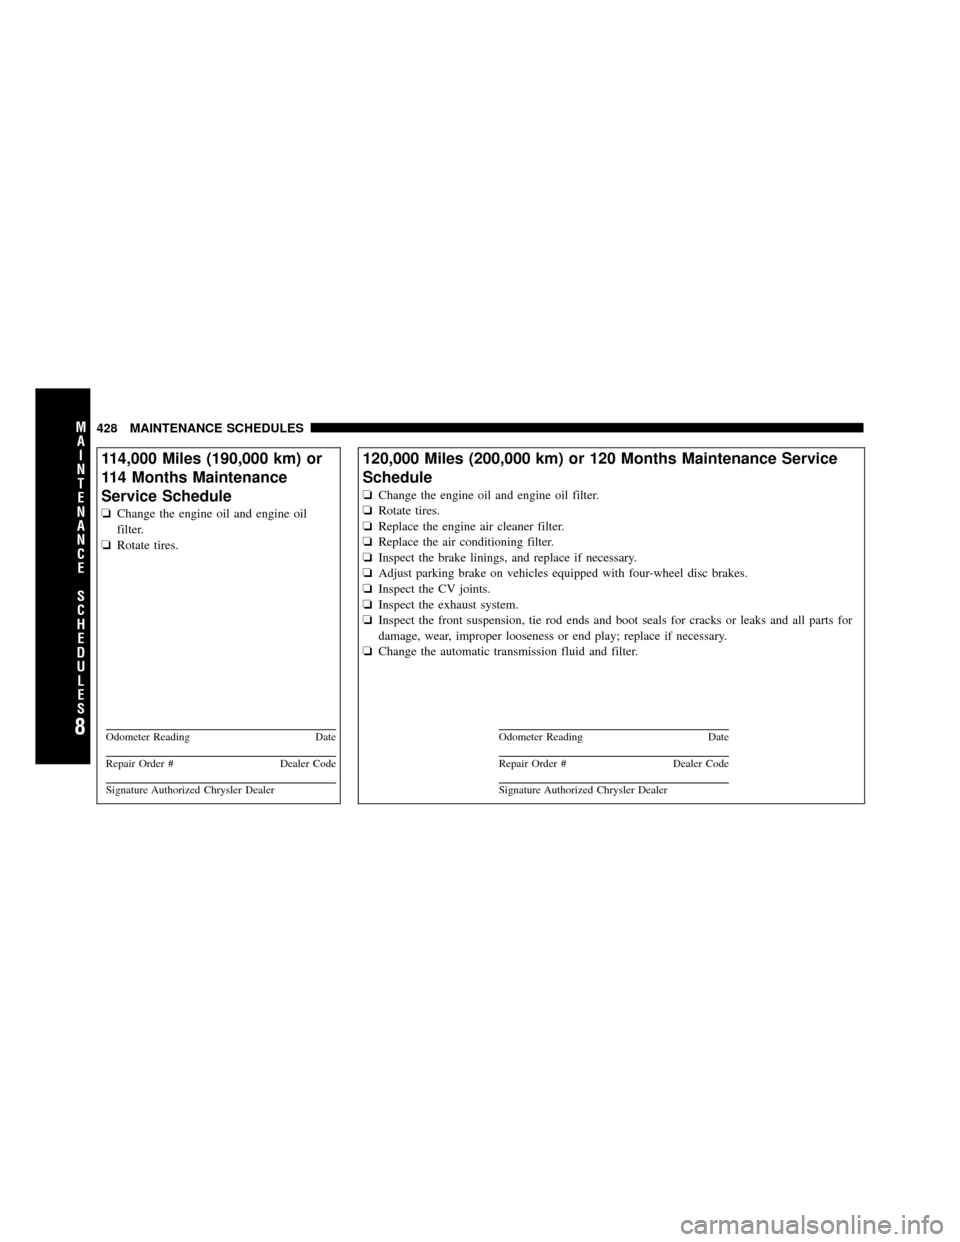
114,000 Miles (190,000 km) or
114 Months Maintenance
Service Schedule
❏Change the engine oil and engine oil
filter.
❏ Rotate tires.
Odometer Reading Date
Repair Order #Dealer Code
Signature Authorized Chrysler Dealer
120,000 Miles (200,000 km) or 120 Months Maintenance Service
Schedule
❏Change the engine oil and engine oil filter.
❏ Rotate tires.
❏ Replace the engine air cleaner filter.
❏ Replace the air conditioning filter.
❏ Inspect the brake linings, and replace if necessary.
❏ Adjust parking brake on vehicles equipped with four-wheel disc brakes.
❏ Inspect the CV joints.
❏ Inspect the exhaust system.
❏ Inspect the front suspension, tie rod ends and boot seals for cracks or leaks and all parts for
damage, wear, improper looseness or end play; replace if necessary.
❏ Change the automatic transmission fluid and filter.
Odometer Reading Date
Repair Order #Dealer Code
Signature Authorized Chrysler Dealer
8
M
A I
N T
E
N A
N CE
S
C
H E
D
U L
E
S428 MAINTENANCE SCHEDULES