2010 CHEVROLET SUBURBAN ECO mode
[x] Cancel search: ECO modePage 348 of 608
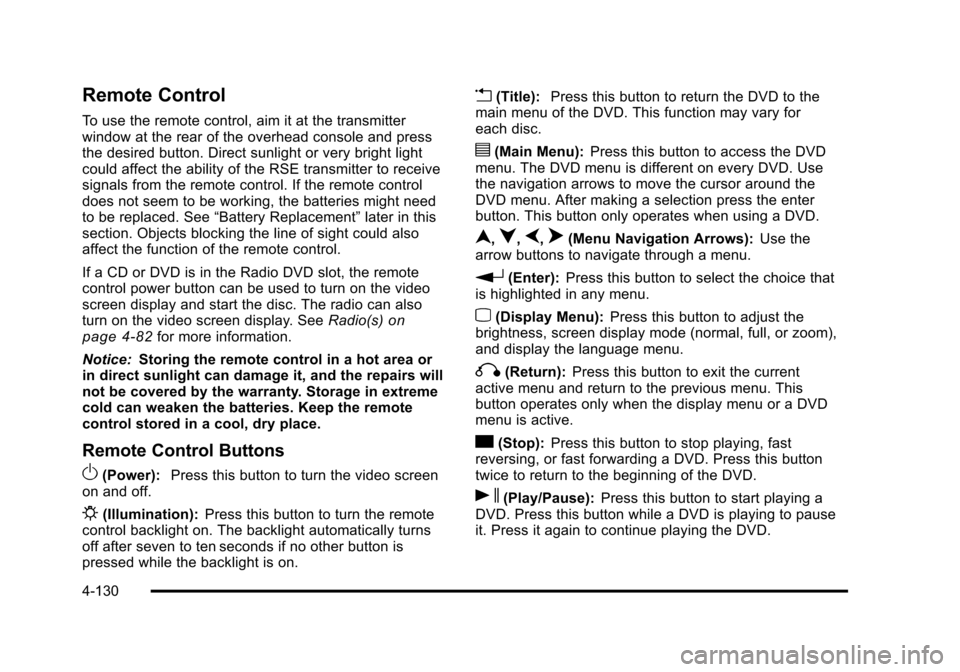
Remote Control
To use the remote control, aim it at the transmitter
window at the rear of the overhead console and press
the desired button. Direct sunlight or very bright light
could affect the ability of the RSE transmitter to receive
signals from the remote control. If the remote control
does not seem to be working, the batteries might need
to be replaced. See“Battery Replacement” later in this
section. Objects blocking the line of sight could also
affect the function of the remote control.
If a CD or DVD is in the Radio DVD slot, the remote
control power button can be used to turn on the video
screen display and start the disc. The radio can also
turn on the video screen display. See Radio(s)
on
page 4‑82for more information.
Notice: Storing the remote control in a hot area or
in direct sunlight can damage it, and the repairs will
not be covered by the warranty. Storage in extreme
cold can weaken the batteries. Keep the remote
control stored in a cool, dry place.
Remote Control Buttons
O(Power): Press this button to turn the video screen
on and off.
P(Illumination): Press this button to turn the remote
control backlight on. The backlight automatically turns
off after seven to ten seconds if no other button is
pressed while the backlight is on.
v(Title): Press this button to return the DVD to the
main menu of the DVD. This function may vary for
each disc.
y(Main Menu): Press this button to access the DVD
menu. The DVD menu is different on every DVD. Use
the navigation arrows to move the cursor around the
DVD menu. After making a selection press the enter
button. This button only operates when using a DVD.
n,q,p,o(Menu Navigation Arrows): Use the
arrow buttons to navigate through a menu.
r(Enter): Press this button to select the choice that
is highlighted in any menu.
z(Display Menu): Press this button to adjust the
brightness, screen display mode (normal, full, or zoom),
and display the language menu.
q(Return): Press this button to exit the current
active menu and return to the previous menu. This
button operates only when the display menu or a DVD
menu is active.
c(Stop): Press this button to stop playing, fast
reversing, or fast forwarding a DVD. Press this button
twice to return to the beginning of the DVD.
s(Play/Pause): Press this button to start playing a
DVD. Press this button while a DVD is playing to pause
it. Press it again to continue playing the DVD.
4-130
Page 349 of 608
On some radios, play may be slowed down by pressing
the play/pause button then pressing the fast forward
button when the DVD is playing. The DVD continues
playing in a slow play mode. Some radios may perform
reverse slow play by pressing the play/pause button
and then pressing the fast reverse button. To cancel
slow play mode, press the play/pause button.
t(Previous Track/Chapter):Press this button to
return to the start of the current track or chapter. Press
this button again to go to the previous track or chapter.
This button might not work when the DVD is playing the
copyright information or the previews.
u(Next Track/Chapter): Press this button to go to the
beginning of the next chapter or track. This button might
not work when the DVD is playing the copyright
information or the previews.
r(Fast Reverse): Press this button to fast reverse
the DVD or CD. To stop fast reversing a DVD video,
press the play button. To stop fast reversing a DVD
audio or CD, release this button. This button might not
work when the DVD is playing the copyright information
or the previews.
[(Fast Forward): Press this button to fast forward the
DVD or CD. To stop fast forwarding a DVD video, press
the play/pause button. To stop fast forwarding a DVD
audio or CD, release this button. This button might not
work when the DVD is playing the copyright information
or the previews.
e(Audio): Press this button to change audio tracks on
DVDs that have this feature when the DVD is playing.
The format and content of this function vary for
each disc.
{(Subtitles): Press this button to turn ON/OFF
subtitles and to move through subtitle options when a
DVD is playing. The format and content of this function
vary for each disc.
AUX (Auxiliary): Press this button to switch the system
between the DVD player and an auxiliary source.
d(Camera): Press this button to change camera
angles on DVDs that have this feature when a DVD is
playing. The format and content of this function vary for
each disc.
1 through 0 (Numeric Keypad): The numeric keypad
provides the capability of direct chapter or track number
selection.
\(Clear): Press this button within three seconds after
entering a numeric selection, to clear all numerical
inputs.
}10 (Double Digit Entries): Press this button to select
chapter or track numbers greater than nine. Press this
button before entering the number.
If the remote control becomes lost or damaged, a new
universal remote control can be purchased. If this
happens, make sure the universal remote control uses
a code set of Toshiba
®.
4-131
Page 350 of 608
Battery Replacement
To change the remote control batteries:1. Slide the rear cover back on to the remote control.
2. Replace the two batteries in the compartment. Make sure that they are installed correctly,
using the diagram on the inside of the battery
compartment.
3. Replace the battery cover.
If the remote control is to be stored for a long period of
time, remove the batteries and keep them in a cool, dry
place.
Tips and Troubleshooting Chart
Problem Recommended Action
No power. The ignition might not be
turned ON/RUN or in
ACC/ACCESSORY.
The picture does not fill the
screen. There are black
borders on the top and
bottom or on both sides or
it looks stretched out. Check the display mode
settings in the setup menu
by pressing the display
menu button on the remote
control.
In auxiliary mode, the
picture moves or scrolls. Check the auxiliary input
connections at both
devices.
Tips and Troubleshooting Chart (cont'd)
Problem
Recommended Action
The remote control does
not work. Check to make sure there
is no obstruction between
the remote control and
the transmitter window.
Check the batteries to
make sure they are not
dead or installed
incorrectly.
After stopping the player,
I push Play but sometimes
the DVD starts where I left
off and sometimes at the
beginning. If the stop button was
pressed one time, the DVD
player resumes playing
where the DVD was
stopped. If the stop button
was pressed two times the
DVD player begins to play
from the beginning of
the DVD.
The auxiliary source is
running but there is no
picture or sound. Check that the RSE
video screen is in the
auxiliary source mode.
Check the auxiliary input
connections at both
devices.
4-132
Page 356 of 608
For vehicles with a navigation system:1. Press and hold
¨until a beep is heard, to place
the radio into SCAN mode, a station will play for
five seconds before moving to the next station.
2. To stop the SCAN function, press
¨again.
While listening to a CD/DVD, press and hold
¨to
quickly move forward through the tracks. Release to
stop on the desired track.
+
e−e(Volume): Press to increase or to decrease
the volume.
Radio Reception
Frequency interference and static can occur during
normal radio reception if items such as cell phone
chargers, vehicle convenience accessories, and
external electronic devices are plugged into the
accessory power outlet. If there is interference or static,
unplug the item from the accessory power outlet.
AM
The range for most AM stations is greater than for FM,
especially at night. The longer range can cause station
frequencies to interfere with each other. For better radio
reception, most AM radio stations boost the power
levels during the day, and then reduce these levels
during the night. Static can also occur when things like
storms and power lines interfere with radio reception.
When this happens, try reducing the treble on the radio.
FM Stereo
FM signals only reach about 10 to 40 miles
(16 to 65 km). Although the radio has a built-in electronic
circuit that automatically works to reduce interference,
some static can occur, especially around tall buildings
or hills, causing the sound to fade in and out.
XM™ Satellite Radio Service
XM Satellite Radio Service gives digital radio reception
from coast-to-coast in the 48 contiguous United States,
and in Canada. Just as with FM, tall buildings or hills
can interfere with satellite radio signals, causing the
sound to fade in and out. In addition, traveling or
standing under heavy foliage, bridges, garages,
or tunnels may cause loss of the XM signal for a period
of time.
4-138
Page 361 of 608
For persons under 21, it is against the law in every
U.S. state to drink alcohol. There are good medical,
psychological, and developmental reasons for
these laws.
The obvious way to eliminate the leading highway
safety problem is for people never to drink alcohol and
then drive.
Medical research shows that alcohol in a person's
system can make crash injuries worse, especially
injuries to the brain, spinal cord, or heart. This means
that when anyone who has been drinking—driver or
passenger —is in a crash, that person's chance of
being killed or permanently disabled is higher than if the
person had not been drinking.
Control of a Vehicle
The following three systems help to control the vehicle
while driving —brakes, steering, and accelerator. At
times, as when driving on snow or ice, it is easy to ask
more of those control systems than the tires and road
can provide. Meaning, you can lose control of the
vehicle. See StabiliTrak
®System on page 5‑6.
Adding non‐dealer/non‐retailer accessories can affect
vehicle performance. See Accessories and
Modifications on page 6‑4.
Braking
If the vehicle is a Two‐mode Hybrid, see the Two‐mode
Hybrid manual for more information.
See Brake System Warning Light on page 4‑36.
Braking action involves perception time and reaction
time. Deciding to push the brake pedal is perception
time. Actually doing it is reaction time.
Average reaction time is about three‐fourths of a
second. But that is only an average. It might be less
with one driver and as long as two or three seconds or
more with another. Age, physical condition, alertness,
coordination, and eyesight all play a part. So do alcohol,
drugs, and frustration. But even in three‐fourths of a
second, a vehicle moving at 100 km/h (60 mph) travels
20 m (66 feet). That could be a lot of distance in an
emergency, so keeping enough space between the
vehicle and others is important.
And, of course, actual stopping distances vary greatly
with the surface of the road, whether it is pavement or
gravel; the condition of the road, whether it is wet, dry,
or icy; tire tread; the condition of the brakes; the weight
of the vehicle; and the amount of brake force applied.
5-3
Page 398 of 608
Towing
Towing Your Vehicle
To avoid damage, the disabled vehicle should be towed
with all four wheels off the ground. Consult your dealer
or a professional towing service if the disabled vehicle
must be towed. SeeRoadside Assistance Program
on
page 8‑7.
To tow the vehicle behind another vehicle for
recreational purposes, such as behind a motorhome,
see “Recreational Vehicle Towing” following.
Recreational Vehicle Towing
If the vehicle has a two–mode hybrid engine, see the
Two–mode Hybrid manual for more information.
Recreational vehicle towing means towing the vehicle
behind another vehicle–such as behind a motorhome.
The two most common types of recreational vehicle
towing are known as dinghy towing and dolly towing.
Dinghy towing is towing the vehicle with all four wheels
on the ground. Dolly towing is towing the vehicle with
two wheels on the ground and two wheels up on a
device known as a dolly. Here are some important things to consider before
recreational vehicle towing:
.What is the towing capacity of the towing vehicle?
Be sure to read the tow vehicle manufacturer's
recommendations.
.What is the distance that will be travelled? Some
vehicles have restrictions on how far and how long
they can tow.
.Is the proper towing equipment going to be used?
See your dealer or trailering professional for
additional advice and equipment
recommendations.
.Is the vehicle ready to be towed? Just as preparing
the vehicle for a long trip, make sure the vehicle is
prepared to be towed. See
Before Leaving on a
Long Trip on page 5‑24.
5-40
Page 405 of 608
Autoride also interacts with the tow/haul mode that,
when activated, will provide additional control of the
shock absorbers. This additional control results in better
ride and handling characteristics when the vehicle is
loaded or towing a trailer. See“Tow/Haul Mode”under
Towing a Trailer
on page 5‑47for more information.
Towing a Trailer
If the vehicle has a two–mode hybrid engine, see the
Two–mode Hybrid manual for more information.
Do not tow a trailer during break‐in. See New Vehicle
Break-In
on page 3‑26for more information.
{WARNING:
The driver can lose control when pulling a trailer if
the correct equipment is not used or the vehicle is
not driven properly. For example, if the trailer is
too heavy, the brakes may not work well —or
even at all. The driver and passengers could be
seriously injured. The vehicle may also be
damaged; the resulting repairs would not be
covered by the vehicle warranty. Pull a trailer only
if all the steps in this section have been followed.
Ask your dealer for advice and information about
towing a trailer with the vehicle. Notice:
Pulling a trailer improperly can damage the
vehicle and result in costly repairs not covered by
the vehicle warranty. To pull a trailer correctly,
follow the advice in this section and see your dealer
for important information about towing a trailer with
the vehicle.
To identify the trailering capacity of the vehicle, read the
information in “Weight of the Trailer” that appears later
in this section.
Trailering is different than just driving the vehicle
by itself. Trailering means changes in handling,
acceleration, braking, durability and fuel economy.
Successful, safe trailering takes correct equipment,
and it has to be used properly.
The following information has many time-tested,
important trailering tips and safety rules. Many of
these are important for your safety and that of your
passengers. So please read this section carefully before
pulling a trailer.
5-47
Page 412 of 608
Tow/Haul Mode
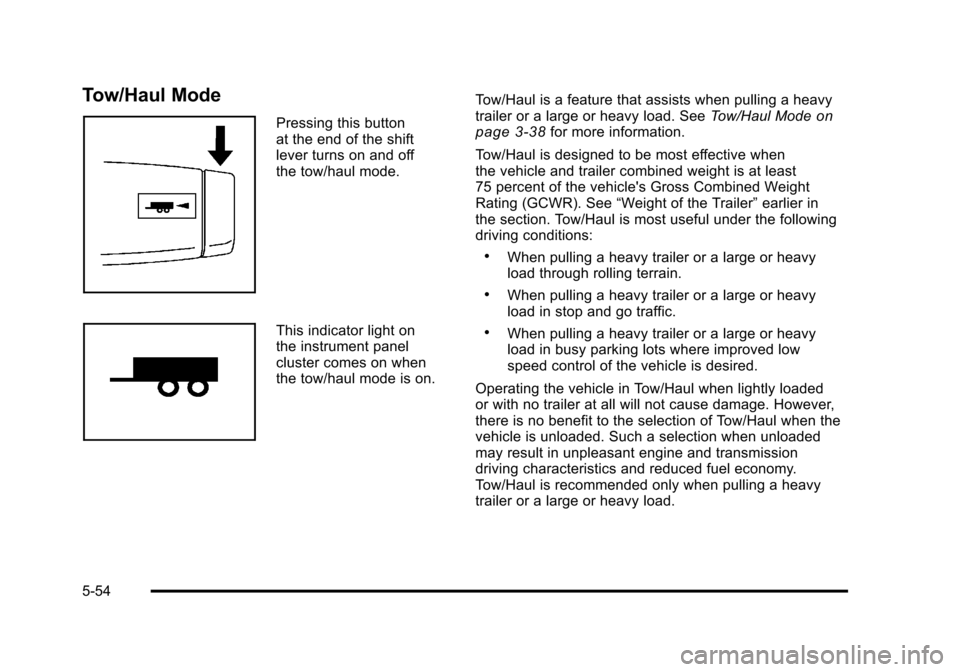
Pressing this button
at the end of the shift
lever turns on and off
the tow/haul mode.
This indicator light on
the instrument panel
cluster comes on when
the tow/haul mode is on.Tow/Haul is a feature that assists when pulling a heavy
trailer or a large or heavy load. See
Tow/Haul Mode
on
page 3‑38for more information.
Tow/Haul is designed to be most effective when
the vehicle and trailer combined weight is at least
75 percent of the vehicle's Gross Combined Weight
Rating (GCWR). See “Weight of the Trailer” earlier in
the section. Tow/Haul is most useful under the following
driving conditions:
.When pulling a heavy trailer or a large or heavy
load through rolling terrain.
.When pulling a heavy trailer or a large or heavy
load in stop and go traffic.
.When pulling a heavy trailer or a large or heavy
load in busy parking lots where improved low
speed control of the vehicle is desired.
Operating the vehicle in Tow/Haul when lightly loaded
or with no trailer at all will not cause damage. However,
there is no benefit to the selection of Tow/Haul when the
vehicle is unloaded. Such a selection when unloaded
may result in unpleasant engine and transmission
driving characteristics and reduced fuel economy.
Tow/Haul is recommended only when pulling a heavy
trailer or a large or heavy load.
5-54