Page 531 of 608
G. Tire/WheelRetainer
H. Spare Tire/Flat Tire (Valve Stem
Pointed Down) I. Hoist Shaft
Access Hole
J. Hoist End of Extension Tool
K. Spare Tire Lock
1. Put the tire (H) on the ground at the rear of the vehicle with the valve stem pointed down, and to
the rear.
2. Tilt the tire toward the vehicle. Separate thetire/wheel retainer (G) from the guide pin. Pull the
pin through the center of the wheel. Tilt the retainer
down through the center wheel opening.
Make sure the retainer is fully seated across the
underside of the wheel.
3. Assemble the two jack handle extensions (D) andwheel wrench (E) as shown.
4. Insert the open endof the extension (J)
through the hole in the
rear bumper (I) (hoist
shaft access hole).
6-105
Page 532 of 608
5. Raise the tire part way upward. Make sure theretainer is seated in the wheel opening.
6. Raise the tire fully against the underside of the vehicle by turning the wheel wrench clockwise until
you hear two clicks or feel it skip twice. You cannot
overtighten the cable.
7. Make sure the tire is stored securely. Push,pull (A), and then try to turn (B) the tire. If the tire
moves, use the wheel wrench to tighten the cable.
8. Reinstall the spare tire lock.
9. Reinstall the hoist shaft access cover. To store the tools, do the following:
A. Wheel Blocks
B. Tool Bag with
Jack Tools
C. Retaining Bracket
D. Wing Nut Retaining Tool Bag E. Jack
F. Wing Nut Retaining Wheel Blocks
G. Jack Knob
1. Return the tools (wheel wrench, jack handle, and jack handle extensions) to the tool bag (B).
2. Assemble wheel blocks (A) and jack (E) together with the wing nut (F).
6-106
Page 533 of 608

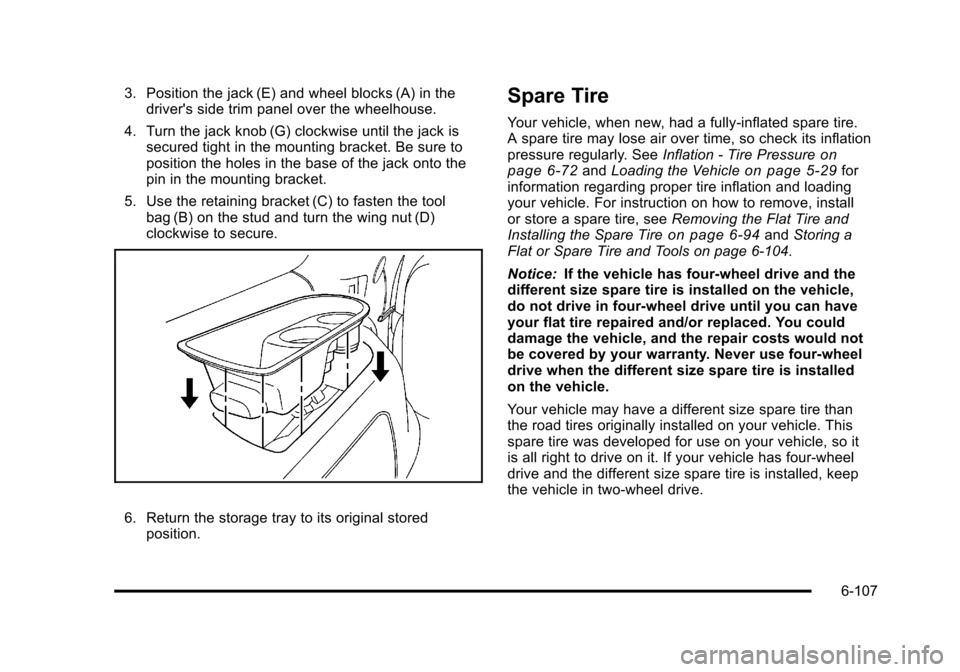
3. Position the jack (E) and wheel blocks (A) in thedriver's side trim panel over the wheelhouse.
4. Turn the jack knob (G) clockwise until the jack is secured tight in the mounting bracket. Be sure to
position the holes in the base of the jack onto the
pin in the mounting bracket.
5. Use the retaining bracket (C) to fasten the tool bag (B) on the stud and turn the wing nut (D)
clockwise to secure.
6. Return the storage tray to its original storedposition.
Spare Tire
Your vehicle, when new, had a fully-inflated spare tire.
A spare tire may lose air over time, so check its inflation
pressure regularly. See Inflation - Tire Pressure
on
page 6‑72and Loading the Vehicleon page 5‑29for
information regarding proper tire inflation and loading
your vehicle. For instruction on how to remove, install
or store a spare tire, see Removing the Flat Tire and
Installing the Spare Tire
on page 6‑94and Storing a
Flat or Spare Tire and Tools on page 6‑104.
Notice: If the vehicle has four-wheel drive and the
different size spare tire is installed on the vehicle,
do not drive in four-wheel drive until you can have
your flat tire repaired and/or replaced. You could
damage the vehicle, and the repair costs would not
be covered by your warranty. Never use four-wheel
drive when the different size spare tire is installed
on the vehicle.
Your vehicle may have a different size spare tire than
the road tires originally installed on your vehicle. This
spare tire was developed for use on your vehicle, so it
is all right to drive on it. If your vehicle has four-wheel
drive and the different size spare tire is installed, keep
the vehicle in two-wheel drive.
6-107
Page 534 of 608

After installing the spare tire on your vehicle, you should
stop as soon as possible and make sure the spare tire
is correctly inflated. Have the damaged or flat road tire
repaired or replaced as soon as you can and installed
back onto your vehicle. This way, the spare tire will be
available in case you need it again.
Do not mix tires and wheels of different sizes, because
they will not fit. Keep your spare tire and its wheel
together. If your vehicle has a spare tire that does not
match your vehicle's original road tires and wheels in
size and type, do not include the spare in the tire
rotation.
Appearance Care
Interior Cleaning
The vehicle's interior will continue to look its best if it is
cleaned often. Although not always visible, dust and dirt
can accumulate on the upholstery. Dirt can damage
carpet, fabric, leather, and plastic surfaces. Regular
vacuuming is recommended to remove particles from
the upholstery. It is important to keep the upholstery
from becoming and remaining heavily soiled. Soils
should be removed as quickly as possible. The
vehicle's interior may experience extremes of heat that
could cause stains to set rapidly.Lighter colored interiors may require more frequent
cleaning. Use care because newspapers and garments
that transfer color to home furnishings may also transfer
color to the vehicle's interior.
When cleaning the vehicle's interior, only use cleaners
specifically designed for the surfaces being cleaned.
Permanent damage may result from using cleaners
on surfaces for which they were not intended. Use
glass cleaner only on glass. Remove any accidental
over-spray from other surfaces immediately. To prevent
over-spray, apply cleaner directly to the cleaning cloth.
Notice:
Using abrasive cleaners when cleaning
glass surfaces on the vehicle, could scratch the
glass and/or cause damage to the rear window
defogger. When cleaning the glass on the vehicle,
use only a soft cloth and glass cleaner.
Many cleaners contain solvents that may become
concentrated in the vehicle's breathing space.
Before using cleaners, read and adhere to all safety
instructions on the label. While cleaning the vehicle's
interior, maintain adequate ventilation by opening the
vehicle's doors and windows.
Dust may be removed from small buttons and knobs
using a small brush with soft bristles.
Products that remove odors from the vehicle's
upholstery and clean the vehicle's glass can be
obtained from your dealer.
6-108
Page 540 of 608

Aluminum or Chrome-Plated Wheels
and Trim
The vehicle may have either aluminum or
chrome-plated wheels.
Keep the wheels clean using a soft clean cloth with mild
soap and water. Rinse with clean water. After rinsing
thoroughly, dry with a soft clean towel. A wax may then
be applied.
Notice:Chrome wheels and other chrome trim
may be damaged if the vehicle is not washed after
driving on roads that have been sprayed with
magnesium, calcium or sodium chloride. These
chlorides are used on roads for conditions such as
ice and dust. Always wash the vehicle's chrome
with soap and water after exposure.
Notice: Using strong soaps, chemicals, abrasive
polishes, cleaners, brushes, or cleaners that contain
acid on aluminum or chrome-plated wheels, could
damage the surface of the wheel(s). The repairs
would not be covered by the vehicle warranty.
Use only approved cleaners on aluminum or
chrome-plated wheels. The surface of these wheels is similar to the painted
surface of the vehicle. Do not use strong soaps,
chemicals, abrasive polishes, abrasive cleaners,
cleaners with acid, or abrasive cleaning brushes on
them because they could damage the surface. Do not
use chrome polish on aluminum wheels.
Notice:
Using chrome polish on aluminum wheels
could damage the wheels. The repairs would not be
covered by the vehicle warranty. Use chrome polish
on chrome wheels only.
Use chrome polish only on chrome-plated wheels, but
avoid any painted surface of the wheel, and buff off
immediately after application.
Notice: Driving the vehicle through an automatic
car wash that has silicone carbide tire cleaning
brushes, could damage the aluminum or
chrome-plated wheels. The repairs would not be
covered by the vehicle warranty. Never drive a
vehicle that has aluminum or chrome-plated wheels
through an automatic car wash that uses silicone
carbide tire cleaning brushes.
6-114
Page 545 of 608
The vehicle may not use all of the fuses shown.Fuses Usage
1 Rear Seats
2 Rear Accessory Power Outlet
3 Steering Wheel Controls Backlight
4 Driver Door Module
5 Dome Lamps, Driver Side Turn Signal
6 Driver Side Turn Signal, Stoplamp
7 Instrument Panel Back Lighting
FusesUsage
8Passenger Side Turn Signal,
Stoplamp
9 Passenger Door Module, Driver
Unlock
10 Power Door Lock 2 (Unlock Feature)
11 Power Door Lock 2 (Lock Feature)
12 Stoplamps, Center-High Mounted
Stoplamp
13 Rear Climate Controls
14 Power Mirror
15 Body Control Module (BCM)
16 Accessory Power Outlets
17 Interior Lamps
18 Power Door Lock 1 (Unlock Feature)
19 Rear Seat Entertainment
20 Ultrasonic Rear Parking Assist, Power
Liftgate
21 Power Door Lock 1 (Lock Feature)
22 Driver Information Center (DIC)
23 Rear Wiper
6-119
Page 552 of 608
ApplicationCapacities
English Metric
Fuel Tank
Regular 26.0 gal98.4 L
Extended 1500 Series 31.5 gal119.2 L
Extended 2500 Series 39.0 gal147.6 L
Transmission Fluid (Pan Removal and Filter Replacement) 6L80-E Transmission 6.0 qt5.7 L
6L90-E Transmission 6.3 qt6.0 L
Transfer Case Fluid 1.6 qt1.5 L
Wheel Nut Torque 140 lb ft190Y
†Oil filter should be changed at every oil change.
All capacities are approximate. When adding, be sure to fill to the approximate level, as recommended in this manual.
Recheck fluid level after filling.
6-126
Page 559 of 608

.Windshield wiper blade inspection for wear,
cracking, or contamination and windshield and
wiper blade cleaning, if contaminated. See
Windshield, Backglass, and Wiper Blades
on
page 6‑113. Worn or damaged wiper blade
replacement. See Windshield Wiper Blade
Replacement on page 6‑61.
.Body hinges and latches, key lock cylinders,
folding seat hardware, and liftgate hinges,
linkage, and handle pivot points lubrication.
See Recommended Fluids and Lubricants
on
page 7‑12. More frequent lubrication may be
required when vehicle is exposed to a corrosive
environment. Applying silicone grease on
weatherstrips with a clean cloth makes them last
longer, seal better, and not stick or squeak.
.Restraint system component check. See Checking
the Restraint Systems on page 2‑101.
.Automatic transmission fluid level check
and adding fluid, if needed. See Automatic
Transmission Fluid (4-Speed Transmission)
on
page 6‑23or Automatic Transmission Fluid
(6-Speed Transmission) on page 6‑26.
.Four‐wheel drive vehicles: Transfer case fluid level
check and adding fluid, if needed.
.Engine air cleaner filter inspection. See Engine Air
Cleaner/Filter on page 6‑21.
Additional Required Services
At Each Fuel Stop
.Engine oil level check. See Engine Oilon
page 6‑17.
.Engine coolant level check. See Engine Coolanton page 6‑31.
.Windshield washer fluid level check. See
Windshield Washer Fluid on page 6‑41.
Once a Month
.Tire inflation check. SeeInflation - Tire Pressureon page 6‑72.
.Tire wear inspection. See Tire Inspection and
Rotation on page 6‑78.
7-5