Page 469 of 626
Then, without shutting off the engine, follow these
steps:
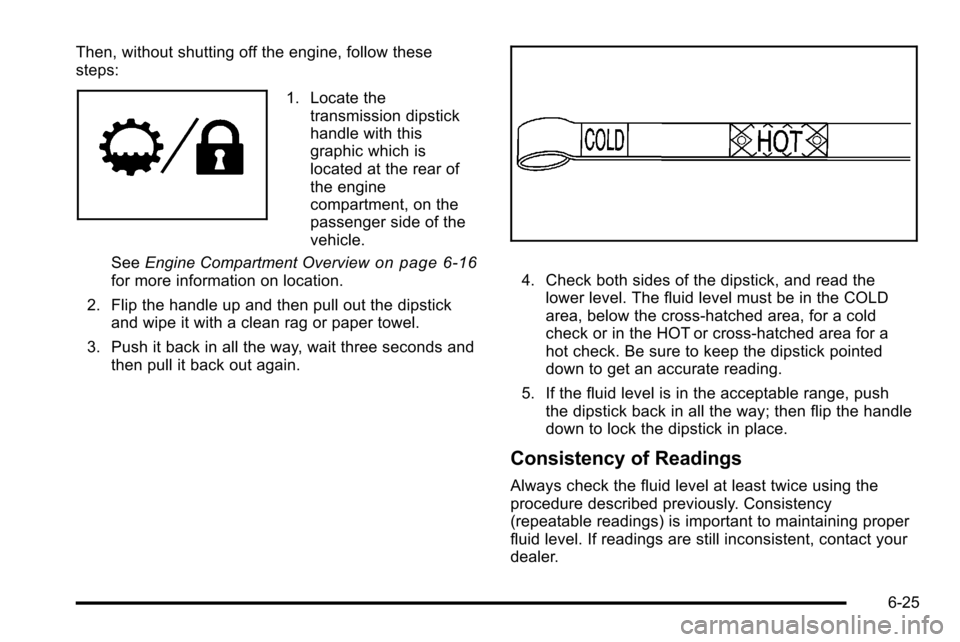
1. Locate thetransmission dipstick
handle with this
graphic which is
located at the rear of
the engine
compartment, on the
passenger side of the
vehicle.
See Engine Compartment Overview
on page 6‑16for more information on location.
2. Flip the handle up and then pull out the dipstick and wipe it with a clean rag or paper towel.
3. Push it back in all the way, wait three seconds and then pull it back out again.4. Check both sides of the dipstick, and read the
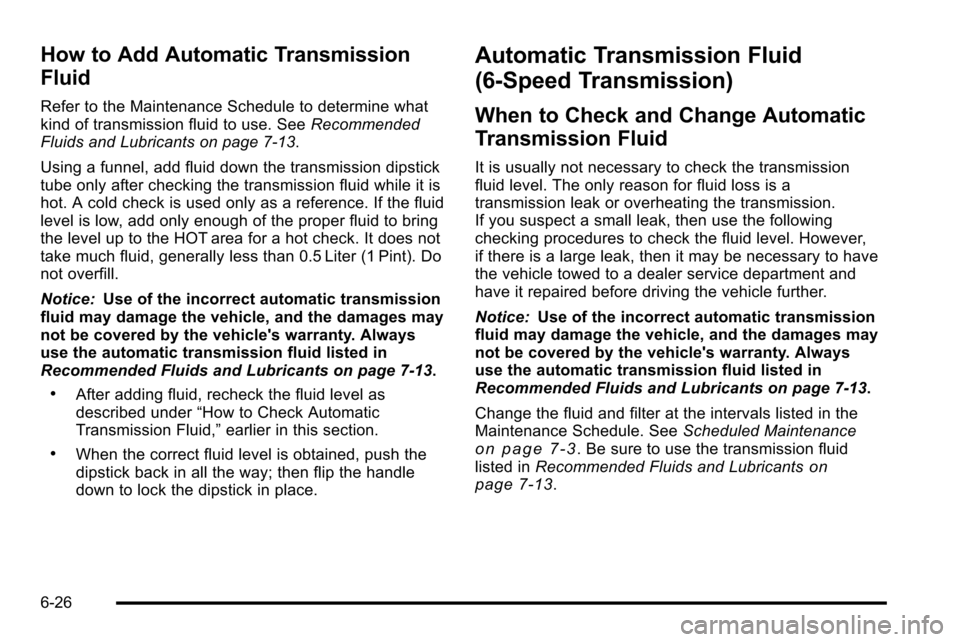
lower level. The fluid level must be in the COLD
area, below the cross-hatched area, for a cold
check or in the HOT or cross-hatched area for a
hot check. Be sure to keep the dipstick pointed
down to get an accurate reading.
5. If the fluid level is in the acceptable range, push the dipstick back in all the way; then flip the handle
down to lock the dipstick in place.
Consistency of Readings
Always check the fluid level at least twice using the
procedure described previously. Consistency
(repeatable readings) is important to maintaining proper
fluid level. If readings are still inconsistent, contact your
dealer.
6-25
Page 470 of 626
How to Add Automatic Transmission
Fluid
Refer to the Maintenance Schedule to determine what
kind of transmission fluid to use. SeeRecommended
Fluids and Lubricants on page 7‑13.
Using a funnel, add fluid down the transmission dipstick
tube only after checking the transmission fluid while it is
hot. A cold check is used only as a reference. If the fluid
level is low, add only enough of the proper fluid to bring
the level up to the HOT area for a hot check. It does not
take much fluid, generally less than 0.5 Liter (1 Pint). Do
not overfill.
Notice: Use of the incorrect automatic transmission
fluid may damage the vehicle, and the damages may
not be covered by the vehicle's warranty. Always
use the automatic transmission fluid listed in
Recommended Fluids and Lubricants on page 7‑13.
.After adding fluid, recheck the fluid level as
described under “How to Check Automatic
Transmission Fluid,” earlier in this section.
.When the correct fluid level is obtained, push the
dipstick back in all the way; then flip the handle
down to lock the dipstick in place.
Automatic Transmission Fluid
(6-Speed Transmission)
When to Check and Change Automatic
Transmission Fluid
It is usually not necessary to check the transmission
fluid level. The only reason for fluid loss is a
transmission leak or overheating the transmission.
If you suspect a small leak, then use the following
checking procedures to check the fluid level. However,
if there is a large leak, then it may be necessary to have
the vehicle towed to a dealer service department and
have it repaired before driving the vehicle further.
Notice:Use of the incorrect automatic transmission
fluid may damage the vehicle, and the damages may
not be covered by the vehicle's warranty. Always
use the automatic transmission fluid listed in
Recommended Fluids and Lubricants on page 7‑13.
Change the fluid and filter at the intervals listed in the
Maintenance Schedule. See Scheduled Maintenance
on page 7‑3. Be sure to use the transmission fluid
listed in Recommended Fluids and Lubricantson
page 7‑13.
6-26
Page 472 of 626
3. Install the dipstick by pushing it back in all the way,wait three seconds, and then pull it back out again.
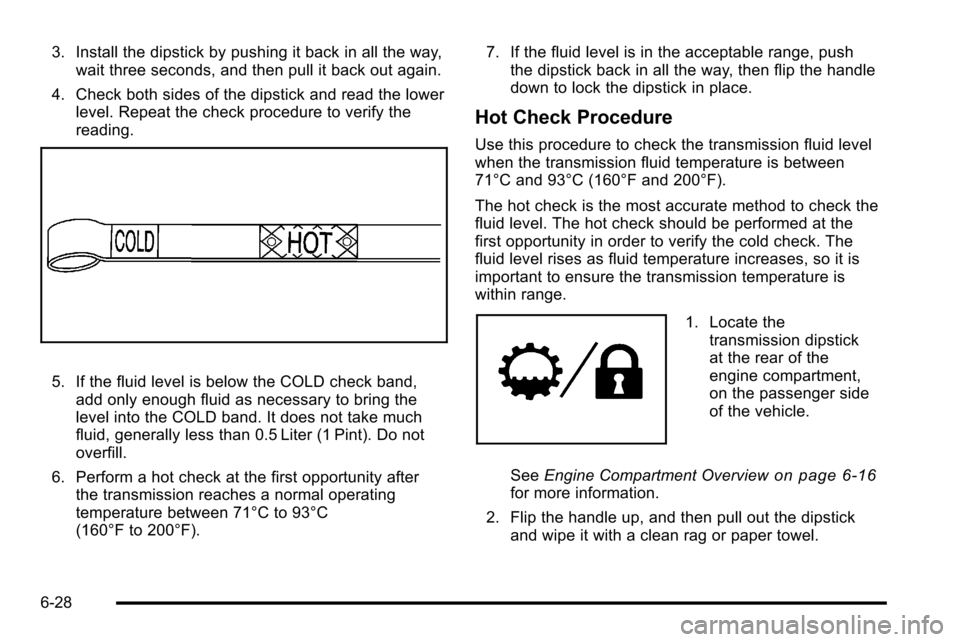
4. Check both sides of the dipstick and read the lower level. Repeat the check procedure to verify the
reading.
5. If the fluid level is below the COLD check band,add only enough fluid as necessary to bring the
level into the COLD band. It does not take much
fluid, generally less than 0.5 Liter (1 Pint). Do not
overfill.
6. Perform a hot check at the first opportunity after the transmission reaches a normal operating
temperature between 71°C to 93°C
(160°F to 200°F). 7. If the fluid level is in the acceptable range, push
the dipstick back in all the way, then flip the handle
down to lock the dipstick in place.
Hot Check Procedure
Use this procedure to check the transmission fluid level
when the transmission fluid temperature is between
71°C and 93°C (160°F and 200°F).
The hot check is the most accurate method to check the
fluid level. The hot check should be performed at the
first opportunity in order to verify the cold check. The
fluid level rises as fluid temperature increases, so it is
important to ensure the transmission temperature is
within range.
1. Locate the
transmission dipstick
at the rear of the
engine compartment,
on the passenger side
of the vehicle.
See Engine Compartment Overview
on page 6‑16for more information.
2. Flip the handle up, and then pull out the dipstick and wipe it with a clean rag or paper towel.
6-28
Page 473 of 626
3. Install the dipstick by pushing it back in all the way,wait three seconds, and then pull it back out again.
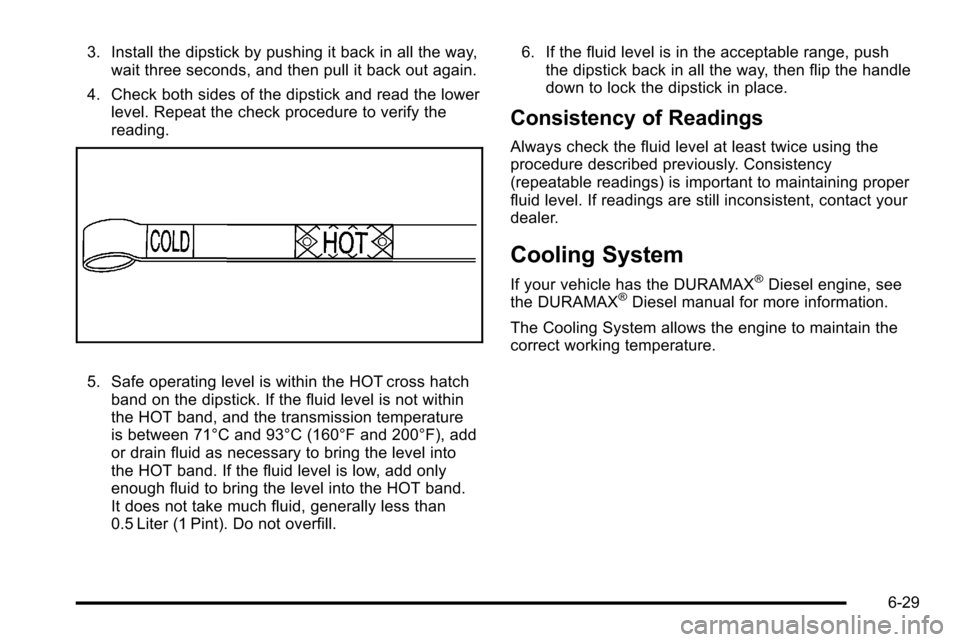
4. Check both sides of the dipstick and read the lower level. Repeat the check procedure to verify the
reading.
5. Safe operating level is within the HOT cross hatchband on the dipstick. If the fluid level is not within
the HOT band, and the transmission temperature
is between 71°C and 93°C (160°F and 200°F), add
or drain fluid as necessary to bring the level into
the HOT band. If the fluid level is low, add only
enough fluid to bring the level into the HOT band.
It does not take much fluid, generally less than
0.5 Liter (1 Pint). Do not overfill. 6. If the fluid level is in the acceptable range, push
the dipstick back in all the way, then flip the handle
down to lock the dipstick in place.
Consistency of Readings
Always check the fluid level at least twice using the
procedure described previously. Consistency
(repeatable readings) is important to maintaining proper
fluid level. If readings are still inconsistent, contact your
dealer.
Cooling System
If your vehicle has the DURAMAX®Diesel engine, see
the DURAMAX®Diesel manual for more information.
The Cooling System allows the engine to maintain the
correct working temperature.
6-29
Page 478 of 626
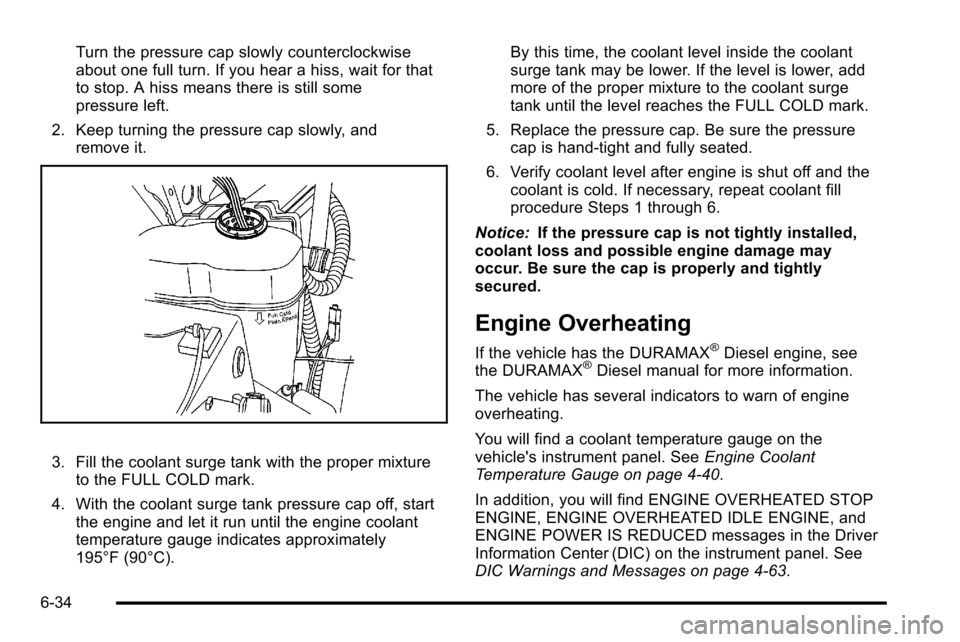
Turn the pressure cap slowly counterclockwise
about one full turn. If you hear a hiss, wait for that
to stop. A hiss means there is still some
pressure left.
2. Keep turning the pressure cap slowly, and remove it.
3. Fill the coolant surge tank with the proper mixtureto the FULL COLD mark.
4. With the coolant surge tank pressure cap off, start the engine and let it run until the engine coolant
temperature gauge indicates approximately
195°F (90°C). By this time, the coolant level inside the coolant
surge tank may be lower. If the level is lower, add
more of the proper mixture to the coolant surge
tank until the level reaches the FULL COLD mark.
5. Replace the pressure cap. Be sure the pressure cap is hand-tight and fully seated.
6. Verify coolant level after engine is shut off and the coolant is cold. If necessary, repeat coolant fill
procedure Steps 1 through 6.
Notice: If the pressure cap is not tightly installed,
coolant loss and possible engine damage may
occur. Be sure the cap is properly and tightly
secured.
Engine Overheating
If the vehicle has the DURAMAX®Diesel engine, see
the DURAMAX®Diesel manual for more information.
The vehicle has several indicators to warn of engine
overheating.
You will find a coolant temperature gauge on the
vehicle's instrument panel. See Engine Coolant
Temperature Gauge on page 4‑40.
In addition, you will find ENGINE OVERHEATED STOP
ENGINE, ENGINE OVERHEATED IDLE ENGINE, and
ENGINE POWER IS REDUCED messages in the Driver
Information Center (DIC) on the instrument panel. See
DIC Warnings and Messages on page 4‑63.
6-34
Page 500 of 626
4. At a wall measure from the ground upward (A) tothe recorded distance from Step 3 and mark it.
5. Draw or tape a horizontal line (B) on the wall or flat surface the width of the vehicle at the height of the
mark in Step 4.
Notice: Do not cover a headlamp to improve beam
cut-off when aiming. Covering a headlamp may
cause excessive heat build-up which may cause
damage to the headlamp.
6. Turn on the low-beam headlamps and place a piece of cardboard or equivalent in front of the
headlamp not being adjusted. This allows only the
beam of light from the headlamp being adjusted to
be seen on the flat surface.
7. Locate the vertical headlamp aiming screws, whichare under the hood near each headlamp assembly.
The adjustment screw can be turned with a
E8 Torx
®socket.
8. Turn the vertical aiming screw until the headlamp beam is aimed to the horizontal tape line. Turn it
clockwise or counterclockwise to raise or lower the
angle of the beam.
6-56
Page 502 of 626
4. Turn the bulb socket counterclockwise to remove itfrom the headlamp assembly and pull it
straight out.
5. Unplug the electrical connector from the old bulb by releasing the clips on the bulb socket.
6. Replace it with a new bulb socket.
7. Plug in the electrical connector to the new bulb socket.
8. Reinstall the new bulb socket into the headlamp assembly and turn it clockwise to secure.
9. Close the hood.
Center High-Mounted Stoplamp
(CHMSL) and Cargo Lamp
To replace one of these bulbs:
1. Remove the screws and lift off the lamp assembly.
6-58
Page 503 of 626
A. Cargo Lamp
B. Center High-Mounted Stoplamp Bulb (CHMSL)
2. Remove the bulbs by turning socket counterclockwise and pulling the bulb straight out.
3. Install the bulbs by pushing the bulb straight in and turning clockwise.
4. Reinstall the lamp assembly and tighten the screws.
Pickup Box Identification and
Fender Marker Lamps
To replace a pickup box identification or fender marker
lamp bulb:
1. Press the tab from the back to remove the lamp.
2. Unplug the lamp assembly harness.
3. Gently pry the individual lamp from the lamp assembly.
4. Unplug the lamp.
5. Plug in a new lamp and snap it into the assembly.
6. Reinstall the lamp assembly.
6-59