2010 CHEVROLET IMPALA checking oil
[x] Cancel search: checking oilPage 271 of 432

Service............................................................6-3
Accessories and Modifications..........................6-3
California Proposition 65 Warning.....................6-4
California Perchlorate Materials Requirements.....6-4
Doing Your Own Service Work.........................6-4
Adding Equipment to the Outside of the
Vehicle . . . . ..................................................6-5
Fuel................................................................6-5
Gasoline Octane............................................6-6
Gasoline Specifications....................................6-6
California Fuel...............................................6-6
Additives.......................................................6-7
Fuel E85 (85% Ethanol)..................................6-8
Fuels in Foreign Countries...............................6-9
Filling the Tank............................................6-10
Filling a Portable Fuel Container.....................6-12
Checking Things Under the Hood....................6-12
Hood Release..............................................6-13
Engine Compartment Overview.......................6-14
Engine Oil...................................................6-15
Engine Oil Life System..................................6-18
Engine Air Cleaner/Filter................................6-19
Automatic Transmission Fluid.........................6-22
Cooling System............................................6-24Engine Coolant.............................................6-25
Engine Overheating.......................................6-29
Overheated Engine Protection
Operating Mode........................................6-32
Power Steering Fluid.....................................6-32
Windshield Washer Fluid . . ..............................6-33
Brakes........................................................6-35
Battery........................................................6-38
Jump Starting...............................................6-39
Headlamp Aiming...........................................6-43
Bulb Replacement..........................................6-43
Halogen Bulbs..............................................6-43
Headlamps, Front Turn Signal, Sidemarker,
and Parking Lamps....................................6-44
Taillamps, Turn Signal, Sidemarker,
Stoplamps and Back-up Lamps...................6-47
License Plate Lamp......................................6-49
Replacement Bulbs.......................................6-49
Windshield Wiper Blade Replacement..............6-49
Tires..............................................................6-51
Tire Sidewall Labeling . . .................................6-52
Tire Terminology and Definitions . . ...................6-56
Inflation - Tire Pressure.................................6-59
Section 6 Service and Appearance Care
6-1
Page 282 of 432

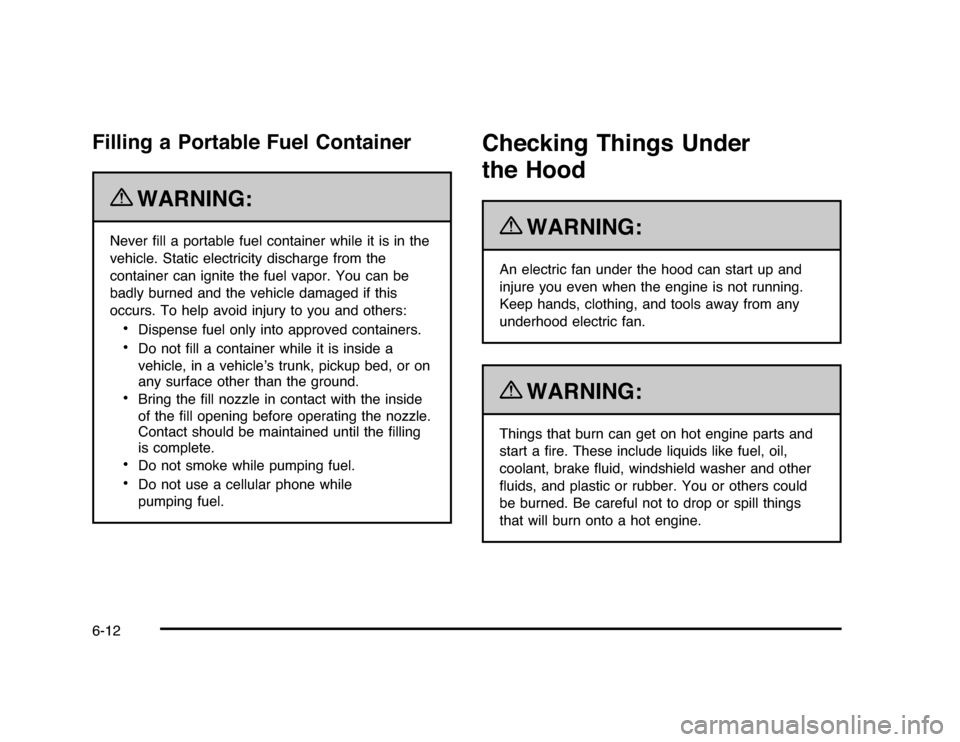
Filling a Portable Fuel Container
{
WARNING:
Never fill a portable fuel container while it is in the
vehicle. Static electricity discharge from the
container can ignite the fuel vapor. You can be
badly burned and the vehicle damaged if this
occurs. To help avoid injury to you and others:
•
Dispense fuel only into approved containers.
•
Do not fill a container while it is inside a
vehicle, in a vehicle’s trunk, pickup bed, or on
any surface other than the ground.
•
Bring the fill nozzle in contact with the inside
of the fill opening before operating the nozzle.
Contact should be maintained until the filling
is complete.
•
Do not smoke while pumping fuel.
•
Do not use a cellular phone while
pumping fuel.
Checking Things Under
the Hood
{
WARNING:
An electric fan under the hood can start up and
injure you even when the engine is not running.
Keep hands, clothing, and tools away from any
underhood electric fan.{
WARNING:
Things that burn can get on hot engine parts and
start a fire. These include liquids like fuel, oil,
coolant, brake fluid, windshield washer and other
fluids, and plastic or rubber. You or others could
be burned. Be careful not to drop or spill things
that will burn onto a hot engine.
6-12
Page 285 of 432

A. Windshield Washer Fluid Reservoir. See “Adding
Washer Fluid” underWindshield Washer Fluid
on page 6-33.
B. Battery. SeeBattery on page 6-38.
C. Underhood Fuse Block. SeeUnderhood Fuse Block
on page 6-97.
D. Remote Positive (+) Terminal. SeeJump Starting on
page 6-39.
E. Coolant Recovery Tank. See “Checking Coolant”
underCooling System on page 6-24.
F. Pressure Cap. SeeCooling System on page 6-24.
G. Power Steering Fluid Cap. SeePower Steering Fluid
on page 6-32.
H. Engine Oil Fill Cap. See “When to Add Engine Oil”
underEngine Oil on page 6-15.
I. Engine Oil Dipstick. See “Checking Engine Oil”
underEngine Oil on page 6-15.
J. Automatic Transmission Fluid Dipstick (Out of View).
See “Checking the Fluid Level” underAutomatic
Transmission Fluid on page 6-22.
K. Brake Master Cylinder Reservoir. See “Brake Fluid”
underBrakes on page 6-35.
L. Engine Air Cleaner/Filter. SeeEngine Air
Cleaner/Filter on page 6-19.
Engine OilChecking Engine OilIt is a good idea to check the engine oil level at each
fuel fill. In order to get an accurate reading, the oil must
be warm and the vehicle must be on level ground.
The engine oil dipstick handle is a yellow loop.
SeeEngine Compartment Overview on page 6-14
for the location of the engine oil dipstick.
1. Turn off the engine and give the oil several minutes
to drain back into the oil pan. If this is not done, the
oil dipstick might not show the actual level.
2. Pull out the dipstick and clean it with a paper towel
or cloth, then push it back in all the way. Remove it
again, keeping the tip down, and check the level.
6-15
Page 292 of 432

Automatic Transmission FluidWhen to Check and Change Automatic
Transmission FluidA good time to check your automatic transmission fluid
level is when the engine oil is changed.
Change the fluid and filter at the intervals listed in
Scheduled Maintenance on page 7-3, and be sure to
use the transmission fluid listed inRecommended Fluids
and Lubricants on page 7-10.How to Check Automatic Transmission
FluidBecause this operation can be a little difficult, you may
choose to have this done at the dealer/retailer service
department.
If you do it yourself, be sure to follow all the instructions
here, or you could get a false reading on the dipstick.Notice:Too much or too little fluid can damage
your transmission. Too much can mean that some
of the fluid could come out and fall on hot engine
parts or exhaust system parts, starting a fire.
Too little fluid could cause the transmission to
overheat. Be sure to get an accurate reading if you
check your transmission fluid.
Wait at least 30 minutes before checking the
transmission fluid level if you have been driving:
•
When outside temperatures are above 32°C (90°F).
•
At high speed for quite a while.
•
In heavy traffic — especially in hot weather.
•
While pulling a trailer.
To get the right reading, the fluid should be at normal
operating temperature, which is 82°C to 93°C
(180°F to 200°F).
Get the vehicle warmed up by driving about 24 km
(15 miles) when outside temperatures are above 10°C
(50°F). If it is colder than 10°C (50°F), you may have to
drive longer.
6-22
Page 297 of 432

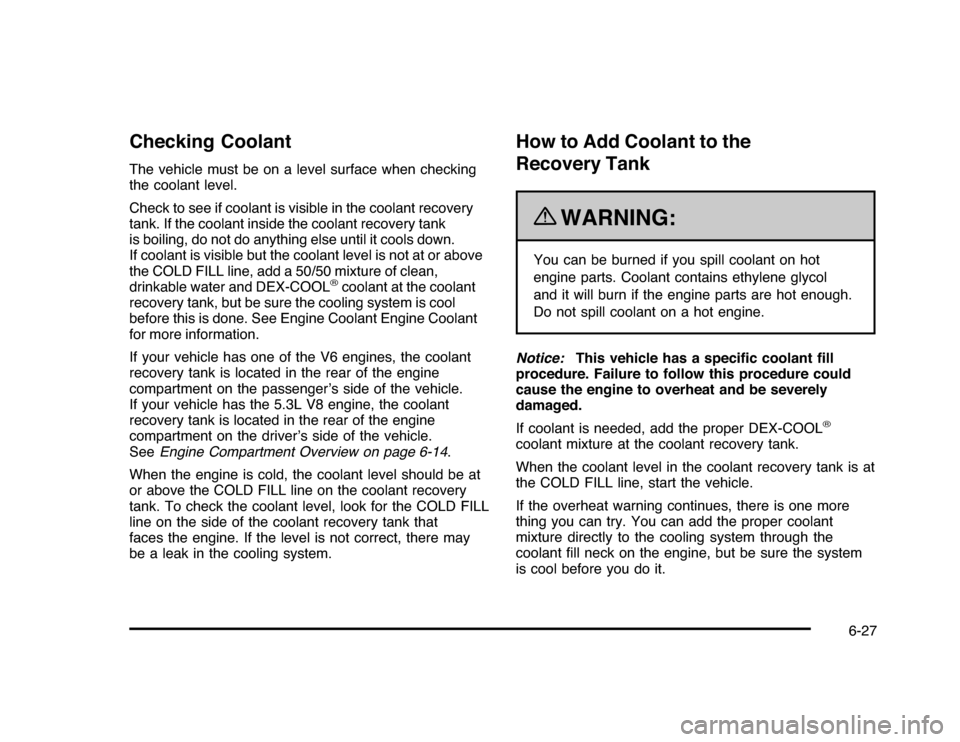
Checking CoolantThe vehicle must be on a level surface when checking
the coolant level.
Check to see if coolant is visible in the coolant recovery
tank. If the coolant inside the coolant recovery tank
is boiling, do not do anything else until it cools down.
If coolant is visible but the coolant level is not at or above
the COLD FILL line, add a 50/50 mixture of clean,
drinkable water and DEX-COOL
®coolant at the coolant
recovery tank, but be sure the cooling system is cool
before this is done. See Engine Coolant Engine Coolant
for more information.
If your vehicle has one of the V6 engines, the coolant
recovery tank is located in the rear of the engine
compartment on the passenger’s side of the vehicle.
If your vehicle has the 5.3L V8 engine, the coolant
recovery tank is located in the rear of the engine
compartment on the driver’s side of the vehicle.
SeeEngine Compartment Overview on page 6-14.
When the engine is cold, the coolant level should be at
or above the COLD FILL line on the coolant recovery
tank. To check the coolant level, look for the COLD FILL
line on the side of the coolant recovery tank that
faces the engine. If the level is not correct, there may
be a leak in the cooling system.
How to Add Coolant to the
Recovery Tank
{
WARNING:
You can be burned if you spill coolant on hot
engine parts. Coolant contains ethylene glycol
and it will burn if the engine parts are hot enough.
Do not spill coolant on a hot engine.
Notice:This vehicle has a specific coolant fill
procedure. Failure to follow this procedure could
cause the engine to overheat and be severely
damaged.
If coolant is needed, add the proper DEX-COOL
®
coolant mixture at the coolant recovery tank.
When the coolant level in the coolant recovery tank is at
the COLD FILL line, start the vehicle.
If the overheat warning continues, there is one more
thing you can try. You can add the proper coolant
mixture directly to the cooling system through the
coolant fill neck on the engine, but be sure the system
is cool before you do it.
6-27
Page 376 of 432

MaintenanceI•
Change engine oil and filter. SeeEngine Oil on
page 6-15.An Emission Control Service.
•
Engine coolant level check. SeeEngine Coolant on
page 6-25.
•
Windshield washer fluid level check. SeeWindshield
Washer Fluid on page 6-33.
•
Tire inflation check. SeeInflation - Tire Pressure on
page 6-59.
•
Tire wear inspection. SeeTire Inspection and
Rotation on page 6-65.
•
Rotate tires. SeeTire Inspection and Rotation on
page 6-65.
•
Fluids visual leak check (or every 12 months,
whichever occurs first). A leak in any system must
be repaired and the fluid level checked.
•
Engine air cleaner filter inspection (vehicles driven
in dusty conditions only). SeeEngine Air
Cleaner/Filter on page 6-19.
•
Brake system inspection (or every 12 months,
whichever occurs first).
MaintenanceII•
Perform all services described in MaintenanceI.
•
Steering and suspension inspection. Visual
inspection for damaged, loose, or missing parts or
signs of wear.
•
Engine cooling system inspection. Visual inspection
of hoses, pipes, fittings, and clamps and
replacement, if needed.
•
Windshield wiper blade inspection for wear,
cracking, or contamination and windshield and wiper
blade cleaning, if contaminated. SeeWindshield
and Wiper Blades on page 6-92. Worn or damaged
wiper blade replacement. SeeWindshield Wiper
Blade Replacement on page 6-49.
•
Body hinges and latches, key lock cylinders, folding
seat hardware, and rear compartment hinges
lubrication. SeeRecommended Fluids and
Lubricants on page 7-10. More frequent lubrication
may be required when vehicle is exposed to a
corrosive environment. Applying silicone grease on
weatherstrips with a clean cloth makes them last
longer, seal better, and not stick or squeak.
•
Restraint system component check. SeeChecking
the Restraint Systems on page 2-74.
7-4