Page 249 of 432
Driving at NightNight driving is more dangerous than day driving because
some drivers are likely to be impaired — by alcohol or
drugs, with night vision problems, or by fatigue.
Night driving tips include:•
Drive defensively.
•
Do not drink and drive.
•
Reduce headlamp glare by adjusting the inside
rearview mirror.
•
Slow down and keep more space between you and
other vehicles because headlamps can only light up
so much road ahead.
•
Watch for animals.
•
When tired, pull off the road.
•
Do not wear sunglasses.
•
Avoid staring directly into approaching headlamps.
•
Keep the windshield and all glass on your vehicle
clean — inside and out.
•
Keep your eyes moving, especially during turns or
curves.
No one can see as well at night as in the daytime.
But, as we get older, these differences increase.
A 50-year-old driver might need at least twice as much
light to see the same thing at night as a 20-year-old.
5-13
Page 255 of 432

Repeat this until help arrives but only when you feel
really uncomfortable from the cold. Moving about
to keep warm also helps.
If it takes some time for help to arrive, now and then
when you run the engine, push the accelerator
pedal slightly so the engine runs faster than the idle
speed. This keeps the battery charged to restart
the vehicle and to signal for help with the headlamps.
Do this as little as possible to save fuel.If Your Vehicle is Stuck in Sand,
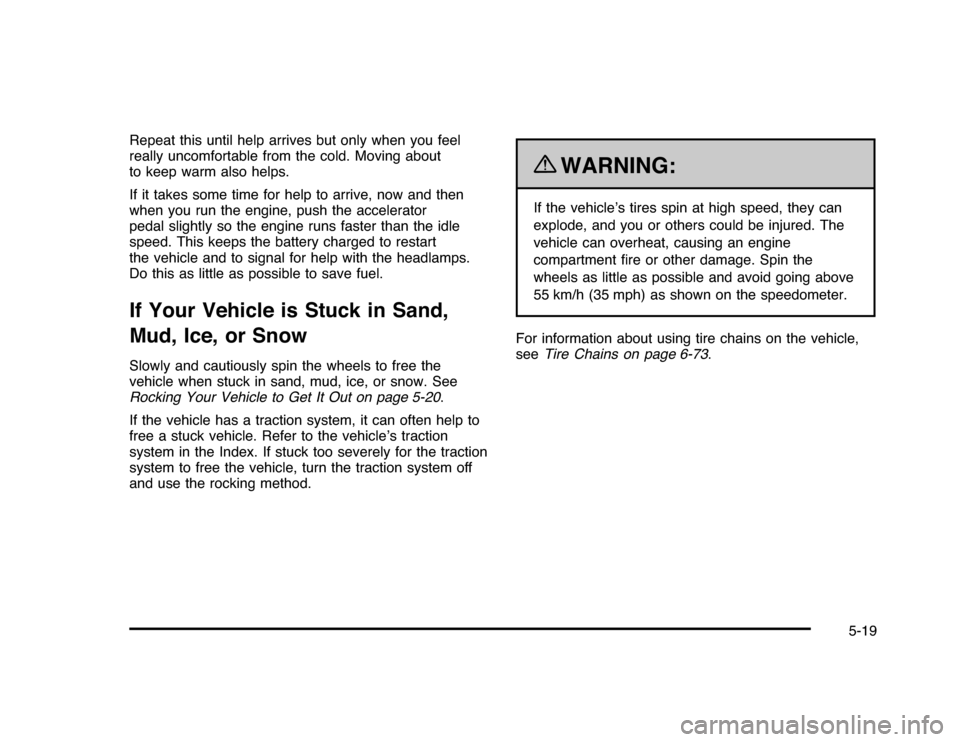
Mud, Ice, or SnowSlowly and cautiously spin the wheels to free the
vehicle when stuck in sand, mud, ice, or snow. See
Rocking Your Vehicle to Get It Out on page 5-20.
If the vehicle has a traction system, it can often help to
free a stuck vehicle. Refer to the vehicle’s traction
system in the Index. If stuck too severely for the traction
system to free the vehicle, turn the traction system off
and use the rocking method.
{
WARNING:
If the vehicle’s tires spin at high speed, they can
explode, and you or others could be injured. The
vehicle can overheat, causing an engine
compartment fire or other damage. Spin the
wheels as little as possible and avoid going above
55 km/h (35 mph) as shown on the speedometer.
For information about using tire chains on the vehicle,
seeTire Chains on page 6-73.
5-19
Page 271 of 432

Service............................................................6-3
Accessories and Modifications..........................6-3
California Proposition 65 Warning.....................6-4
California Perchlorate Materials Requirements.....6-4
Doing Your Own Service Work.........................6-4
Adding Equipment to the Outside of the
Vehicle . . . . ..................................................6-5
Fuel................................................................6-5
Gasoline Octane............................................6-6
Gasoline Specifications....................................6-6
California Fuel...............................................6-6
Additives.......................................................6-7
Fuel E85 (85% Ethanol)..................................6-8
Fuels in Foreign Countries...............................6-9
Filling the Tank............................................6-10
Filling a Portable Fuel Container.....................6-12
Checking Things Under the Hood....................6-12
Hood Release..............................................6-13
Engine Compartment Overview.......................6-14
Engine Oil...................................................6-15
Engine Oil Life System..................................6-18
Engine Air Cleaner/Filter................................6-19
Automatic Transmission Fluid.........................6-22
Cooling System............................................6-24Engine Coolant.............................................6-25
Engine Overheating.......................................6-29
Overheated Engine Protection
Operating Mode........................................6-32
Power Steering Fluid.....................................6-32
Windshield Washer Fluid . . ..............................6-33
Brakes........................................................6-35
Battery........................................................6-38
Jump Starting...............................................6-39
Headlamp Aiming...........................................6-43
Bulb Replacement..........................................6-43
Halogen Bulbs..............................................6-43
Headlamps, Front Turn Signal, Sidemarker,
and Parking Lamps....................................6-44
Taillamps, Turn Signal, Sidemarker,
Stoplamps and Back-up Lamps...................6-47
License Plate Lamp......................................6-49
Replacement Bulbs.......................................6-49
Windshield Wiper Blade Replacement..............6-49
Tires..............................................................6-51
Tire Sidewall Labeling . . .................................6-52
Tire Terminology and Definitions . . ...................6-56
Inflation - Tire Pressure.................................6-59
Section 6 Service and Appearance Care
6-1
Page 272 of 432

Tire Pressure Monitor System.........................6-60
Tire Pressure Monitor Operation.....................6-62
Tire Inspection and Rotation . ..........................6-65
When It Is Time for New Tires.......................6-67
Buying New Tires.........................................6-68
Different Size Tires and Wheels......................6-69
Uniform Tire Quality Grading..........................6-70
Wheel Alignment and Tire Balance..................6-71
Wheel Replacement......................................6-71
Tire Chains . . . ...............................................6-73
If a Tire Goes Flat........................................6-74
Changing a Flat Tire.....................................6-75
Removing the Spare Tire and Tools................6-76
Removing the Flat Tire and Installing the
Spare Tire................................................6-77
Storing a Flat or Spare Tire and Tools................6-83
Compact Spare Tire......................................6-86
Appearance Care............................................6-87
Interior Cleaning...........................................6-87
Fabric/Carpet . ..............................................6-88
Leather.......................................................6-89
Instrument Panel, Vinyl, and Other Plastic
Surfaces . . . ...............................................6-90
Care of Safety Belts......................................6-90Weatherstrips...............................................6-90
Washing Your Vehicle...................................6-91
Cleaning Exterior Lamps/Lenses . . ...................6-91
Finish Care..................................................6-92
Windshield and Wiper Blades.........................6-92
Aluminum Wheels.........................................6-93
Tires...........................................................6-93
Sheet Metal Damage.....................................6-94
Finish Damage.............................................6-94
Underbody Maintenance................................6-94
Chemical Paint Spotting.................................6-94
Vehicle Identification......................................6-95
Vehicle Identification Number (VIN).................6-95
Service Parts Identification Label . . ...................6-95
Electrical System............................................6-95
Add-On Electrical Equipment..........................6-95
Headlamp Wiring..........................................6-96
Windshield Wiper Fuses................................6-96
Power Windows and Other Power Options.......6-96
Fuses and Circuit Breakers . . . . . .......................6-96
Instrument Panel Fuse Block..........................6-96
Underhood Fuse Block..................................6-97
Capacities and Specifications........................6-100
Section 6 Service and Appearance Care
6-2
Page 313 of 432

To disconnect the jumper cables from both vehicles, do
the following:
1. Disconnect the black negative (−) cable from the
vehicle that had the dead battery.
2. Disconnect the black negative (−) cable from the
vehicle with the good battery.
3. Disconnect the red positive (+) cable from the
vehicle with the good battery.
4. Disconnect the red positive (+) cable from the other
vehicle.
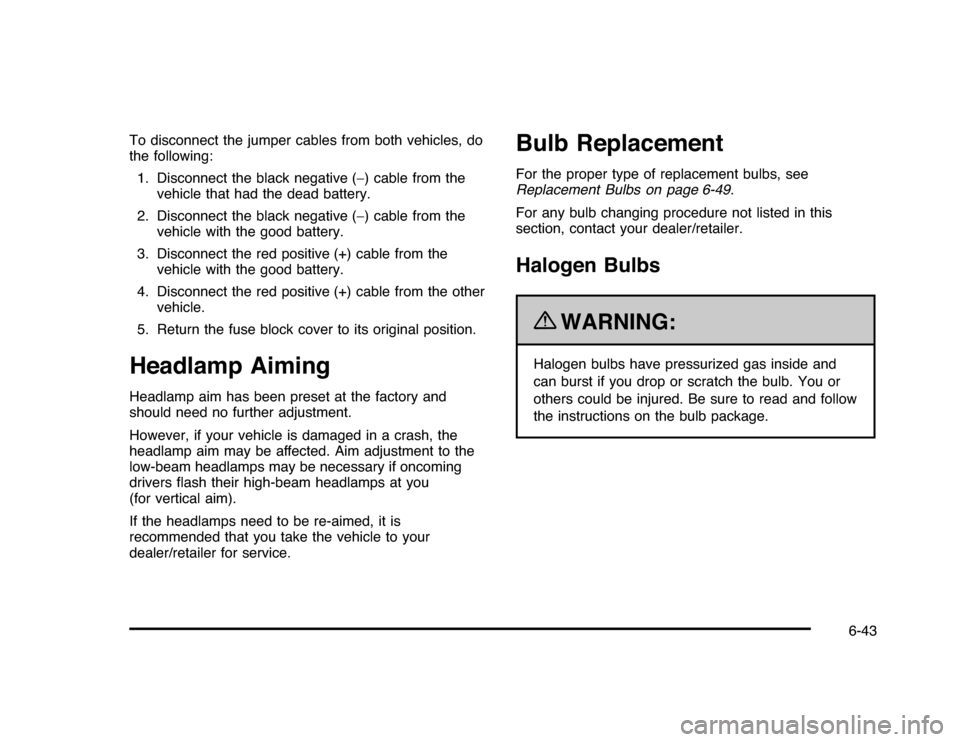
5. Return the fuse block cover to its original position.Headlamp AimingHeadlamp aim has been preset at the factory and
should need no further adjustment.
However, if your vehicle is damaged in a crash, the
headlamp aim may be affected. Aim adjustment to the
low-beam headlamps may be necessary if oncoming
drivers flash their high-beam headlamps at you
(for vertical aim).
If the headlamps need to be re-aimed, it is
recommended that you take the vehicle to your
dealer/retailer for service.
Bulb ReplacementFor the proper type of replacement bulbs, see
Replacement Bulbs on page 6-49.
For any bulb changing procedure not listed in this
section, contact your dealer/retailer.Halogen Bulbs
{
WARNING:
Halogen bulbs have pressurized gas inside and
can burst if you drop or scratch the bulb. You or
others could be injured. Be sure to read and follow
the instructions on the bulb package.
6-43
Page 314 of 432
Headlamps, Front Turn Signal,
Sidemarker, and Parking LampsA. Sidemarker
B. Low-Beam
HeadlampC. High-Beam
Headlamp
D. Parking/Turn
Signal LampTo replace one of these bulbs:
1. Open the hood. SeeHood Release on page 6-13.
2. Remove the screw from the headlamp assembly.6-44
Page 315 of 432
3. Pull up on the plastic headlamp retainer and
remove it.
4. Pull the headlamp assembly away from the vehicle
and remove the electrical connector.
5. Remove the round dust caps to gain access to the
bulbs.
6. Turn the old bulb counterclockwise and remove it
from the retaining ring by pulling it away from the
headlamp.7. Remove the electrical connector from the bulb by
raising the lock tab and pulling the connector away
from the bulb’s base.
8. Install the electrical connector to the bulb.
9. Install the new bulb by inserting the smallest tab
on the bulb base into the matching notch in the
retaining ring. Turn the bulb a quarter-turn clockwise
until it stops.
10. Reinstall the dust caps.
11. Push the headlamp assembly toward the vehicle.
6-45
Page 316 of 432
12. Push down on the plastic headlamp retainer to
reinstall it.13. Reinstall the screw from the headlamp assembly.6-46