2010 CHEVROLET HHR fuel
[x] Cancel search: fuelPage 139 of 480
Engine Coolant Heater
The engine coolant heater can provide easier starting
and better fuel economy during engine warm‐up in cold
weather condition at or below 0°F (−18°C). Vehicles
with am engine coolant heater should be plugged in at
least four hours before starting. An internal thermostat
in the plug-end of the cord may exist which will prevent
engine coolant heater operation at temperatures above
0°F (−18°C).
To Use the Engine Coolant Heater
1. Turn off the engine.
2. Open the hood and unwrap the electrical cord. Theelectrical cord is located on the passenger side of
the vehicle near the headlamp and the radiator.
3. Plug it into a normal, grounded 110-volt AC outlet.
{WARNING:
Plugging the cord into an ungrounded outlet could
cause an electrical shock. Also, the wrong kind of
extension cord could overheat and cause a fire.
You could be seriously injured. Plug the cord into
a properly grounded three-prong 110-volt AC
outlet. If the cord will not reach, use a heavy-duty
three-prong extension cord rated for at least
15 amps.
4. Before starting the engine, be sure to unplug and store the cord as it was before to keep it away from
moving engine parts, to prevent damage.
The length of time the heater should remain plugged in
depends on several factors. Ask a dealer/retailer in the
area where you will be parking the vehicle for the best
advice on this.
3-27
Page 142 of 480
D (Drive):This position is for normal driving with the
automatic transmission. It provides the best fuel
economy. If you need more power for passing and
you are:
.Going less than about 35 mph (55 km/h), push
the accelerator pedal about halfway down.
.Going about 35 mph (55 km/h), push the
accelerator all the way down.
Downshifting the transmission in slippery road
conditions could result in skidding, see “Skidding”
under Loss of Control on page 5‑15.
I (Intermediate): This position is also used for normal
driving. However, it reduces vehicle speed without using
the brakes for slight downgrades where the vehicle
would otherwise accelerate due to steepness of grade.
If constant upshifting or downshifting occurs while
driving up steep hills, this position can be used to
prevent repetitive types of shifts. You might choose
I (Intermediate) instead of D (Drive) when driving on
hilly, winding roads and when towing a trailer, so that
there is less shifting between gears. PERFORMANCE SHIFTING:
If the vehicle has this
feature, it can detect a change in driving patterns
while in the Intermediate position. If you make an
aggressive driving maneuver, the vehicle's transmission
automatically shifts to the lowest possible gear to
maximize vehicle performance. The vehicle will
automatically return to normal operation when you
return to normal driving patterns.
L (Low): This position reduces vehicle speed more than
I (Intermediate) without actually using the brakes. You
can use it on very steep hills, or in deep snow or mud.
If the shift lever is put in L (Low), the transmission will
not shift into L (Low) until the vehicle is going slowly
enough.
Notice: Spinning the tires or holding the vehicle in
one place on a hill using only the accelerator pedal
may damage the transmission. The repair will not be
covered by the vehicle warranty. If you are stuck, do
not spin the tires. When stopping on a hill, use the
brakes to hold the vehicle in place.
3-30
Page 145 of 480
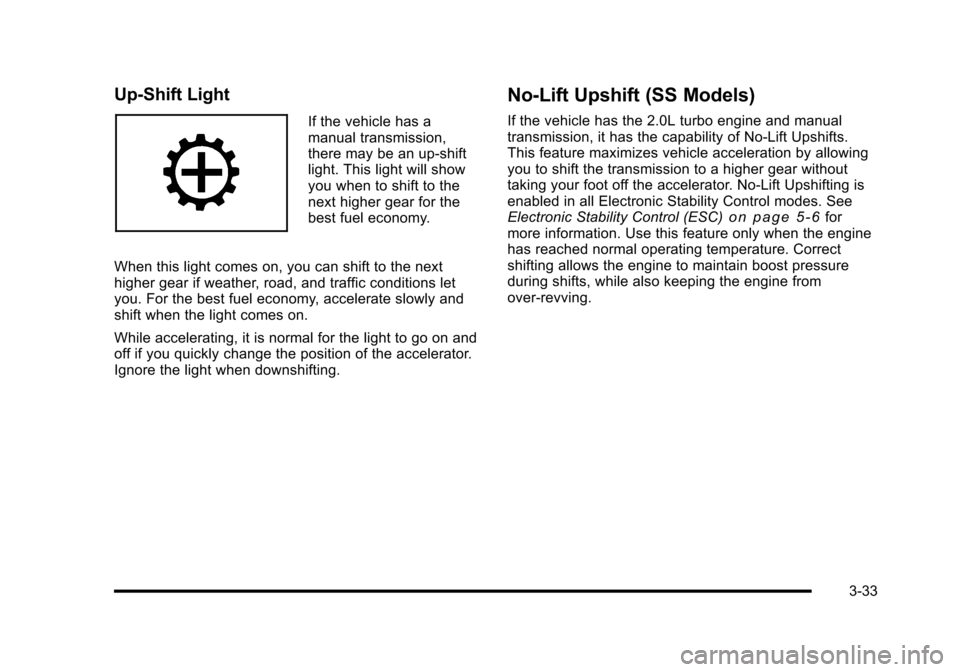
Up-Shift Light
If the vehicle has a
manual transmission,
there may be an up-shift
light. This light will show
you when to shift to the
next higher gear for the
best fuel economy.
When this light comes on, you can shift to the next
higher gear if weather, road, and traffic conditions let
you. For the best fuel economy, accelerate slowly and
shift when the light comes on.
While accelerating, it is normal for the light to go on and
off if you quickly change the position of the accelerator.
Ignore the light when downshifting.
No‐Lift Upshift (SS Models)
If the vehicle has the 2.0L turbo engine and manual
transmission, it has the capability of No-Lift Upshifts.
This feature maximizes vehicle acceleration by allowing
you to shift the transmission to a higher gear without
taking your foot off the accelerator. No‐Lift Upshifting is
enabled in all Electronic Stability Control modes. See
Electronic Stability Control (ESC)
on page 5‑6for
more information. Use this feature only when the engine
has reached normal operating temperature. Correct
shifting allows the engine to maintain boost pressure
during shifts, while also keeping the engine from
over-revving.
3-33
Page 168 of 480
Section 4 Instrument Panel
Fog Lamp Light . . . . . . . . . . . . . . . . . . . . . . . . . . . . . . . . 4-39
Highbeam On Light . . . . . . . . . . . . . . . . . . . . . . . . . . . . 4-39
Fuel Gauge . . . . . . . . . . . . . . . . . . . . . . . . . . . . . . . . . . . . 4-40
Boost Gauge . . . . . . . . . . . . . . . . . . . . . . . . . . . . . . . . . . 4-40
Reconfigurable PerformanceDisplay (RPD) . . . . . . . . . . . . . . . . . . . . . . . . . . . . . . . 4-41
Driver Information Center (DIC) . . . . . . . . . . . . . . . . . . 4-46
DIC Operation and Displays . . . . . . . . . . . . . . . . . . . 4-46
DIC Warnings and Messages . . . . . . . . . . . . . . . . . . 4-48
DIC Vehicle Personalization . . . . . . . . . . . . . . . . . . . 4-54 Audio System(s)
. . . . . . . . . . . . . . . . . . . . . . . . . . . . . . . . . . 4-60
Setting the Clock . . . . . . . . . . . . . . . . . . . . . . . . . . . . . . 4-61
Radio(s) . . . . . . . . . . . . . . . . . . . . . . . . . . . . . . . . . . . . . . . 4-62
Using an MP3 . . . . . . . . . . . . . . . . . . . . . . . . . . . . . . . . . 4-74
XM Radio Messages . . . . . . . . . . . . . . . . . . . . . . . . . . . 4-80
Bluetooth
®. . . . . . . . . . . . . . . . . . . . . . . . . . . . . . . . . . . . . 4-82
Theft-Deterrent Feature . . . . . . . . . . . . . . . . . . . . . . . . 4-92
Audio Steering Wheel Controls . . . . . . . . . . . . . . . . 4-92
Radio Reception . . . . . . . . . . . . . . . . . . . . . . . . . . . . . . . 4-94
Fixed Mast Antenna . . . . . . . . . . . . . . . . . . . . . . . . . . . 4-95
XM™ Satellite Radio Antenna System . . . . . . . . . 4-95
Chime Level Adjustment . . . . . . . . . . . . . . . . . . . . . . . 4-95
4-2
Page 201 of 480

Tire Pressure Light
For vehicles with a tire
pressure monitoring
system, this light comes
on briefly when the engine
is started. It provides
information about tire
pressures and the Tire
Pressure Monitoring
System.
When the Light is On Steady
This indicates that one or more of the tires is
significantly underinflated.
A tire pressure message in the Driver Information
Center (DIC), can accompany the light. SeeDriver
Information Center (DIC)
on page 4‑46for more
information. Stop and check the tires as soon as it is
safe to do so. If underinflated, inflate to the proper
pressure. See Inflation - Tire Pressure
on page 6‑63for more information.
When the Light Flashes First and Then is
On Steady
This indicates that there may be a problem with the Tire
Pressure Monitor System. The light flashes for about a
minute and stays on steady for the remainder of the
ignition cycle. This sequence repeats with every ignition
cycle. SeeTire Pressure Monitor Operation
on
page 6‑65for more information.
Malfunction Indicator Lamp
Check Engine Light
A computer system called OBD II (On-Board
Diagnostics-Second Generation) monitors operation
of the fuel, ignition, and emission control systems.
It ensures that emissions are at acceptable levels for
the life of the vehicle, helping to produce a cleaner
environment.
This light should come
on when the ignition is
on, but the engine is not
running, as a check to
show it is working. If it
does not, have the vehicle
serviced by your dealer/
retailer.
4-35
Page 202 of 480
If the check engine light comes on and stays on, while
the engine is running, this indicates that there is an
OBD II problem and service is required.
Malfunctions often are indicated by the system before
any problem is apparent. Being aware of the light can
prevent more serious damage to the vehicle. This
system assists the service technician in correctly
diagnosing any malfunction.
Notice:If the vehicle is continually driven with this
light on, after a while, the emission controls might
not work as well, the vehicle's fuel economy might
not be as good, and the engine might not run as
smoothly. This could lead to costly repairs that
might not be covered by the vehicle warranty.
Notice: Modifications made to the engine,
transmission, exhaust, intake, or fuel system of
the vehicle or the replacement of the original tires
with other than those of the same Tire Performance
Criteria (TPC) can affect the vehicle's emission
controls and can cause this light to come on.
Modifications to these systems could lead to
costly repairs not covered by the vehicle warranty.
This could also result in a failure to pass a
required Emission Inspection/Maintenance test.
See Accessories and Modifications on page 6‑3. This light comes on during a malfunction in one of
two ways:
Light Flashing:
A misfire condition has been detected.
A misfire increases vehicle emissions and could
damage the emission control system on the vehicle.
Diagnosis and service might be required.
To prevent more serious damage to the vehicle:
.Reduce vehicle speed.
.Avoid hard accelerations.
.Avoid steep uphill grades.
.If towing a trailer, reduce the amount of cargo
being hauled as soon as it is possible.
If the light continues to flash, when it is safe to do so,
stop the vehicle. Find a safe place to park the vehicle.
Turn the key off, wait at least 10 seconds, and restart
the engine. If the light is still flashing, follow the
previous steps and see your dealer/retailer for
service as soon as possible.
4-36
Page 203 of 480
Light On Steady:An emission control system
malfunction has been detected on the vehicle.
Diagnosis and service might be required.
An emission system malfunction might be corrected by
doing the following:
.Make sure the fuel cap is fully installed. See Filling
the Tankon page 6‑10. The diagnostic system
can determine if the fuel cap has been left off or
improperly installed. A loose or missing fuel cap
allows fuel to evaporate into the atmosphere. A few
driving trips with the cap properly installed should
turn the light off.
.If the vehicle has been driven through a deep
puddle of water, the vehicle's electrical system
might be wet. The condition is usually corrected
when the electrical system dries out. A few driving
trips should turn the light off.
.Make sure to fuel the vehicle with quality fuel.
Poor fuel quality causes the engine not to run
as efficiently as designed and can cause: stalling
after start-up, stalling when the vehicle is changed
into gear, misfiring, hesitation on acceleration,
or stumbling on acceleration. These conditions
might go away once the engine is warmed up.
If one or more of these conditions occurs, change
the fuel brand used. It will require at least one full
tank of the proper fuel to turn the light off.
See Gasoline Octane on page 6‑6.
If none of the above have made the light turn off, your
dealer/retailer can check the vehicle. The dealer/retailer
has the proper test equipment and diagnostic tools to fix
any mechanical or electrical problems that might have
developed.
4-37
Page 206 of 480
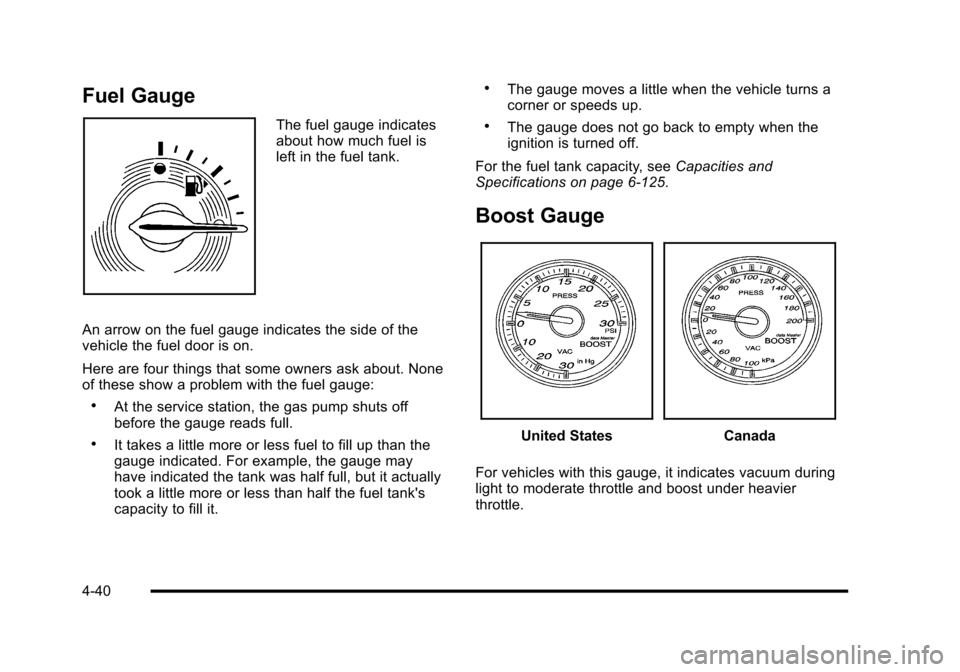
Fuel Gauge
The fuel gauge indicates
about how much fuel is
left in the fuel tank.
An arrow on the fuel gauge indicates the side of the
vehicle the fuel door is on.
Here are four things that some owners ask about. None
of these show a problem with the fuel gauge:
.At the service station, the gas pump shuts off
before the gauge reads full.
.It takes a little more or less fuel to fill up than the
gauge indicated. For example, the gauge may
have indicated the tank was half full, but it actually
took a little more or less than half the fuel tank's
capacity to fill it.
.The gauge moves a little when the vehicle turns a
corner or speeds up.
.The gauge does not go back to empty when the
ignition is turned off.
For the fuel tank capacity, see Capacities and
Specifications on page 6‑125.
Boost Gauge
United StatesCanada
For vehicles with this gauge, it indicates vacuum during
light to moderate throttle and boost under heavier
throttle.
4-40