2010 CHEVROLET CORVETTE coolant
[x] Cancel search: coolantPage 349 of 472
If coolant is needed, add the proper DEX-COOL®
coolant mixture directly to the surge tank, but be sure
the cooling system is cool before this is done.
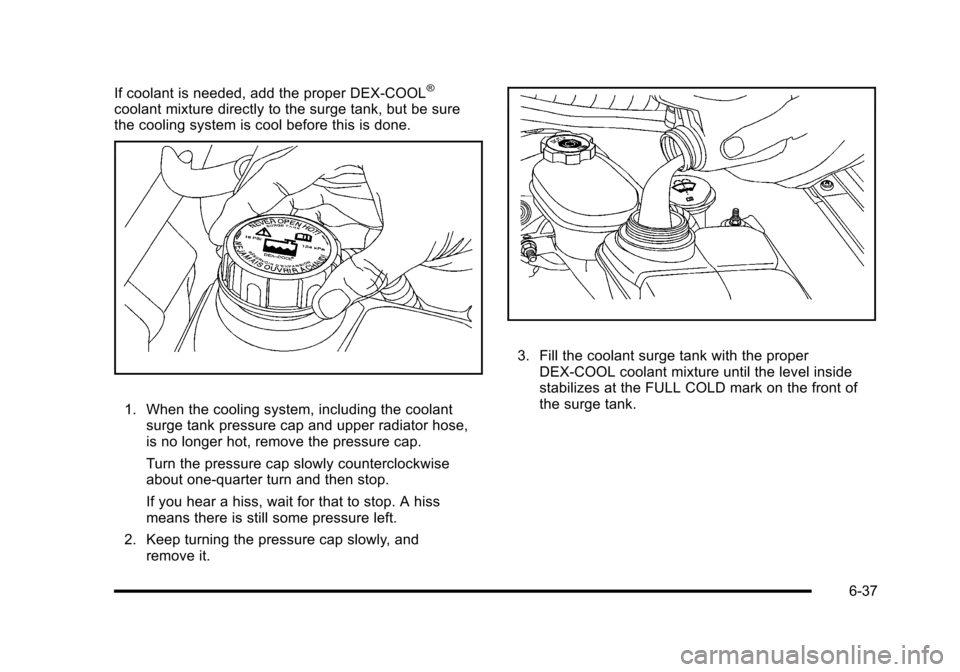
1. When the cooling system, including the coolant surge tank pressure cap and upper radiator hose,
is no longer hot, remove the pressure cap.
Turn the pressure cap slowly counterclockwise
about one-quarter turn and then stop.
If you hear a hiss, wait for that to stop. A hiss
means there is still some pressure left.
2. Keep turning the pressure cap slowly, and remove it.
3. Fill the coolant surge tank with the proper DEX-COOL coolant mixture until the level inside
stabilizes at the FULL COLD mark on the front of
the surge tank.
6-37
Page 350 of 472
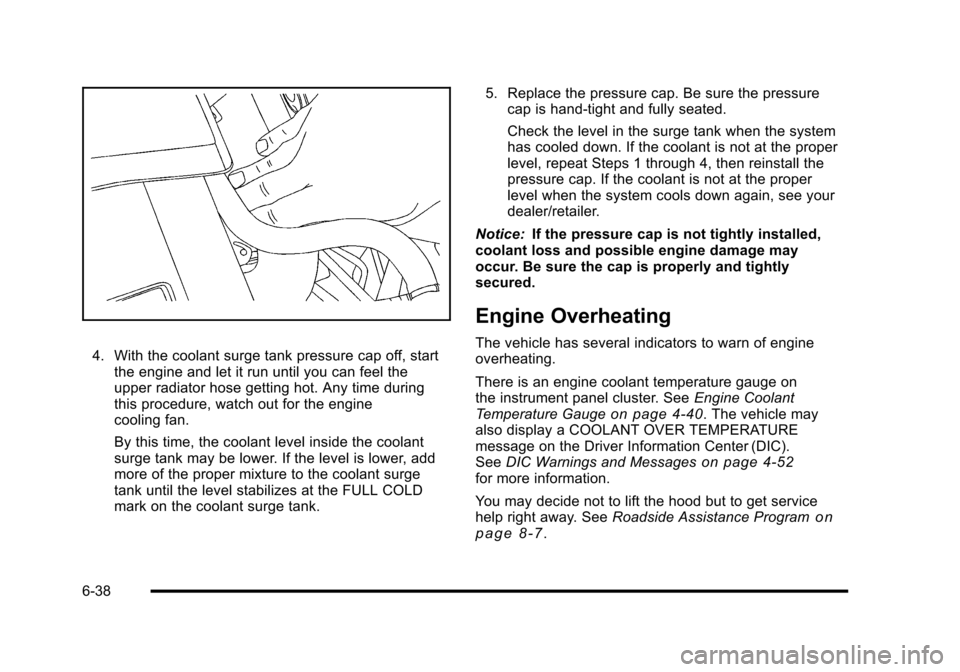
4. With the coolant surge tank pressure cap off, start the engine and let it run until you can feel the
upper radiator hose getting hot. Any time during
this procedure, watch out for the engine
cooling fan.
By this time, the coolant level inside the coolant
surge tank may be lower. If the level is lower, add
more of the proper mixture to the coolant surge
tank until the level stabilizes at the FULL COLD
mark on the coolant surge tank. 5. Replace the pressure cap. Be sure the pressure
cap is hand-tight and fully seated.
Check the level in the surge tank when the system
has cooled down. If the coolant is not at the proper
level, repeat Steps 1 through 4, then reinstall the
pressure cap. If the coolant is not at the proper
level when the system cools down again, see your
dealer/retailer.
Notice: If the pressure cap is not tightly installed,
coolant loss and possible engine damage may
occur. Be sure the cap is properly and tightly
secured.
Engine Overheating
The vehicle has several indicators to warn of engine
overheating.
There is an engine coolant temperature gauge on
the instrument panel cluster. See Engine Coolant
Temperature Gauge
on page 4‑40. The vehicle may
also display a COOLANT OVER TEMPERATURE
message on the Driver Information Center (DIC).
See DIC Warnings and Messages
on page 4‑52for more information.
You may decide not to lift the hood but to get service
help right away. See Roadside Assistance Program
on
page 8‑7.
6-38
Page 351 of 472
If you do decide to lift the hood , make sure the vehicle
is parked on a level surface.
Then check to see if the engine cooling fan is running.
If the engine is overheating, the fan should be running.
If it is not, do not continue to run the engine and have
the vehicle serviced.
Notice: Engine damage from running your engine
without coolant is not covered by your warranty.
See Overheated Engine Protection Operating Mode
on page 6‑41for information on driving to a safe
place in an emergency.
Notice: If the engine catches fire while driving
with no coolant, the vehicle can be badly damaged.
The costly repairs would not be covered by the
vehicle warranty. See Overheated Engine Protection
Operating Mode
on page 6‑41for information on
driving to a safe place in an emergency.
If Steam Is Coming From Your Engine
{WARNING:
Steam from an overheated engine can burn you
badly, even if you just open the hood. Stay away
from the engine if you see or hear steam coming
from it. Turn it off and get everyone away from
the vehicle until it cools down. Wait until there
is no sign of steam or coolant before you open
the hood.
If you keep driving when the vehicles engine is
overheated, the liquids in it can catch fire. You or
others could be badly burned. Stop the engine if
it overheats, and get out of the vehicle until the
engine is cool.
See Overheated Engine Protection Operating
Mode
on page 6‑41for information on driving to
a safe place in an emergency.
6-39
Page 353 of 472
Overheated Engine Protection
Operating Mode
This emergency operating mode lets the vehicle
be driven to a safe place, up to 50 miles (80 km),
in an emergency situation. If an overheated engine
condition exists and the messages COOLANT OVER
TEMPERATURE and REDUCED ENGINE POWER
are displayed, along with the check engine light, an
overheat protection mode which alternates firing groups
of cylinders helps prevent engine damage. In this
mode, there is a significant loss in power and engine
performance.
Driving extended distances in the overheat protection
mode should be avoided.
Notice: After driving in the overheated engine
protection operating mode, to avoid engine damage,
allow the engine to cool before attempting any
repair. The engine oil will be severely degraded.
Repair the cause of coolant loss, change the oil
and reset the oil life system. See Engine Oil
on
page 6‑19.
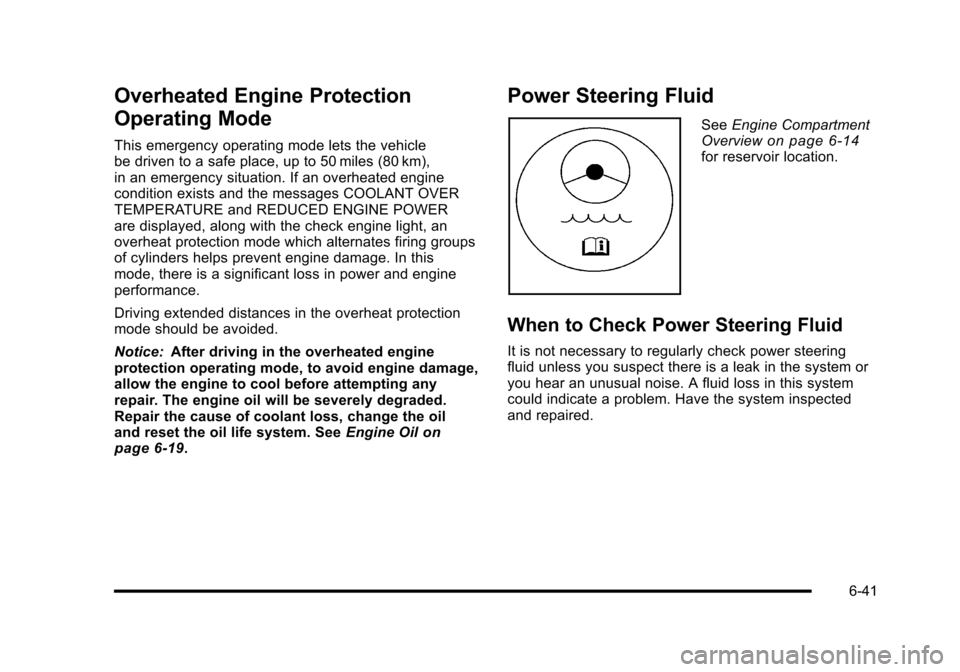
Power Steering Fluid
See Engine Compartment
Overviewon page 6‑14for reservoir location.
When to Check Power Steering Fluid
It is not necessary to regularly check power steering
fluid unless you suspect there is a leak in the system or
you hear an unusual noise. A fluid loss in this system
could indicate a problem. Have the system inspected
and repaired.
6-41
Page 355 of 472
Adding Washer Fluid
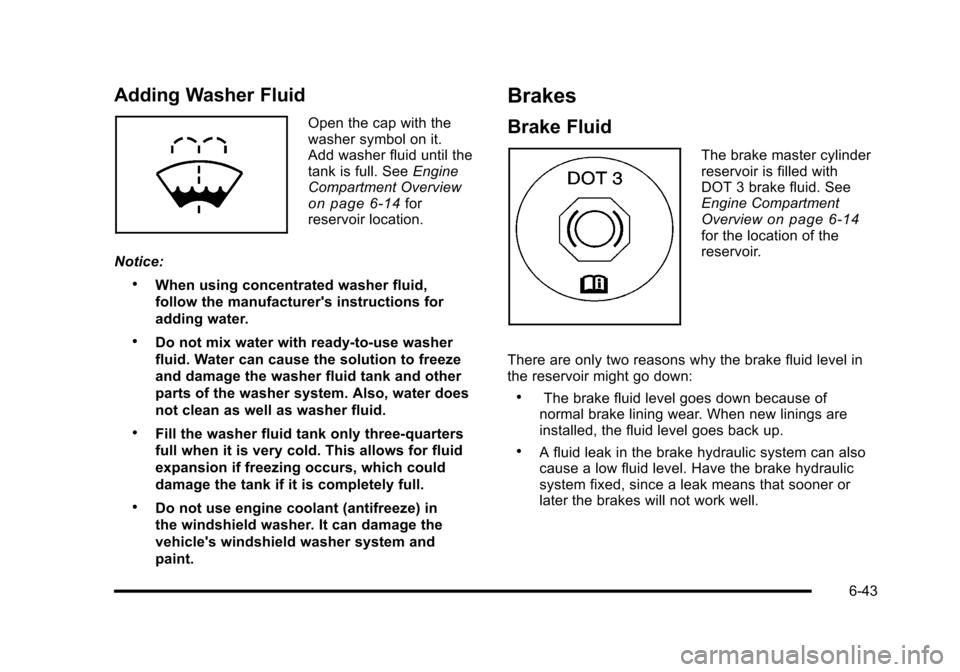
Open the cap with the
washer symbol on it.
Add washer fluid until the
tank is full. See Engine
Compartment Overview
on page 6‑14for
reservoir location.
Notice:
.When using concentrated washer fluid,
follow the manufacturer's instructions for
adding water.
.Do not mix water with ready-to-use washer
fluid. Water can cause the solution to freeze
and damage the washer fluid tank and other
parts of the washer system. Also, water does
not clean as well as washer fluid.
.Fill the washer fluid tank only three-quarters
full when it is very cold. This allows for fluid
expansion if freezing occurs, which could
damage the tank if it is completely full.
.Do not use engine coolant (antifreeze) in
the windshield washer. It can damage the
vehicle's windshield washer system and
paint.
Brakes
Brake Fluid
The brake master cylinder
reservoir is filled with
DOT 3 brake fluid. See
Engine Compartment
Overview
on page 6‑14for the location of the
reservoir.
There are only two reasons why the brake fluid level in
the reservoir might go down:
.The brake fluid level goes down because of
normal brake lining wear. When new linings are
installed, the fluid level goes back up.
.A fluid leak in the brake hydraulic system can also
cause a low fluid level. Have the brake hydraulic
system fixed, since a leak means that sooner or
later the brakes will not work well.
6-43
Page 378 of 472
Tire Terminology and Definitions
Air Pressure:The amount of air inside the tire
pressing outward on each square inch of the tire.
Air pressure is expressed in pounds per square
inch (psi) or kilopascal (kPa).
Accessory Weight
:This means the combined
weight of optional accessories. Some examples of
optional accessories are, automatic transmission,
power steering, power brakes, power windows,
power seats, and air conditioning.
Aspect Ratio
:The relationship of a tire's height
to its width.
Belt
:A rubber coated layer of cords that is
located between the plies and the tread. Cords
may be made from steel or other reinforcing
materials.
Bead
:The tire bead contains steel wires wrapped
by steel cords that hold the tire onto the rim.
Bias Ply Tire
:A pneumatic tire in which the plies
are laid at alternate angles less than 90 degrees
to the centerline of the tread. Cold Tire Pressure
:The amount of air pressure
in a tire, measured in pounds per square inch (psi)
or kilopascals (kPa) before a tire has built up heat
from driving. See Inflation - Tire Pressure
on
page 6‑70
.
Curb Weight
:The weight of a motor vehicle with
standard and optional equipment including the
maximum capacity of fuel, oil, and coolant, but
without passengers and cargo.
DOT Markings
:A code molded into the sidewall
of a tire signifying that the tire is in compliance
with the U.S. Department of Transportation (DOT)
motor vehicle safety standards. The DOT code
includes the Tire Identification Number (TIN), an
alphanumeric designator which can also identify
the tire manufacturer, production plant, brand, and
date of production.
GVWR
:Gross Vehicle Weight Rating.
See Loading the Vehicle
on page 5‑28.
GAWR FRT
:Gross Axle Weight Rating for the
front axle. See Loading the Vehicle
on page 5‑28.
GAWR RR
:Gross Axle Weight Rating for the rear
axle. See Loading the Vehicle
on page 5‑28.
6-66
Page 425 of 472
Scheduled Maintenance
When the Change Engine Oil Message
Displays
Change engine oil and filter. See Engine Oilon
page 6‑19. An Emission Control Service.
When the Change Engine Oil message displays,
service is required for the vehicle as soon as possible,
within the next 1 000 km/600 miles. If driving under the
best conditions, the engine oil life system might not
indicate the need for vehicle service for more than a
year. The engine oil and filter must be changed at least
once a year and the oil life system must be reset. Your
dealer/retailer has trained service technicians who will
perform this work and reset the system. If the engine
oil life system is reset accidentally, service the vehicle
within 5 000 km/3,000 miles since the last service.
Reset the oil life system whenever the oil is changed.
See Engine Oil Life System on page 6‑25. When the Change Engine Oil message displays,
certain services, checks, and inspections are
required. The services described for Maintenance
I
should be performed at every engine oil change.
The services described for Maintenance IIshould
be performed when:.Maintenance Iwas performed the last time the
engine oil was changed.
.It has been 10 months or more since the Change
Engine Oil message has displayed or since the last
service.
Maintenance I
.Change engine oil and filter. See Engine Oilon
page 6‑19. An Emission Control Service.
.Engine coolant level check. See Engine Coolanton page 6‑34.
.Windshield washer fluid level check. See
Windshield Washer Fluid on page 6‑42.
.Tire inflation check. See Inflation - Tire Pressureon page 6‑70.
7-3
Page 426 of 472
.Tire wear inspection. SeeTire Inspection and
Rotation on page 6‑76.
.Fluids visual leak check (or every 12 months,
whichever occurs first). A leak in any system must
be repaired and the fluid level checked.
.Engine air cleaner filter inspection (vehicles
driven in dusty conditions only). See Engine Air
Cleaner/Filter on page 6‑27.
.Brake system inspection (or every 12 months,
whichever occurs first).
Maintenance II
.Perform all services described in Maintenance I.
.Steering and suspension inspection. Visual
inspection for damaged, loose, or missing parts
or signs of wear.
.Engine cooling system inspection. Visual
inspection of hoses, pipes, fittings, and clamps
and replacement, if needed.
.Windshield wiper blade inspection for wear,
cracking, or contamination and windshield and
wiper blade cleaning, if contaminated. See
Windshield and Wiper Blades
on page 6‑96.
Worn or damaged wiper blade replacement.
See Windshield Wiper Blade Replacement
on
page 6‑59.
.Body hinges and latches, key lock cylinders, any
folding seat hardware, and rear compartment,
hood, and console door hinges and latches
lubrication. See Recommended Fluids and
Lubricants
on page 7‑10. More frequent
lubrication may be required when vehicle is
exposed to a corrosive environment. Applying
silicone grease on weatherstrips with a clean cloth
makes them last longer, seal better, and not stick
or squeak.
.Restraint system component check. See Checking
the Restraint Systems on page 2‑60.
.Engine air cleaner filter inspection. See Engine Air
Cleaner/Filter on page 6‑27.
.Passenger compartment air filter replacement
(or every 12 months, whichever occurs first). More
frequent replacement may be required if vehicle is
driven regularly under dusty conditions.
Additional Required Services
At Each Fuel Stop
.Engine oil level check. See Engine Oilon
page 6‑19.
.Engine coolant level check. See Engine Coolanton page 6‑34.
.Windshield washer fluid level check. See
Windshield Washer Fluid on page 6‑42.
7-4