2010 CHEVROLET CORVETTE warning light
[x] Cancel search: warning lightPage 9 of 472

A.Outlet Adjustment on page 4‑27.
B. Head-Up Display (HUD)
on page 4‑16(If Equipped).
C. Turn Signal/Multifunction Lever
on page 4‑4.
Cruise Controlon page 4‑7. Fog Lampson
page 4‑13. Exterior Lamps on page 4‑11.
D. Manual Shift Paddles (If Equipped). See Automatic
Transmission Operation on page 3‑26.
E. Driver Information Center (DIC) on page 4‑47.
F. Instrument Panel Cluster on page 4‑30.
G. Windshield Wipers
on page 4‑6and Windshield
Washer on page 4‑6.
H. DIC Operation and Displays on page 4‑47.
I. Hazard Warning Flashers on page 4‑3.
J. Audio System(s) on page 4‑80.
K. Dual Automatic Climate Control System
on
page 4‑22.
L. Fuel Door Release Button. See Filling the
Tank
on page 6‑9. Hatch/Trunk Release Button.
See “Hatch/Trunk Lid Release” underHatchon
page 3‑14.
M. Instrument Panel Brightness on page 4‑15.
N. Power Folding Top Switch (If Equipped). See Convertible Top (Manual)
on page 3‑59orConvertible Top (Power) on page 3‑66. O.
Bluetooth
®on page 4‑96(If Equipped).
Audio Steering Wheel Controlson page 4‑107(If Equipped).
P. Tilt Wheel on page 4‑3.
Q. Horn on page 4‑3.
R. Telescopic Wheel Button (If Equipped). See Tilt Wheel on page 4‑3.
S. Ignition Positions on page 3‑23.
T. Heated Seats
on page 2‑4(If Equipped).
U. Shift Lever (Automatic Shown). See Automatic
Transmission Operation
on page 3‑26or Manual
Transmission Operation on page 3‑32.
V. Active Handling System on page 5‑8.
W. Accessory Power Outlet(s) on page 4‑20.
X. Selective Ride Control on page 5‑14.
Y. Cupholders on page 3‑50.
Z. Ashtray(s) and Cigarette Lighter on page 4‑21.
AA. Parking Brake on page 3‑34.
AB. Glove Box on page 3‑50.
AC. Instrument Panel Fuse Block on page 6‑101.
1-3
Page 28 of 472

The vehicle may have Competitive Driving Mode
(except ZR1), Performance Traction Management
(ZR1), and Launch Control systems designed to
allow increased performance while accelerating and
cornering. See Competitive Driving Mode on page 5‑9.
Towing
The vehicle was neither designed nor intended to be
towed with any of its wheels on the ground.
See Towing Your Vehicle
on page 5‑33and
Recreational Vehicle Towing on page 5‑33.
Tire Pressure Monitor
This vehicle may have a Tire Pressure Monitor
System (TPMS).
The Tire Pressure Monitor
alerts you when a
significant reduction in
pressure occurs in one or
more of the vehicle’s tires
by illuminating the low tire
pressure warning light on
the instrument cluster. The warning light will remain on until the tire pressure is
corrected. The proper tire pressures for your vehicle are
listed on the Tire and Loading Information label located
on the driver side center pillar (B pillar). See
Loading
the Vehicle
on page 5‑28.
You may notice during cooler conditions that the low tire
pressure warning light will appear when the vehicle is
first started and then turn off as you drive. This may be
an early indicator that your tire pressures are getting
low and the tires need to be inflated to the proper
pressure.
Note: The Tire Pressure Monitor can alert you about
low tire pressure, but it does not replace normal monthly
tire maintenance. It is the driver ’s responsibility to
maintain correct tire pressures.
See Tire Pressure Monitor System
on page 6‑72and
Tire Pressure Monitor Operation on page 6‑74.
1-22
Page 79 of 472
{WARNING:
Airbags inflate with great force, faster than the
blink of an eye. Anyone who is up against, or
very close to, any airbag when it inflates can be
seriously injured or killed. Do not sit unnecessarily
close to the airbag, as you would be if you were
sitting on the edge of your seat or leaning forward.
Safety belts help keep you in position before and
during a crash. Always wear your safety belt,
even with airbags. The driver should sit as far
back as possible while still maintaining control of
the vehicle.
Occupants should not lean on or sleep against the
door or side windows in seating positions with
seat-mounted airbags.
{WARNING:
Children who are up against, or very close to, any
airbag when it inflates can be seriously injured or
killed. Airbags plus lap-shoulder belts offer (Continued)
WARNING: (Continued)
protection for adults and older children, but not for
young children and infants. Neither the vehicle's
safety belt system nor its airbag system is
designed for them. Young children and infants
need the protection that a child restraint system
can provide. Always secure children properly in
your vehicle. To read how, see Older Children
on
page 2‑26
or Infants and Young Childrenon
page 2‑29
.
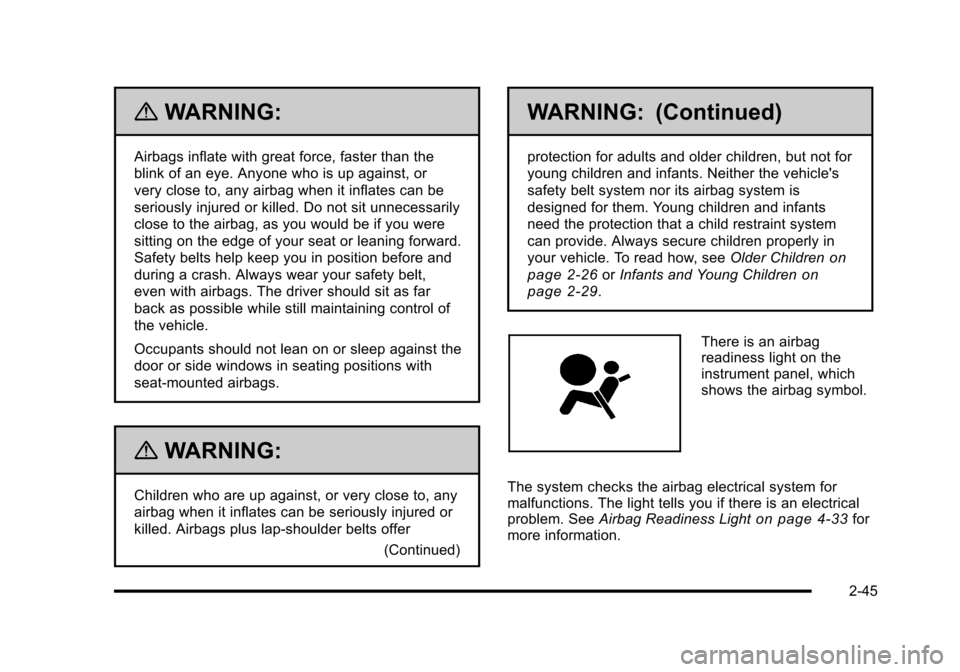
There is an airbag
readiness light on the
instrument panel, which
shows the airbag symbol.
The system checks the airbag electrical system for
malfunctions. The light tells you if there is an electrical
problem. See Airbag Readiness Light
on page 4‑33for
more information.
2-45
Page 89 of 472
When the passenger sensing system has turned off the
right front passenger frontal airbag and seat-mounted
side impact airbag, the off indicator will light and stay lit
to remind you that the airbag(s) are off. See Passenger
Airbag Status Indicator on page 4‑34.
The passenger sensing system is designed to turn on
(may inflate) the right front passenger frontal airbag and
seat-mounted side impact airbag anytime the system
senses that a person of adult size is sitting properly in
the right front passenger seat.
When the passenger sensing system has allowed
the airbag(s) to be enabled, the on indicator will light
and stay lit to remind you that the airbag or airbags
are active.
For some children who have outgrown child restraints
and for very small adults, the passenger sensing
system may or may not turn off the right front passenger
frontal airbag and seat-mounted side impact airbag, depending upon the person's seating posture and body
build. Everyone in the vehicle who has outgrown child
restraints should wear a safety belt properly
—whether
or not there is an airbag for that person.
{WARNING:
If the airbag readiness light ever comes on and
stays on, it means that something may be wrong
with the airbag system. To help avoid injury to
yourself or others, have the vehicle serviced right
away. See Airbag Readiness Light
on page 4‑33
for more information, including important safety
information.
2-55
Page 95 of 472
Replacing Restraint System Parts
After a Crash
{WARNING:
A crash can damage the restraint systems in your
vehicle. A damaged restraint system may not
properly protect the person using it, resulting in
serious injury or even death in a crash. To help
make sure your restraint systems are working
properly after a crash, have them inspected and
any necessary replacements made as soon
as possible. If the vehicle has been in a crash, do you need new
safety belts or LATCH system (if equipped) parts?
After a very minor crash, nothing may be necessary.
But the safety belt assemblies that were used during
any crash may have been stressed or damaged. See
your dealer/retailer to have the safety belt assemblies
inspected or replaced.
If the vehicle has the LATCH system and it was being
used during a crash, you may need new LATCH system
parts.
New parts and repairs may be necessary even if the
safety belt or LATCH system (if equipped), was not
being used at the time of the crash.
If an airbag inflates, you will need to replace airbag
system parts. See the part on the airbag system earlier
in this section.
Have the safety belt pretensioners checked if the
vehicle has been in a crash, if the airbag readiness light
stays on after the vehicle is started, or while you are
driving. See
Airbag Readiness Light
on page 4‑33.
2-61
Page 112 of 472

Emergency Trunk Release Handle
(Coupe)
Notice:Do not use the emergency trunk release
handle as a tie-down or anchor point when securing
items in the trunk as it could damage the handle.
The emergency trunk release handle is only
intended to aid a person trapped in a latched trunk,
enabling them to open the trunk from the inside.
There is a glow-in-the-dark emergency trunk release
handle located on the rear wall of the trunk below the
latch. This handle will glow following exposure to light.
Pull the release handle down to open the trunk from the
inside.
Windows
{WARNING:
Leaving children, helpless adults, or pets in a
vehicle with the windows closed is dangerous.
They can be overcome by the extreme heat and
suffer permanent injuries or even death from heat
stroke. Never leave a child, a helpless adult, or a
pet alone in a vehicle, especially with the windows
closed in warm or hot weather.
3-16
Page 129 of 472
Shift Speeds (Manual Transmission)
{WARNING:
If you skip a gear when you downshift, you could
lose control of the vehicle. You could injure
yourself or others. Do not shift down more than
one gear at a time when you downshift.
This chart shows when to shift to the next higher gear
for the best fuel economy.
Manual Transmission Recommended Shift Speeds in mph (km/h)
Engine Acceleration Shift Speed
1 to 2 2 to 3 3 to 4 4 to 5 5 to 6
All
Engines 15 (24) 25 (40) 40 (64) 45 (72) 50 (80)
If the engine speed drops below 900 rpm, or if the
engine is not running smoothly, you should downshift to
the next lower gear. You may have to downshift two or
more gears to keep the engine running smoothly or for
good engine performance.
Notice:
When shifting gears, do not move the shift
lever around unnecessarily. This may damage the
transmission. Shift directly into the next gear.
One to Four Shift Light
(Manual Transmission)
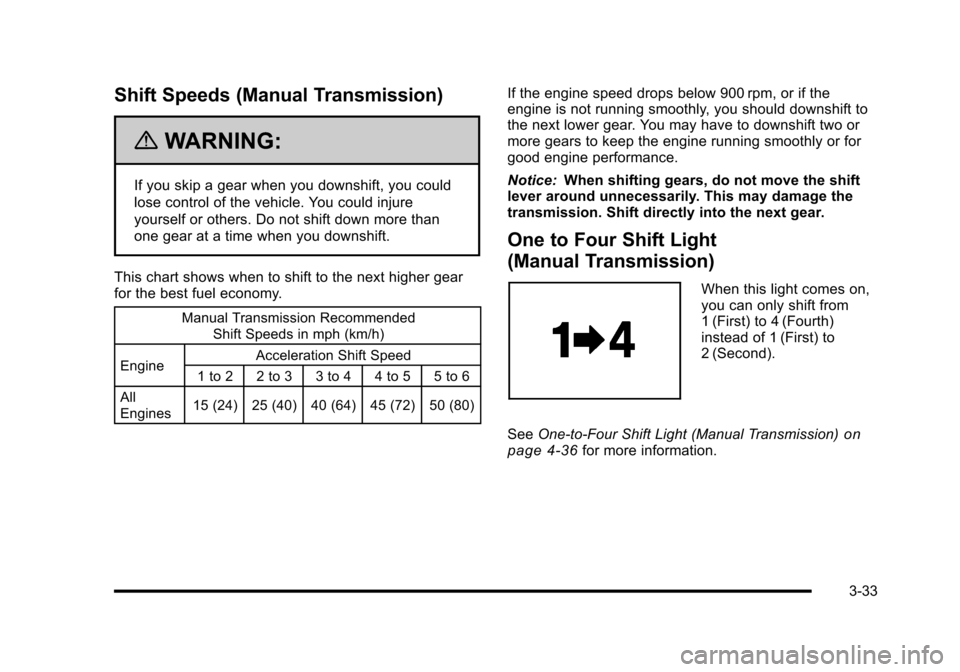
When this light comes on,
you can only shift from
1 (First) to 4 (Fourth)
instead of 1 (First) to
2 (Second).
See One-to-Four Shift Light (Manual Transmission)
on
page 4‑36for more information.
3-33
Page 130 of 472
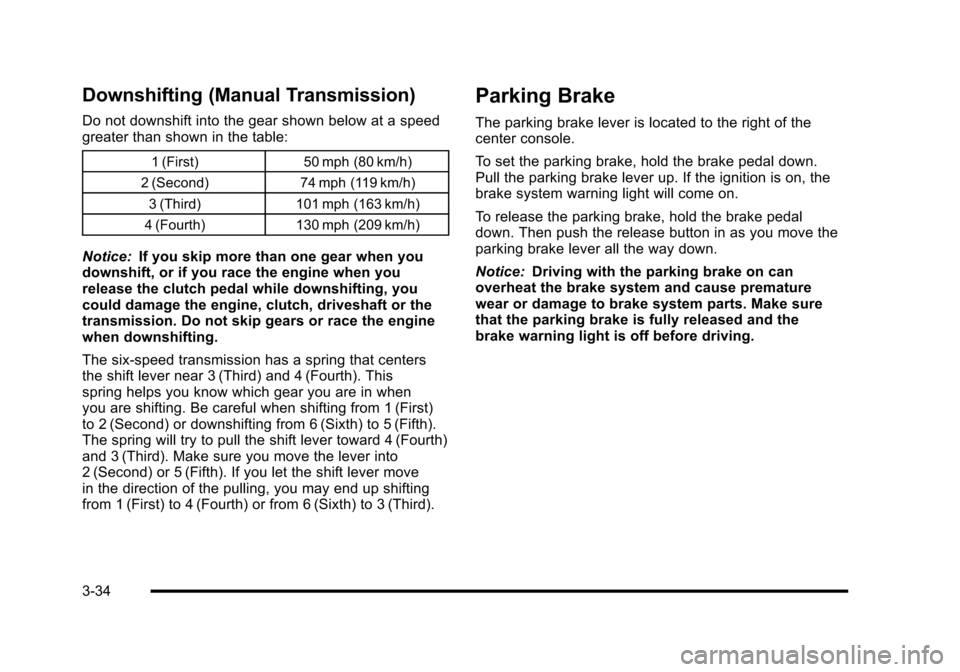
Downshifting (Manual Transmission)
Do not downshift into the gear shown below at a speed
greater than shown in the table:
1 (First)50 mph (80 km/h)
2 (Second) 74 mph (119 km/h)
3 (Third) 101 mph (163 km/h)
4 (Fourth) 130 mph (209 km/h)
Notice: If you skip more than one gear when you
downshift, or if you race the engine when you
release the clutch pedal while downshifting, you
could damage the engine, clutch, driveshaft or the
transmission. Do not skip gears or race the engine
when downshifting.
The six-speed transmission has a spring that centers
the shift lever near 3 (Third) and 4 (Fourth). This
spring helps you know which gear you are in when
you are shifting. Be careful when shifting from 1 (First)
to 2 (Second) or downshifting from 6 (Sixth) to 5 (Fifth).
The spring will try to pull the shift lever toward 4 (Fourth)
and 3 (Third). Make sure you move the lever into
2 (Second) or 5 (Fifth). If you let the shift lever move
in the direction of the pulling, you may end up shifting
from 1 (First) to 4 (Fourth) or from 6 (Sixth) to 3 (Third).
Parking Brake
The parking brake lever is located to the right of the
center console.
To set the parking brake, hold the brake pedal down.
Pull the parking brake lever up. If the ignition is on, the
brake system warning light will come on.
To release the parking brake, hold the brake pedal
down. Then push the release button in as you move the
parking brake lever all the way down.
Notice: Driving with the parking brake on can
overheat the brake system and cause premature
wear or damage to brake system parts. Make sure
that the parking brake is fully released and the
brake warning light is off before driving.
3-34