2010 BUICK LACROSSE instrument panel
[x] Cancel search: instrument panelPage 143 of 414

Lighting 5-5
Fog Lamps
For vehicles with fog lamps, the
button is located on the exterior
lamp control, on the outboard side
of the steering wheel.
To turn on the fog lamps, the ignition
and the headlamps or parking lamps
must be on.
If the fog lamps are turned on while
the exterior lamp switch is in the
AUTO position, the headlamps
come on automatically.
#:Press to turn on or off. An
indicator light on the instrument
panel cluster comes on when the
fog lamps are on.
Some localities have laws that
require the headlamps to be on
along with the fog lamps.
Interior Lighting
Instrument Panel
Illumination Control
The brightness of the instrument
panel lighting and steering wheel
controls can be adjusted. Use the
thumbwheel located next to the
exterior lamps control on the
outboard side of the steering wheel.
D: Move the thumbwheel up or
down to brighten or dim the lights.
Dome Lamps
The interior lamps control located in
the overhead console controls both
the front and rear interior lamps.
To operate, press the following
buttons:
*(Off): Turns the lamp off.
1Door: Turns the lamp on when
any door is opened.
+ON: Keeps the lamp on all
the time.
Reading Lamps
There are front and rear reading
lamps.
The front reading lamps are located
in the overhead console.
# $: Press to turn each lamp on
or off.
Sun Visor Lamps
This lamp turns on when the cover
is opened.
Page 214 of 414

7-2 Climate Controls
Automatic Operation
The system automatically controls
the fan speed, air delivery, air
conditioning and recirculation in
order to heat or cool the vehicle to
the desired temperature.
When the AUTO indicator light is
on, the system is in full automatic
operation. If the air delivery mode,
fan speed, recirculation or air
conditioning setting is adjusted, the
AUTO indicator turns off and the
selected settings will appear on the
display.
To place the system in automatic
mode do the following:
1. Press AUTO.
2. Set the temperature. Allow thesystem time to stabilize. Adjust
the temperature as needed for
best comfort.
Q/R(Temperature Control):
Press to increase or decrease the
temperature. Manual Operation
O(Power):
Press to turn the fan
on or off.
D C(Fan Control): Press to
increase or decrease the fan speed.
The fan speed setting appears on
the main display. Pressing either
button cancels automatic fan control
and the fan can be controlled
manually. Press AUTO to return to
automatic operation.
e *(Air Delivery Mode
Control): Press to change the
direction of the airflow. The current
mode appears in the display screen.
Pressing either button cancels
automatic air delivery control and
the direction of the airflow can be
controlled manually. Press AUTO to
return to automatic operation.
To change the current mode, select
one of the following:
Y(Vent): Air is directed to the
instrument panel outlets.
\(Bi-Level): Air is divided
between the instrument panel
outlets and the floor outlets.
C(Tri-Level): Air is divided
between the windshield, instrument
panel, and floor outlets.
[(Floor): Air is directed to the
floor outlets.
-(Defog): Clears the windows of
fog or moisture. Air is directed to the
windshield and floor outlets.
0(Defrost): Clears the
windshield of fog or frost more
quickly. Air is directed to the
windshield. Selecting defrost will
disable automatic control.
For best results, clear all snow and
ice from windshield before
defrosting.
#(Air Conditioning): Press to
turn the air conditioning system on
or off. If the fan is turned off or the
outside temperature falls below
freezing, the air conditioning system
will not run.
Page 216 of 414

7-4 Climate Controls
Sensors
The solar sensor located on top of
the instrument panel near the
windshield monitors the solar heat.
The climate control system uses the
sensor information to adjust the
temperature, fan speed,
recirculation, and air delivery mode
for best comfort.
Do not cover the sensors or the
automatic climate control system
may not work properly.
Dual Automatic Climate Control System
The heating, cooling, and ventilation for the vehicle can be controlled with
this system.
A. Power
B. Driver Temperature Control
C. Defrost
D. Fan Control
E. Air Delivery Mode Control
F. Recirculation / AutomaticRecirculation G. Passenger Temperature Control
H. AUTO
I. Rear Window Defogger
J. Heated Steering Wheel
K. Air Conditioning
L. ZONE
Page 217 of 414

Climate Controls 7-5
Automatic Operation
The system automatically controls
the fan speed, air delivery, air
conditioning and recirculation in
order to heat or cool the vehicle to
the desired temperature.
When the AUTO indicator light is
on, the system is in full automatic
operation. If the air delivery mode,
fan speed, recirculation or air
conditioning setting is adjusted, the
AUTO indicator turns off and the
selected settings will appear on the
display.
To place the system in automatic
mode do the following:
1. Press AUTO.
2. Set the temperature. Allow thesystem time to stabilize. Adjust
the temperature as needed for
best comfort.Q/R(Driver and Passenger
Temperature Control): The
temperature can be adjusted
separately for the driver and the
passenger. Press to increase or
decrease the temperature.
ZONE: Press to link all climate
zone settings to the driver's
settings. The ZONE indicator light
will turn off. When the passenger
settings are adjusted, the ZONE
indicator light is on.
Manual Operation
O(Power): Press to turn the fan
off or on.
D C(Fan Control): Press to
increase or decrease the fan speed.
The fan speed setting appears on
the main display. Pressing either
button cancels automatic fan control
and the fan is controlled manually.
Press AUTO to return to automatic
operation.
e *(Air Delivery Mode
Control): Press to change the
direction of the airflow. The current
mode appears in the display screen.
Pressing either button cancels
automatic air delivery control and
the direction of the airflow is
controlled manually. Press AUTO to
return to automatic operation.
To change the current mode, select
one of the following:
Y(Vent): Air is directed to the
instrument panel outlets.
\(Bi-Level): Air is divided
between the instrument panel
outlets and the floor outlets.
C(Tri-Level): Air is divided
between the windshield, instrument
panel, and floor outlets.
[(Floor): Air is directed to the
floor outlets.
-(Defog): Clears the windows of
fog or moisture. Air is directed to the
windshield and floor outlets.
Page 219 of 414

Climate Controls 7-7
Rear Window Defogger
=(Rear Window Defogger):
Press to turn the rear window
defogger on or off.
The rear window defogger turns off
automatically after about
10 minutes. If turned on again it
runs for about 5 minutes before
turning off. The defogger can also
be turned off by turning the ignition
to ACC/ACCESSORY or
LOCK/OFF.
The rear window defogger can be
set to automatic operation, see
Climate and Air Quality under
Vehicle Personalization
on
page 4‑38. When auto rear defog is
selected, the rear window defogger
turns on automatically when the
interior temperature is cold and the
outside temperature is about 40°F
and below. The auto rear defogger
turns off automatically after about
10 minutes, or after 5 minutes if the
outside temperature is not as cold. For vehicles with heated outside
rearview mirrors, they turn on when
the rear window defogger button is
on and helps to clear fog or frost
from the surface of the mirror. See
Heated Mirrors on page 1‑16.
Notice:
Do not try to clear frost
or other material from the inside
of the front windshield and rear
window with a razor blade or
anything else that is sharp. This
may damage the rear window
defogger grid and affect your
radio's ability to pick up stations
clearly. The repairs wouldn't be
covered by your warranty.((Heated Steering Wheel): For
vehicles with this feature, press to
turn on or off. See Heated Steering
Wheel on page 4‑7. Remote Start Climate Control
Operation:
For vehicles with the
remote vehicle start feature, the
climate control system may run
when the vehicle is started remotely.
The system uses the driver's
previous settings to heat or cool the
inside of the vehicle. See Remote
Vehicle Start on page 1‑8.
The rear window defogger turns on
if it is cold outside.
Sensors
The solar sensor, located on top of
the instrument panel near the
windshield monitors the solar heat.
The climate control system uses the
sensor information to adjust the
temperature, fan speed,
recirculation, and air delivery mode
for best comfort.
Do not cover the sensors or the
automatic climate control system
may not work properly.
Page 220 of 414

7-8 Climate Controls
Air Vents
Use the louvers located on the air
vents to change the direction of the
airflow.
To open the vent, move the
thumbwheel to
R. To close the vent,
move the thumbwheel to
(.
Operation Tips
.Keep all outlets open whenever
possible for best system
performance.
.Keep the path under all seats
clear of objects to help circulate
the air inside the vehicle more
effectively.
.Use of non-GM approved hood
deflectors can adversely affect
the performance of the system.
Maintenance
Air Intake
Clear away any ice, snow, or leaves
from the air intake at the base of the
windshield that can block the flow of
air into the vehicle.
Passenger Compartment
Air Filter
The filter removes dust, pollen, and
other airborne irritants from outside
air that is pulled into the vehicle.
The filter should be replaced as part
of routine scheduled maintenance.
See Scheduled Maintenance
on
page 10‑2for replacement
intervals. To find out what type of
filter to use, see Maintenance
Replacement Parts on page 10‑9. The passenger compartment air
filter can be accessed by removing
the entire glove box.
1. Open the passenger side door.
Remove the end cover located
on the side of the instrument
panel in the top right corner.
Remove the screw affixed to the
side of the glove box.
2. Open the glove box door and remove the attached screws
from around the glove box.
3. Lower the loosened glove box housing.
4. Unplug both wire cables and remove the glove box.
5. Pull the three tabs to release and open the filter door.
Page 232 of 414

8-10 Driving and Operating
TheAntilock Brake System (ABS)on page 8‑31improves vehicle
stability during hard stops on
slippery roads, but apply the brakes
sooner than when on dry pavement.
Allow greater following distance on
any slippery road and watch for
slippery spots. Icy patches can
occur on otherwise clear roads in
shaded areas. The surface of a
curve or an overpass can remain icy
when the surrounding roads are
clear. Avoid sudden steering
maneuvers and braking while
on ice.
Turn off cruise control, if equipped,
on slippery surfaces.Blizzard Conditions
Being stuck in snow can be in a
serious situation. Stay with the
vehicle unless there is help nearby.
If possible, use the Roadside
Assistance Program (US, Can)
on
page 12‑6. To get help and keep
everyone in the vehicle safe:
.Turn on the hazard warning
flashers.
.Tie a red cloth to an outside
mirror.
{WARNING
Snow can trap engine exhaust
under the vehicle. This may
cause exhaust gases to get
inside. Engine exhaust contains
carbon monoxide (CO) which
cannot be seen or smelled. It can
cause unconsciousness and even
death.
(Continued)
WARNING (Continued)
If the vehicle is stuck in the snow:
.Clear away snow from around
the base of your vehicle,
especially any that is blocking
the exhaust pipe.
.Check again from time to
time to be sure snow does
not collect there.
.Open a window about 5 cm
(two inches) on the side of
the vehicle that is away from
the wind to bring in fresh air.
.Fully open the air outlets on
or under the instrument
panel.
.Adjust the Climate Control
system to a setting that
circulates the air inside the
vehicle and set the fan speed
to the highest setting. See
Climate Control System in the
Index.(Continued)
Page 252 of 414

8-30 Driving and Operating
Uplevel Display Shown, BaseModel Similar
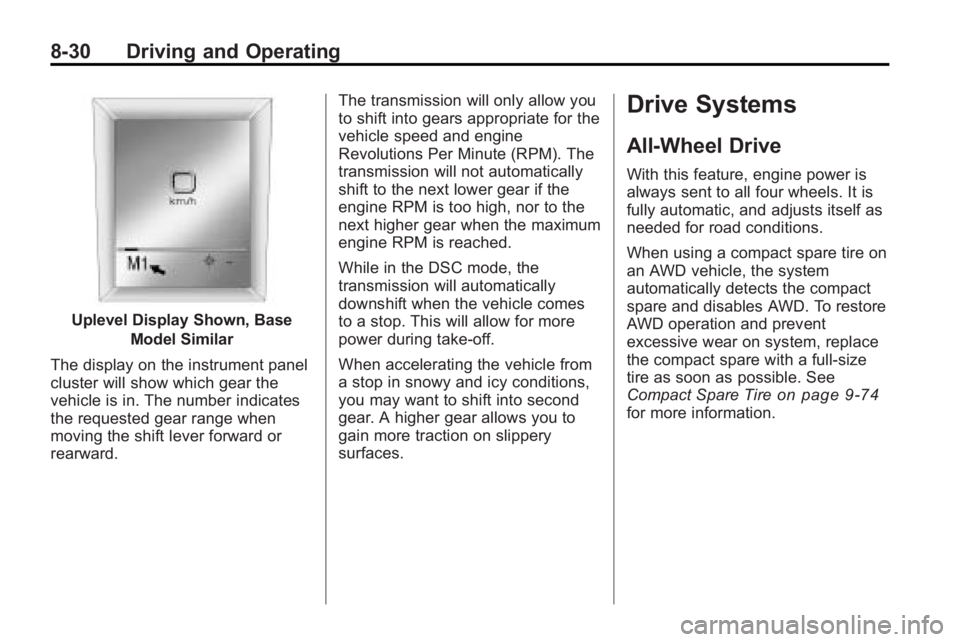
The display on the instrument panel
cluster will show which gear the
vehicle is in. The number indicates
the requested gear range when
moving the shift lever forward or
rearward. The transmission will only allow you
to shift into gears appropriate for the
vehicle speed and engine
Revolutions Per Minute (RPM). The
transmission will not automatically
shift to the next lower gear if the
engine RPM is too high, nor to the
next higher gear when the maximum
engine RPM is reached.
While in the DSC mode, the
transmission will automatically
downshift when the vehicle comes
to a stop. This will allow for more
power during take-off.
When accelerating the vehicle from
a stop in snowy and icy conditions,
you may want to shift into second
gear. A higher gear allows you to
gain more traction on slippery
surfaces.
Drive Systems
All-Wheel Drive
With this feature, engine power is
always sent to all four wheels. It is
fully automatic, and adjusts itself as
needed for road conditions.
When using a compact spare tire on
an AWD vehicle, the system
automatically detects the compact
spare and disables AWD. To restore
AWD operation and prevent
excessive wear on system, replace
the compact spare with a full-size
tire as soon as possible. See
Compact Spare Tire
on page 9‑74for more information.