Page 488 of 672
488 4-3. Do-it-yourself maintenance
Power steering fluid■ Fluid level
The fluid level should be within the appropriate range.
Full (when cold)
Add fluid (when cold)
Full (when hot)
Add fluid (when hot)
Hot: Vehicle has been driven around 50 mph (80 km/h) for 20 minutes, or slightly longer in frigid temperatures. (Fluid
temperature, 140°F - 175°F [60°C - 80°C])
Cold: Engine has not been run for about 5 hours. (Room tem- perature, 50°F - 85°F [10°C - 30°C])
■ Checking the fluid level
Make sure to check the fluid type and prepare the necessary items.
Clean all dirt off the reservoir.
Remove the cap by turning it counterclockwise.
Wipe the dipstick clean.
Reinstall and remove the reservoir cap again.
Check the fluid level.
Fluid type Automatic transmission fluid DEXRON® II or III
Items Rag or paper towel
CAUTION
■Checking the fluid level
Take care, as the reservoir may be hot.
Page 490 of 672

490 4-3. Do-it-yourself maintenance
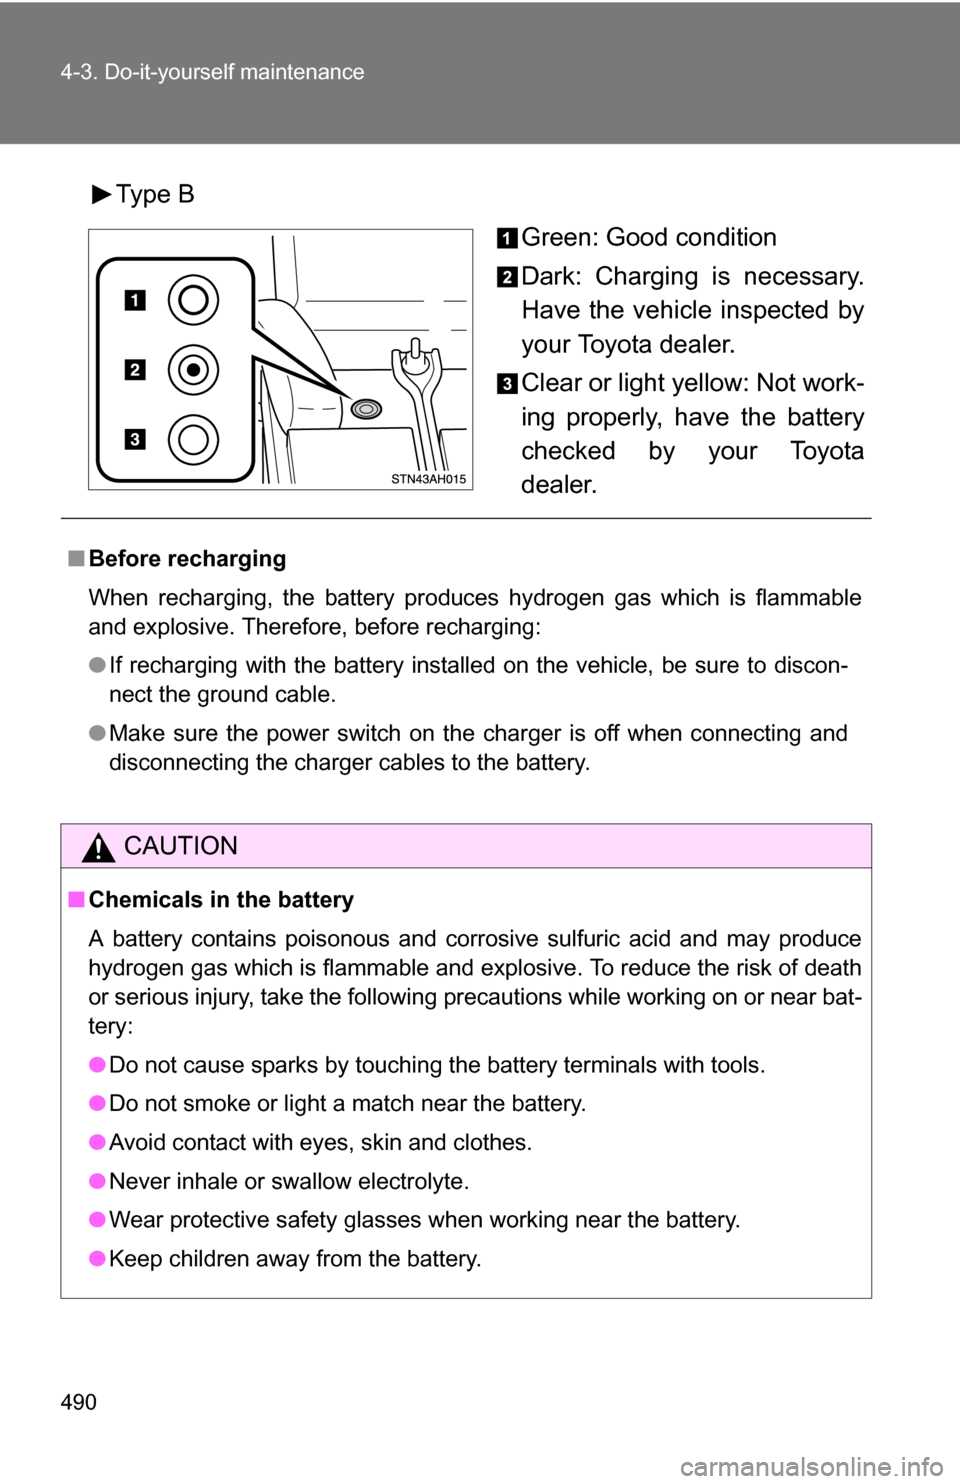
Type BGreen: Good condition
Dark: Charging is necessary.
Have the vehicle inspected by
your Toyota dealer.
Clear or light yellow: Not work-
ing properly, have the battery
checked by your Toyota
dealer.
■Before recharging
When recharging, the battery produces hydrogen gas which is flammable
and explosive. Therefore, before recharging:
●If recharging with the battery installed on the vehicle, be sure to discon-
nect the ground cable.
● Make sure the power switch on the charger is off when connecting and
disconnecting the charger cables to the battery.
CAUTION
■Chemicals in the battery
A battery contains poisonous and corrosive sulfuric acid and may produce
hydrogen gas which is flammable and explosive. To reduce the risk of death
or serious injury, take the following precautions while working on or near bat-
tery:
● Do not cause sparks by touching the battery terminals with tools.
● Do not smoke or light a match near the battery.
● Avoid contact with eyes, skin and clothes.
● Never inhale or swallow electrolyte.
● Wear protective safety glasses when working near the battery.
● Keep children away from the battery.
Page 492 of 672
492 4-3. Do-it-yourself maintenance
Washer fluidAdd washer fluid in the following situations.
● Any washer does not work.
● The low washer fluid warning light comes on. (if equipped)
● The warning message appears on the multi-information display. (if
equipped)
Open the lid.
Add washer fluid.
CAUTION
■When refilling the washer fluid
Do not refill the washer fluid when the engine is hot or running, as the
washer fluid contains alcohol and may catch fire if spilled on the engine etc.
Page 496 of 672
496 4-3. Do-it-yourself maintenance
Push and hold the tire pressure
warning reset switch about 3
seconds. After releasing the
switch, check that the tire pres-
sure warning light blinks slowly
three times.
Wait for several minutes with the engine switch on, and then
turn the engine switch to the ACC or LOCK position.
Registering ID codes
The tire pressure warning valve and transmitter is equipped with a
unique ID code. When replacing a tire pressure warning valve and
transmitter, it is necessary to regi ster the ID code of tire pressure
warning valve and transmitter. Have the ID code registered by your
Toyota dealer.
■When to replace your vehicle’s tires
Tires should be replaced if:
●You have tire damage such as cuts, splits, cracks deep enough to
expose the fabric or bulges indicating internal damage
●A tire goes flat repeatedly or c annot be properly repaired due to the
size or location of a cut or other damage
If you are not sure, consult with your Toyota dealer.
Page 497 of 672

497
4-3. Do-it-yourself maintenance
4
Maintenance and care
■Replacing tires and wheels
If the ID code of the tire pressure warning valve and transmitter is not
registered, the tire pre
ssure warning system will not work properly. After
driving for about 20 minutes, the ti re pressure warning light comes on
after blinking for 1 minute to indicate a system malfunction.
■Tire life
Any tire over 6 years old must be checked by a qualified technician even
if they have seldom or never been used or damage is not obvious.
■If the tread wears down below 0.16 in. (4 mm) on snow tires
The effectiveness of snow tires is lost.
■Maximum load of tire
Check that the maximum load of the re placed tire is greater than 1/2 of
the Gross Axle Weight Ratings (GAWR) of either the front axle or the
rear axle, whichever is greater.
As for the maximum load of the tire, see the load limit at maximum cold
tire inflation pressure mentioned on the sidewall of the tire, and as for the
Gross Axle Weight Ratings (GAWR) , see the Certification Label.
( P. 501, 622).
■Tire types
1 Summer tires
Summer tires are high-speed performance tires best suited to highway
driving under dry conditions. Since summer tires do not have the same
traction performance as snow tire s, summer tires are inadequate for
driving on snow-covered or icy roads. For driving on snow-covered
roads or icy roads, the use of snow tires is recommended. When
installing snow tires, be sure to replace all four tires.
2 All season tires All season tires are designed to provide better traction in snow and to
be adequate for driving in most winter conditions, as well as for use
year round. All season tires, however, do not have adequate traction
performance compared with snow tires in heavy or loose snow. Also,
all season tires fall short in acceleration and handling performance
compared with summer tires in highway driving.
Page 498 of 672

498 4-3. Do-it-yourself maintenance
3Snow tiresFor driving on snow-covered roads or icy roads, we recommend using
snow tires. If you need snow tires, select tires of the same size, con-
struction and load capacity as the or iginally installed tires. Since your
vehicle has radial tires as original equipment, make sure your snow
tires also have radial construction. Do not install studded tires without
first checking local regulations for possible restriction. Snow tires
should be installed on all wheels. ( P. 246)
■Initializing the tire pr essure warning system
Initialize the tires with the tire inflati on pressure adjusted to the specified
level.
■If you push the tire pressure warning reset switch accidentally
If initialization is performed, adjust the tire in flation pressure to the speci-
fied level and initialize the tire pressure warning system again.
■When the initialization of the tire pressure warning system has
failed
Initialization can be completed in se veral minutes. However, in the fol-
lowing cases, the settings have not been recorded and the system will
not operate properly. If repeated attempts to record tire inflation pressure
settings are unsuccessful, have the vehicle inspected by your Toyota
dealer.
●When operating the tire pressure warning reset switch, the tire pres-
sure warning light does not flash 3 times.
●After carrying out the initialization procedure, the tire pressure warn-
ing light blinks for 1 minute and then stays on after driving for about
20 minutes.
■Routine tire inflation pressure checks
The tire pressure warning system doe s not replace routine tire inflation
pressure checks. Make sure to check tire inflation pressure as part of
your routine of daily vehicle checks.
Page 500 of 672

500 4-3. Do-it-yourself maintenance
CAUTION
■When inspecting or replacing tires
●Do not use tires that have been used on another vehicle.
●Do not use tires if you do not know how they were used previously.
■When initializing the tire pressure warning system
Do not push the tire pressure warnin g reset switch without first adjusting
the tire inflation pressure to the spec ified level. Otherwise, the tire pres-
sure warning light may not come on ev en if the tire inflation pressure is
low, or it may come on when the tire inflation pressure is actually normal.
NOTICE
■Repairing or replacing tires, wheels and tire pressure warning
valves and transmitters
When removing or fitting the wheels, tires or the tire pressure warning
valve and transmitter, contact your Toyota dealer as the tire pressure
warning valve and transmitter may be damaged if not handled correctly.
■To avoid damaging the tire pressure warning valves and transmit-
ters
Do not use liquid sealants on flat tires.
■Driving on rough roads
Take particular care when driving on roads with loose surfaces or pot-
holes.
These conditions may cause losses in tire inflation pressure, reducing
the cushioning ability of the tires. In addition driving on rough roads may
cause damage to the tires themselves, as well as the vehicle’s wheels
and body.
■If tire inflation pressures become low while driving
Do not continue driving, or your tires and/or wheels may be ruined.
Page 515 of 672
515
4-3. Do-it-yourself maintenance
4
Maintenance and care
Fuse layout and amperage ratings
■ Engine compartment
FuseAmpereCircuit
1 A/F 15 A Multiport fuel injection system/
sequential multiport fuel injection
system
2 HORN 10 A Horn
3 EFI NO.1 25 A Multiport fuel injection system/
sequential multiport fuel injection
system
4 IG2 MAIN 30 A INJ, MET, IGN fuses
5 DEICER 20 A Front windshield wiper de-icer
6 TOW TAIL 30 A Trailer lights (tail lights)
7 POWER NO.2 30 A Power back windows
8 FOG 15 A Front fog lights