2009 TOYOTA TUNDRA change time
[x] Cancel search: change timePage 36 of 672

36
For your information
Main Owners Manual
Please note that this manual applies to all models explains and all equip-
ment, including options. Therefore, you may find some explanations for
equipment not installed on your vehicle.
All specifications provided in this manual are current at the time of printing.
However, because of the Toyota policy of continual product improvement, we
reserve the right to make changes at any time without notice.
Depending on specifications, the vehicle shown in the illustrations may differ
from your vehicle in terms of equipment.
Accessories, spare parts and modification of your Toyota
A wide variety of non-genuine spare parts and accessories for Toyota
vehicles are currently available in the market. You should know that Toyota
does not warrant these products and is not responsible for their
performance, repair, or replacement, or for any damage they may cause to,
or adverse effect they may have on, your Toyota vehicle.
This vehicle should not be modified with non-genuine Toyota products.
Modification with non-genuine Toyota products could affect its performance,
safety or durability, and may even violate governmental regulations. In
addition, damage or performance problems resulting from the modification
may not be covered under warranty.
Installation of a mobile two-way radio system
As the installation of a mobile two-way radio system in your vehicle could
affect electronic systems such as the multiport fuel injection system/sequen-
tial multiport fuel injection system, cruise control system, anti-lock brake sys-
tem, SRS airbag system and seat belt pretensioner system, be sure to check
with your Toyota dealer for precautionary measures or special instructions
regarding installation.
Page 172 of 672
172 2-1. Driving procedures
CAUTION
■When driving on slippery road surfaces
●Sudden braking, acceleration and steering may cause tire slippage and
reduce your ability to control the vehicle, resulting in an accident.
● Sudden changes in engine speed, such as engine braking caused by up-
shifting or down-shifting, may cause the vehicle to skid, resulting in an
accident.
● After driving through a puddle, lightly depress the brake pedal to make
sure that the brakes are functioning properly. Wet brake pads may prevent
the brakes from functioning properly. If the brakes on only one side are wet
and not functioning properly, steering control may be affected, resulting in
an accident.
■ When shifting the shift lever
●Be careful not to shift the shift lever with the accelerator pedal depressed.
This may lead to unexpected rapid acceleration of the vehicle that may
cause an accident and result in death or serious injury.
■ When the vehicle is stopped
●Do not race the engine.
If the vehicle is in any gear other than P or N, the vehicle may accelerate
suddenly and unexpectedly, and may cause an accident.
● Do not leave the vehicle with the engine running for a long time.
If such a situation cannot be avoided, park the vehicle in an open space
and check that exhaust fumes do not enter the vehicle interior.
● Always keep a foot on the brake pedal while the engine is running to pre-
vent an accident caused by the vehicle moving.
Page 208 of 672
208 2-3. Operating the lights and wipers
■Daytime running light system (if equipped)
To make your vehicle more visible to other drivers, the front turn signal lights
turn on automatically whenever the engine is started and the parking brake
is released. Daytime running lights are not designed for use at night.
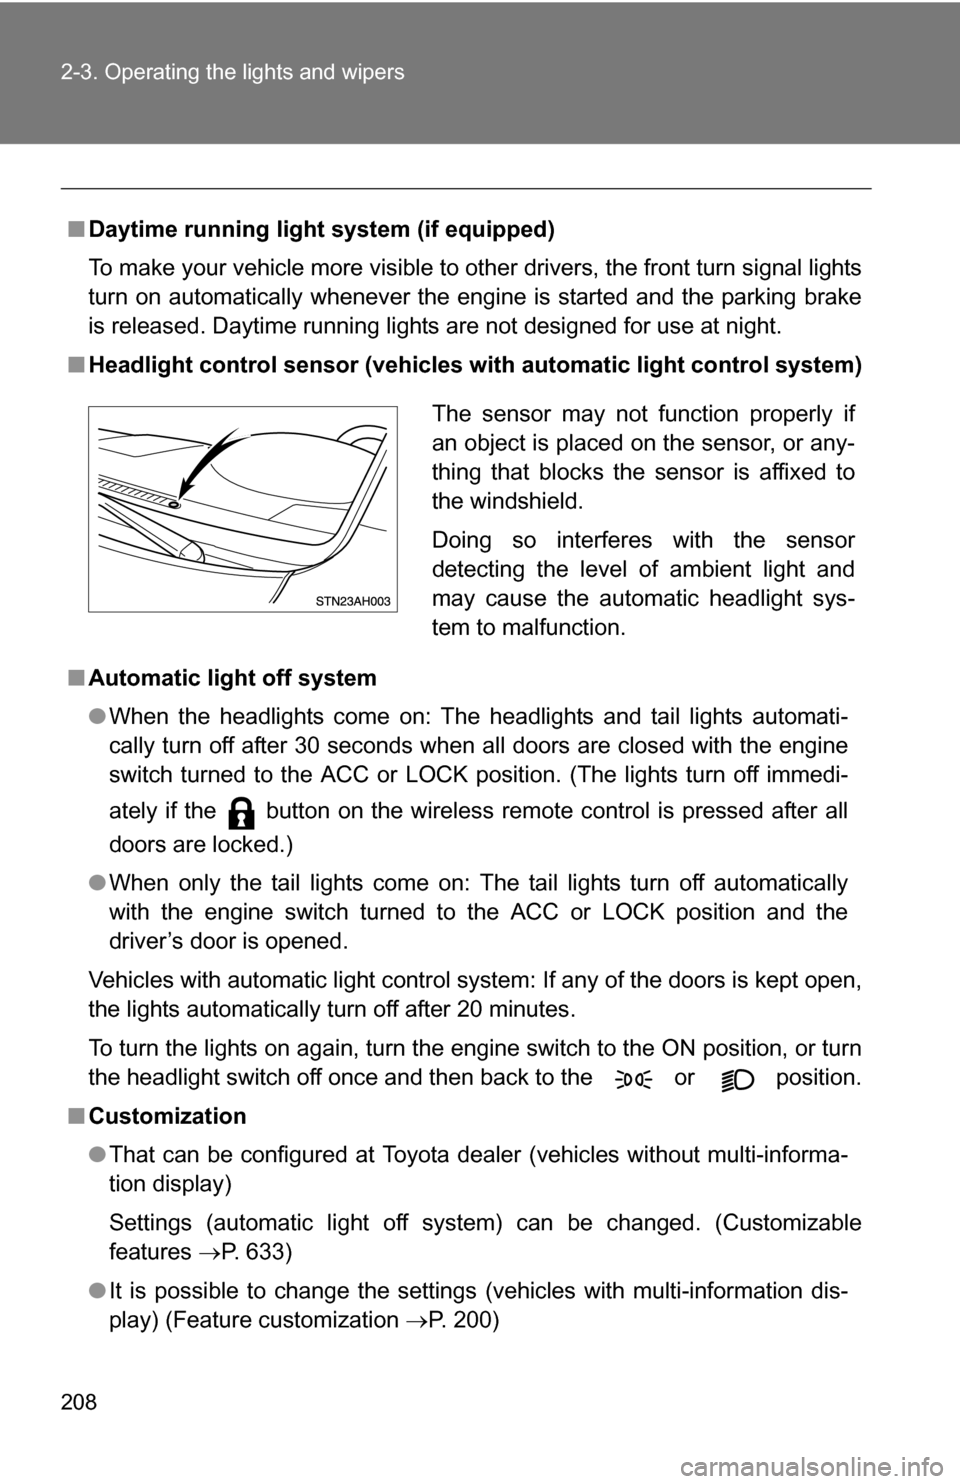
■ Headlight control sensor (vehicles wi th automatic light control system)
■ Automatic light off system
●When the headlights come on: The headlights and tail lights automati-
cally turn off after 30 seconds when all doors are closed with the engine
switch turned to the ACC or LOCK position. (The lights turn off immedi-
ately if the button on the wireless remote control is pressed after all
doors are locked.)
● When only the tail lights come on: The tail lights turn off automatically
with the engine switch turned to the ACC or LOCK position and the
driver’s door is opened.
Vehicles with automatic light control system: If any of the doors is kept open,
the lights automatically turn off after 20 minutes.
To turn the lights on again, turn the engine switch to the ON position, or turn
the headlight switch off once and then back to the or position.
■ Customization
●That can be configured at Toyota dealer (vehicles without multi-informa-
tion display)
Settings (automatic light off system) can be changed. (Customizable
features P. 633)
● It is possible to change the settings (vehicles with multi-information dis-
play) (Feature customization P. 200)
The sensor may not function properly if
an object is placed on the sensor, or any-
thing that blocks the sensor is affixed to
the windshield.
Doing so interferes with the sensor
detecting the level of ambient light and
may cause the automatic headlight sys-
tem to malfunction.
Page 219 of 672
219
2-4. Using other
driving systems
2
When driving
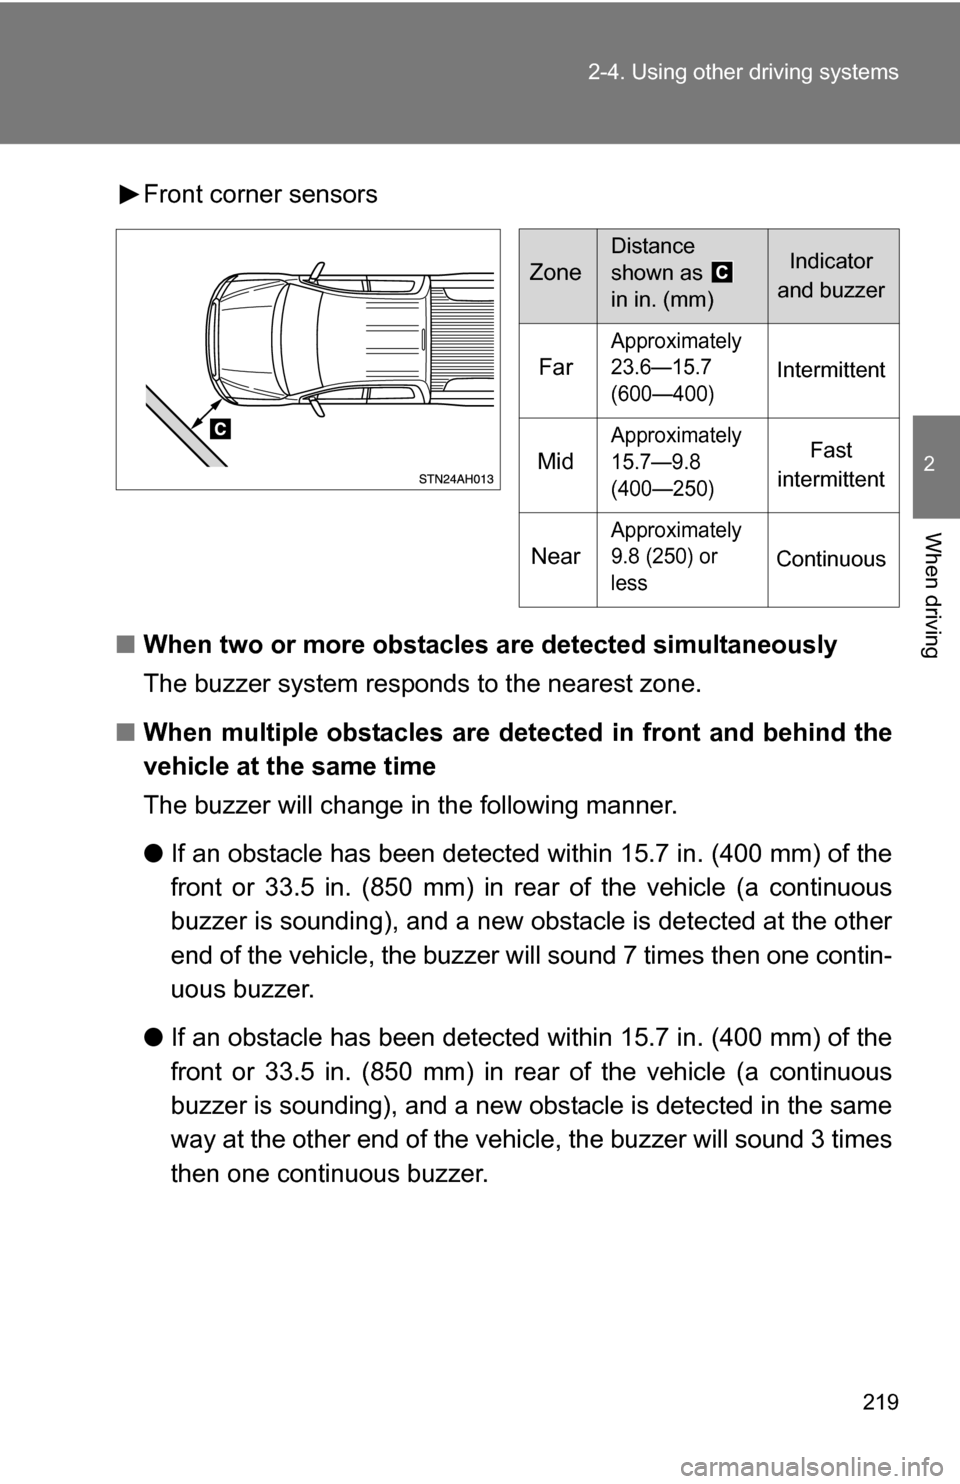
Front corner sensors
■ When two or more obstacles are detected simultaneously
The buzzer system responds to the nearest zone.
■ When multiple obstacles are detected in front and behind the
vehicle at the same time
The buzzer will change in the following manner.
● If an obstacle has been detected within 15.7 in. (400 mm) of the
front or 33.5 in. (850 mm) in rear of the vehicle (a continuous
buzzer is sounding), and a new obstacle is detected at the other
end of the vehicle, the buzzer will sound 7 times then one contin-
uous buzzer.
● If an obstacle has been detected within 15.7 in. (400 mm) of the
front or 33.5 in. (850 mm) in rear of the vehicle (a continuous
buzzer is sounding), and a new obs tacle is detected in the same
way at the other end of the vehi cle, the buzzer will sound 3 times
then one continuous buzzer.
Zone
Distance
shown as
in in. (mm)Indicator
and buzzer
Far
Approximately
23.6—15.7
(600—400)
Intermittent
Mid
Approximately
15.7—9.8
(400—250)Fast
intermittent
Near
Approximately
9.8 (250) or
less
Continuous
Page 302 of 672
302 3-2. Using the audio system
Scanning radio stations (excluding XM® Satellite Radio)
■ Scanning the preset radio stations
Press and hold until you hear a beep.
Preset stations will be played for 5 seconds each.
When the desired station is reached, press the button once
again to stop scanning.
■ Scanning all radio stations within range
Press .
All stations with reception will be played for 5 seconds each.
When the desired station is reached, press the button once
again to stop scanning.
XM® Satellite Radio (type B and C)
■ Receiving XM
® Satellite Radio
Press and select the XM
® band.
The display changes as follows each time is pressed.
AM SAT1 SAT2 SAT3
Turn to select the desired channel in all categories
or press “
”or “ ” on to select the desired channel in
the current category.
Page 304 of 672
304 3-2. Using the audio system
The display changes as follows each time the button is pressed.
●CH NAME
● TITLE (SONG/PROGRAM TITLE)
● NAME (ARTIST NAME/FEATURE)
● CH NUMBER
■When the battery is disconnected
Stations presets are erased.
■ Reception sensitivity
●Objects, especially metal objects, such as cargo, a camper, or a truck
rack, may adversely affect the reception of XM
® Satellite Radio.
● Maintaining stable radio reception at all times is difficult due to the contin-
ually changing position of the antenna and differences in signal strength
and surrounding objects, such as trains, transmitters, etc.
● The radio antenna is mounted on the right-side front fender. The antenna
can be removed from the base by turning it.
■ XM
® Satellite Radio (type B and C)
An XM
® Satellite Radio is a tuner designed exclusively to receive broadcasts
provided under a separate subscription. Availability is limited to the 48 con-
tiguous states and 10 Canadian provinces.
● XM
® subscriptions
For detailed information about XM® Satellite Radio or to subscribe:
U.S.A.—
Visit on the web at www.xmradio.com
or call 1-800-967-2346.
Canada—
Visit on the web at www.xmradio.ca
or call 1-877-438-9677.
● Radio ID
You will need the radio ID when activating XM
® service or reporting a
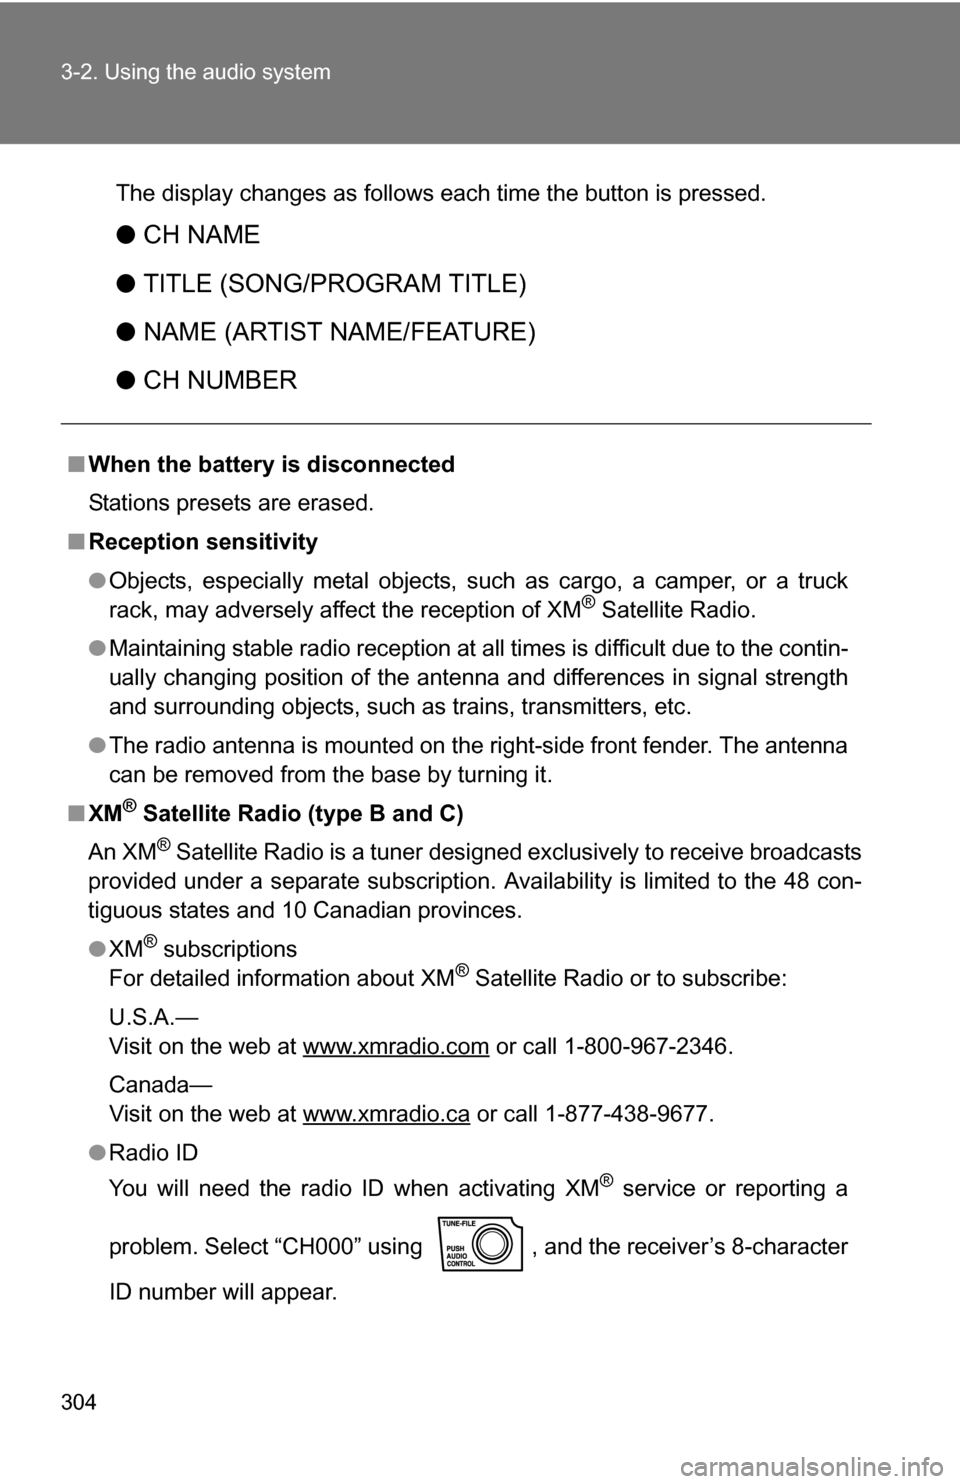
problem. Select “CH000” using , and the receiver’s 8-character
ID number will appear.
Page 306 of 672
306 3-2. Using the audio system
Contact the XM® Listener Care Center at 1-800-967-2346 (U.S.A.) or 1-877-
438-9677 (Canada).
■ Certifications for the radio tuner
This equipment has been tested and found to comply with the limits for a
class B digital device, pursuant to Part 15 of the FCC Rules. These limits are
designed to provide reasonable protection against harmful interference in a
residential installation. This equipment generates, uses and can radiate
radio frequency energy and, if not installed and used in accordance with the
instructions, may cause harmful interference to radio communications. How-
ever, there is no guarantee that interference will not occur in a particular
installation.
If this equipment does cause harmful interference to radio or television
reception, which can be determined by turning the equipment off and on, the
user is encouraged to try to correct the interference by trying one or more of
the following:
●Reorienting or relocating the receiving antenna.
● Increasing the separation between the equipment and receiver.
● Connecting the equipment into an outlet on a circuit different from that to
which the receiver is connected.
● Consulting the dealer or an experienc ed radio/TV technician for help.
NOTICE
■To prevent damage, remove the antenna in the following cases.
● The antenna will touch the ceiling of a garage.
● A cover will be put on the vehicle.
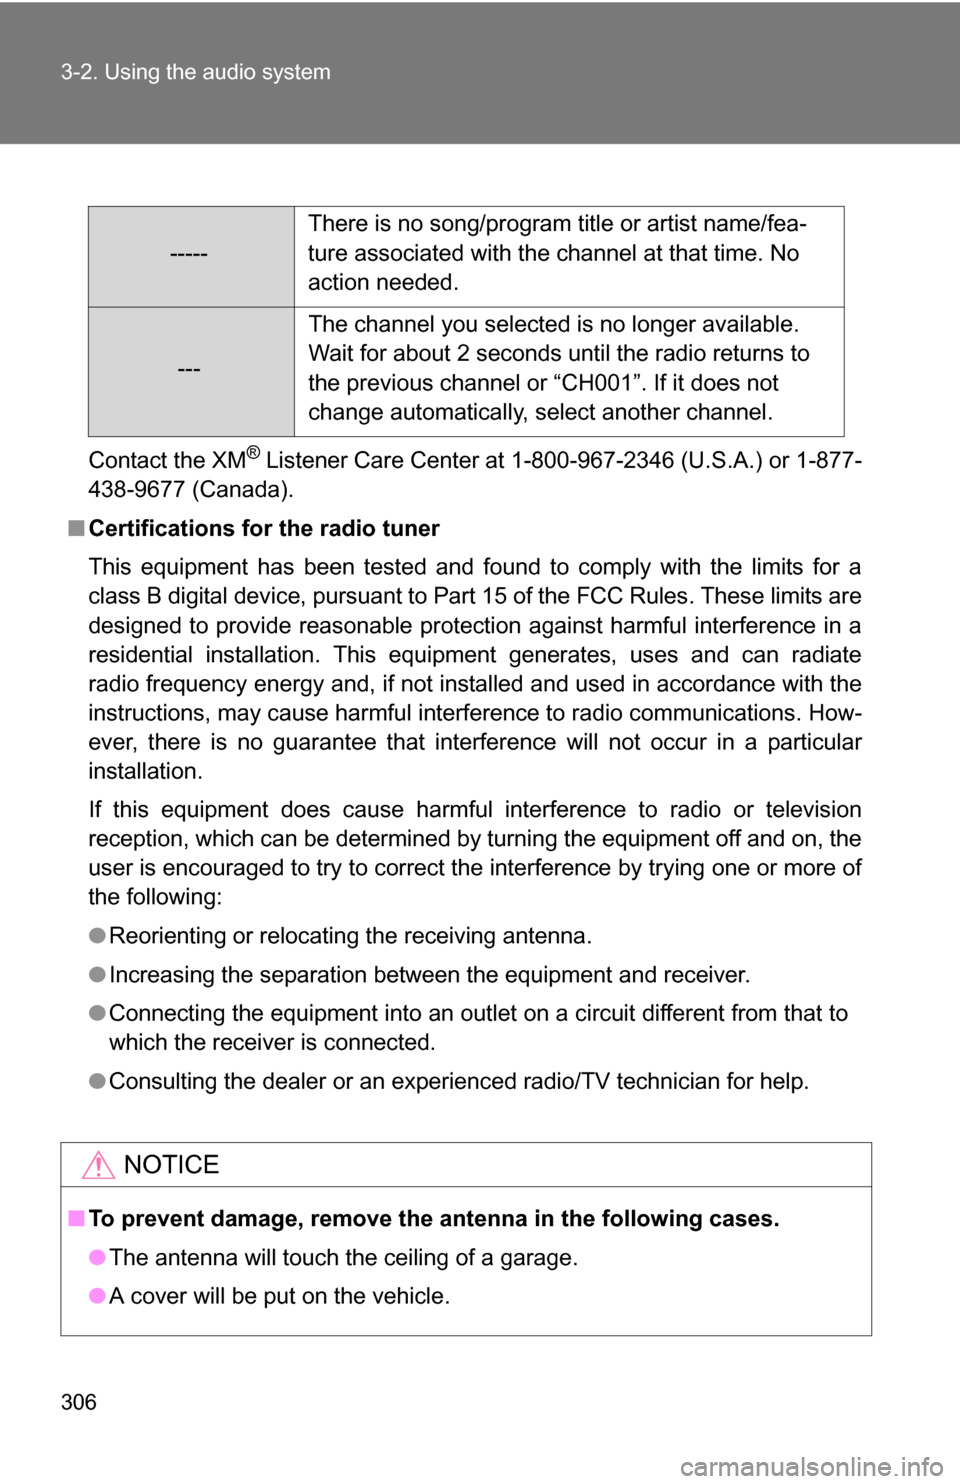
----- There is no song/program title or artist name/fea-
ture associated with the channel at that time. No
action needed.
---The channel you selected is no longer available.
Wait for about 2 seconds until the radio returns to
the previous channel or “CH001”. If it does not
change automatically, select another channel.
Page 310 of 672
310 3-2. Using the audio system
Repeat play■ Repeating a track
Press or .
■ Repeating all of the tracks on a CD (with CD changer only)
Press and hold or until you hear a beep.
Random playback
■ Current CD
Press or .
Tracks are played in random order until the button is pressed once more.
■All CDs (with CD changer only)
Press and hold or until you hear a beep.
Tracks on all loaded CDs are played in random order until the button is
pressed once more.
Switching the display
Press .
Each time the button is pressed, the display changes in the order of Track
no./Elapsed time CD titleTrack name.