Page 230 of 672
230
2-4. Using other driving systems
Driving assist systems
To help enhance driving safety and performance, the following sys-
tems operate automatically in res ponse to various driving situations.
Be aware, however, that these systems are supplementary and
should not be relied upon too h eavily when operating the vehicle.
■ABS (Anti-lock Brake System)
Helps to prevent wheel lock when the brakes are applied suddenly, or if
the brakes are applied while driving on a slippery road surface.
■Brake Assist
Generates an increased level of braking force after the brake pedal is
depressed, when the system detects a panic stop situation.
■VSC (Vehicle Stability Control)
Helps the driver to control skidding when swerving suddenly or turning
on slippery road surfaces.
■TRAC (Traction Control) for 2WD models and 2WD mode on
4WD models
Maintains drive power and prevents the rear wheels from spinning
when starting the vehicle or accelerating on slippery roads.
■A-TRAC (Active Traction Control) for 4WD mode on 4WD
models
Maintains drive power and prevents the all wheels from spinning when
starting the vehicle or accelerating on slippery roads.
Page 240 of 672
240 2-5. Driving information
NOTICE
■To prevent the water damage
●Take all necessary safety measures to ensure that water damage to the
engine or other components does not occur.
● Water entering the engine air intake will cause severe engine damage.
● Water entering the automatic transmission will cause deterioration in shift
quality, locking up of your transmission accompanied by vibration, and ulti-
mately damage.
● Water can wash the grease from wheel bearings, causing rusting and pre-
mature failure, and may also enter the differentials, transmission and
transfer case, reducing the gear oil’s lubricating qualities.
■ When you drive through water
If driving through water, such as when crossing shallow streams, first check
the depth of the water and the bottom of the river bed for firmness. Drive
slowly and avoid deep water.
■ Inspection after off-road driving
●Sand and mud that has accumulate d in brake drums and around brake
discs may affect braking efficiency and may damage brake system compo-
nents.
● Always perform a maintenance inspection after each day of off-road driv-
ing that has taken you through rough terrain, sand, mud, or water. For
scheduled maintenance information, refer to the “Scheduled Maintenance
Guide” or “Owner’s Manual Supplement”.
Page 243 of 672
243
2-5. Driving information
2
When driving
CAUTION
■Things that must not be carried in the luggage compartment
The following things may cause a fire if loaded in the luggage compart-
ment.
●Receptacles containing gasoline
●Aerosol cans
■Storage precautions
●Do not stack anything behind the front seats higher than the seat-
backs.
Such items may be thrown about and possibly injure people in the
vehicle during sudden braking or in an accident.
●Do not place cargo or luggage in or on the following locations as the
item may get under the brake or accelerator pedal and prevent the
pedals from being depressed properly,
block the driver’s vision, or hit
the driver or passengers, causing an accident.
• Driver’s feet
• Front passenger or rear seats (when stacking items)
• Instrument panel
• Dashboard
• Auxiliary box or tray that has no lid
●Secure all items in the occupant compartment, as they may shift and
injure someone during an accident or sudden braking.
●Never allow anyone to ride in the rear deck. It is not designed for pas-
sengers. They should ride in their seats with their seat belts properly
fastened. Otherwise, they are much mo re likely to suffer death or seri-
ous bodily injury, in the event of sudden braking or a collision.
■Capacity and distribution
●Do not exceed the maximum axle weight rating or the total vehicle
weight rating.
●Even if the total load of occupant’s weight and the cargo load is less
than the total load capacity, do no t apply the load unevenly. Improper
loading may cause deterioration of st eering or braking control which
may cause death or serious injury.
Page 262 of 672
262 2-5. Driving information
Selecting trailer ballUse the correct trailer ball for your application. Trailer ball load rating
Matches or exceeds the gross
trailer weight rating of the trailer.
Ball diameter
Matches the size of the trailer
coupler. Most couplers are
stamped with the required trailer
ball size.
Shank length
Protrudes beyond the bottom of
the lock washer and nut at least 2
threads.
Shank diameter
Matches the ball mount hole
diameter size.
Trailer
classTypical trailer ball
size
IV2 5/16 in.
II and III2 in.
I1 7/8 in.
Page 265 of 672
265
2-5. Driving information
2
When driving
●
Crosswinds and rough roads will adversely affect handling of your
vehicle and trailer, causing sway . Periodically check the rear to
prepare for being passed by large trucks or buses, which may
cause your vehicle and trailer to sway. If swaying occurs, firmly grip
the steering wheel, reduce speed immediately but gradually, and
steer straight ahead. Never increase speed. If you make no
extreme correction with the stee ring or brakes, your vehicle and
trailer will stabilize.
● Take care when passing other vehicles. Passing requires consider-
able distance. After passing a vehicle, do not forget the length of
your trailer, and be sure you hav e plenty of room before changing
lanes.
● In order to maintain engine braking efficiency when driving on a
long steep downgrade, do not use the transmission in D.
Transmission shift range position must be in 5 in the S mode (6-
speed models) or in 4 in the S mode (5-speed models).
● Due to the added load of the trailer, your vehicle’s engine may
overheat on hot days (at temperatures over 85°F [30°C]) when
driving up a long or steep grade. If the engine coolant temperature
gauge indicates overheating, immedi ately turn off the air condition-
ing (if in use), pull your vehicle off the road and stop in a safe spot.
( P. 585)
● Always place wheel blocks under both the vehicle and the trailer
wheels when parking. Apply the parking brake firmly, and put the
transmission in P. Avoid parking on a slope, but if unavoidable, do
so only after performing the following:
Apply the brakes and keep them applied.
Have someone place wheel blocks under both the vehicle and
trailer wheels.
When the wheel blocks are in pl ace, release the brakes slowly
until the blocks absorb the load.
Apply the parking brake firmly.
Page 266 of 672
266 2-5. Driving information
Shift into P and turn off the engine.
● When restarting after parking on a slope:
With the transmission in P, start the engine. Be sure to keep
the brake pedal pressed.
Shift into D or R (if reversing).
Release the parking brake and brake pedal, and slowly pull or
back away from the wheel blocks. Stop and apply the brakes.
Have someone retrieve the blocks.
■Service connector for towing br ake controller (with towing package)
■ Matching trailer ball height to trailer coupler height
Your vehicle is equipped with a service
connector for the trailer brake controller
as shown.
Access the service connector.
Remove the scuff plate.
Remove the clip (screw type)
and trim board.
Remove the connector cover.
No matter which class of tow hitch
applies, for a safe trailer hookup, the
trailer ball setup on must be the proper
height for the coupler on the trailer.
Page 275 of 672
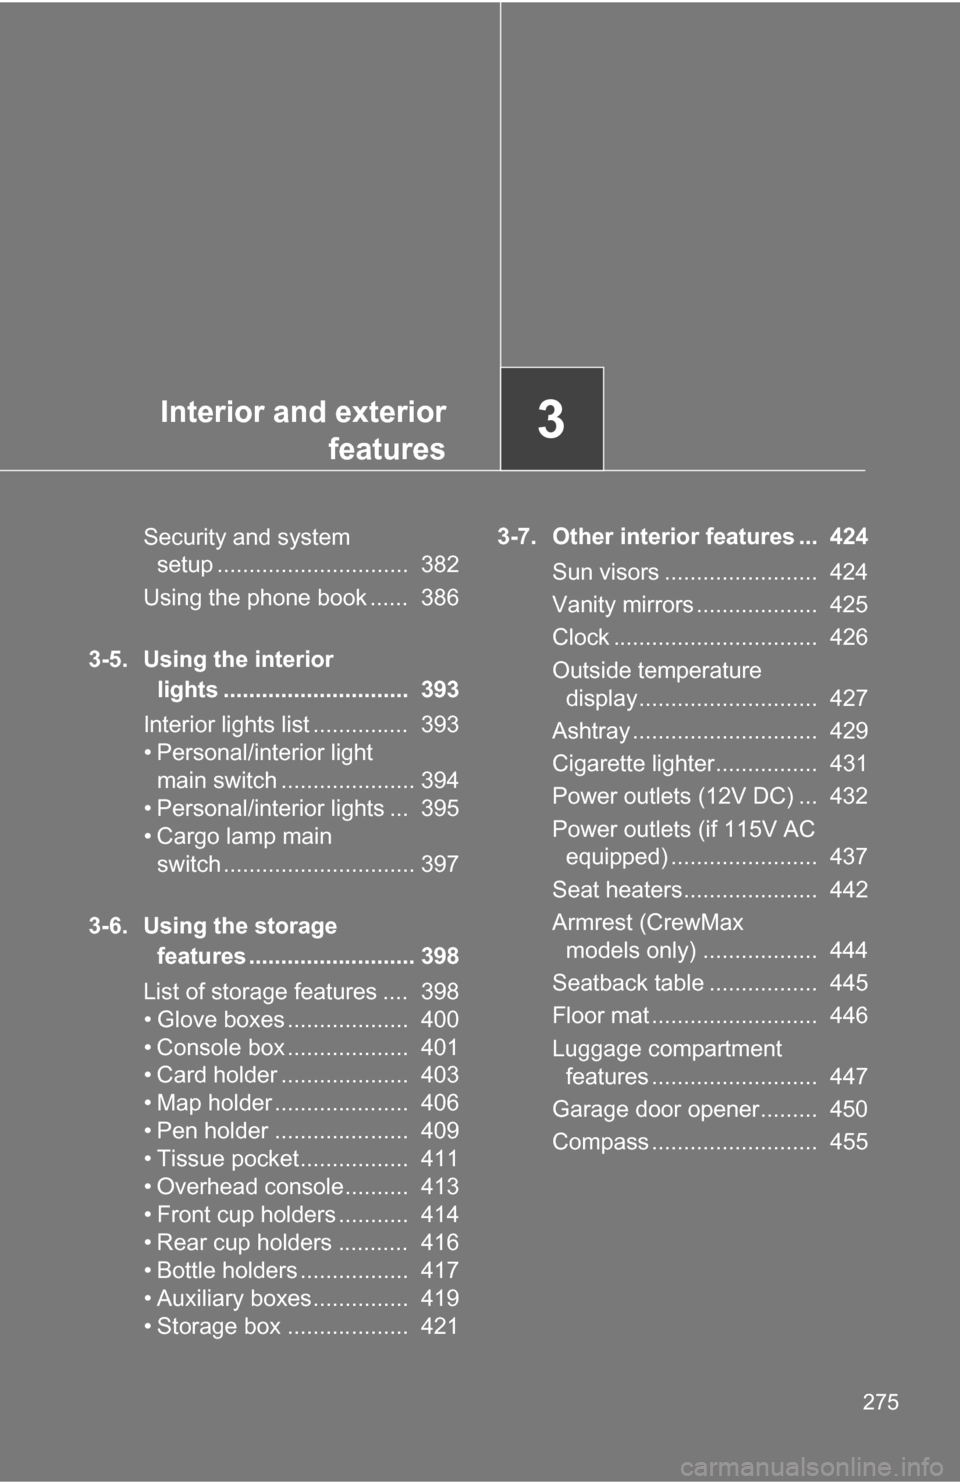
Interior and exteriorfeatures3
275
Security and system setup .............................. 382
Using the phone book ...... 386
3-5. Using the interior lights ............................. 393
Interior lights list ............... 393
• Personal/interior light main switch ..................... 394
• Personal/interior lights ... 395
• Cargo lamp main switch .............................. 397
3-6. Using the storage features .......................... 398
List of storage features .... 398
• Glove boxes ................... 400
• Console box ................... 401
• Card holder .................... 403
• Map holder ..................... 406
• Pen holder ..................... 409
• Tissue pocket................. 411
• Overhead console.......... 413
• Front cup holders ........... 414
• Rear cup holders ........... 416
• Bottle holders ................. 417
• Auxiliary boxes............... 419
• Storage box ................... 421 3-7. Other interior features ... 424
Sun visors ........................ 424
Vanity mirrors ................... 425
Clock ................................ 426
Outside temperature display............................ 427
Ashtray ............................. 429
Cigarette lighter................ 431
Power outlets (12V DC) ... 432
Power outlets (if 115V AC equipped) ....................... 437
Seat heaters..................... 442
Armrest (CrewMax models only) .................. 444
Seatback table ................. 445
Floor mat .......................... 446
Luggage compartment features .......................... 447
Garage door opener......... 450
Compass .......................... 455
Page 277 of 672
277
3-1. Using the air conditioning system
and defogger
3
Interior and exterior features
Using the automatic mode
Press .
The air conditioning system will begin to operate. Air outlets and fan
speed are automatically adjusted according to the temperature set-
ting.
Turn the temperature control dial clockwise (warm) or coun-
terclockwise (cool).
The temperature for the driver and front passenger seats can be set
separately.
Display
Front passenger’s side
temperature setting display
Fan speed display Airflow display
Driver’s side temperature
setting display