2009 SUBARU OUTBACK battery
[x] Cancel search: batteryPage 171 of 447

3-48Instruments and controls
Illumination brightness con- trol
The brightness of clock display, audio, air
conditioner, information display and meter/
gauge illumination dims when the light
switch is in the “
”or “”position. You
can adjust brightness of the meter/gauge
illumination for better visibility.
For turbo and 3.0 L models, you can also
adjust the brightness of the meter/gauge
illumination when the lighting switch is in
the OFF position.
To brighten, turn the control dial upward.
To darken, turn the control dial downward. NOTE . When the control dial is turned fully
upward, the illumination brightness becomes the maximum and the auto-
matic dimming function does not work
at all..
The brightness setting is not can-
celed even when the ignition switch is
turned to the “LOCK ”position. Parking light switch
The parking light switch operates regard-
less of the ignition switch position.
By pushing the front end of this switch,
following lights will illuminate. –
Parking lights
– Front and rear side marker lights
– Tail lights
– License plate lights
To turn off, push the rear end of the
parking light switch.
Avoid leaving these lights on for a long
time because that will run down the
battery.
Page 177 of 447
3-54Instruments and controls
to the“Acc ”or “LOCK ”position. If deicing
is not complete, you have to push the
button to turn the deicer on again.
If you wish, you can set the windshield
wiper deicer for continuous operation. . Vehicle with genuine SUBARU navi-
gation system:
The windshield wiper deicer setting can be
changed for continuous operation by
means of the monitor. For details, please
refer to the Owner ’s Manual supplement
for the monitor system.
The setting can also be changed by a
SUBARU dealer. Contact the nearest
SUBARU dealer for details. . Vehicle without genuine SUBARU
navigation system:
The setting can also be changed by a
SUBARU dealer. Contact the nearest
SUBARU dealer for details.
Once the windshield wiper deicer has
been set for continuous operation, press-
ing the button results in continuous opera-
tion. The windshield wiper deicer auto-
matically stops operating if any one of the
following conditions occurs during contin-
uous operation. . The outside temperature becomes
41 8F(5 8C) or higher.
. The vehicle speed remains less than 9
mph (15 km/h) for 15 minutes. .
The battery voltage decreases below
the permissible level.
CAUTION
To prevent the battery from being
discharged, do not operate the
windshield wiper deicer continu-
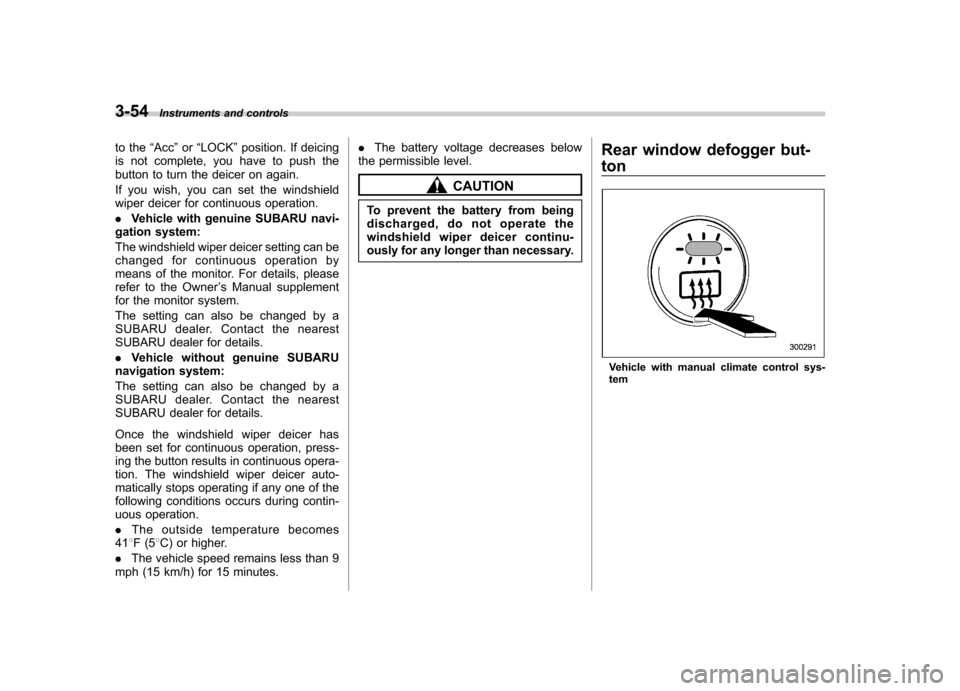
ously for any longer than necessary. Rear window defogger but- ton
Vehicle with manual climate control sys- tem
Page 178 of 447
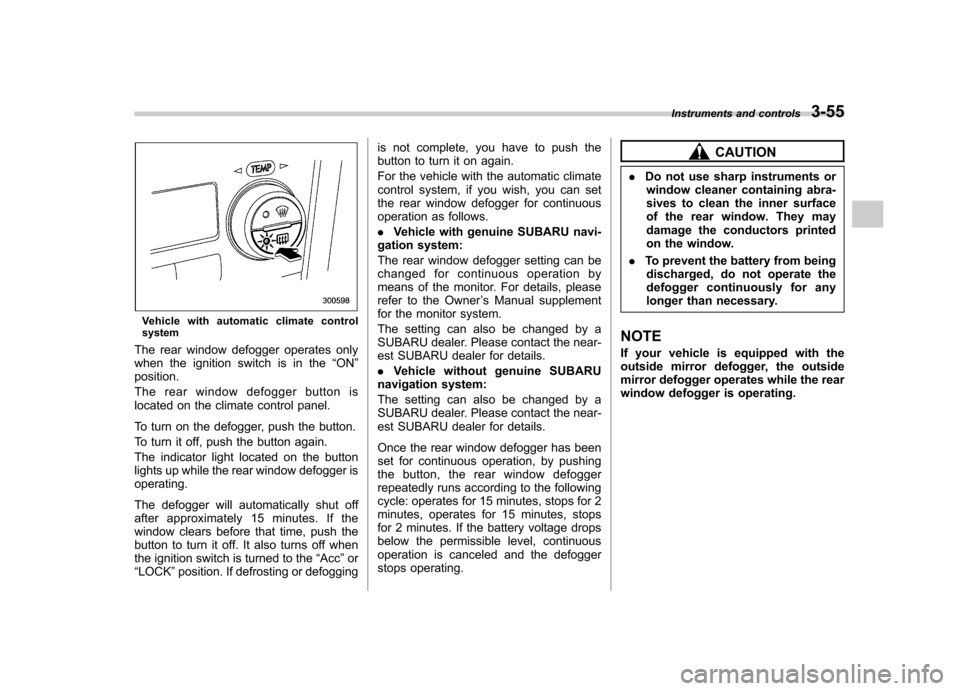
Vehicle with automatic climate control
system
The rear window defogger operates only
when the ignition switch is in the “ON ”
position.
The rear window defogger button is
located on the climate control panel.
To turn on the defogger, push the button.
To turn it off, push the button again.
The indicator light located on the button
lights up while the rear window defogger isoperating.
The defogger will automatically shut off
after approximately 15 minutes. If the
window clears before that time, push the
button to turn it off. It also turns off when
the ignition switch is turned to the “Acc ”or
“ LOCK ”position. If defrosting or defogging is not complete, you have to push the
button to turn it on again.
For the vehicle with the automatic climate
control system, if you wish, you can set
the rear window defogger for continuous
operation as follows. .
Vehicle with genuine SUBARU navi-
gation system:
The rear window defogger setting can be
changed for continuous operation by
means of the monitor. For details, please
refer to the Owner ’s Manual supplement
for the monitor system.
The setting can also be changed by a
SUBARU dealer. Please contact the near-
est SUBARU dealer for details. . Vehicle without genuine SUBARU
navigation system:
The setting can also be changed by a
SUBARU dealer. Please contact the near-
est SUBARU dealer for details.
Once the rear window defogger has been
set for continuous operation, by pushing
the button, the rear window defogger
repeatedly runs according to the following
cycle: operates for 15 minutes, stops for 2
minutes, operates for 15 minutes, stops
for 2 minutes. If the battery voltage drops
below the permissible level, continuous
operation is canceled and the defogger
stops operating.
CAUTION
. Do not use sharp instruments or
window cleaner containing abra-
sives to clean the inner surface
of the rear window. They may
damage the conductors printed
on the window.
. To prevent the battery from being
discharged, do not operate the
defogger continuously for any
longer than necessary.
NOTE
If your vehicle is equipped with the
outside mirror defogger, the outside
mirror defogger operates while the rear
window defogger is operating. Instruments and controls
3-55
Page 181 of 447
3-58Instruments and controls
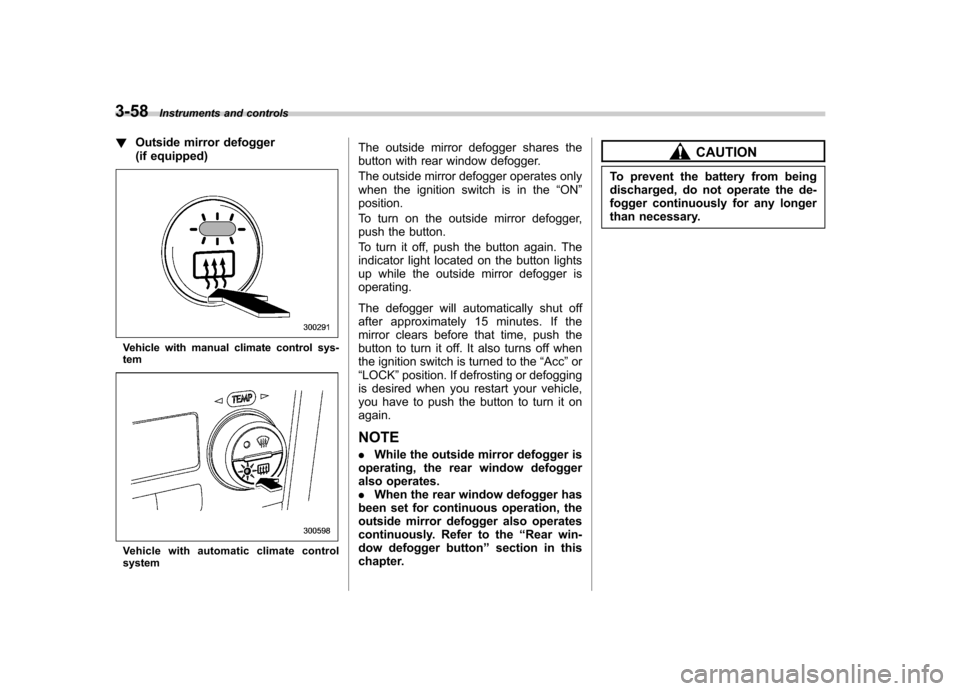
!Outside mirror defogger
(if equipped)
Vehicle with manual climate control sys- tem
Vehicle with automat ic climate control
system The outside mirror defogger shares the
button with rear window defogger.
The outside mirror defogger operates only
when the ignition switch is in the
“ON ”
position.
To turn on the outside mirror defogger,
push the button.
To turn it off, push the button again. The
indicator light located on the button lights
up while the outside mirror defogger isoperating.
The defogger will automatically shut off
after approximately 15 minutes. If the
mirror clears before that time, push the
button to turn it off. It also turns off when
the ignition switch is turned to the “Acc ”or
“ LOCK ”position. If defrosting or defogging
is desired when you restart your vehicle,
you have to push the button to turn it onagain.
NOTE . While the outside mirror defogger is
operating, the rear window defogger
also operates.. When the rear window defogger has
been set for continuous operation, the
outside mirror defogger also operates
continuously. Refer to the “Rear win-
dow defogger button ”section in this
chapter.
CAUTION
To prevent the battery from being
discharged, do not operate the de-
fogger continuously for any longer
than necessary.
Page 206 of 447
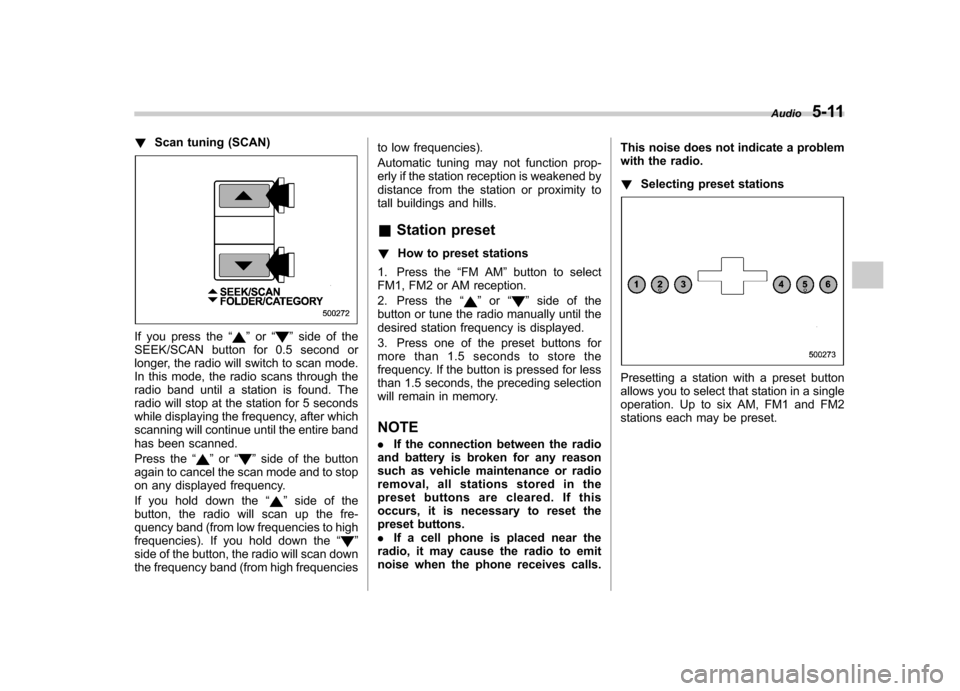
!Scan tuning (SCAN)
If you press the “”or “”side of the
SEEK/SCAN button for 0.5 second or
longer, the radio will switch to scan mode.
In this mode, the radio scans through the
radio band until a station is found. The
radio will stop at the station for 5 seconds
while displaying the frequency, after which
scanning will continue until the entire band
has been scanned.
Press the “
”or “”side of the button
again to cancel the scan mode and to stop
on any displayed frequency.
If you hold down the “
”side of the
button, the radio will scan up the fre-
quency band (from low frequencies to high
frequencies). If you hold down the “
”
side of the button, the radio will scan down
the frequency band (from high frequencies to low frequencies).
Automatic tuning may not function prop-
erly if the station reception is weakened by
distance from the station or proximity to
tall buildings and hills. &
Station preset
! How to preset stations
1. Press the “FM AM ”button to select
FM1, FM2 or AM reception.
2. Press the “
”or “”side of the
button or tune the radio manually until the
desired station frequency is displayed.
3. Press one of the preset buttons for
more than 1.5 seconds to store the
frequency. If the button is pressed for less
than 1.5 seconds, the preceding selection
will remain in memory. NOTE . If the connection between the radio
and battery is broken for any reason
such as vehicle maintenance or radio
removal, all stations stored in the
preset buttons are cleared. If this
occurs, it is necessary to reset the
preset buttons.. If a cell phone is placed near the
radio, it may cause the radio to emit
noise when the phone receives calls. This noise does not indicate a problem
with the radio. !
Selecting preset stations
Presetting a station with a preset button
allows you to select that station in a single
operation. Up to six AM, FM1 and FM2
stations each may be preset. Audio
5-11
Page 209 of 447
5-14Audio
& Channel preset
! How to preset channels
1. Press the “SAT ”button to select SAT1,
SAT2 and SAT3 reception.
2. Press the SEEK/SCAN button or the
TUNE TRACK button to select the chan-nel.
3. Press one of the preset buttons for
more than 1.5 seconds to store the
channel. If the button is pressed for less
than 1.5 seconds, the preceding selection
will remain in memory. NOTE
If the connection between the radio and
battery is broken for any reason such
as vehicle maintenance or radio re-
moval, all channels stored in the preset
buttons are cleared. If this occurs, it is
necessary to reset the preset buttons. !
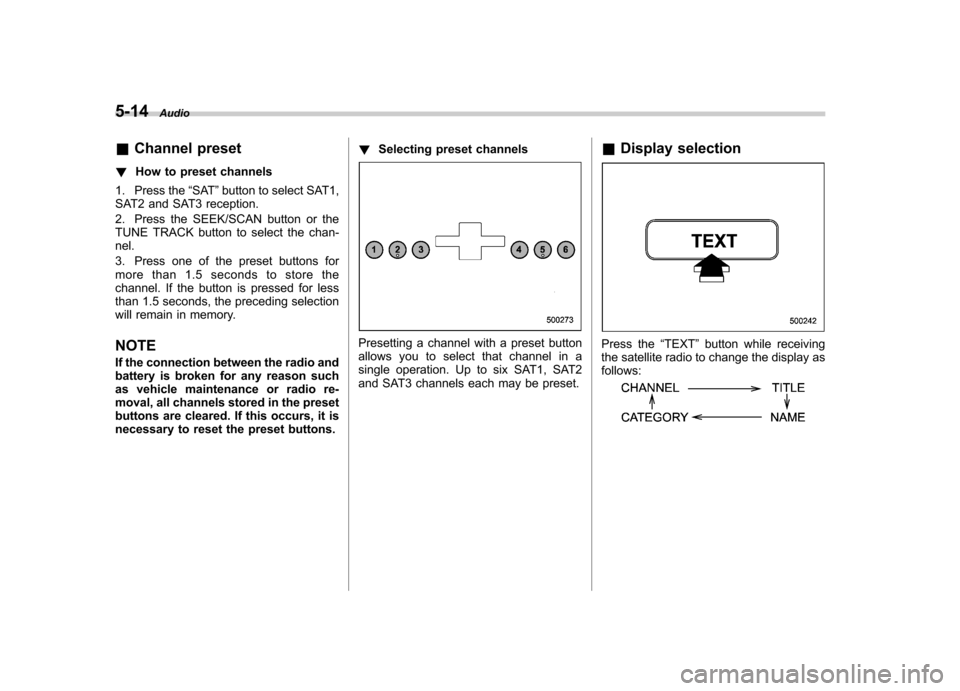
Selecting preset channels
Presetting a channel with a preset button
allows you to select that channel in a
single operation. Up to six SAT1, SAT2
and SAT3 channels each may be preset. &
Display selectionPress the “TEXT ”button while receiving
the satellite radio to change the display as follows:
Page 225 of 447
6-2Interior equipment
Interior light
When leaving your vehicle, make sure the
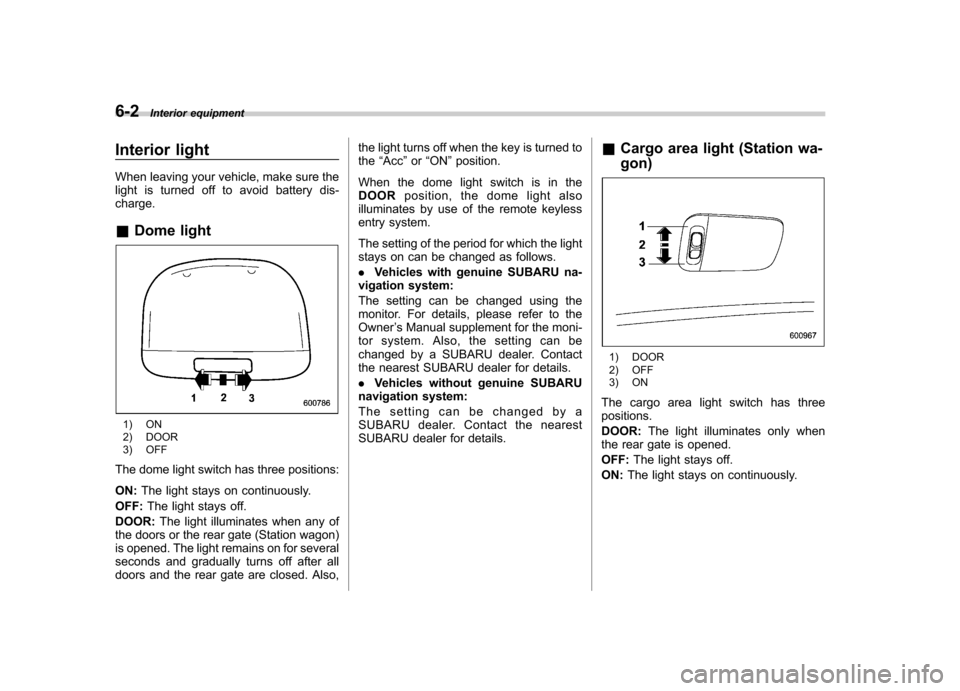
light is turned off to avoid battery dis-charge. &Dome light
1) ON
2) DOOR
3) OFF
The dome light switch has three positions: ON: The light stays on continuously.
OFF: The light stays off.
DOOR: The light illuminates when any of
the doors or the rear gate (Station wagon)
is opened. The light remains on for several
seconds and gradually turns off after all
doors and the rear gate are closed. Also, the light turns off when the key is turned to the
“Acc ”or “ON ”position.
When the dome light switch is in theDOOR position, the dome light also
illuminates by use of the remote keyless
entry system.
The setting of the period for which the light
stays on can be changed as follows. . Vehicles with genuine SUBARU na-
vigation system:
The setting can be changed using the
monitor. For details, please refer to theOwner ’s Manual supplement for the moni-
tor system. Also, the setting can be
changed by a SUBARU dealer. Contact
the nearest SUBARU dealer for details. . Vehicles without genuine SUBARU
navigation system:
The setting can be changed by a
SUBARU dealer. Contact the nearest
SUBARU dealer for details. &
Cargo area light (Station wa- gon)
1) DOOR
2) OFF
3) ON
The cargo area light switch has three positions. DOOR: The light illuminates only when
the rear gate is opened.OFF: The light stays off.
ON: The light stays on continuously.
Page 226 of 447
Map light
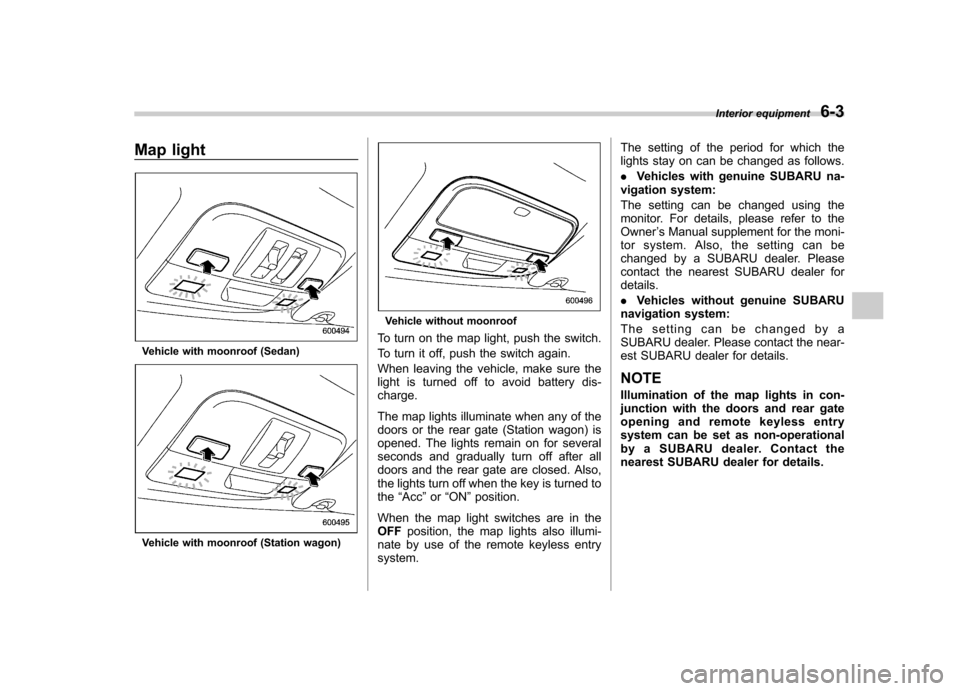
Vehicle with moonroof (Sedan)
Vehicle with moonroof (Station wagon)
Vehicle without moonroof
To turn on the map light, push the switch.
To turn it off, push the switch again.
When leaving the vehicle, make sure the
light is turned off to avoid battery dis-charge.
The map lights illuminate when any of the
doors or the rear gate (Station wagon) is
opened. The lights remain on for several
seconds and gradually turn off after all
doors and the rear gate are closed. Also,
the lights turn off when the key is turned tothe “Acc ”or “ON ”position.
When the map light switches are in theOFF position, the map lights also illumi-
nate by use of the remote keyless entrysystem. The setting of the period for which the
lights stay on can be changed as follows. .
Vehicles with genuine SUBARU na-
vigation system:
The setting can be changed using the
monitor. For details, please refer to theOwner ’s Manual supplement for the moni-
tor system. Also, the setting can be
changed by a SUBARU dealer. Please
contact the nearest SUBARU dealer fordetails. . Vehicles without genuine SUBARU
navigation system:
The setting can be changed by a
SUBARU dealer. Please contact the near-
est SUBARU dealer for details.
NOTE
Illumination of the map lights in con-
junction with the doors and rear gate
opening and remote keyless entry
system can be set as non-operational
by a SUBARU dealer. Contact the
nearest SUBARU dealer for details. Interior equipment
6-3