2009 SUBARU FORESTER reset
[x] Cancel search: resetPage 166 of 384

Antenna system.................................................. 5-2
Roof antenna ...................................................... 5-2
FM reception ....................................................... 5-2
XM
TMsatellite radio reception (if equipped) ...... 5-2
Installation of accessories .................................. 5-4
Audio set ............................................................. 5-5
Type A audio set (if equipped) ............................. 5-5
Type B audio set (if equipped) ............................. 5-6
Power and sound controls ................................. 5-7
Power switch and volume control ........................ 5-7
Sound control ..................................................... 5-7
Adjustable level of each mode ............................. 5-9
FM/AM radio operation ...................................... 5-10
FM/AM selection ................................................. 5-10
Tuning ............................................................... 5-10
Displaying radio PS (Program Service Name) and RT (Radio Text) ................................................ 5-12
Station preset .................................................... 5-12
Satellite radio operation (if equipped) .............. 5-13
XM
TMsatellite radio ............................................ 5-13
Sirius satellite radio ........................................... 5-13
Satellite radio reception ...................................... 5-13
Displaying satellite radio ID of tuner ................... 5-13
Band selection ................................................... 5-14 Channel and category selection
......................... 5-14
Channel preset .................................................. 5-16
Display selection ............................................... 5-16
CD player operation .......................................... 5-17
How to insert a CD (type A) ................................ 5-17
How to insert a CD(s) (type B) .. .......................... 5-17
How to play back a CD ...................................... 5-19
To select a track from its beginning. ................... 5-19
Fast-forwarding and fast-reversing ..................... 5-20
Repeating .......................................................... 5-21
Random playback .............................................. 5-21
Scan ................................................................. 5-22
Display selection ............................................... 5-22
Folder selection ................................................. 5-23
How to eject a CD from the player (type A) .... ..... 5-23
How to eject CDs from the player (type B) ..... ..... 5-24
When the following messages are displayed. . ..... 5-25
AUX unit operation ............................................ 5-25
AUX jack ........................................................... 5-25
AUX inputs selection button ............................... 5-26
Audio control buttons (if equipped) ................. 5-26
MODE button ..................................................... 5-26
Precautions to observe when handling a compact disc ................................................... 5-28 Audio
5
Page 177 of 384

5-12Audio
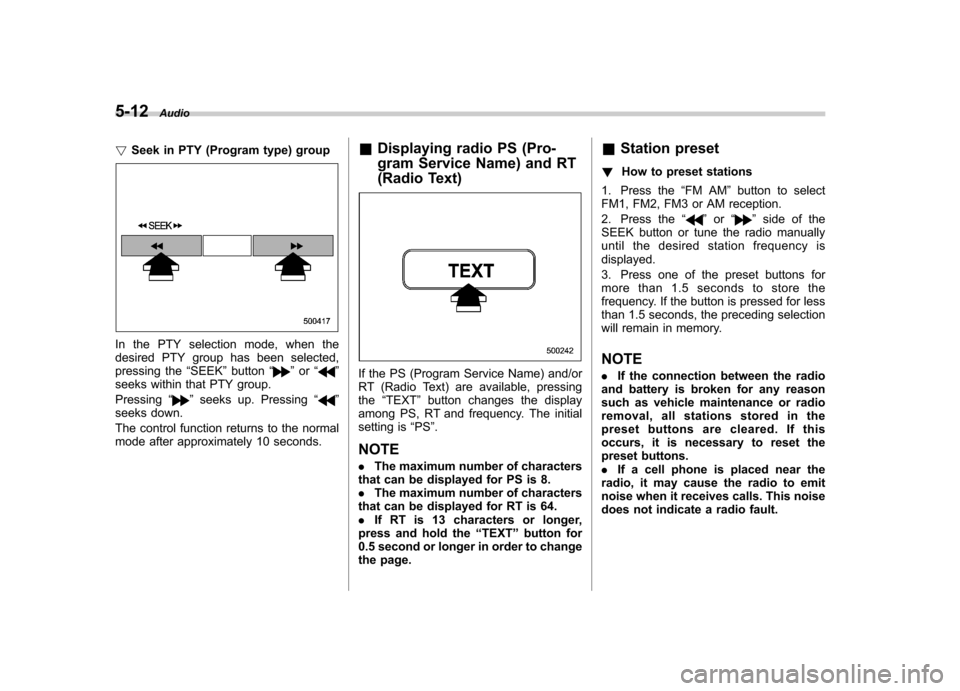
! Seek in PTY (Program type) group
In the PTY selection mode, when the
desired PTY group has been selected,
pressing the “SEEK ”button “
”or “”
seeks within that PTY group. Pressing “
”seeks up. Pressing “”
seeks down.
The control function returns to the normal
mode after approximately 10 seconds. &
Displaying radio PS (Pro-
gram Service Name) and RT
(Radio Text)
If the PS (Program Service Name) and/or
RT (Radio Text) are available, pressingthe “TEXT ”button changes the display
among PS, RT and frequency. The initial
setting is “PS ”.
NOTE . The maximum number of characters
that can be displayed for PS is 8. . The maximum number of characters
that can be displayed for RT is 64.. If RT is 13 characters or longer,
press and hold the “TEXT ”button for
0.5 second or longer in order to change
the page. &
Station preset
! How to preset stations
1. Press the “FM AM ”button to select
FM1, FM2, FM3 or AM reception.
2. Press the “
”or “”side of the
SEEK button or tune the radio manually
until the desired station frequency isdisplayed.
3. Press one of the preset buttons for
more than 1.5 seconds to store the
frequency. If the button is pressed for less
than 1.5 seconds, the preceding selection
will remain in memory. NOTE . If the connection between the radio
and battery is broken for any reason
such as vehicle maintenance or radio
removal, all stations stored in the
preset buttons are cleared. If this
occurs, it is necessary to reset the
preset buttons.. If a cell phone is placed near the
radio, it may cause the radio to emit
noise when it receives calls. This noise
does not indicate a radio fault.
Page 178 of 384

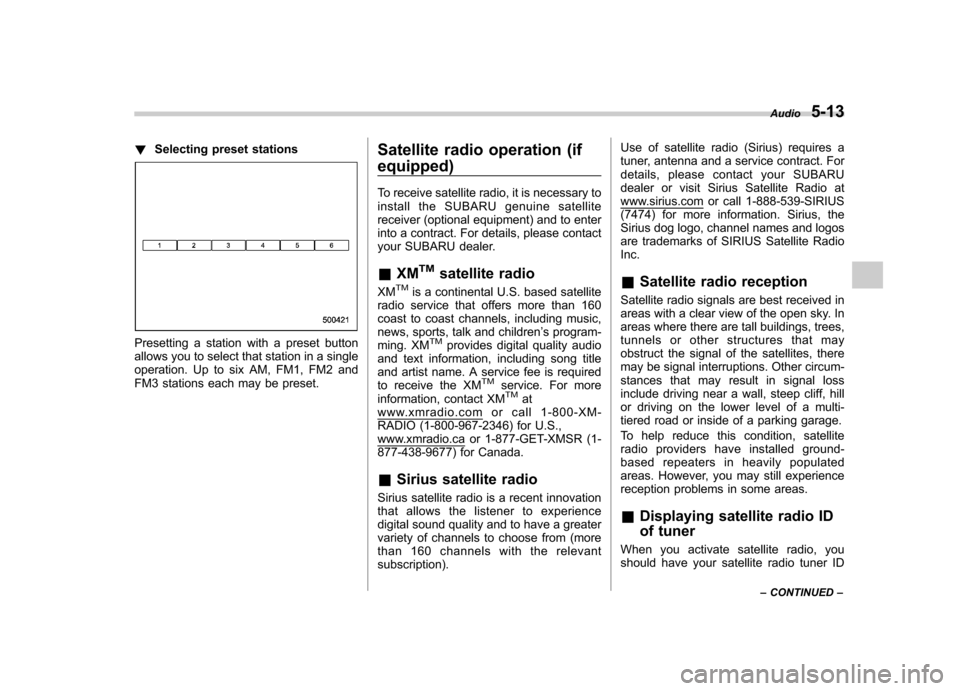
!Selecting preset stations
Presetting a station with a preset button
allows you to select that station in a single
operation. Up to six AM, FM1, FM2 and
FM3 stations each may be preset. Satellite radio operation (if equipped)
To receive satellite radio, it is necessary to
install the SUBARU genuine satellite
receiver (optional equipment) and to enter
into a contract. For details, please contact
your SUBARU dealer. &
XM
TMsatellite radio
XMTMis a continental U.S. based satellite
radio service that offers more than 160
coast to coast channels, including music,
news, sports, talk and children ’s program-
ming. XM
TMprovides digital quality audio
and text information, including song title
and artist name. A service fee is required
to receive the XM
TMservice. For more
information, contact XMTMatwww.xmradio.com or call 1-800-XM-
RADIO (1-800-967-2346) for U.S.,
www.xmradio.ca or 1-877-GET-XMSR (1-
877-438-9677) for Canada. & Sirius satellite radio
Sirius satellite radio is a recent innovation
that allows the listener to experience
digital sound quality and to have a greater
variety of channels to choose from (more
than 160 channels with the relevantsubscription). Use of satellite radio (Sirius) requires a
tuner, antenna and a service contract. For
details, please contact your SUBARU
dealer or visit Sirius Satellite Radio at
www.sirius.com or call 1-888-539-SIRIUS
(7474) for more information. Sirius, the
Sirius dog logo, channel names and logos
are trademarks of SIRIUS Satellite RadioInc. &
Satellite radio reception
Satellite radio signals are best received in
areas with a clear view of the open sky. In
areas where there are tall buildings, trees,
tunnels or other structures that may
obstruct the signal of the satellites, there
may be signal interruptions. Other circum-
stances that may result in signal loss
include driving near a wall, steep cliff, hill
or driving on the lower level of a multi-
tiered road or inside of a parking garage.
To help reduce this condition, satellite
radio providers have installed ground-
based repeaters in heavily populated
areas. However, you may still experience
reception problems in some areas. & Displaying satellite radio ID
of tuner
When you activate satellite radio, you
should have your satellite radio tuner ID Audio
5-13
– CONTINUED –
Page 181 of 384

5-16Audio
& Channel preset
! How to preset channels
1. Press the “SAT ”button to select SAT1,
SAT2 and SAT3 reception.
2. Select the desired channel.
3. Press one of the preset buttons for
more than 1.5 seconds to store the
channel. If the button is pressed for less
than 1.5 seconds, the preceding selection
will remain in memory. NOTE
If the connection between the radio and
battery is broken for any reason such
as vehicle maintenance or radio re-
moval, all channels stored in the preset
buttons are cleared. If this occurs, it is
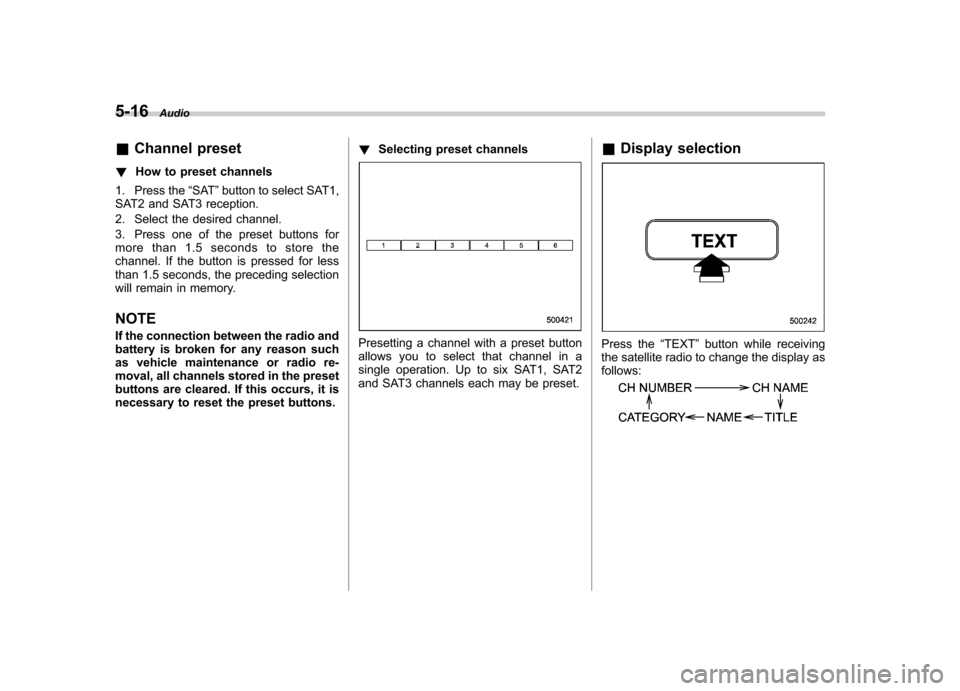
necessary to reset the preset buttons. !
Selecting preset channels
Presetting a channel with a preset button
allows you to select that channel in a
single operation. Up to six SAT1, SAT2
and SAT3 channels each may be preset. &
Display selectionPress the “TEXT ”button while receiving
the satellite radio to change the display as follows:
Page 192 of 384

waveband will be displayed.
*2: Only when a CD is in the player.
*3: Only when with an auxiliary audio product is
connected. !“
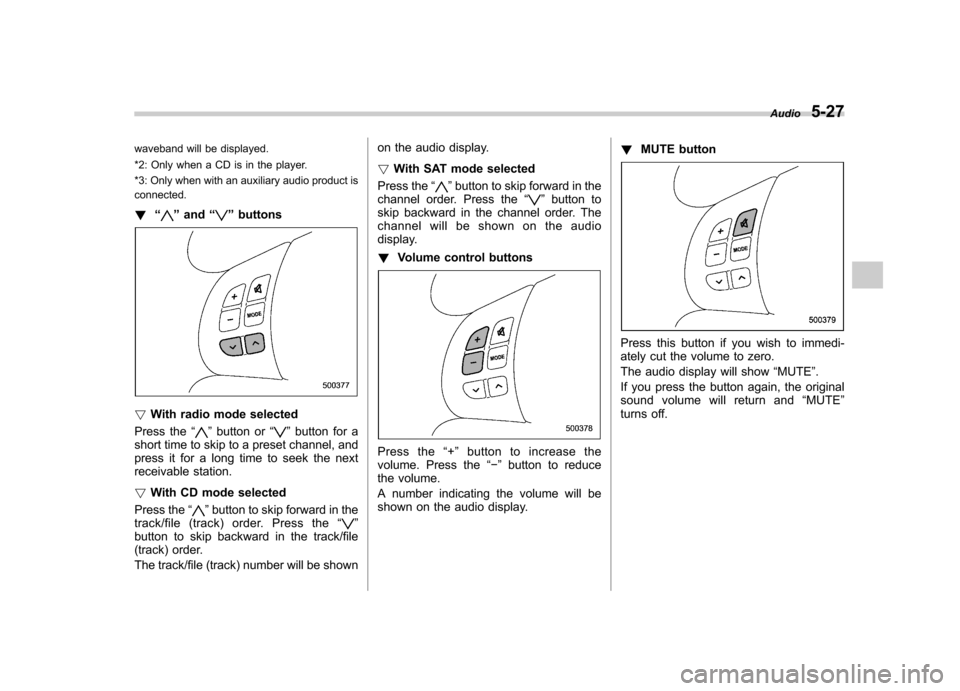
”and “”buttons
! With radio mode selected
Press the “
”button or “”button for a
short time to skip to a preset channel, and
press it for a long time to seek the next
receivable station. ! With CD mode selected
Press the “
”button to skip forward in the
track/file (track) order. Press the “”
button to skip backward in the track/file
(track) order.
The track/file (track) number will be shown on the audio display. !
With SAT mode selected
Press the “
”button to skip forward in the
channel order. Press the “”button to
skip backward in the channel order. The
channel will be shown on the audio
display. ! Volume control buttons
Press the “+ ” button to increase the
volume. Press the “� ” button to reduce
the volume.
A number indicating the volume will be
shown on the audio display. !
MUTE button
Press this button if you wish to immedi-
ately cut the volume to zero.
The audio display will show “MUTE ”.
If you press the button again, the original
sound volume will return and “MUTE ”
turns off. Audio
5-27
Page 240 of 384

are now above the severe low
pressure threshold, the low tire
pressure warning light should turn
off a few minutes later.
If this light still illuminates while
driving after adjusting the tire pres-
sure, a tire may have significant
damage and a fast leak that causes
the tire to lose air rapidly. If you have
a flat tire, replace it with a spare tire
as soon as possible.
When a spare tire is mounted or a
wheel rim is replaced without the
original pressure sensor/transmitter
being transferred, the low tire pres-
sure warning light will illuminate
steadily after blinking for approxi-
mately 1 minute. This indicates the
TPMS is unable to monitor all four
road wheels. Contact your SUBARU
dealer as soon as possible for tire
and sensor replacement and/or sys-
tem resetting.
Do not inject any tire liquid or
aerosol tire sealant into the tires,
as this may cause a malfunction of
the tire pressure sensors. If the light
illuminates steadily after blinking for
approximately 1 minute, promptly
contact a SUBARU dealer to have
the system inspected.CAUTION
Do not place metal film or any metal
parts in the cargo room/trunk. This
may cause poor reception of the
signals from the tire pressure sen-
sors, and the tire pressure monitor-
ing system will not function prop-
erly.
NOTE
This device complies with Part 15 of
the FCC Rules and with RSS-210 of
Industry Canada. Operation is subject
to the following two conditions: (1) This
device may not cause harmful inter-
ference, and (2) this device must
accept any interference received, in-
cluding interference that may cause
undesired operation.
Changes or modifications not ex-
pressly approved by the party respon-
sible for compliance could void theuser ’s authority to operate the equip-
ment. Parking your vehicle &
Parking brake
To set the parking brake, press the brake
pedal firmly and hold it down until the
parking brake lever is fully pulled up.
To release the parking brake, pull the lever
up slightly, press the release button, then
lower the lever while keeping the button pressed.
When the parking brake is set while the
engine is running, the parking brake
warning light illuminates. After starting
the vehicle, be sure that the warning light
has gone out before the vehicle is driven.
Refer to the “Warning and indicator lights ”
section in chapter 3. Starting and operating
7-31
– CONTINUED –
Page 273 of 384

9-2In case of emergency
If you park your vehicle in
case of an emergency
The hazard warning flasher should be
used in day or night to warn other drivers
when you have to park your vehicle under
emergency conditions.
Avoid stopping on the road. It is best to
safely pull off the road if a problem occurs.
The hazard warning flasher can be acti-
vated regardless of the ignition switchposition.
Turn on the hazard warning by pushing
the hazard warning flasher switch. Turn it
off by pushing the switch again. NOTE
When the hazard warning flasher is on,
the turn signals do not work.
Temporary spare tire (if
equipped)
WARNING
When a spare tire is mounted or a
wheel rim is replaced without the
original pressure sensor/transmitter
being transferred, the low tire pres-
sure warning light will illuminate
steadily after blinking for approxi-
mately one minute. This indicates
the tire pressure monitoring system
(TPMS) is unable to monitor all four
road wheels. Contact your SUBARU
dealer as soon as possible for tire
and sensor replacement and/or sys-
tem resetting.
CAUTION
Never use any temporary spare tire
other than the original. Using other
sizes may result in severe mechan-
ical damage to the drive train of yourvehicle.
The temporary spare tire is smaller and
lighter than a conventional tire and is
designed for emergency use only. Re-
move the temporary spare tire and re-
Page 280 of 384

SUBARU dealer as soon as possible
for tire and sensor replacement and/
or system resetting.
Do not inject any tire liquid or
aerosol tire sealant into the tires,
as this may cause a malfunction of
the tire pressure sensors.
If the light illuminates steadily after
blinking for approximately one min-
ute, promptly contact a SUBARU
dealer to have the system inspected.Jump starting
WARNING
. Battery fluid is SULFURIC ACID.
Do not let it come in contact with
the eyes, skin, clothing or thevehicle.
If battery fluid gets on you,
thoroughly flush the exposed
area with water immediately. Get
medical help if the fluid has
entered your eyes.
If battery fluid is accidentally
swallowed, immediately drink a
large amount of milk or water,
and obtain immediate medicalhelp.
Keep everyone including chil-
dren away from the battery.
. The gas generated by a battery
explodes if a flame or spark is
brought near it. Do not smoke or
light a match while jump starting.
. Never attempt jump starting if the
discharged battery is frozen. It
could cause the battery to burst
or explode.
. Whenever working on or around
a battery, always wear suitable eye protectors, and remove metal
objects such as rings, bands or
other metal jewelry.
. Be sure the jumper cables and
clamps on them do not have
loose or missing insulation.
Do not jump start unless cables
in suitable condition are avail-able.
. A running engine can be danger-
ous. Keep your fingers, hands,
clothing, hair and tools away
from the cooling fan, belts and
any other moving engine parts.
Removing rings, watches and
ties is advisable.
. Jump starting is dangerous if it
done incorrectly. If you are un-
sure about the proper procedure
for jump starting, consult a com-
petent mechanic.
When your vehicle does not start due to a
run down (discharged) battery, the vehicle
may be jump started by connecting your
battery to another battery (called the
booster battery) with jumper cables. In case of emergency
9-9
– CONTINUED –