Page 426 of 652

14A-8
ANTIPOLLUTION
Fuel vapour absorber bleed solenoid valve: Removal - Refitting
K4M
14A
REMOVAL
I - REMOVAL PREPARATION OPERATION
aDisconnect the battery (see Battery: Removal - Re-
fitting) (80A, Battery).
aRemove:
-the windscreen wiper arms (see Windscreen wip-
er arm: Removal - Refitting) (85A, Wiping -
Washing),
-the scuttle panel grille (see Scuttle panel grille:
Removal - Refitting) (56A, Exterior equipment),
-the scoop under the scuttle panel grille (see Scoop
under the scuttle panel grille: Removal - Refit-
ting) (56A, Exterior equipment).II - REMOVAL OPERATION
aDisconnect:
-the fuel vapour absorber bleed solenoid valve con-
nector (3) ,
-the fuel vapour absorber bleed solenoid valve
pipes (4) .
aInsert the blanking plugs.
aUnclip the fuel vapour absorber bleed solenoid
valve.
REFITTING
I - REFITTING OPERATION
aClip on the fuel vapour absorber bleed solenoid
valve.
aRemove the blanking plugs.
aConnect:
-the fuel vapour absorber bleed solenoid valve
pipes,
-the fuel vapour absorber bleed solenoid valve con-
nector. IMPORTANT
During this oper ation, be sure to:
-refrain from smoking or bringing red hot objects
close to the working area,
-be careful of fuel splashes when disconnecting the
union.
IMPORTANT
Wear goggles with side protectors for this opera-
tion.
IMPORTANT
Wear leaktight gloves (Nitrile type) for this opera-
tion.
131766
WARNING
To prevent impur ities from entering the circuit,
place protective plugs on all fuel circuit compo-
nents exposed to the open air.
Page 427 of 652
14A-9
ANTIPOLLUTION
Fuel vapour absorber bleed solenoid valve: Removal - Refitting
K4M
14A
II - FINAL OPERATION
aRefit:
-the scoop under the scuttle panel grille (see Scoop
under the scuttle panel grille: Removal - Refit-
ting) (56A, Exterior equipment),
-the scuttle panel grille (see Scuttle panel grille:
Removal - Refitting) (56A, Exterior equipment),
-the windscreen wiper arms (see Windscreen wip-
er arm: Removal - Refitting) (85A, Wiping -
Washing).
aConnect the battery (see Battery: Removal - Refit-
ting) (80A, Battery).
Page 428 of 652
14A-10
ANTIPOLLUTION
Exhaust gas recirculation solenoid valve: Removal - Refitting
K9K
14A
PARTS AND CONSUMABLES FOR THE
REPAIR WORK
aConsumables (see Vehicle: Parts and consuma-
bles for the repair) (02A, Parts and consumables):
-ABRASIVE PAD,
-SURFACE CLEANER.
REMOVAL
I - REMOVAL PREPARATION OPERATION
aRemove:
-the engine cover,
-the air filter box (see 12A, Fuel mixture, Air filter
unit: Removal - Refitting, page 12A-13) .
II - OPERATION FOR REMOVAL OF PART
CONCERNED
aRemove:
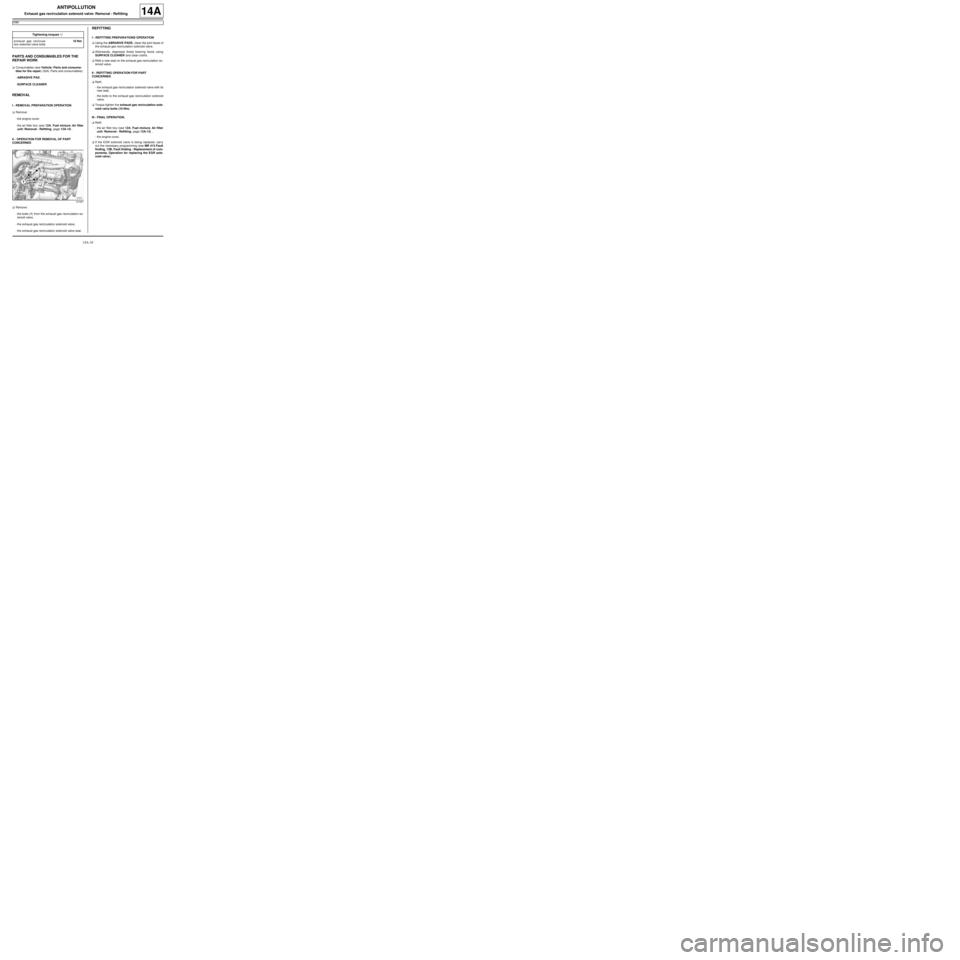
-the bolts (1) from the exhaust gas recirculation so-
lenoid valve,
-the exhaust gas recirculation solenoid valve,
-the exhaust gas recirculation solenoid valve seal.
REFITTING
I - REFITTING PREPARATIONS OPERATION
aUsing the ABRASIVE PADS, clean the joint faces of
the exhaust gas recirculation solenoid valve.
aAfterwards, degrease these bearing faces using
SURFACE CLEANER and clean cloths.
aRefit a new seal on the exhaust gas recirculation so-
lenoid valve.
II - REFITTING OPERATION FOR PART
CONCERNED
aRefit:
-the exhaust gas recirculation solenoid valve with its
new seal,
-the bolts to the exhaust gas recirculation solenoid
valve.
aTorque tighten the exhaust gas recirculation sole-
noid valve bolts (10 Nm).
III - FINAL OPERATION.
aRefit:
-the air filter box (see 12A, Fuel mixture, Air filter
unit: Removal - Refitting, page 12A-13) ,
-the engine cover.
aIf the EGR solenoid valve is being replaced, carry
out the necessary programming (see MR 413 Fault
finding, 13B, Fault finding - Replacement of com-
ponents, Operation for replacing the EGR sole-
noid valve). Tightening torquesm
exhaust gas recircula-
tion solenoid valve bolts10 Nm
121637
Page 429 of 652

14A-11
ANTIPOLLUTION
Exhaust gas cooler: Removal - Refitting
K9K
14A
REMOVAL
I - REMOVAL PREPARATION OPERATION
aPosition the vehicle on a two-post lift (see Vehicle:
Towing and lifting) (02A, Lifting equipment).
aDisconnect the battery (see ) (80A, Battery).
aRemove:
-the engine cover,
-the windscreen wiper arms (see Windscreen wip-
er arm: Removal - Refitting) (85A, Wiping -
Washing),
-the scuttle panel grille (see Scuttle panel grille:
Removal - Refitting) (56A, Exterior equipment),
-the scoop under the scuttle panel grille (see Scoop
under the scuttle panel grille: Removal - Refit-
ting) (56A, Exterior equipment),
-the air filter unit (see 12A, Fuel mixture, Air filter
unit: Removal - Refitting, page 12A-13) ,
-the EGR solenoid valve (see 14A, Antipollution,
Exhaust gas recirculation solenoid valve: Re-
moval - Refitting, page 14A-10) ,
-the lower engine tie-bar (see 19D, Engine mount-
ing, Lower engine tie-bar: Removal - Refitting,
page 19D-18) ,
-the catalytic converter (see 19B, Exhaust, Cata-
lytic converter: Removal - Refitting, page 19B-
12) ,-the exhaust gas recirculation rigid pipe (see 14A,
Antipollution, Exhaust gas recirculation rigid
pipe: Removal - Refitting, page 14A-19) ,
-the exhaust gas recirculation assembly (see 14A,
Antipollution, Exhaust gas recirculation as-
sembly: Removal - Refitting, page 14A-15) .
II - OPERATION FOR REMOVAL OF PART
CONCERNED
aUsing the workbench, remove:
-the cooler bolts (1) on its mounting (gearbox side),
-the mounting on the gearbox side,
-the mounting seal on the gearbox side. Tightening torquesm
mounting bolts (gear-
box side) on the cooler12 N.m
bolts of the exhaust gas
recirculation rigid pipe
on the exhaust gas
cooler12 N.m
bolts of the exhaust gas
recirculation rigid pipe
bracket25 N.m
mounting bolts on the
cooler12 N.m
exhaust gas recircula-
tion r igid pipe bolts36 N.m
K9K, and 718
141215
141216
Page 432 of 652

14A-14
ANTIPOLLUTION
Exhaust gas cooler: Removal - Refitting
K9K
14A
aRefit the bolts (4) of the exhaust gas recirculation
rigid pipe on the exhaust manifold.
aTorque tighten the exhaust gas recirculation rigid
pipe bolts (36 N.m).
aRefit the rigid exhaust gas recirculation pipe (see
14A, Antipollution, Exhaust gas recirculation rig-
id pipe: Removal - Refitting, page 14A-19) .
aRefit:
-the catalytic converter (see 19B, Exhaust, Cata-
lytic converter: Removal - Refitting, page 19B-
12) ,
-the lower engine tie-bar (see 19D, Engine mount-
ing, Lower engine tie-bar: Removal - Refitting,
page 19D-18) ,
-the EGR solenoid valve (see 14A, Antipollution,
Exhaust gas recirculation solenoid valve: Re-
moval - Refitting, page 14A-10) ,
-the air filter unit (see 12A, Fuel mixture, Air filter
unit: Removal - Refitting, page 12A-13) ,-the scoop under the scuttle panel grille (see Scoop
under the scuttle panel grille: Removal - Refit-
ting) (56A, Exterior equipment),
-the scuttle panel grille (see Scuttle panel grille:
Removal - Refitting) (56A, Exterior equipment),
-the windscreen wiper arms (see Windscreen wip-
er arm: Removal - Refitting) (85A, Wiping -
Washing),
aTop up the coolant level.
aConnect the battery (see ) (80A, Battery).
aBleed the cooling system (see 19A, Cooling, Cool-
ing system: Draining - Refilling, page 19A-9) .
aRefit the engine cover. K9K, and 718
141224
K9K, and 740
Page 433 of 652

14A-15
ANTIPOLLUTION
Exhaust gas recirculation assembly: Removal - Refitting
K9K
14A
REMOVAL
I - REMOVAL PREPARATION OPERATION
aPosition the vehicle on a two-post lift (see Vehicle:
Towing and lifting) (02A, Lifting equipment).
aDisconnect the battery (see ) (80A, Battery).
aRemove:
-the engine cover,
-the windscreen wiper arms (see Windscreen wip-
er arm: Removal - Refitting) (85A, Wiping -
Washing)
-the scuttle panel grille (see Scuttle panel grille:
Removal - Refitting) (56A, Exterior equipment),
-the scoop under the scuttle panel grille (see Scoop
under the scuttle panel grille: Removal - Refit-
ting) (56A, Exterior equipment),
-the air filter unit (see 12A, Fuel mixture, Air filter
unit: Removal - Refitting, page 12A-13) ,
-the EGR solenoid valve (see 14A, Antipollution,
Exhaust gas recirculation solenoid valve: Re-
moval - Refitting, page 14A-10) ,
-the lower engine tie-bar (see 19D, Engine mount-
ing, Lower engine tie-bar: Removal - Refitting,
page 19D-18) ,
-the catalytic converter (see 19B, Exhaust, Cata-
lytic converter: Removal - Refitting, page 19B-
12) ,
-the rigid exhaust gas recirculation pipe (see 14A,
Antipollution, Exhaust gas recirculation rigid
pipe: Removal - Refitting, page 14A-19) .aUndo the clip (1) of the air filter unit air outlet pipe on
the turbocharger.
aDisconnect the oil vapour rebreathing pipe (2) by
carefully separating the brackets (3) .
aRemove the air outlet pipe from the air filter box (4) . Special tooling required
Ms. 583Pipe clamps .
Tightening torquesm
exhaust gas recircula-
tion unit assembly bolts25 N.m
coolant circulation cover
bolts on the exhaust gas
cooler12 N.m
intercooler air outlet
pipe clip at the damper
valve end5.5 N.m
121633
Page 434 of 652
14A-16
ANTIPOLLUTION
Exhaust gas recirculation assembly: Removal - Refitting
K9K
14A
aPull the intercooler air inlet pipe clip (5) on the turbo-
charger side.
aDisconnect the intercooler air inlet pipe (6) at the tur-
bocharger end.
aRemove the intercooler air inlet pipe nut (7) at the
turbocharger end.
aMove aside the intercooler air inlet pipe (6) at the tur-
bocharger end.
aDisconnect the vacuum pipe (8) from the turbo-
charging pressure regulator.
aUnclip:
-the turbocharging pressure regulator vacuum pipe
at (9) ,
-the brake servo vacuum pipe at (10) .
aDisconnect the brake servo vacuum pipe (11) .
aLoosen the clamp (12) for the air-air intercooler air
outlet pipe at the damper valve end.
aDisconnect the intercooler air outlet pipe (14) at the
damper valve end.
aRemove the nut (13) from the intercooler air outlet
pipe.
aMove the intercooler air outlet pipe (14) to one side. K9K, and 718
141222
141213
141217
Page 435 of 652

14A-17
ANTIPOLLUTION
Exhaust gas recirculation assembly: Removal - Refitting
K9K
14A
II - OPERATION FOR REMOVAL OF PART
CONCERNED
aFit the tool (Ms. 583) on the coolant inlet and outlet
hoses (15) of the exhaust gas cooler.
aRemove:
-the bolts (16) of the exhaust gas cooler cover,
-the exhaust gas cooler cover,
-the seals of the exhaust gas cooler cover.aRemove:
-the bolts (17) from the exhaust gas recirculation as-
sembly,
-the exhaust gas recirculation assembly.
REFITTING
I - REFITTING PREPARATION OPERATION
aparts always to be replaced: Exhaust gas cooler
cover seal.
aUse an ABRASIVE PAD (see Vehicle: Parts and
consumables for the repair) (04B, Consumables -
Products) to clean the bearing faces of:
-the turbocharger and the catalytic converter,
-the exhaust gas recirculation solenoid valve and
the exhaust gas recirculation unit,
-the coolant circulation cover within the exhaust gas
cooler.
aDegrease the bearing faces using SURFACE
CLEANER (see Vehicle: Parts and consumables
for the repair) (04B, Consumables - Products) and
CLEAN CLOTHS.
II - REFITTING OPERATION FOR PART
CONCERNED
aRefit the exhaust gas recirculation assembly.
aTorque tighten the exhaust gas recirculation unit
assembly bolts (25 N.m).
121639
Note:
Be prepared for the escape of coolant.
135460

