2009 PONTIAC TORRENT ECU
[x] Cancel search: ECUPage 94 of 436

PASS-Key®III+ Electronic
Immobilizer Operation
Your vehicle has PASS-Key®III+ (Personalized
Automotive Security System) theft-deterrent system.
PASS-Key
®III+ is a passive theft-deterrent system.
The system is automatically armed when the key
is removed from the ignition.
The system is automatically disarmed when the key is
turned to ON/RUN, ACC/ACCESSORY or START from
the LOCK/OFF position.
You do not have to manually arm or disarm the system.
The security light will come on if there is a problem
with arming or disarming the theft-deterrent system.
When the PASS-Key
®III+ system senses that someone
is using the wrong key, it prevents the vehicle from
starting. Anyone using a trial-and-error method to start
the vehicle will be discouraged because of the high
number of electrical key codes.If the engine does not start and the security light on
the instrument panel comes on when trying to start the
vehicle, there may be a problem with your theft-deterrent
system. Turn the ignition off and try again.
If the engine still does not start, and the key appears to
be undamaged, try another ignition key. At this time,
you may also want to check the fuse, seeFuses
and Circuit Breakers on page 5-91. If the engine still
does not start with the other key, your vehicle needs
service. If your vehicle does start, the �rst key may be
faulty. See your dealer/retailer who can service the
PASS-Key
®III+ to have a new key made. In an
emergency, contact Roadside Assistance.
It is possible for the PASS-Key
®III+ decoder to “learn”
the transponder value of a new or replacement key. Up to
nine additional keys may be programmed for the vehicle.
The following procedure is for programming additional
keys only. If all the currently programmed keys are lost
or do not operate, you must see your dealer/retailer or a
locksmith who can service PASS-Key
®III+ to have keys
made and programmed to the system.
2-18
Page 95 of 436
See your dealer/retailer or a locksmith who can service
PASS-Key®III+ to get a new key blank that is cut
exactly as the ignition key that operates the system.
To program the new additional key:
1. Verify that the new key has a
1stamped on it.
2. Insert the original, already programmed, key in the
ignition and start the engine. If the engine will not
start, see your dealer/retailer for service.
3. After the engine has started, turn the key to
LOCK/OFF, and remove the key.
4. Insert the new key to be programmed and turn
it to the ON/RUN position within �ve seconds of
removing the original key.
The security light will turn off once the key has
been programmed.
5. Repeat Steps 1 through 4 if additional keys are to
be programmed.
If you lose or damage your PASS-Key
®III+ key, see
your dealer/retailer or a locksmith who can service
PASS-Key
®III+ to have a new key made.
Do not leave the key or device that disarms or
deactivates the theft deterrent system in the vehicle.
Starting and Operating Your
Vehicle
New Vehicle Break-In
Notice:The vehicle does not need an elaborate
break-in. But it will perform better in the long run if
you follow these guidelines:
Do not drive at any one constant speed, fast or
slow, for the �rst 500 miles (805 km). Do not
make full-throttle starts. Avoid downshifting to
brake or slow the vehicle.
Avoid making hard stops for the �rst 200 miles
(322 km) or so. During this time the new brake
linings are not yet broken in. Hard stops
with new linings can mean premature wear and
earlier replacement. Follow this breaking-in
guideline every time you get new brake linings.
Do not tow a trailer during break-in. SeeTowing
a Trailer on page 4-33for the trailer towing
capabilities of your vehicle and more
information.
Following break-in, engine speed and load can be
gradually increased.
2-19
Page 114 of 436
Outside Convex Mirrors
{CAUTION:
A convex mirror can make things, like other
vehicles, look farther away than they really are.
If you cut too sharply into the right lane, you could
hit a vehicle on the right. Check the inside mirror
or glance over your shoulder before changing
lanes.
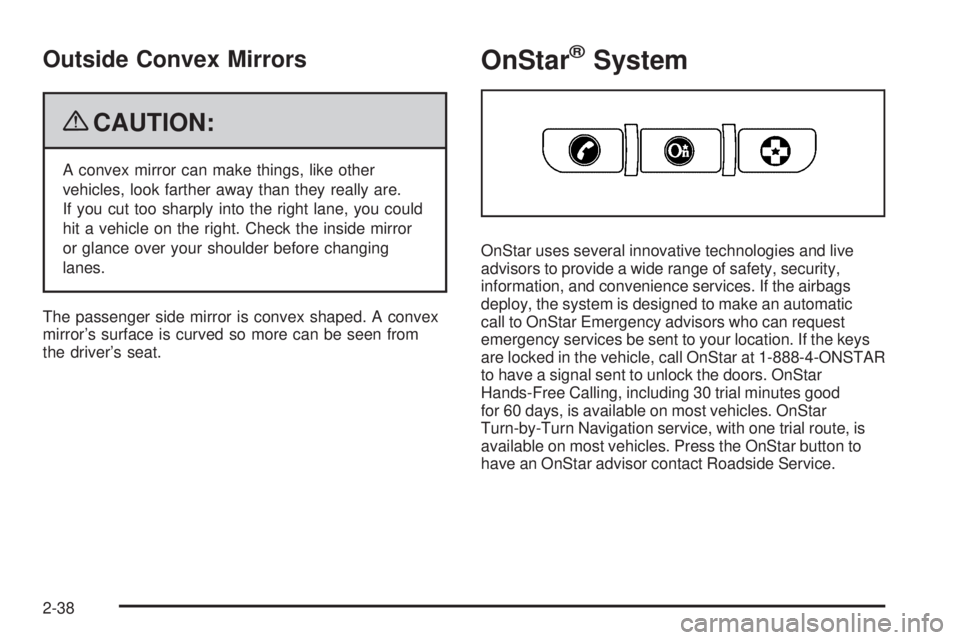
The passenger side mirror is convex shaped. A convex
mirror’s surface is curved so more can be seen from
the driver’s seat.
OnStar®System
OnStar uses several innovative technologies and live
advisors to provide a wide range of safety, security,
information, and convenience services. If the airbags
deploy, the system is designed to make an automatic
call to OnStar Emergency advisors who can request
emergency services be sent to your location. If the keys
are locked in the vehicle, call OnStar at 1-888-4-ONSTAR
to have a signal sent to unlock the doors. OnStar
Hands-Free Calling, including 30 trial minutes good
for 60 days, is available on most vehicles. OnStar
Turn-by-Turn Navigation service, with one trial route, is
available on most vehicles. Press the OnStar button to
have an OnStar advisor contact Roadside Service.
2-38
Page 119 of 436
Press the levers down until the locking mechanisms
fully engage to the side rail. Make sure each lever is in
the down position. The crossrail will not slide when
properly engaged.
To move the crossrail, pull up on the end levers on each
side of the crossrail to the upright position. This will
release the locking mechanism from the siderail. Lift and
place the crossrail into the new position. Press the levers
down until the locking mechanisms fully engage to the
side rail. Make sure each lever is in the down position.
The crossrail will not slide when properly engaged.
Notice:Loading cargo on the luggage carrier that
weighs more than 150 lbs (68 kg) or hangs over the
rear or sides of the vehicle may damage your vehicle.
When loading cargo, tie it to the crossrail and against
the siderail. Lock the crossrails to the far forward and
backward location to make sure the load is evenly
distributed on the luggage carrier.
Do not stand on the plastic lower body panels when
loading cargo on the luggage carrier.Loading cargo on the luggage carrier will make the
center of vehicle gravity higher. Avoid high speeds,
sudden starts, sharp turns, sudden braking or abrupt
maneuvers. This could result in loss of control of
the vehicle.
Do not exceed the maximum vehicle capacity when
loading your vehicle. For more information on vehicle
capacity and loading, seeLoading the Vehicle on
page 4-20.
To prevent damage or loss of cargo as you are driving,
check now and then to make sure the luggage carrier
crossrails are locked and cargo is still securely fastened.
When the luggage carrier is not in use, store the
crossrail inside the vehicle. If not possible, lock one
crossrail at the rear most position on the siderails and
lock the other crossrail above the opening of the
rear door to reduce wind noise.
2-43
Page 121 of 436
{CAUTION:
If you were to carry things on the adjustable panel
when it is in the upper (cargo cover) or center
positions, during a sudden vehicle movement or a
crash, those things could be thrown around in the
vehicle. You or others could be injured. When it is
in the upper or center position, always secure any
cargo on the �oor beneath the panel/cover.
To use the panel in the center position, do the following:
1. Insert the front corners of the panel into the
middle guides.
2. Slide the panel forward.
3. Press down and pull rearward on the back of the
panel to lock it in place.The panel can be used in this position when you have
to place a �at or spare tire in the rear cargo area.
To use the panel in the upper position, do the following:
1. Insert the front corners of the panel into the top
guides.
2. Slide the panel forward.
3. Press down and pull rearward on the back of the
panel to lock it in place.
This can be used as a cargo cover for the rear area.
The panel may be installed either carpet or plastic side
up. The panel may also be used as a table in this
position. SeeTable on page 2-46for more information.
Rear Seat Armrest
Vehicles with a rear seat armrest, have two cupholders.
Pull the armrest down from the rear seatback to
access the cupholders.
2-45
Page 122 of 436
Table
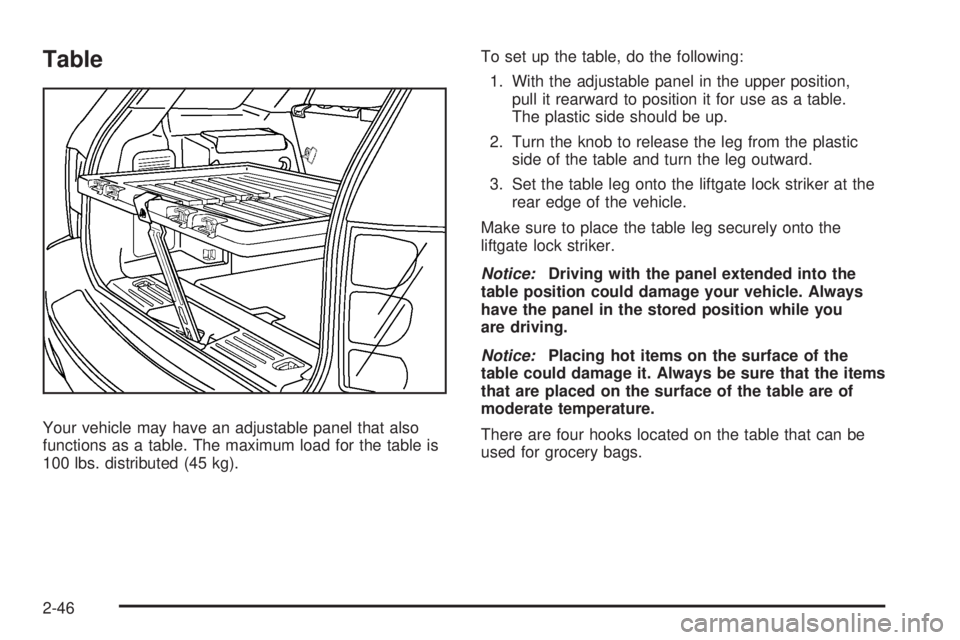
Your vehicle may have an adjustable panel that also
functions as a table. The maximum load for the table is
100 lbs. distributed (45 kg).To set up the table, do the following:
1. With the adjustable panel in the upper position,
pull it rearward to position it for use as a table.
The plastic side should be up.
2. Turn the knob to release the leg from the plastic
side of the table and turn the leg outward.
3. Set the table leg onto the liftgate lock striker at the
rear edge of the vehicle.
Make sure to place the table leg securely onto the
liftgate lock striker.
Notice:Driving with the panel extended into the
table position could damage your vehicle. Always
have the panel in the stored position while you
are driving.
Notice:Placing hot items on the surface of the
table could damage it. Always be sure that the items
that are placed on the surface of the table are of
moderate temperature.
There are four hooks located on the table that can be
used for grocery bags.
2-46
Page 125 of 436
Instrument Panel Overview...............................3-4
Hazard Warning Flashers................................3-6
Horn .............................................................3-6
Tilt Wheel.....................................................3-6
Turn Signal/Multifunction Lever.........................3-7
Turn and Lane-Change Signals........................3-7
Headlamp High/Low-Beam Changer..................3-8
Flash-to-Pass.................................................3-8
Windshield Wipers..........................................3-8
Windshield Washer.........................................3-9
Rear Window Wiper/Washer...........................3-10
Cruise Control..............................................3-10
Headlamps..................................................3-13
Headlamps on Reminder................................3-13
Daytime Running Lamps (DRL).......................3-13
Automatic Headlamp System..........................3-14
Fog Lamps ..................................................3-14
Instrument Panel Brightness...........................3-15
Dome Lamp .................................................3-15
Entry Lighting...............................................3-15
Map Lamps .................................................3-16
Cargo Lamp.................................................3-16
Electric Power Management...........................3-16
Battery Run-Down Protection..........................3-17
Accessory Power Outlet(s).............................3-18
Ashtray(s) and Cigarette Lighter......................3-18Climate Controls............................................3-19
Climate Control System.................................3-19
Outlet Adjustment.........................................3-23
Passenger Compartment Air Filter...................3-23
Warning Lights, Gages, and Indicators............3-24
Instrument Panel Cluster................................3-25
Speedometer and Odometer...........................3-26
Trip Odometer..............................................3-26
Tachometer.................................................3-26
Safety Belt Reminders...................................3-27
Airbag Readiness Light..................................3-28
Passenger Airbag Status Indicator...................3-29
Charging System Light..................................3-30
Brake System Warning Light..........................3-30
Antilock Brake System (ABS) Warning Light.....3-31
Traction Control System (TCS) Warning Light......3-32
Engine Coolant Temperature Warning Light......3-32
Engine Coolant Temperature Gage..................3-33
Tire Pressure Light.......................................3-33
Malfunction Indicator Lamp.............................3-34
Oil Pressure Light (US-Canada)......................3-36
Change Engine Oil Light................................3-37
Security Light...............................................3-37
Fog Lamp Light............................................3-37
Cruise Control Light......................................3-38
Reduced Engine Power Light.........................3-38
Section 3 Instrument Panel
3-1
Page 161 of 436
This light comes on brie�y while starting the engine.
If it does not, have the vehicle serviced by your
dealer/retailer. If the system is working normally
the indicator light then goes off.
If the light comes on and stays on, it means that oil
is not �owing through the engine properly. The vehicle
could be low on oil and it might have some other system
problem.
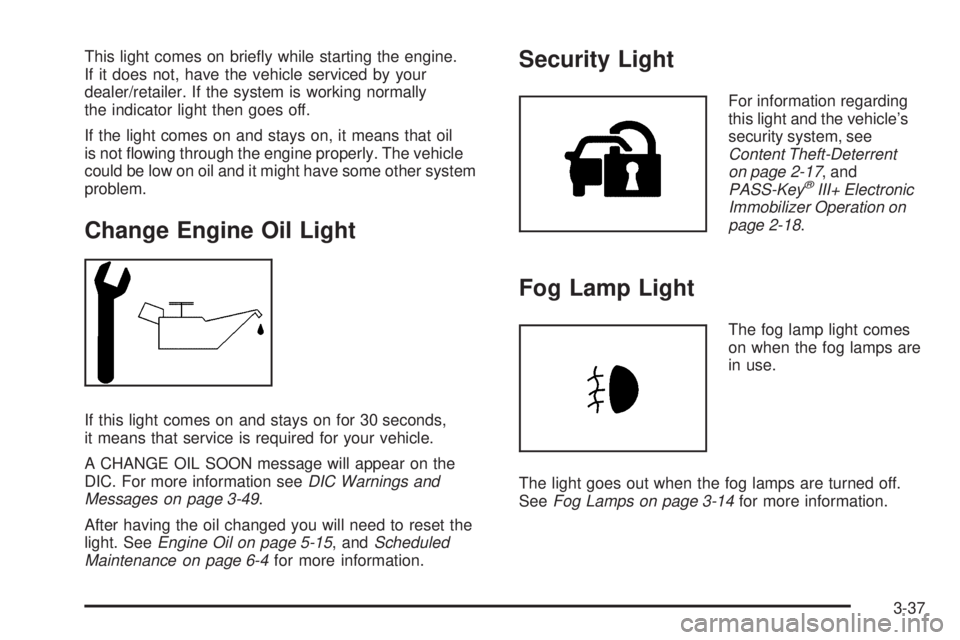
Change Engine Oil Light
If this light comes on and stays on for 30 seconds,
it means that service is required for your vehicle.
A CHANGE OIL SOON message will appear on the
DIC. For more information seeDIC Warnings and
Messages on page 3-49.
After having the oil changed you will need to reset the
light. SeeEngine Oil on page 5-15, andScheduled
Maintenance on page 6-4for more information.
Security Light
For information regarding
this light and the vehicle’s
security system, see
Content Theft-Deterrent
on page 2-17, and
PASS-Key
®III+ Electronic
Immobilizer Operation on
page 2-18.
Fog Lamp Light
The fog lamp light comes
on when the fog lamps are
in use.
The light goes out when the fog lamps are turned off.
SeeFog Lamps on page 3-14for more information.
3-37