2009 NISSAN FRONTIER seats
[x] Cancel search: seatsPage 106 of 366
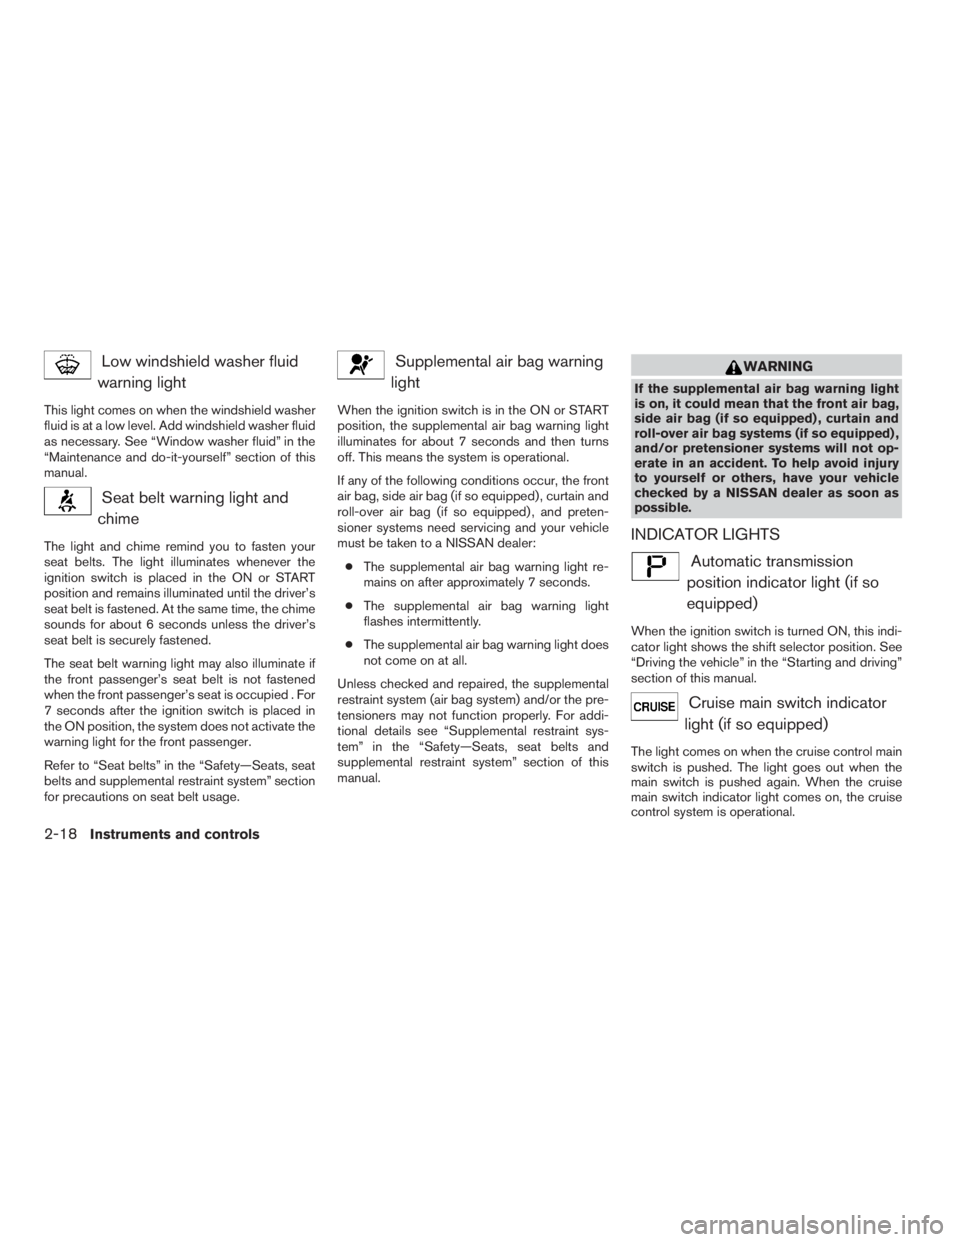
Low windshield washer fluid
warning light
This light comes on when the windshield washer
fluid is at a low level. Add windshield washer fluid
as necessary. See “Window washer fluid” in the
“Maintenance and do-it-yourself” section of this
manual.
Seat belt warning light and
chime
The light and chime remind you to fasten your
seat belts. The light illuminates whenever the
ignition switch is placed in the ON or START
position and remains illuminated until the driver’s
seat belt is fastened. At the same time, the chime
sounds for about 6 seconds unless the driver’s
seat belt is securely fastened.
The seat belt warning light may also illuminate if
the front passenger’s seat belt is not fastened
when the front passenger’s seat is occupied . For
7 seconds after the ignition switch is placed in
the ON position, the system does not activate the
warning light for the front passenger.
Refer to “Seat belts” in the “Safety—Seats, seat
belts and supplemental restraint system” section
for precautions on seat belt usage.
Supplemental air bag warning
light
When the ignition switch is in the ON or START
position, the supplemental air bag warning light
illuminates for about 7 seconds and then turns
off. This means the system is operational.
If any of the following conditions occur, the front
air bag, side air bag (if so equipped) , curtain and
roll-over air bag (if so equipped) , and preten-
sioner systems need servicing and your vehicle
must be taken to a NISSAN dealer:
cThe supplemental air bag warning light re-
mains on after approximately 7 seconds.
cThe supplemental air bag warning light
flashes intermittently.
cThe supplemental air bag warning light does
not come on at all.
Unless checked and repaired, the supplemental
restraint system (air bag system) and/or the pre-
tensioners may not function properly. For addi-
tional details see “Supplemental restraint sys-
tem” in the “Safety—Seats, seat belts and
supplemental restraint system” section of this
manual.
WARNING
If the supplemental air bag warning light
is on, it could mean that the front air bag,
side air bag (if so equipped) , curtain and
roll-over air bag systems (if so equipped) ,
and/or pretensioner systems will not op-
erate in an accident. To help avoid injury
to yourself or others, have your vehicle
checked by a NISSAN dealer as soon as
possible.
INDICATOR LIGHTS
Automatic transmission
position indicator light (if so
equipped)
When the ignition switch is turned ON, this indi-
cator light shows the shift selector position. See
“Driving the vehicle” in the “Starting and driving”
section of this manual.
Cruise main switch indicator
light (if so equipped)
The light comes on when the cruise control main
switch is pushed. The light goes out when the
main switch is pushed again. When the cruise
main switch indicator light comes on, the cruise
control system is operational.
2-18Instruments and controls
ZREVIEW COPYÐ2009 08+ Truck/Frontier(fro)
Owners ManualÐUSA_English(nna)
05/27/08Ðdebbie
X
Page 107 of 366
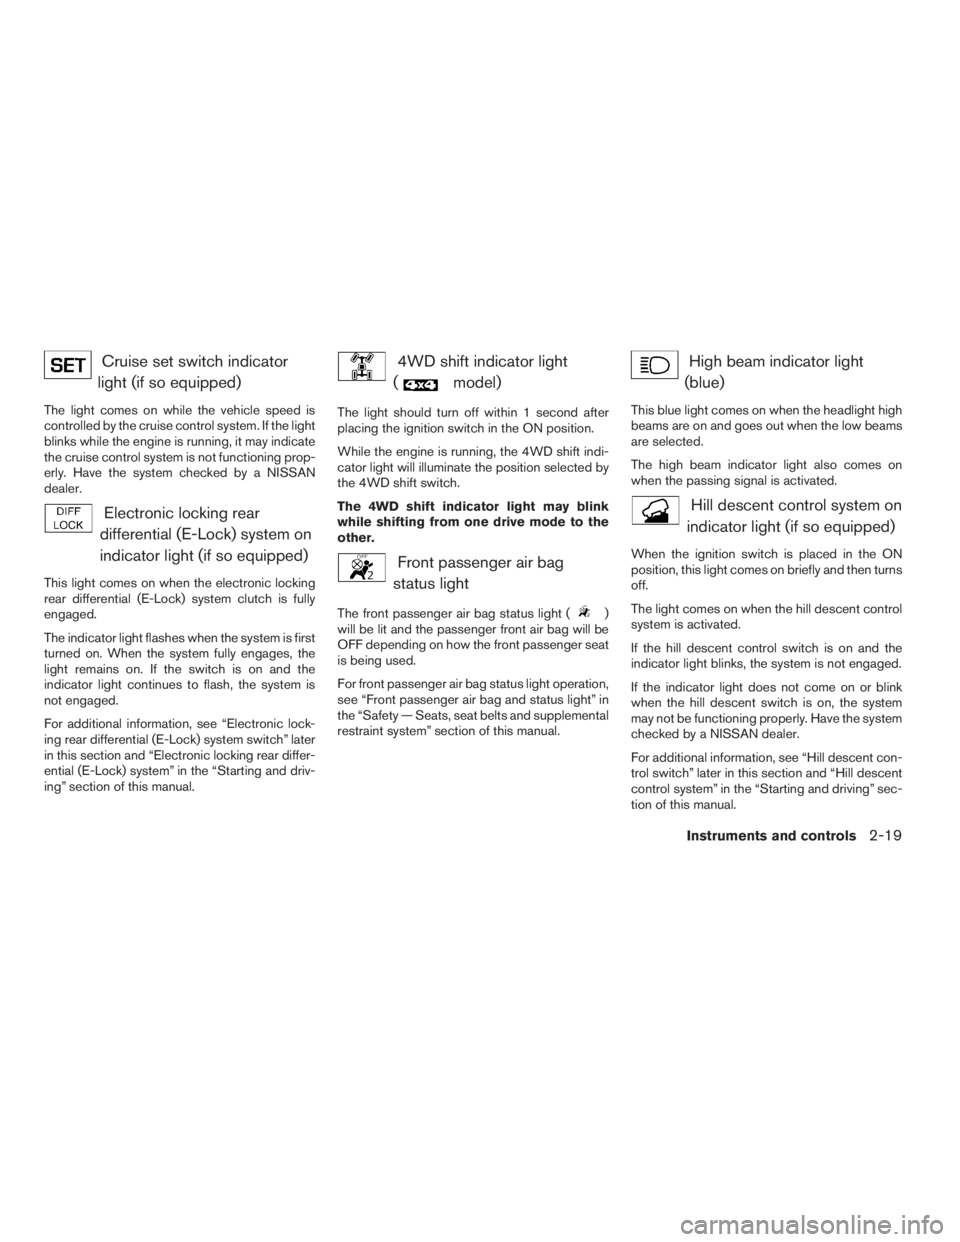
Cruise set switch indicator
light (if so equipped)
The light comes on while the vehicle speed is
controlled by the cruise control system. If the light
blinks while the engine is running, it may indicate
the cruise control system is not functioning prop-
erly. Have the system checked by a NISSAN
dealer.
Electronic locking rear
differential (E-Lock) system on
indicator light (if so equipped)
This light comes on when the electronic locking
rear differential (E-Lock) system clutch is fully
engaged.
The indicator light flashes when the system is first
turned on. When the system fully engages, the
light remains on. If the switch is on and the
indicator light continues to flash, the system is
not engaged.
For additional information, see “Electronic lock-
ing rear differential (E-Lock) system switch” later
in this section and “Electronic locking rear differ-
ential (E-Lock) system” in the “Starting and driv-
ing” section of this manual.
4WD shift indicator light
(
model)
The light should turn off within 1 second after
placing the ignition switch in the ON position.
While the engine is running, the 4WD shift indi-
cator light will illuminate the position selected by
the 4WD shift switch.
The 4WD shift indicator light may blink
while shifting from one drive mode to the
other.
Front passenger air bag
status light
The front passenger air bag status light ()
will be lit and the passenger front air bag will be
OFF depending on how the front passenger seat
is being used.
For front passenger air bag status light operation,
see “Front passenger air bag and status light” in
the “Safety — Seats, seat belts and supplemental
restraint system” section of this manual.
High beam indicator light
(blue)
This blue light comes on when the headlight high
beams are on and goes out when the low beams
are selected.
The high beam indicator light also comes on
when the passing signal is activated.
Hill descent control system on
indicator light (if so equipped)
When the ignition switch is placed in the ON
position, this light comes on briefly and then turns
off.
The light comes on when the hill descent control
system is activated.
If the hill descent control switch is on and the
indicator light blinks, the system is not engaged.
If the indicator light does not come on or blink
when the hill descent switch is on, the system
may not be functioning properly. Have the system
checked by a NISSAN dealer.
For additional information, see “Hill descent con-
trol switch” later in this section and “Hill descent
control system” in the “Starting and driving” sec-
tion of this manual.
Instruments and controls2-19
ZREVIEW COPYÐ2009 08+ Truck/Frontier(fro)
Owners ManualÐUSA_English(nna)
05/27/08Ðdebbie
X
Page 120 of 366
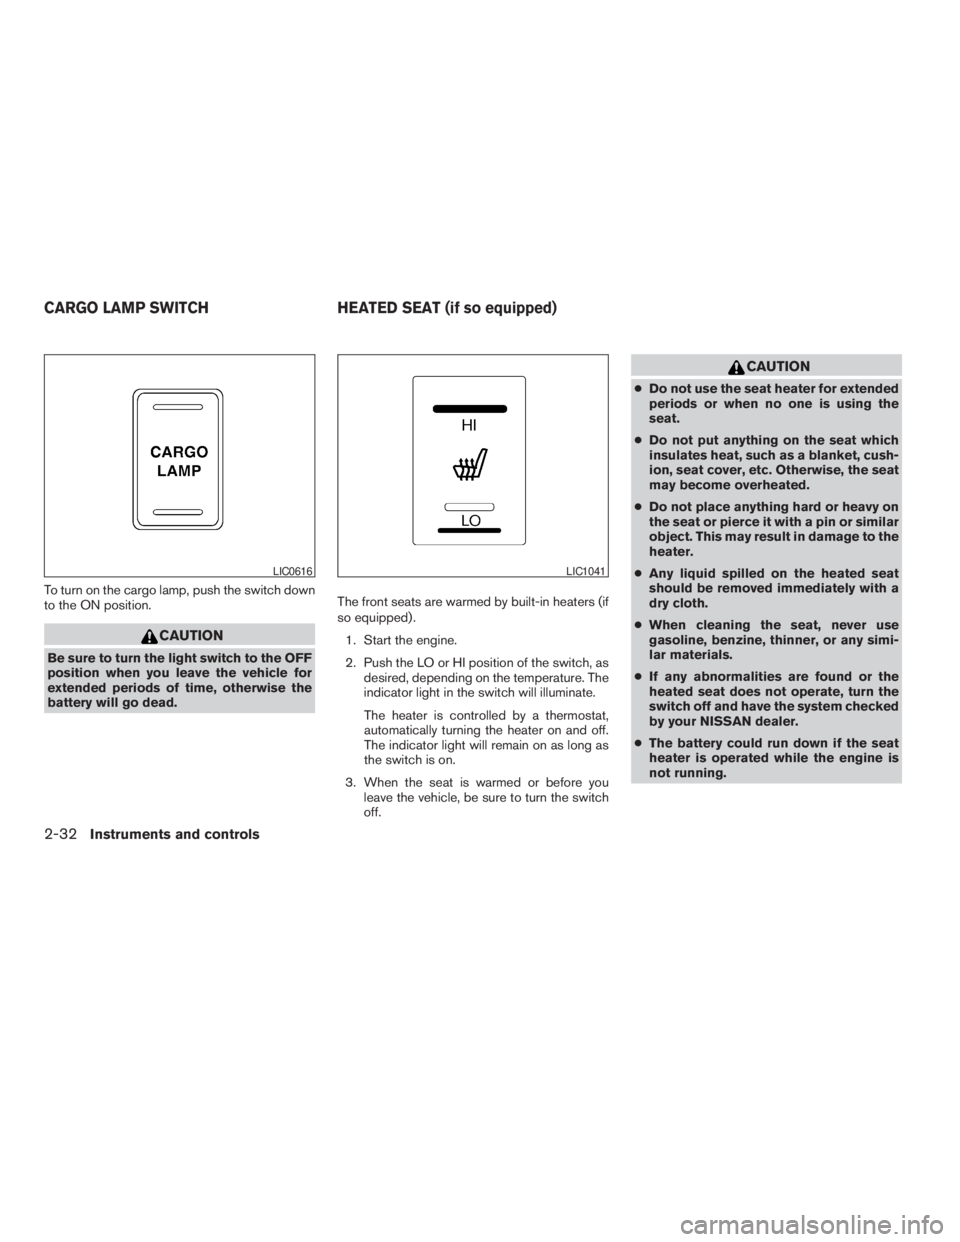
To turn on the cargo lamp, push the switch down
to the ON position.
CAUTION
Be sure to turn the light switch to the OFF
position when you leave the vehicle for
extended periods of time, otherwise the
battery will go dead.The front seats are warmed by built-in heaters (if
so equipped) .
1. Start the engine.
2. Push the LO or HI position of the switch, as
desired, depending on the temperature. The
indicator light in the switch will illuminate.
The heater is controlled by a thermostat,
automatically turning the heater on and off.
The indicator light will remain on as long as
the switch is on.
3. When the seat is warmed or before you
leave the vehicle, be sure to turn the switch
off.
CAUTION
cDo not use the seat heater for extended
periods or when no one is using the
seat.
cDo not put anything on the seat which
insulates heat, such as a blanket, cush-
ion, seat cover, etc. Otherwise, the seat
may become overheated.
cDo not place anything hard or heavy on
the seat or pierce it with a pin or similar
object. This may result in damage to the
heater.
cAny liquid spilled on the heated seat
should be removed immediately with a
dry cloth.
cWhen cleaning the seat, never use
gasoline, benzine, thinner, or any simi-
lar materials.
cIf any abnormalities are found or the
heated seat does not operate, turn the
switch off and have the system checked
by your NISSAN dealer.
cThe battery could run down if the seat
heater is operated while the engine is
not running.
LIC0616LIC1041
CARGO LAMP SWITCH HEATED SEAT (if so equipped)
2-32Instruments and controls
ZREVIEW COPYÐ2009 08+ Truck/Frontier(fro)
Owners ManualÐUSA_English(nna)
05/27/08Ðdebbie
X
Page 127 of 366
UNDER-SEAT STORAGE BINS
WARNING
cProperly secure all cargo with ropes or
straps to help prevent it from sliding or
shifting. In a sudden stop or collision,
unsecured cargo could cause personal
injury.
cThe cargo restrained in the under-seat
storage bins must not exceed the
weight limits listed below or the bins
may not stay secured. In a sudden stop
or collision, the unsecured bins could
cause personal inury.
King cab model: 16 lb (7.25 kg)
Crew cab model
Driver’s side: 16 lb (7.25 kg)
Passenger’s side: 25 lb (11.33 kg)
cIf the under-seat storage bins are re-
moved for any reason, they should be
securely stored to prevent them from
causing injury to passengers or damage
to the vehicle in case of sudden braking
or an accident.cDo not place sharp objects in the under-
seat storage bins. Such objects may
become dangerous projectiles and
cause injury when the vehicle is moving
or if the vehicle is involved in a collision.
To access the under-seat storage bins:
For King cab model, lift up the jump seat. Refer to
“Jump seat” in the “Safety—Seats, seat belts and
supplemental restraint system” section earlier in
this manual.
For Crew cab model, lift up the rear bench seat.
Refer to “Folding the rear bench seat” in the
“Safety—Seats, seat belts and supplemental re-
straint system” section earlier in this manual.
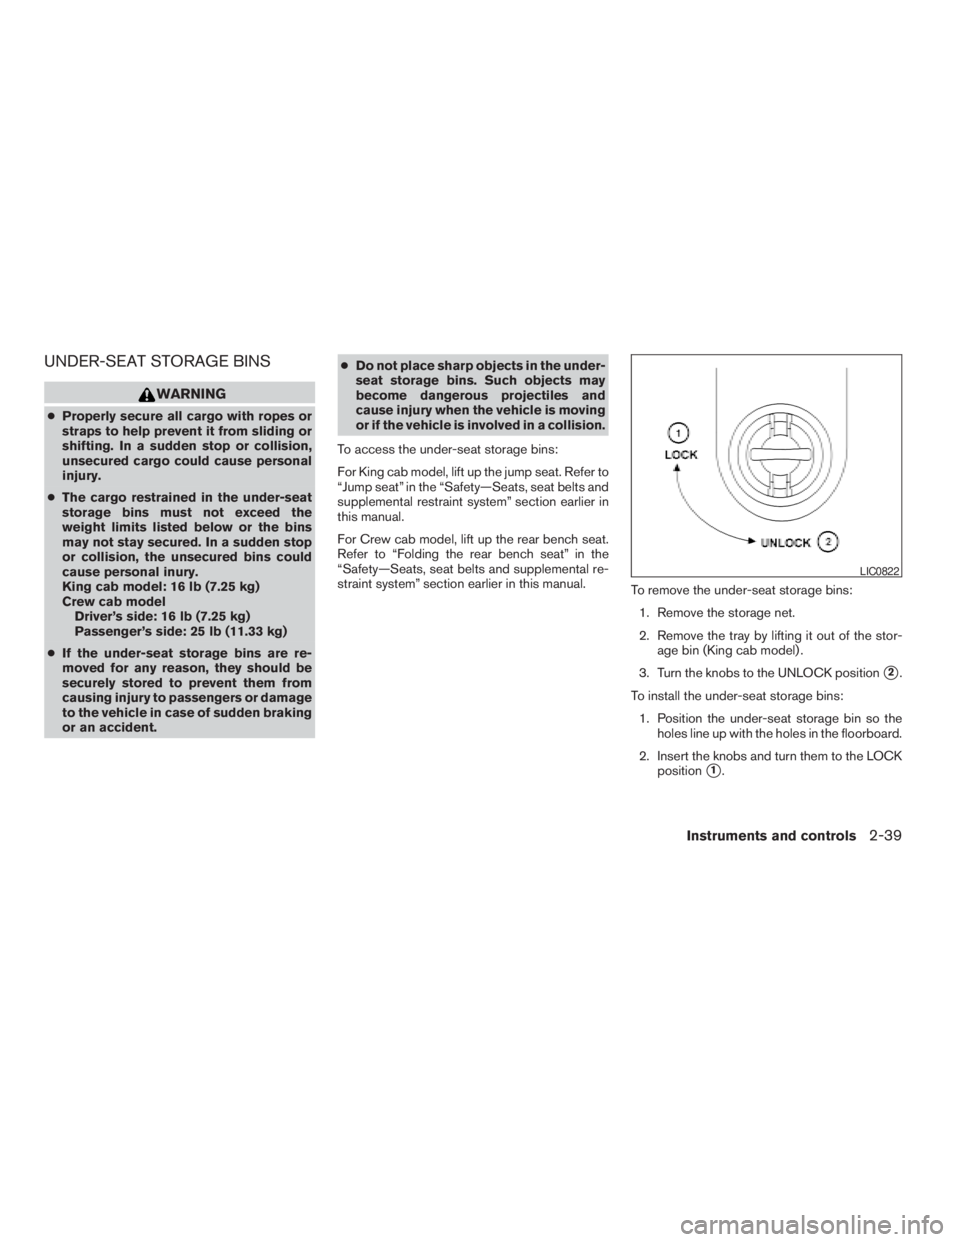
To remove the under-seat storage bins:
1. Remove the storage net.
2. Remove the tray by lifting it out of the stor-
age bin (King cab model) .
3. Turn the knobs to the UNLOCK position
s2.
To install the under-seat storage bins:
1. Position the under-seat storage bin so the
holes line up with the holes in the floorboard.
2. Insert the knobs and turn them to the LOCK
position
s1.
LIC0822
Instruments and controls2-39
ZREVIEW COPYÐ2009 08+ Truck/Frontier(fro)
Owners ManualÐUSA_English(nna)
05/27/08Ðdebbie
X
Page 158 of 366
For proper truck box loading see “Vehicle loading
information” in the “Technical and consumer in-
formation” section of this manual.
WARNING
cIt is extremely dangerous to ride in a
cargo area inside a vehicle. In a colli-
sion, people riding in these areas are
more likely to be seriously injured or
killed.
cDo not allow people to ride in any area
of your vehicle that is not equipped with
seats and seat belts.
cBe sure everyone in your vehicle is in a
seat and using a seat belt properly.
Removing the tailgate
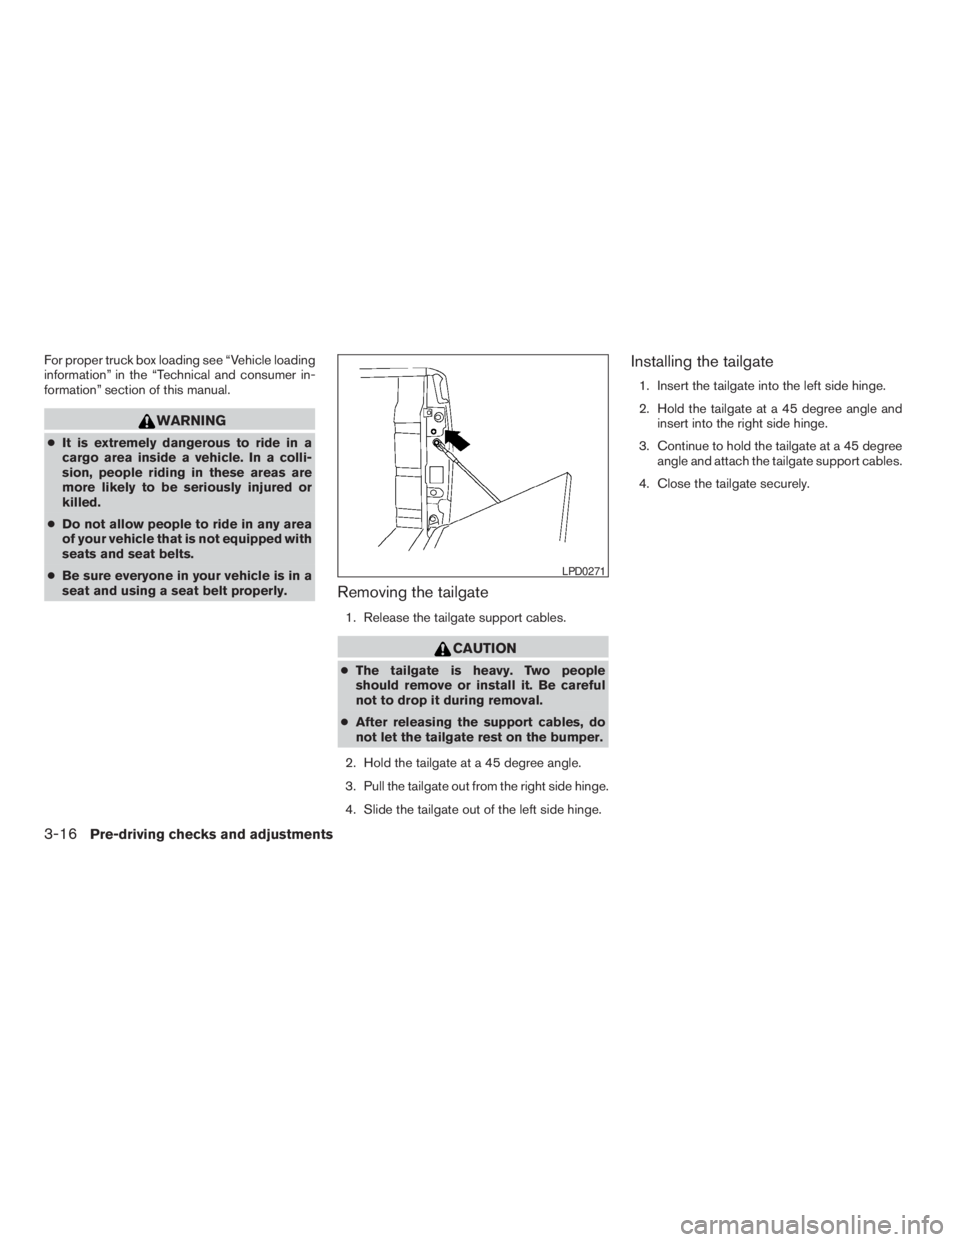
1. Release the tailgate support cables.
CAUTION
cThe tailgate is heavy. Two people
should remove or install it. Be careful
not to drop it during removal.
cAfter releasing the support cables, do
not let the tailgate rest on the bumper.
2. Hold the tailgate at a 45 degree angle.
3. Pull the tailgate out from the right side hinge.
4. Slide the tailgate out of the left side hinge.
Installing the tailgate
1. Insert the tailgate into the left side hinge.
2. Hold the tailgate at a 45 degree angle and
insert into the right side hinge.
3. Continue to hold the tailgate at a 45 degree
angle and attach the tailgate support cables.
4. Close the tailgate securely.
LPD0271
3-16Pre-driving checks and adjustments
ZREVIEW COPYÐ2009 08+ Truck/Frontier(fro)
Owners ManualÐUSA_English(nna)
05/27/08Ðdebbie
X
Page 218 of 366
AVOIDING COLLISION AND
ROLLOVER
WARNING
Failure to operate this vehicle in a safe
and prudent manner may result in loss of
control or an accident.
Be alert and drive defensively at all times. Obey
all traffic regulations. Avoid excessive speed,
high speed cornering, or sudden steering ma-
neuvers, because these driving practices could
cause you to lose control of your vehicle.As with
any vehicle, loss of control could result in a
collision with other vehicles or objects or
cause the vehicle to roll over, particularly if
the loss of control causes the vehicle to
slide sideways.Be attentive at all times, and
avoid driving when tired. Never drive when under
the influence of alcohol or drugs (including pre-
scription or over-the-counter drugs which may
cause drowsiness) . Always wear your seat belt
as outlined in the “Safety – Seats, seat belts and
supplemental restraint system” section of this
manual, and also instruct your passengers to do
so.
Seat belts help reduce the risk of injury in colli-
sions and rollovers.In a rollover crash, an
unbelted or improperly belted person issignificantly more likely to be injured or
killed than a person properly wearing a
seat belt.
OFF-ROAD RECOVERY
While driving, the right side or left side wheels
may unintentionally leave the road surface. If this
occurs, maintain control of the vehicle by follow-
ing the procedure below. Please note that this
procedure is only a general guide. The vehicle
must be driven as appropriate based on the con-
ditions of the vehicle, road and traffic.
1. Remain calm and do not overreact.
2. Do not apply the brakes.
3. Maintain a firm grip on the steering wheel
with both hands and try to hold a straight
course.
4. When appropriate , slowly release the accel-
erator pedal to gradually slow the vehicle.
5. If there is nothing in the way, steer the ve-
hicle to follow the road while vehicle speed
is reduced. Do not attempt to drive the ve-
hicle back onto the road surface until vehicle
speed is reduced.
6. When it is safe to do so, gradually turn the
steering wheel until both tires return to the
road surface. When all tires are on the roadsurface, steer the vehicle to stay in the ap-
propriate driving lane.
cIf you decide that it is not safe to return the
vehicle to the road surface based on vehicle,
road or traffic conditions, gradually slow the
vehicle to a stop in a safe place off the road.
RAPID AIR PRESSURE LOSS
Rapid air pressure loss or a “blow-out” can occur
if the tire is punctured or is damaged due to
hitting a curb or pothole. Rapid air pressure loss
can also be caused by driving on under-inflated
tires.
Rapid air pressure loss can affect the handling
and stability of the vehicle, especially at highway
speeds.
Help prevent rapid air pressure loss by maintain-
ing the correct air pressure and visually inspect
the tires for wear and damage. See “Wheels and
tires” in the “Maintenance and do-it-yourself”
section of this manual. If a tire rapidly loses air
pressure or “blows-out” while driving, maintain
control of the vehicle by following the procedure
below. Please note that this procedure is only a
general guide. The vehicle must be driven as
appropriate based on the conditions of the ve-
hicle, road and traffic.
5-6Starting and driving
ZREVIEW COPYÐ2009 08+ Truck/Frontier(fro)
Owners ManualÐUSA_English(nna)
05/27/08Ðdebbie
X
Page 254 of 366
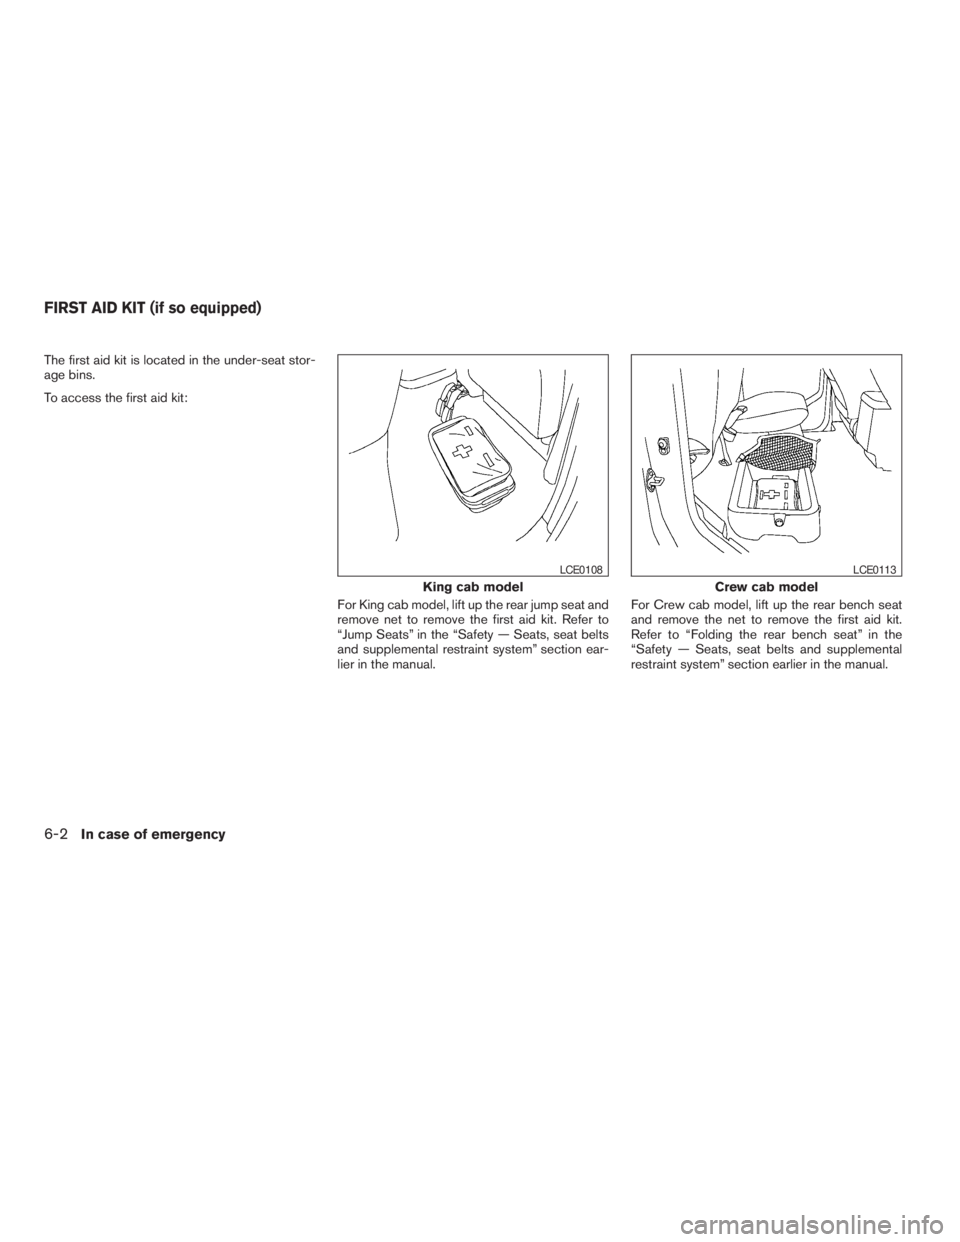
The first aid kit is located in the under-seat stor-
age bins.
To access the first aid kit:
For King cab model, lift up the rear jump seat and
remove net to remove the first aid kit. Refer to
“Jump Seats” in the “Safety — Seats, seat belts
and supplemental restraint system” section ear-
lier in the manual.For Crew cab model, lift up the rear bench seat
and remove the net to remove the first aid kit.
Refer to “Folding the rear bench seat” in the
“Safety — Seats, seat belts and supplemental
restraint system” section earlier in the manual.
King cab model
LCE0108
Crew cab model
LCE0113
FIRST AID KIT (if so equipped)
6-2In case of emergency
ZREVIEW COPYÐ2009 08+ Truck/Frontier(fro)
Owners ManualÐUSA_English(nna)
05/27/08Ðdebbie
X
Page 256 of 366

WARNING
cMake sure the parking brake is securely
applied and the manual transmission is
shifted into R (Reverse) , or the auto-
matic transmission into P (Park) .
cNever change tires when the vehicle is
on a slope, ice or slippery areas. This is
hazardous.
cNever change tires if oncoming traffic is
close to your vehicle. Wait for profes-
sional road assistance.
Blocking wheels
Place suitable blockss1at both the front and
back of the wheel diagonally opposite the flat tire
s2to prevent the vehicle from moving when it is
jacked up.
WARNING
Be sure to block the wheel as the vehicle
may move and result in personal injury.
Getting the spare tire and tools
For King Cab models:
The tool storage compartment is located be-
tween the two rear jump seats.
cTurn the knob from the lock to the unlock
position and remove the lid from the tool
storage compartment.
cRemove the jack and jacking tools.
WCE0044LCE0109
6-4In case of emergency
ZREVIEW COPYÐ2009 08+ Truck/Frontier(fro)
Owners ManualÐUSA_English(nna)
05/27/08Ðdebbie
X