Page 17 of 317

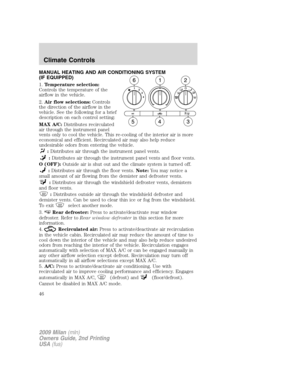
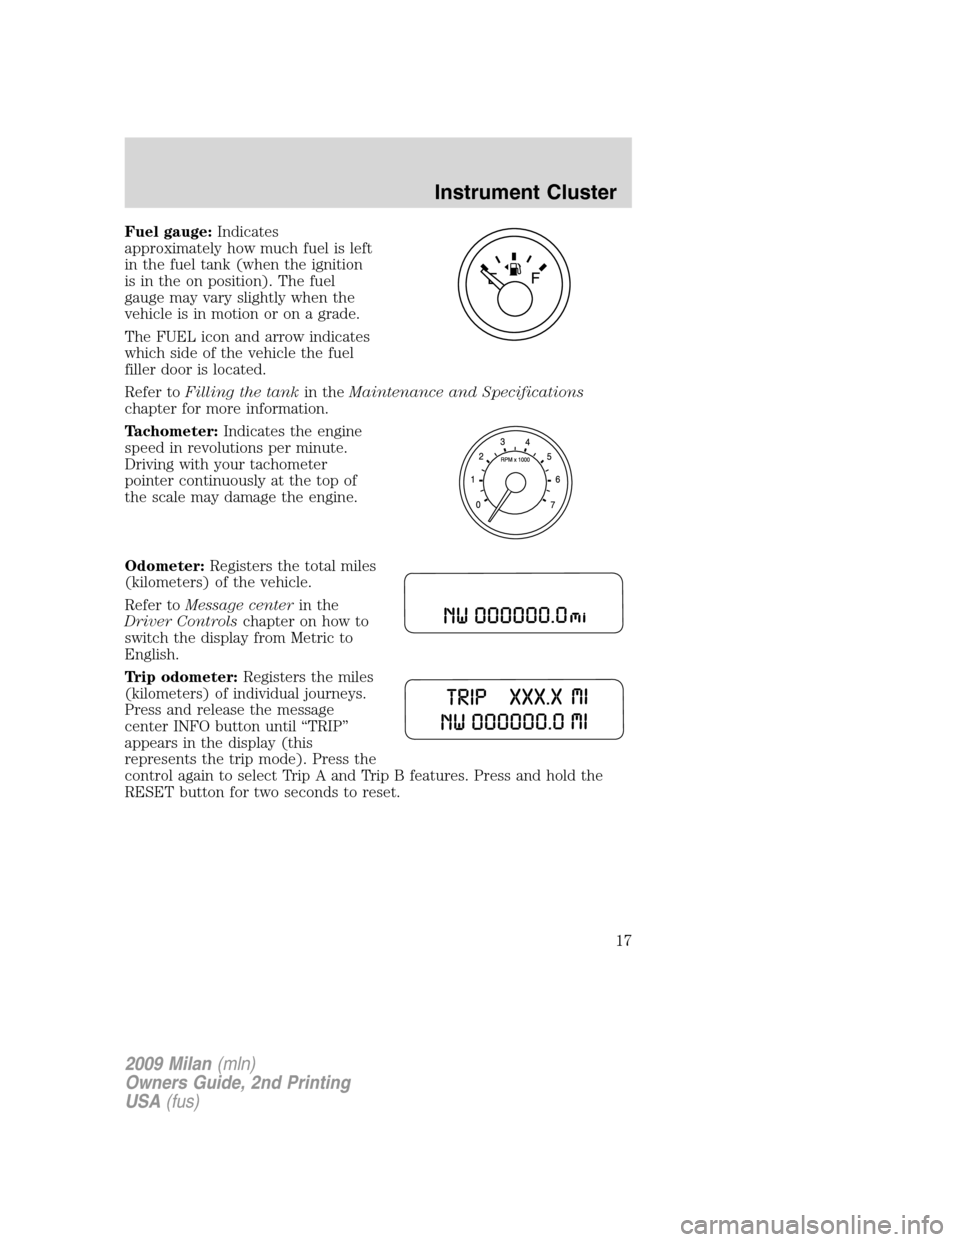
Fuel gauge:Indicates
approximately how much fuel is left
in the fuel tank (when the ignition
is in the on position). The fuel
gauge may vary slightly when the
vehicle is in motion or on a grade.
The FUEL icon and arrow indicates
which side of the vehicle the fuel
filler door is located.
Refer toFilling the tankin theMaintenance and Specifications
chapter for more information.
Tachometer:Indicates the engine
speed in revolutions per minute.
Driving with your tachometer
pointer continuously at the top of
the scale may damage the engine.
Odometer:Registers the total miles
(kilometers) of the vehicle.
Refer toMessage centerin the
Driver Controlschapter on how to
switch the display from Metric to
English.
Trip odometer:Registers the miles
(kilometers) of individual journeys.
Press and release the message
center INFO button until “TRIP”
appears in the display (this
represents the trip mode). Press the
control again to select Trip A and Trip B features. Press and hold the
RESET button for two seconds to reset.
2009 Milan(mln)
Owners Guide, 2nd Printing
USA(fus)
Instrument Cluster
17
Page 18 of 317

AUDIO SYSTEMS
Quick start — How to get going
WARNING:Driving while distracted can result in loss of vehicle
control, accident and injury. Ford strongly recommends that
drivers use extreme caution when using any device that may take their
focus off the road. The drivers primary responsibility is the safe
operation of their vehicle. Only use cell phones and other devices not
essential to the driving task when it is safe to do so.
Listening to the radio
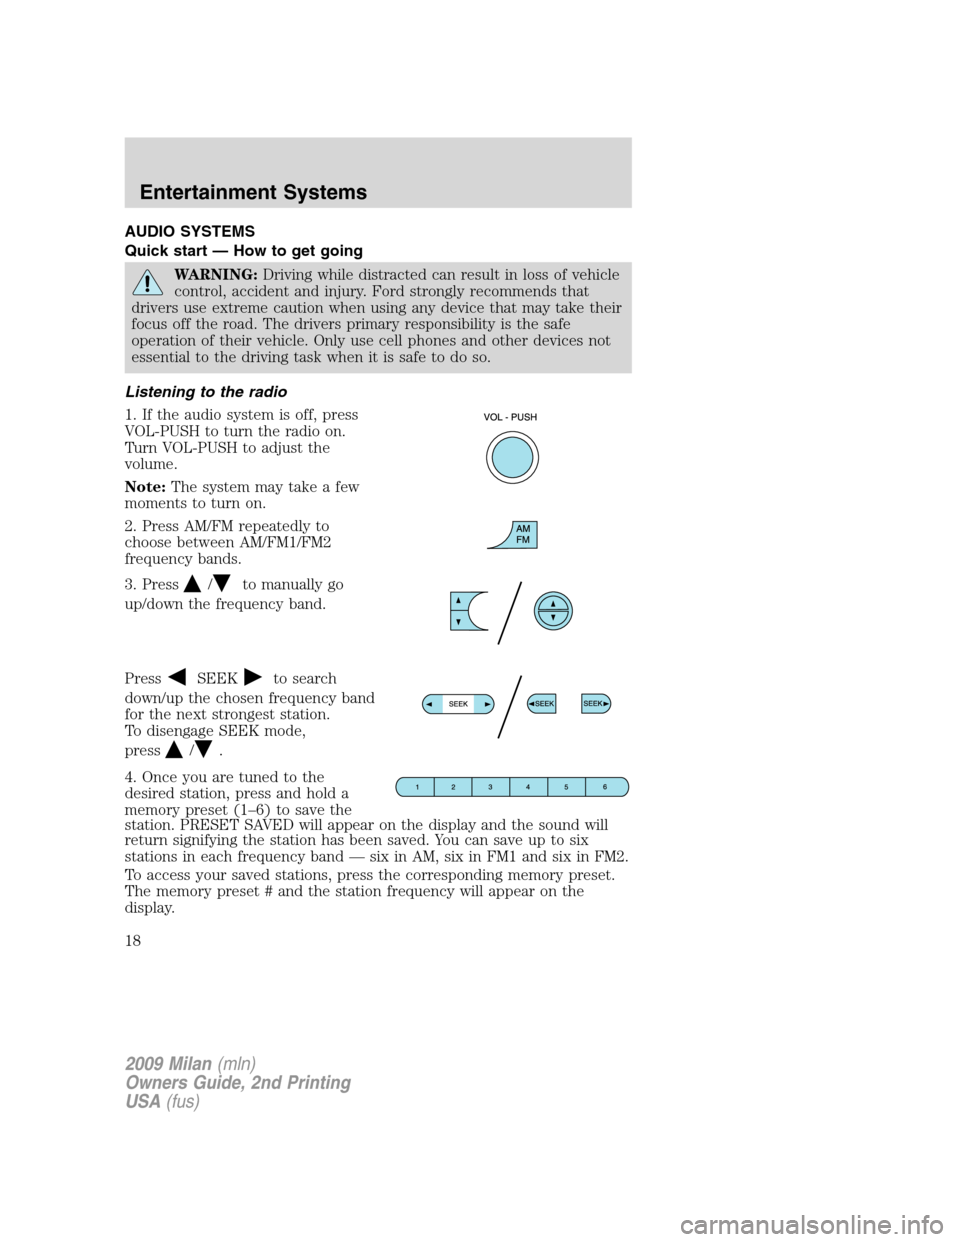
1. If the audio system is off, press
VOL-PUSH to turn the radio on.
Turn VOL-PUSH to adjust the
volume.
Note:The system may take a few
moments to turn on.
2. Press AM/FM repeatedly to
choose between AM/FM1/FM2
frequency bands.
3. Press
/to manually go
up/down the frequency band.
Press
SEEKto search
down/up the chosen frequency band
for the next strongest station.
To disengage SEEK mode,
press
/.
4. Once you are tuned to the
desired station, press and hold a
memory preset (1–6) to save the
station. PRESET SAVED will appear on the display and the sound will
return signifying the station has been saved. You can save up to six
stations in each frequency band — six in AM, six in FM1 and six in FM2.
To access your saved stations, press the corresponding memory preset.
The memory preset # and the station frequency will appear on the
display.
2009 Milan(mln)
Owners Guide, 2nd Printing
USA(fus)
Entertainment Systems
18
Page 19 of 317

Listening to satellite radio (if equipped)
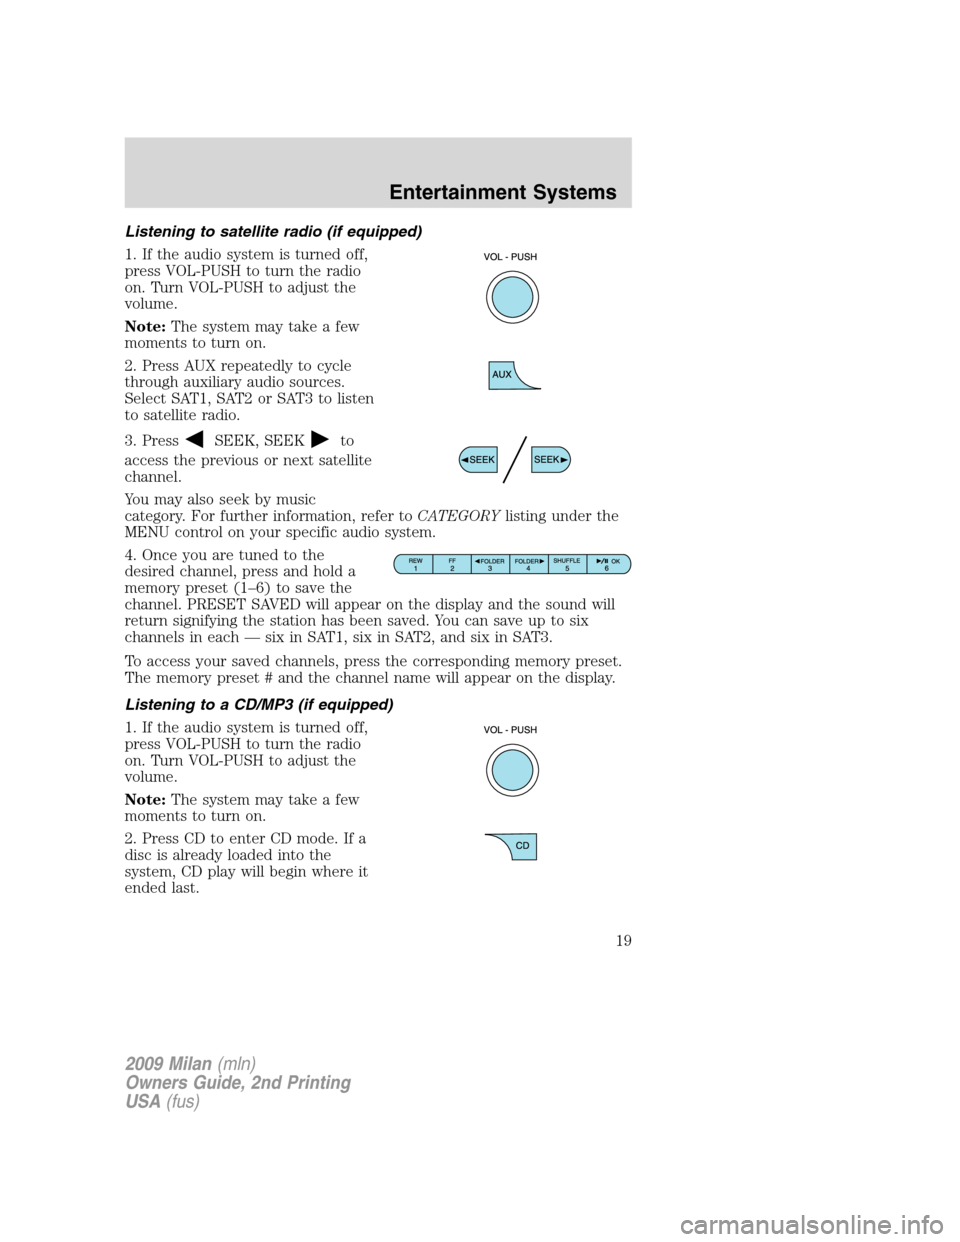
1. If the audio system is turned off,
press VOL-PUSH to turn the radio
on. Turn VOL-PUSH to adjust the
volume.
Note:The system may take a few
moments to turn on.
2. Press AUX repeatedly to cycle
through auxiliary audio sources.
Select SAT1, SAT2 or SAT3 to listen
to satellite radio.
3. Press
SEEK, SEEKto
access the previous or next satellite
channel.
You may also seek by music
category. For further information, refer toCATEGORYlisting under the
MENU control on your specific audio system.
4. Once you are tuned to the
desired channel, press and hold a
memory preset (1–6) to save the
channel. PRESET SAVED will appear on the display and the sound will
return signifying the station has been saved. You can save up to six
channels in each — six in SAT1, six in SAT2, and six in SAT3.
To access your saved channels, press the corresponding memory preset.
The memory preset # and the channel name will appear on the display.
Listening to a CD/MP3 (if equipped)
1. If the audio system is turned off,
press VOL-PUSH to turn the radio
on. Turn VOL-PUSH to adjust the
volume.
Note:The system may take a few
moments to turn on.
2. Press CD to enter CD mode. If a
disc is already loaded into the
system, CD play will begin where it
ended last.
2009 Milan(mln)
Owners Guide, 2nd Printing
USA(fus)
Entertainment Systems
19
Page 20 of 317

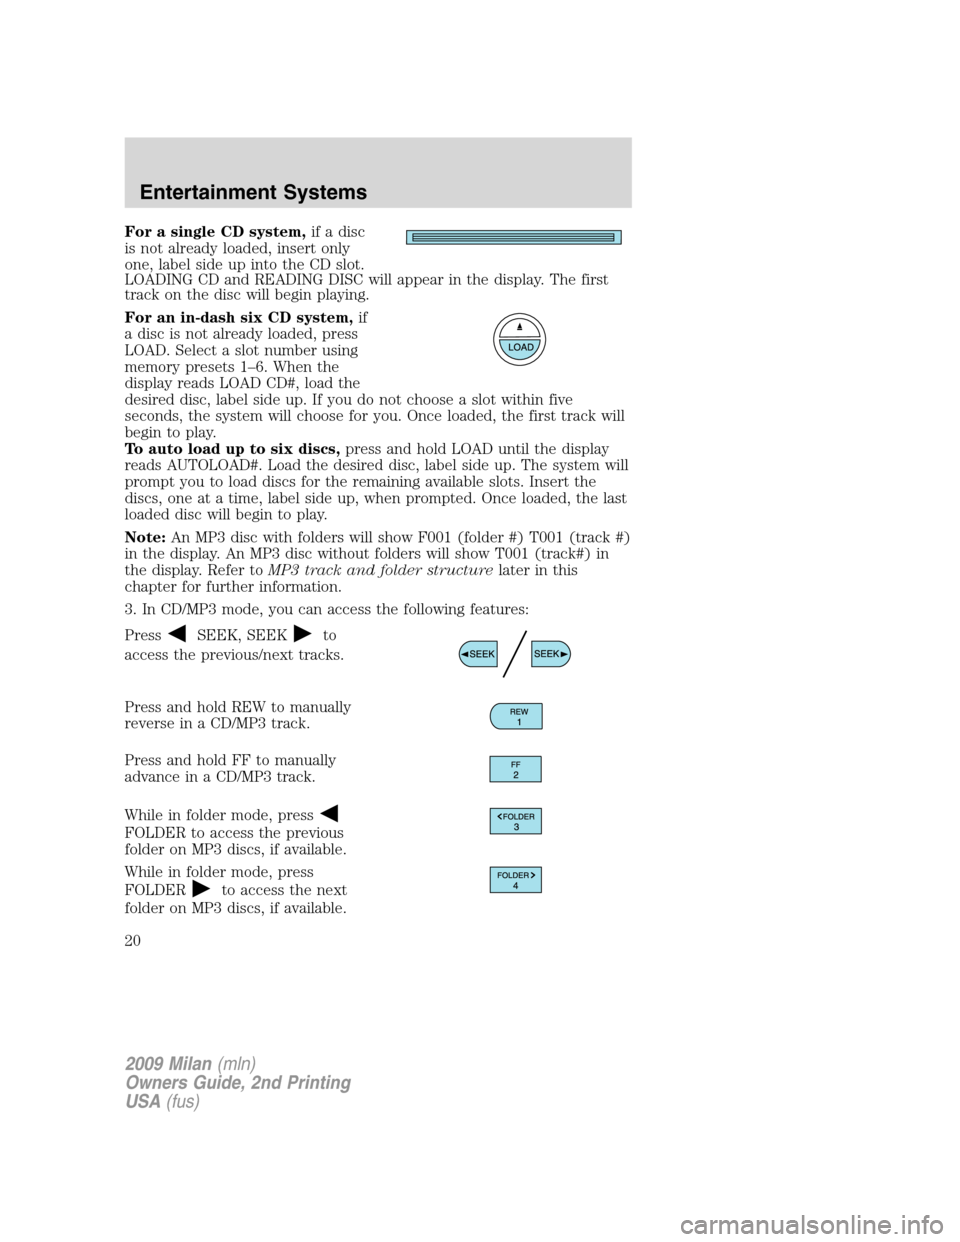
For a single CD system,if a disc
is not already loaded, insert only
one, label side up into the CD slot.
LOADING CD and READING DISC will appear in the display. The first
track on the disc will begin playing.
For an in-dash six CD system,if
a disc is not already loaded, press
LOAD. Select a slot number using
memory presets 1–6. When the
display reads LOAD CD#, load the
desired disc, label side up. If you do not choose a slot within five
seconds, the system will choose for you. Once loaded, the first track will
begin to play.
To auto load up to six discs,press and hold LOAD until the display
reads AUTOLOAD#. Load the desired disc, label side up. The system will
prompt you to load discs for the remaining available slots. Insert the
discs, one at a time, label side up, when prompted. Once loaded, the last
loaded disc will begin to play.
Note:An MP3 disc with folders will show F001 (folder #) T001 (track #)
in the display. An MP3 disc without folders will show T001 (track#) in
the display. Refer toMP3 track and folder structurelater in this
chapter for further information.
3. In CD/MP3 mode, you can access the following features:
Press
SEEK, SEEKto
access the previous/next tracks.
Press and hold REW to manually
reverse in a CD/MP3 track.
Press and hold FF to manually
advance in a CD/MP3 track.
While in folder mode, press
FOLDER to access the previous
folder on MP3 discs, if available.
While in folder mode, press
FOLDER
to access the next
folder on MP3 discs, if available.
2009 Milan(mln)
Owners Guide, 2nd Printing
USA(fus)
Entertainment Systems
20
Page 21 of 317

Press SHUFFLE to engage shuffle
mode. SHUFFLE ON will appear in
the display. If you wish to engage
shuffle mode right away, press SEEK to begin random play. Otherwise,
random play will begin when the current track is finished playing. CD
SHUF will appear in the display.
To disengage, press SHUFFLE again. SHUFFLE OFF will appear in the
display.
Note:In track mode, all tracks on thecurrentdisc will shuffle in
random order. In MP3 folder mode, the system will randomly play all
tracks within thecurrentfolder.
Press
/(play/pause) when a
CD/MP3 is playing to pause the disc.
CD PAUSE will appear in the
display. Press again to resume play.
4.For a single CD system,
press
to eject the current disc.
The display will read CD EJECT.
For an in-dash six CD system,
press
and then select the
correct slot number using memory presets 1–6. When ready, the system
will eject the disc and the display will read REMOVE CD. If the disc is
not removed in 15 seconds, the system will reload the disc.
To auto eject up to six discs,press and hold
until the system
begins ejecting all loaded discs. If the discs are not removed, the system
will reload the discs.
2009 Milan(mln)
Owners Guide, 2nd Printing
USA(fus)
Entertainment Systems
21
Page 22 of 317

AM/FM single CD/MP3 satellite compatible sound system
(if equipped)
WARNING:Driving while distracted can result in loss of vehicle
control, accident and injury. Ford strongly recommends that
drivers use extreme caution when using any device that may take their
focus off the road. The driver’s primary responsibility is the safe
operation of their vehicle. Only use cell phones and other devices not
essential to the driving task when it is safe to do so.
Accessory delay:Your vehicle is equipped with accessory delay. With
this feature, the window switches, radio and moon roof (if equipped)
may be used for up to ten minutes after the ignition is turned off or until
either front door is opened.
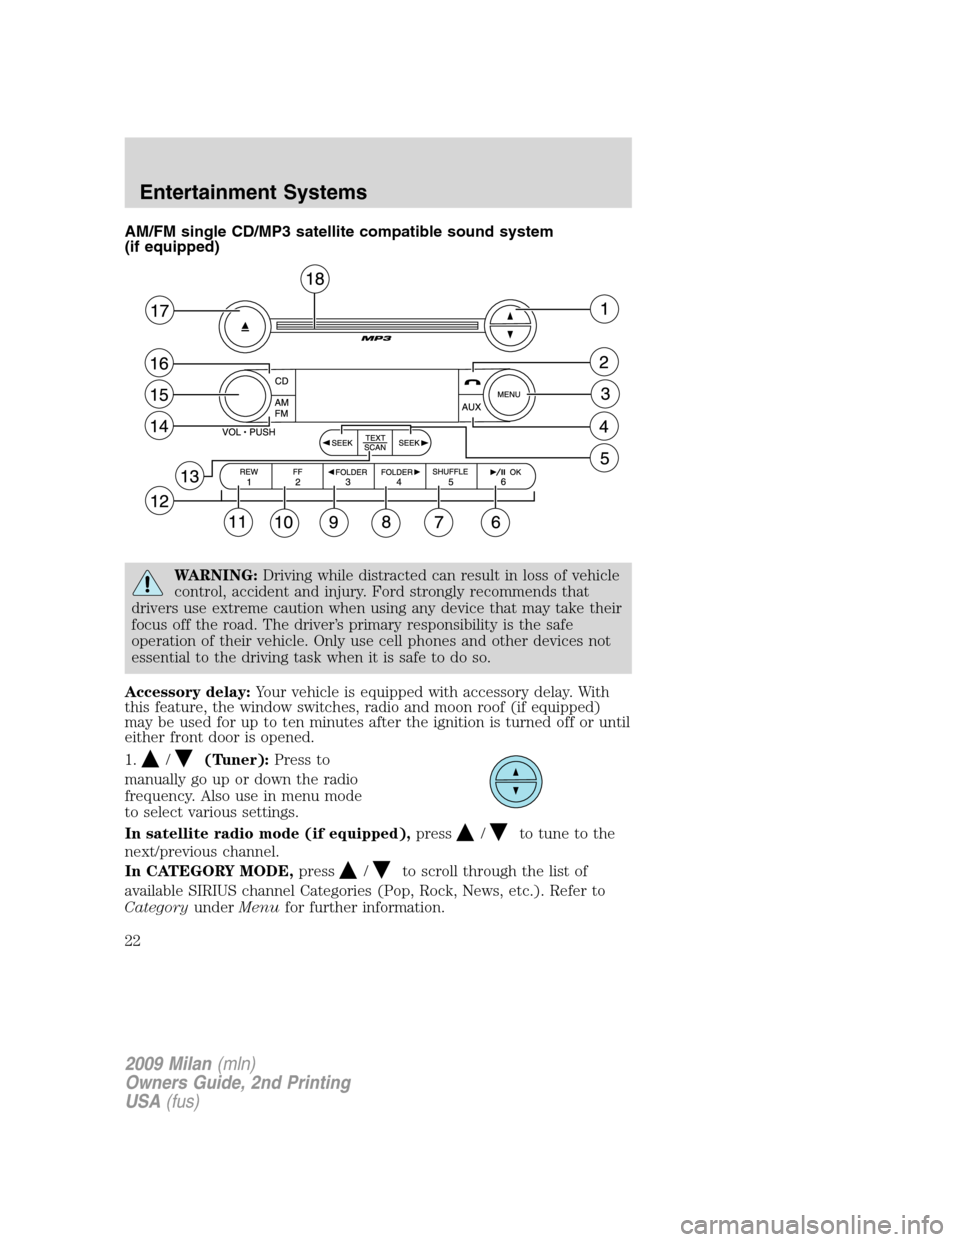
1.
/(Tuner):Press to
manually go up or down the radio
frequency. Also use in menu mode
to select various settings.
In satellite radio mode (if equipped),press
/to tune to the
next/previous channel.
In CATEGORY MODE,press
/to scroll through the list of
available SIRIUS channel Categories (Pop, Rock, News, etc.). Refer to
CategoryunderMenufor further information.
2009 Milan(mln)
Owners Guide, 2nd Printing
USA(fus)
Entertainment Systems
22
Page 23 of 317

Satellite radio is available only with a valid SIRIUS subscription.
Check with your authorized dealer for availability.
2.
(Phone):If your vehicle is
equipped with SYNC, press to
access SYNC PHONE features. Refer
to yourSYNC supplementfor further information.
If your vehicle is not equipped with SYNC, the display will read NO
PHONE.
3.MENU:Press repeatedly to
access the following settings:
SATELLITE RADIO MENU (if equipped):Press MENU when satellite
radio mode is active to access. Press OK to enter into the satellite radio
menu. Press
/to cycle through the following options:
•CATEGORY:Press OK to enter category mode. Press
/to
scroll through the list of available SIRIUS channel Categories (Pop,
Rock, News, etc.) Press OK when the desired category appears in the
display. After a category is selected, press SEEK to search for that
specific category of channels only (i.e. ROCK). You may also select
CATEGORY ALL to seek all available SIRIUS categories and channels.
Press OK to close and return to the main menu.
•SAVE SONG:Press OK to save the currently playing song’s title in
the system’s memory. (If you try to save something other than a song,
CANT SAVE will appear in the display.) When the chosen song is
playing on any satellite radio channel, the system will alert you with
an audible prompt. Press OK while SONG ALERT is in the display and
the system will take you to the channel playing the desired song. You
can save up to 20 song titles. If you attempt to save more than 20
titles, the display will read REPLACE SONG? Press OK to access the
saved titles and press
/to cycle through the saved titles. When
the song title appears in the display that you would like to replace,
press OK. SONG REPLACED will appear in the display.
•DELETE SONG:Press OK to delete a song from the system’s
memory. Press
/to cycle through the saved songs. When the
song appears in the display that you would like to delete, press OK.
The song will appear in the display for confirmation. Press OK again
and the display will read SONG DELETED. If you do not want to
2009 Milan(mln)
Owners Guide, 2nd Printing
USA(fus)
Entertainment Systems
23
Page 24 of 317

delete the currently listed song, press/to select either
RETURN or CANCEL.
Note:If there are no songs presently saved, the display will read NO
SONGS.
•DELETE ALL SONGS:Press OK to delete all song’s from the
system’s memory. The display will read ARE YOU SURE ? Press OK to
confirm deletion of all saved songs and the display will read ALL
DELETED.
Note:If there are no songs presently saved, the display will read NO
SONGS.
•ENABLE ALERTS / DISABLE ALERTS:Press OK to enable/disable
the satellite alert status which alerts you when your selected songs are
playing on a satellite radio channel. (The system default is disabled.)
SONG ALERTS ENABLED/DISABLED will appear in the display. The
menu listing will display the opposite state. For example, if you have
chosen to enable the song alerts, the menu listing will read DISABLE
as the alerts are currently on, so your other option is to turn them off.
Satellite radio is available only with a valid SIRIUS radio
subscription. Check with your authorized dealer for availability.
Setting the clock:Your vehicle is equipped with an in-dash clock. Refer
toClockin theDriver ControlsChapter for instructions on how to set
the time.
AUTOSET:Press MENU until the display reads AUTOSET. Autoset
allows you to set the strongest local radio stations without losing your
original manually set preset stations for AM/FM1/FM2.
Use
//SEEKto turn on/off.
When the six strongest stations are filled, the station stored in preset 1
will begin playing. If there are less than six strong stations, the system
will store the last one in the remaining presets. Press OK to close and
return to the main menu.
RBDS:Available only in FM mode. This feature allows you to search
RBDS-equipped stations for a certain category of music format:
CLASSIC, COUNTRY, INFORM, JAZZ/RB, ROCK, etc.
To activate,press MENU repeatedly until RBDS (ON/OFF) appears in
the display. Use
//SEEKto toggle RBDS ON/OFF. When
RBDS is OFF, you will not be able to search for RBDS equipped stations
or view the station name or type. Press OK to close and return to the
main menu.
2009 Milan(mln)
Owners Guide, 2nd Printing
USA(fus)
Entertainment Systems
24