2009 MERCEDES-BENZ E-CLASS SALOON start stop button
[x] Cancel search: start stop buttonPage 112 of 373
R
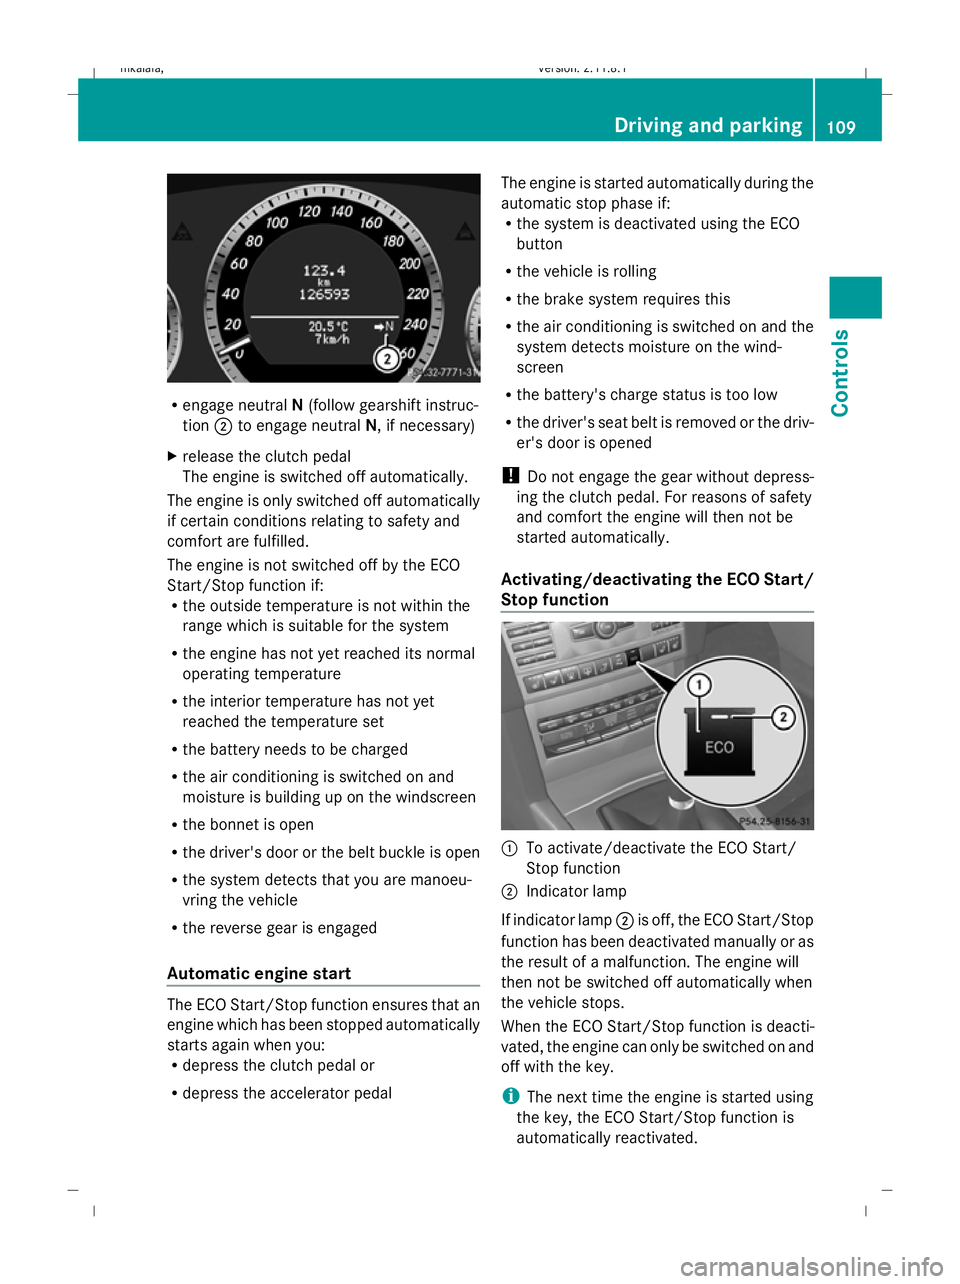
engage neutral N(follow gearshift instruc-
tion ;to engage neutral N, if necessary)
X release the clutch pedal
The engine is switched off automatically.
The engine is only switched off automatically
if certain conditions relating to safety and
comfort are fulfilled.
The engine is not switched off by the ECO
Start/Stop function if:
R the outside temperature is not within the
range which is suitable for the system
R the engine has not yet reached its normal
operating temperature
R the interior temperature has not yet
reached the temperature set
R the battery needs to be charged
R the air conditioning is switched on and
moisture is building up on the windscreen
R the bonnet is open
R the driver's door or the belt buckle is open
R the system detects that you are manoeu-
vring the vehicle
R the reverse gear is engaged
Automatic engine start The ECO Start/Stop function ensures that an
engine which has been stopped automatically
starts again when you:
R
depress the clutch pedal or
R depress the accelerator pedal The engine is started automatically during the
automatic stop phase if:
R
the system is deactivated using the ECO
button
R the vehicle is rolling
R the brake system requires this
R the air conditioning is switched on and the
system detects moisture on the wind-
screen
R the battery's charge status is too low
R the driver's seat belt is removed or the driv-
er's door is opened
! Do not engage the gear without depress-
ing the clutch pedal. For reasons of safety
and comfort the engine will then not be
started automatically.
Activating/deactivating the ECO Start/
Stop function :
To activate/deactivate the ECO Start/
Stop function
; Indicator lamp
If indicator lamp ;is off, the ECO Start/Stop
function has been deactivated manually or as
the result of a malfunction. The engine will
then not be switched off automatically when
the vehicle stops.
When the ECO Start/Stop function is deacti-
vated, the engine can only be switched on and
off with the key.
i The next time the engine is started using
the key, the ECO Start/Stop function is
automatically reactivated. Driving and parking
109Controls
212_AKB; 2; 4, en-GB
mkalafa, Version: 2.11.8.1 2009-05-05T14:17:16+02:00 - Seite 109 Z
Dateiname: 6515346702_buchblock.pdf; erzeugt am 07. May 2009 14:16:06; WK
Page 126 of 373
=
Upshift instruction
? Engine oil temperature
A Coolant temperature
Shift UPinstruction =indicates that the
engine has reached the overrevving range.
Shift UPinstruction =blocks other mes-
sages in the multi-function display until you
have shifted up.
When the engine oil temperature is below
80 †, the oil temperature gauge flashes.
Avoid driving at full engine output during this
time.
SETUP SETUP shows the drive program, the ESP
®
(Electronic Stability Program) mode and the
suspension tuning.
X Press =or; on the steering wheel
to select the AMGmenu.
X Press the 9button repeatedly until
SETUP is displayed.
or
X Press the AMG button on the centre con-
sole. :
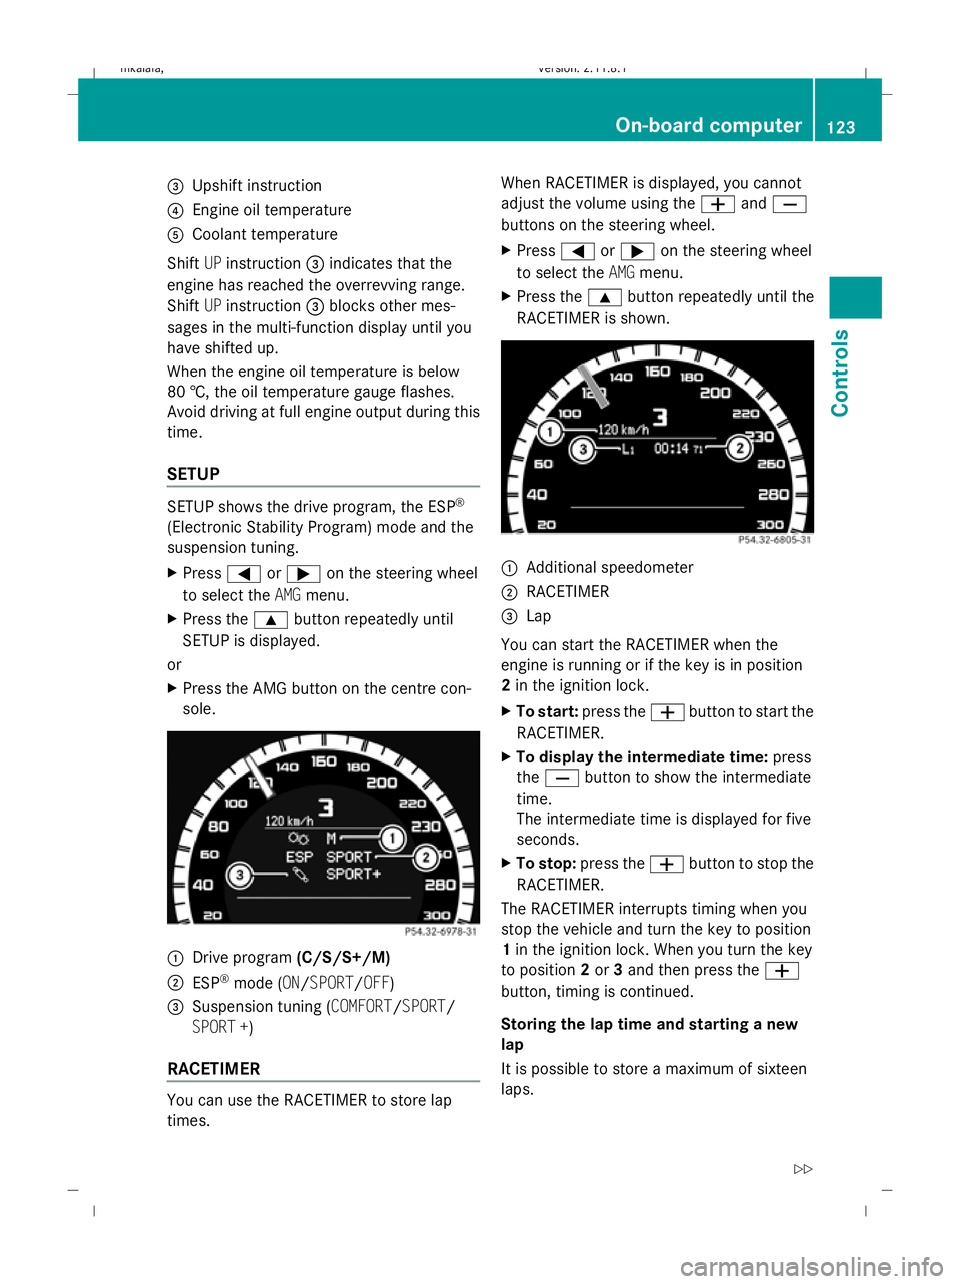
Drive program (C/S/S+/M)
; ESP ®
mode (ON/SPORT/OFF)
3 Suspension tuning (COMFORT/SPORT/
SPORT +)
RACETIMER You can use the RACETIMER to store lap
times. When RACETIMER is displayed, you cannot
adjust the volume using the
WandX
buttons on the steering wheel.
X Press =or; on the steering wheel
to select the AMGmenu.
X Press the 9button repeatedly until the
RACETIMER is shown. :
Additional speedometer
; RACETIMER
= Lap
You can start the RACETIMER when the
engine is running or if the key is in position
2 in the ignition lock.
X To start: press the Wbutton to start the
RACETIMER.
X To display the intermediate time: press
the X button to show the intermediate
time.
The intermediate time is displayed for five
seconds.
X To stop: press the Wbutton to stop the
RACETIMER.
The RACETIMER interrupts timing when you
stop the vehicle and turn the key to position
1 in the ignition lock. When you turn the key
to position 2or 3and then press the W
button, timing is continued.
Storing the lap time and starting a new
lap
It is possible to store a maximum of sixteen
laps. On-board computer
123Controls
212_AKB; 2; 4, en-GB
mkalafa, Version: 2.11.8.1 2009-05-05T14:17:16+02:00 - Seite 123 Z
Dateiname: 6515346702_buchblock.pdf; erzeugt am 07. May 2009 14:16:12; WK
Page 127 of 373
X
Press the Xbutton on the steering
wheel to show the intermediate time during
timing.
The intermediate time is displayed for five
seconds.
X Press the Xbutton again within five
seconds.
The displayed intermediate time is stored
as a lap time.
Timing starts for a new lap. The new lap is
timed from when the intermediate time is
called up. :
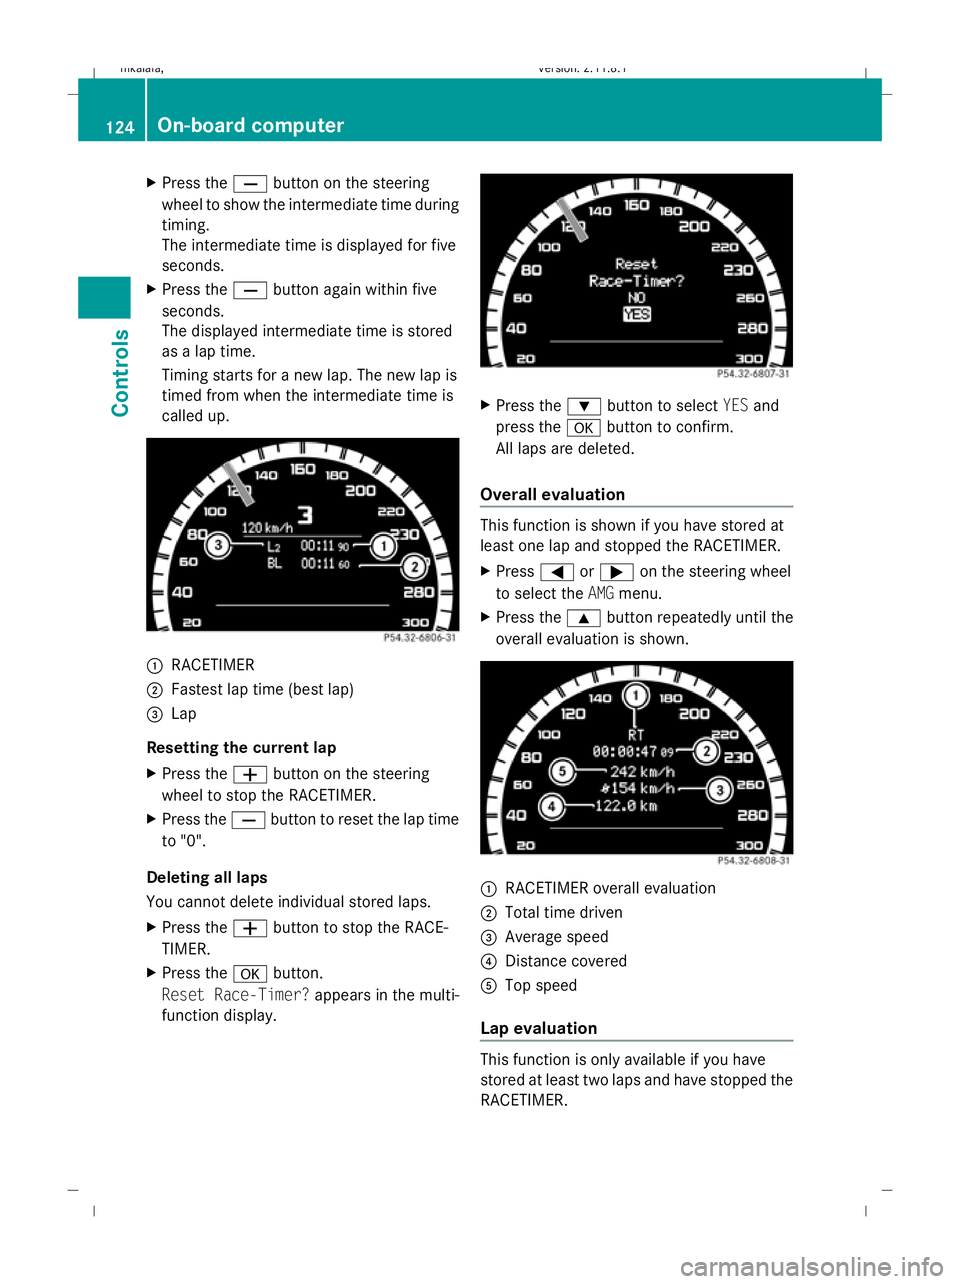
RACETIMER
; Fastest lap time (best lap)
= Lap
Resetting the current lap
X Press the Wbutton on the steering
wheel to stop the RACETIMER.
X Press the Xbutton to reset the lap time
to "0".
Deleting all laps
You cannot delete individual stored laps.
X Press the Wbutton to stop the RACE-
TIMER.
X Press the abutton.
Reset Race-Timer? appears in the multi-
function display. X
Press the :button to select YESand
press the abutton to confirm.
All laps are deleted.
Overall evaluation This function is shown if you have stored at
least one lap and stopped the RACETIMER.
X
Press =or; on the steering wheel
to select the AMGmenu.
X Press the 9button repeatedly until the
overall evaluation is shown. :
RACETIMER overall evaluation
; Total time driven
= Average speed
? Distance covered
A Top speed
Lap evaluation This function is only available if you have
stored at least two laps and have stopped the
RACETIMER.124
On-board computerControls
212_AKB; 2; 4, en-GB
mkalafa,
Version: 2.11.8.1 2009-05-05T14:17:16+02:00 - Seite 124
Dateiname: 6515346702_buchblock.pdf; erzeugt am 07. May 2009 14:16:13; WK
Page 154 of 373
X
Press the :or9 button to set per-
manent Speedtronic in increments of ten
(240 km/h to 160 km/h). Permanent
Speedtronic is deactivated with the Off
setting.
X Press ato save the entry. HOLD function
The HOLD function can assist the driver in the
following situations:
R when pulling away, especially on steep
slopes
R when manoeuvring on steep slopes
R when waiting in traffic
The vehicle is kept stationary without the
driver having to depress the brake pedal.
The braking effect is cancelled and the HOLD
function deactivated when you depress the
accelerator pedal to pull away.
Activation conditions You can activate the HOLD function if:
R
the vehicle is stationary.
R the engine is running or was automatically
switched off by the ECO Start/Stop func-
tion.
R the driver's door is closed or your seat belt
is fastened.
R the parking brake is not applied.
R the bonnet is closed.
R on vehicles with automatic transmission*,
D, Ror Nis selected.
R Distronic Plus* is deactivated
Activating the HOLD function X
Make sure that the activation conditions
are met.
X Depress the brake. Vehicles with automatic transmission* with a
selector lever (example)
X
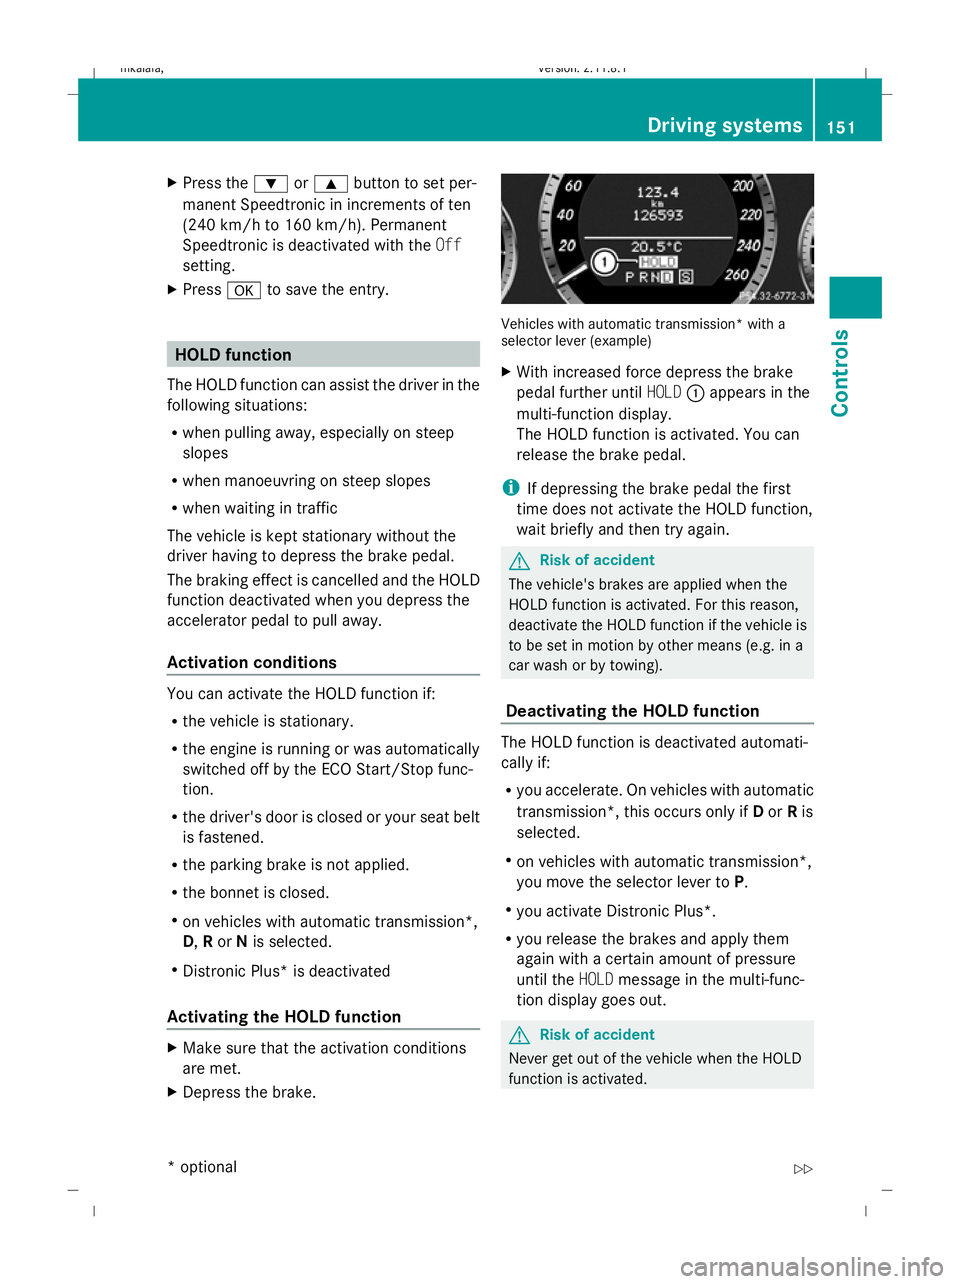
With increased force depress the brake
pedal further until HOLD:appears in the
multi-function display.
The HOLD function is activated. You can
release the brake pedal.
i If depressing the brake pedal the first
time does not activate the HOLD function,
wait briefly and then try again. G
Risk of accident
The vehicle's brakes are applied when the
HOLD function is activated. For this reason,
deactivate the HOLD function if the vehicle is
to be set in motion by other means (e.g. in a
car wash or by towing).
Deactivating the HOLD function The HOLD function is deactivated automati-
cally if:
R
you accelerate. On vehicles with automatic
transmission*, this occurs only if Dor Ris
selected.
R on vehicles with automatic transmission*,
you move the selector lever to P.
R you activate Distronic Plus*.
R you release the brakes and apply them
again with a certain amount of pressure
until the HOLDmessage in the multi-func-
tion display goes out. G
Risk of accident
Never get out of the vehicle when the HOLD
function is activated. Driving systems
151Controls
* optional
212_AKB; 2; 4, en-GB
mkalafa,
Version: 2.11.8.1 2009-05-05T14:17:16+02:00 - Seite 151 Z
Dateiname: 6515346702_buchblock.pdf; erzeugt am 07. May 2009 14:16:21; WK
Page 245 of 373

products, or gloss preservers such as wax.
These products are only suitable for high-
gloss finishes. Using them on a vehicle with
a matt finish results in serious damage to
the surface (gleaming, spotted areas).
Always have paintwork repairs carried out
at a qualified specialist workshop, e.g. a
Mercedes-Benz Service Centre.
i From the range of available Mercedes-
Benz care products, use only the insect
remover and the car shampoo.
Cleaning the paintwork Scratches, corrosive deposits, areas affected
by corrosion and damage caused by inade-
quate care cannot always be completely
repaired. In such cases, visit a qualified spe-
cialist workshop immediately, e.g. a
Mercedes-Benz Service Centre.
X Remove the following types of dirt immedi-
ately, whilst avoiding rubbing too hard.
Soak:
R insect remains with insect remover
R bird droppings with water
and rinse off the treated surface after-
wards.
Remove:
R tree resin, oils, fuels and greases by rub-
bing gently with a cloth soaked in petro-
leum ether or lighter fluid.
R tar stain with tar remover
R wax with silicone remover
! Do not affix:
R stickers
R films
R magnetic plates or similar items
to painted surfaces. Otherwise, you could
damage the paintwork. Cleaning the wheels !
Do not use acidic wheel cleaners to
remove brake dust. This could damage
wheel bolts and brake components.
Cleaning the windows X
Clean the inside and outside of the win-
dows with a damp cloth and a cleaning
product approved and recommended by
Mercedes-Benz.
! Clean the water drainage channels of the
windscreen and the rear window at regular
intervals. Under certain circumstances,
deposits such as leaves, petals and pollen
may prevent water from draining away
leading to corrosion damage.
Cleaning the wiper blades G
Risk of injury
Before cleaning the windscreen or wiper
blades, turn the key to position 0in the igni-
tion lock or press the Start/Stop button* until
all indicator lamps have gone out in the instru-
ment cluster. The windscreen wipers could
otherwise move and cause injury.
! Do not clean the wiper blades too often
and do not rub them too hard, as this will
result in damage to the graphite coating.
This could cause wiper noise.
X Fold the wiper arms away from the wind-
screen.
X Clean the wiper blades carefully with a
damp cloth.
X Fold the wiper arms back again before
switching on the ignition.
Cleaning the headlamps X
Clean the plastic lenses of the headlamps
with a wet sponge and windscreen washer
fluid or cleaning cloths. 242
CareOperation
* optional
212_AKB; 2; 4, en-GB
mkalafa,
Version: 2.11.8.1 2009-05-05T14:17:16+02:00 - Seite 242
Dateiname: 6515346702_buchblock.pdf; erzeugt am 07. May 2009 14:17:01; WK
Page 277 of 373

Display messages
Possible causes/consequences and
X
X Solutions b Malfunc‐
tion See
Owner's
Manual The exterior lighting is faulty.
X
Visit a qualified specialist workshop. Vehicles with trailer coupling*: a fuse may have blown.
X
Check the fuses (Y page 328).
X If necessary, replace the blown fuse. Observe the warning
notes.
If the display message continues to be shown:
X Visit a qualified specialist workshop. ¸ Replace
air
cleaner
The engine air filter is dirty and must be replaced
42
.
X Visit a qualified specialist workshop. 4 Check
eng. oil
lev. when
next refu‐
elling The engine oil level has dropped to a critical level. A warning
tone also sounds.
X
Check the engine oil level ( Ypage 220).
X If necessary, top up the engine oil.
X Have the engine checked for leaks if the engine oil needs
topping up more often than usual. + Change
key bat‐
teries The key batteries are discharged.
X
Change the batteries ( Ypage 304). + Key not
detected
(red display
message)
The KEYLESS GO key* is not in the vehicle. A warning tone
also sounds.
If you switch off the engine, you can no longer centrally lock
the vehicle and no longer start the engine.
X
Pull over and stop the vehicle safely as soon as possible,
paying attention to road and traffic conditions.
X Locate the KEYLESS GO key*. The KEYLESS GO key* is not detected while driving because
a powerful radio transmitter is causing interference. A warn-
ing tone also sounds.
X
Pull over and stop the vehicle safely as soon as possible,
paying attention to road and traffic conditions.
X Remove the Start/Stop button* from the ignition
lock (Y page 75).
X Insert the key into the ignition lock and turn it to the desired
position. 42
Only for certain vehicles. 274
Display
messagesPractical advice
* optional
212_AKB; 2; 4, en-GB
mkalafa
,V ersion: 2.11.8.1
2009-05-05T14:17:16+02:00 - Seite 274
Dateiname: 6515346702_buchblock.pdf; erzeugt am 07. May 2009 14:17:11; WK
Page 278 of 373
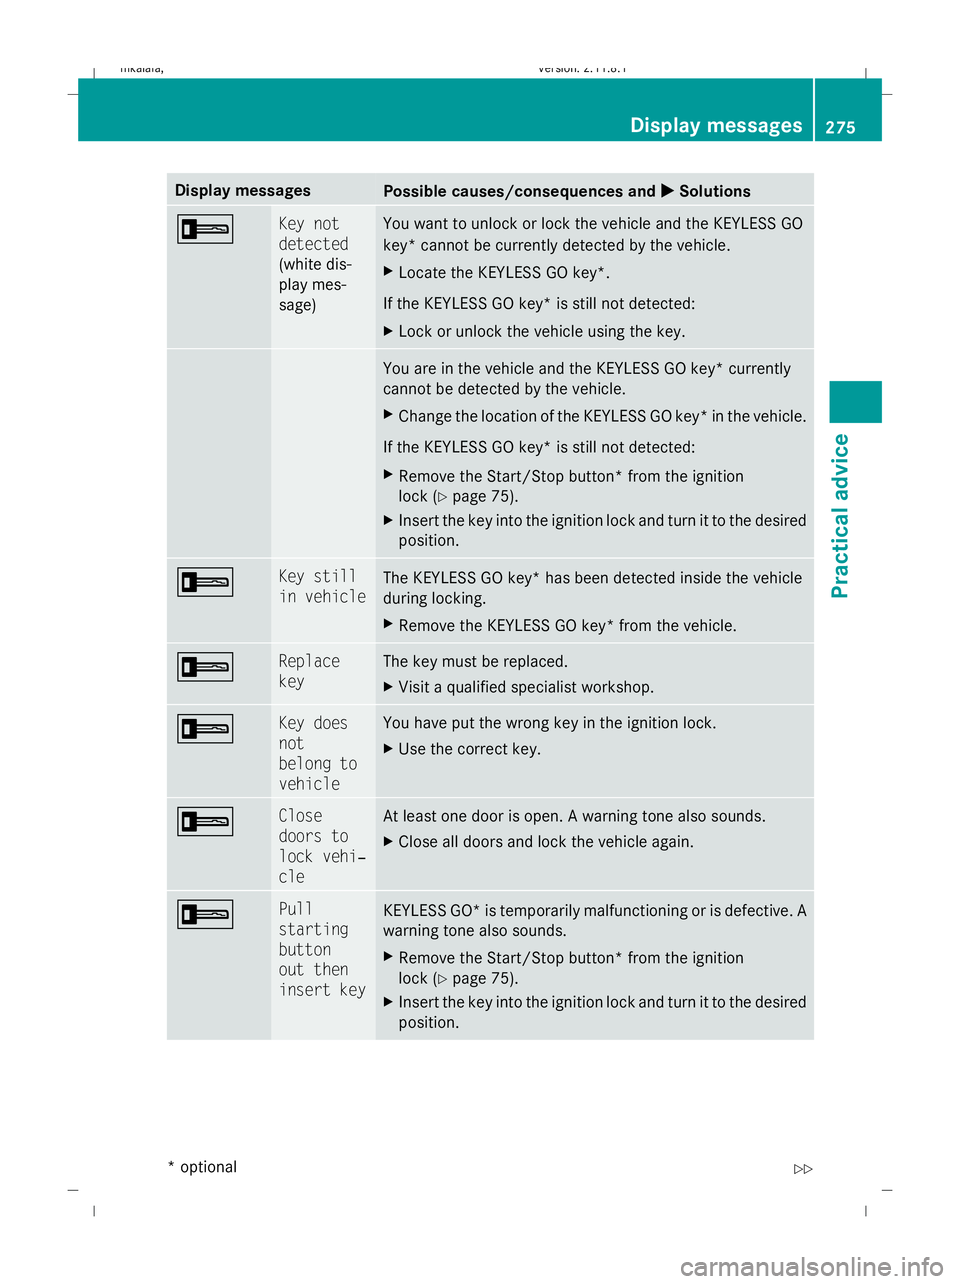
Display messages
Possible causes/consequences and
X
X Solutions + Key not
detected
(white dis-
play mes-
sage) You want to unlock or lock the vehicle and the KEYLESS GO
key* cannot be currently detected by the vehicle.
X
Locate the KEYLESS GO key*.
If the KEYLESS GO key* is still not detected:
X Lock or unlock the vehicle using the key. You are in the vehicle and the KEYLESS GO key* currently
cannot be detected by the vehicle.
X
Change the location of the KEYLESS GO key* in the vehicle.
If the KEYLESS GO key* is still not detected:
X Remove the Start/Stop button* from the ignition
lock (Y page 75).
X Insert the key into the ignition lock and turn it to the desired
position. + Key still
in vehicle
The KEYLESS GO key* has been detected inside the vehicle
during locking.
X
Remove the KEYLESS GO key* from the vehicle. + Replace
key The key must be replaced.
X
Visit a qualified specialist workshop. + Key does
not
belong to
vehicle You have put the wrong key in the ignition lock.
X
Use the correct key. + Close
doors to
lock vehi‐
cle At least one door is open. A warning tone also sounds.
X
Close all doors and lock the vehicle again. + Pull
starting
button
out then
insert key
KEYLESS GO* is temporarily malfunctioning or is defective. A
warning tone also sounds.
X
Remove the Start/Stop button* from the ignition
lock (Y page 75).
X Insert the key into the ignition lock and turn it to the desired
position. Display
messages
275Practical advice
* optional
212_AKB; 2; 4, en-GB
mkalafa
,V ersion: 2.11.8.1
2009-05-05T14:17:16+02:00 - Seite 275 Z
Dateiname: 6515346702_buchblock.pdf; erzeugt am 07. May 2009 14:17:11; WK
Page 284 of 373
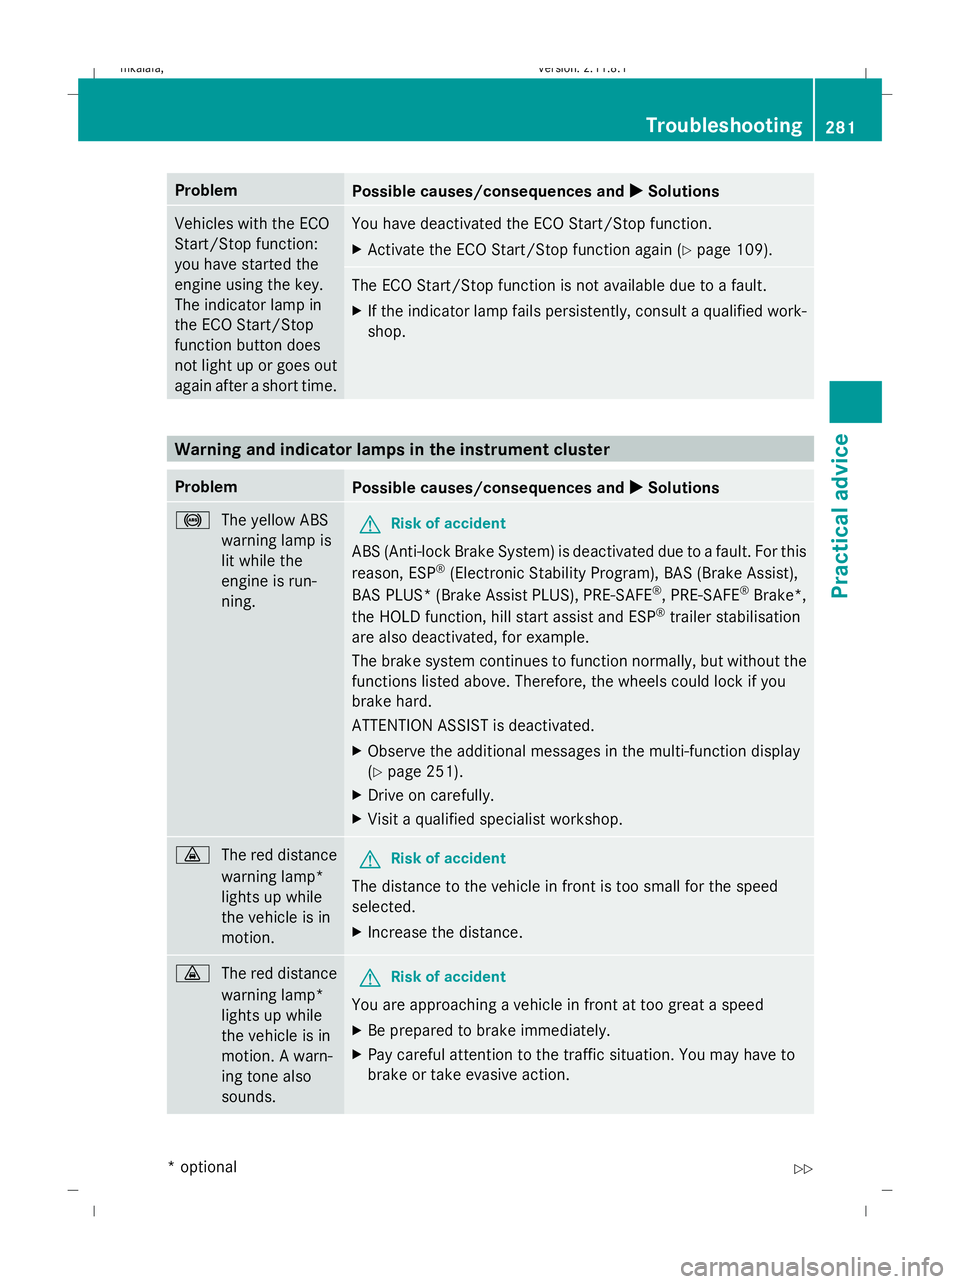
Problem
Possible causes/consequences and
X
X Solutions Vehicles with the ECO
Start/Stop function:
you have started the
engine using the key.
The indicator lamp in
the ECO Start/Stop
function button does
not light up or goes out
again after a short time. You have deactivated the ECO Start/Stop function.
X
Activate the ECO Start/Stop function again (Y page 109). The ECO Start/Stop function is not available due to a fault.
X If the indicator lamp fails persistently, consult a qualified work-
shop. Warning and indicator lamps in the instrument cluster
Problem
Possible causes/consequences and
X
X Solutions !
The yellow ABS
warning lamp is
lit while the
engine is run-
ning. G
Risk of accident
ABS (Anti-lock Brake System) is deactivated due to a fault. For this
reason, ESP ®
(Electronic Stability Program), BAS (Brake Assist),
BAS PLUS* (Brake Assist PLUS), PRE-SAFE ®
, PRE-SAFE ®
Brake*,
the HOLD function, hill start assist and ESP ®
trailer stabilisation
are also deactivated, for example.
The brake system continues to function normally, but without the
functions listed above. Therefore, the wheels could lock if you
brake hard.
ATTENTION ASSIST is deactivated.
X Observe the additional messages in the multi-function display
(Y page 251).
X Drive on carefully.
X Visit a qualified specialist workshop. ·
The red distance
warning lamp*
lights up while
the vehicle is in
motion. G
Risk of accident
The distance to the vehicle in front is too small for the speed
selected.
X Increase the distance. ·
The red distance
warning lamp*
lights up while
the vehicle is in
motion. A warn-
ing tone also
sounds. G
Risk of accident
You are approaching a vehicle in front at too great a speed
X Be prepared to brake immediately.
X Pay careful attention to the traffic situation. You may have to
brake or take evasive action. Troubleshooting
281Practical advice
* optional
212_AKB; 2; 4, en-GB
mkalafa,
Version: 2.11.8.1 2009-05-05T14:17:16+02:00 - Seite 281 Z
Dateiname: 6515346702_buchblock.pdf; erzeugt am 07. May 2009 14:17:12; WK