2009 MERCEDES-BENZ E-CLASS ESTATE audio
[x] Cancel search: audioPage 130 of 373

X
To select a stored channel: briefly press
the 9 or: button.
X To select a channel from the channel
list: press and briefly hold the 9
or : button.
X To select a station using the station
search (only if no station list is received):
press and briefly hold the 9or:
button.
i DAB* radio mode 33
( Digital Audio Broad-
casting); see the separate operating
instructions for the audio system or
COMAND APS*.
Operating the audio player or audio
media* Audio data from various audio devices or
media can be played, depending on the equip-
ment fitted in the vehicle.
X Press the =or; button on the steer-
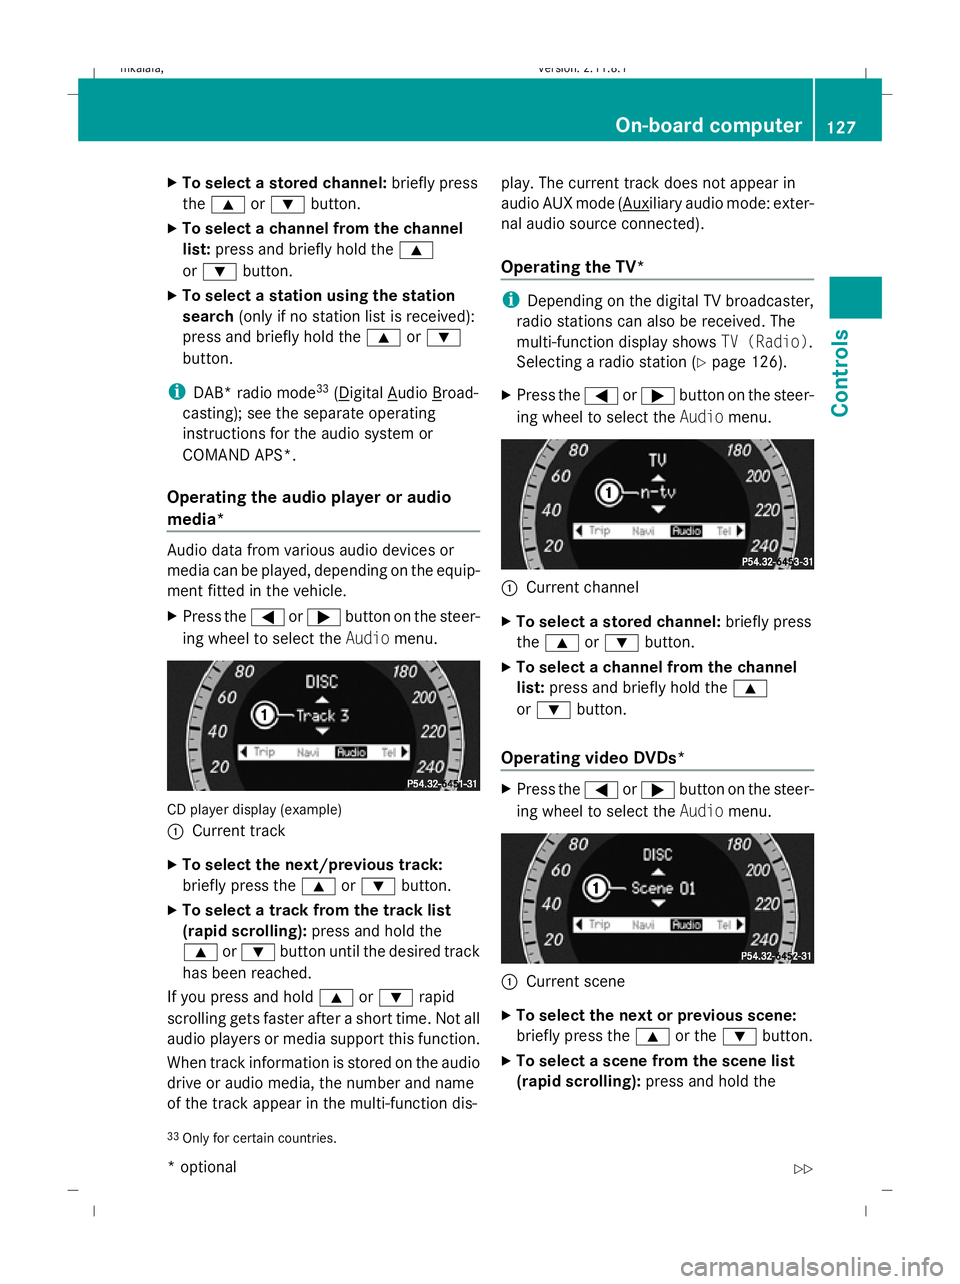
ing wheel to select the Audiomenu. CD player display (example)
: Current track
X To select the next/previous track:
briefly press the 9or: button.
X To select a track from the track list
(rapid scrolling): press and hold the
9 or: button until the desired track
has been reached.
If you press and hold 9or: rapid
scrolling gets faster after a short time. Not all
audio players or media support this function.
When track information is stored on the audio
drive or audio media, the number and name
of the track appear in the multi-function dis- play. The current track does not appear in
audio AUX mode ( Auxiliary audio mode: exter-
nal audio source connected).
Operating the TV* i
Depending on the digital TV broadcaster,
radio stations can also be received. The
multi-function display shows TV (Radio).
Selecting a radio station (Y page 126).
X Press the =or; button on the steer-
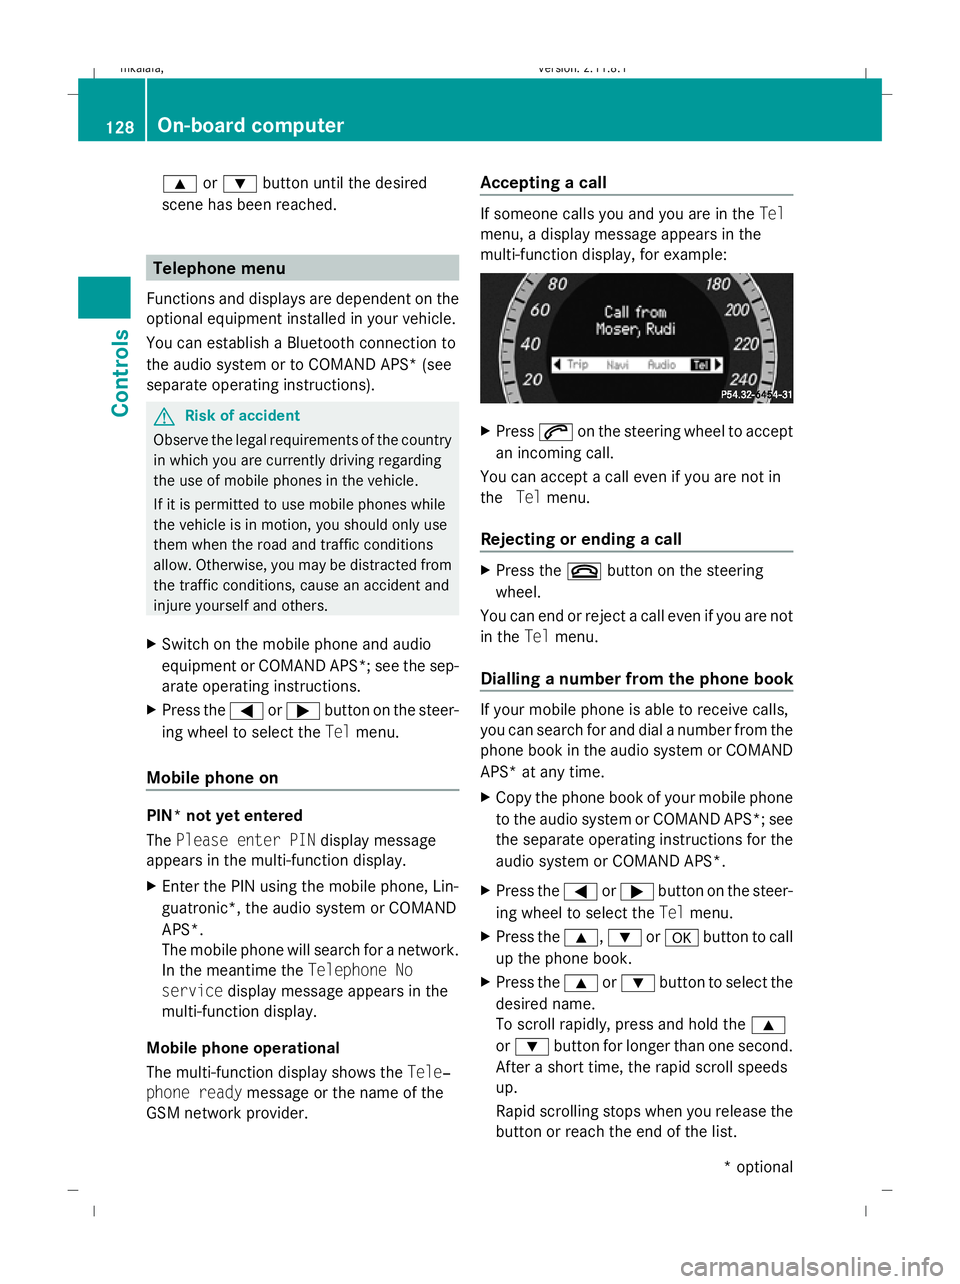
ing wheel to select the Audiomenu. :
Current channel
X To select a stored channel: briefly press
the 9 or: button.
X To select a channel from the channel
list: press and briefly hold the 9
or : button.
Operating video DVDs* X
Press the =or; button on the steer-
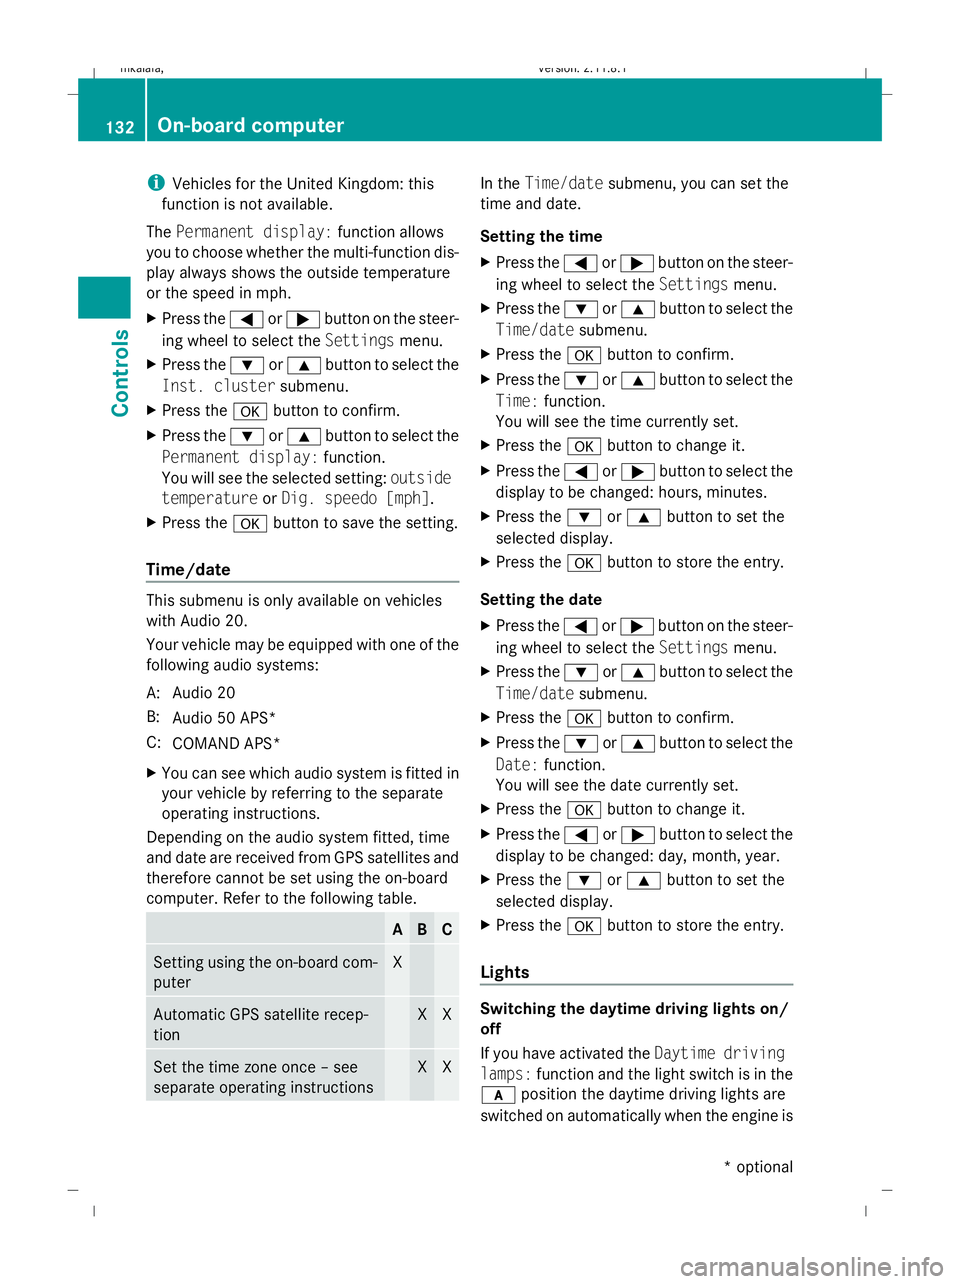
ing wheel to select the Audiomenu. :
Current scene
X To select the next or previous scene:
briefly press the 9or the :button.
X To select a scene from the scene list
(rapid scrolling): press and hold the
33 Only for certain countries. On-board computer
127Controls
* optional
212_AKB; 2; 4, en-GB
mkalafa,
Version: 2.11.8.1 2009-05-05T14:17:16+02:00 - Seite 127 Z
Dateiname: 6515346702_buchblock.pdf; erzeugt am 07. May 2009 14:16:15; WK
Page 131 of 373

9
or: button until the desired
scene has been reached. Telephone menu
Functions and displays are dependent on the
optional equipment installed in your vehicle.
You can establish a Bluetooth connection to
the audio system or to COMAND APS* (see
separate operating instructions). G
Risk of accident
Observe the legal requirements of the country
in which you are currently driving regarding
the use of mobile phones in the vehicle.
If it is permitted to use mobile phones while
the vehicle is in motion, you should only use
them when the road and traffic conditions
allow. Otherwise, you may be distracted from
the traffic conditions, cause an accident and
injure yourself and others.
X Switch on the mobile phone and audio
equipment or COMAND APS*; see the sep-
arate operating instructions.
X Press the =or; button on the steer-
ing wheel to select the Telmenu.
Mobile phone on PIN* not yet entered
The
Please enter PIN display message
appears in the multi-function display.
X Enter the PIN using the mobile phone, Lin-
guatronic*, the audio system or COMAND
APS*.
The mobile phone will search for a network.
In the meantime the Telephone No
service display message appears in the
multi-function display.
Mobile phone operational
The multi-function display shows the Tele‐
phone ready message or the name of the
GSM network provider. Accepting a call If someone calls you and you are in the
Tel
menu, a display message appears in the
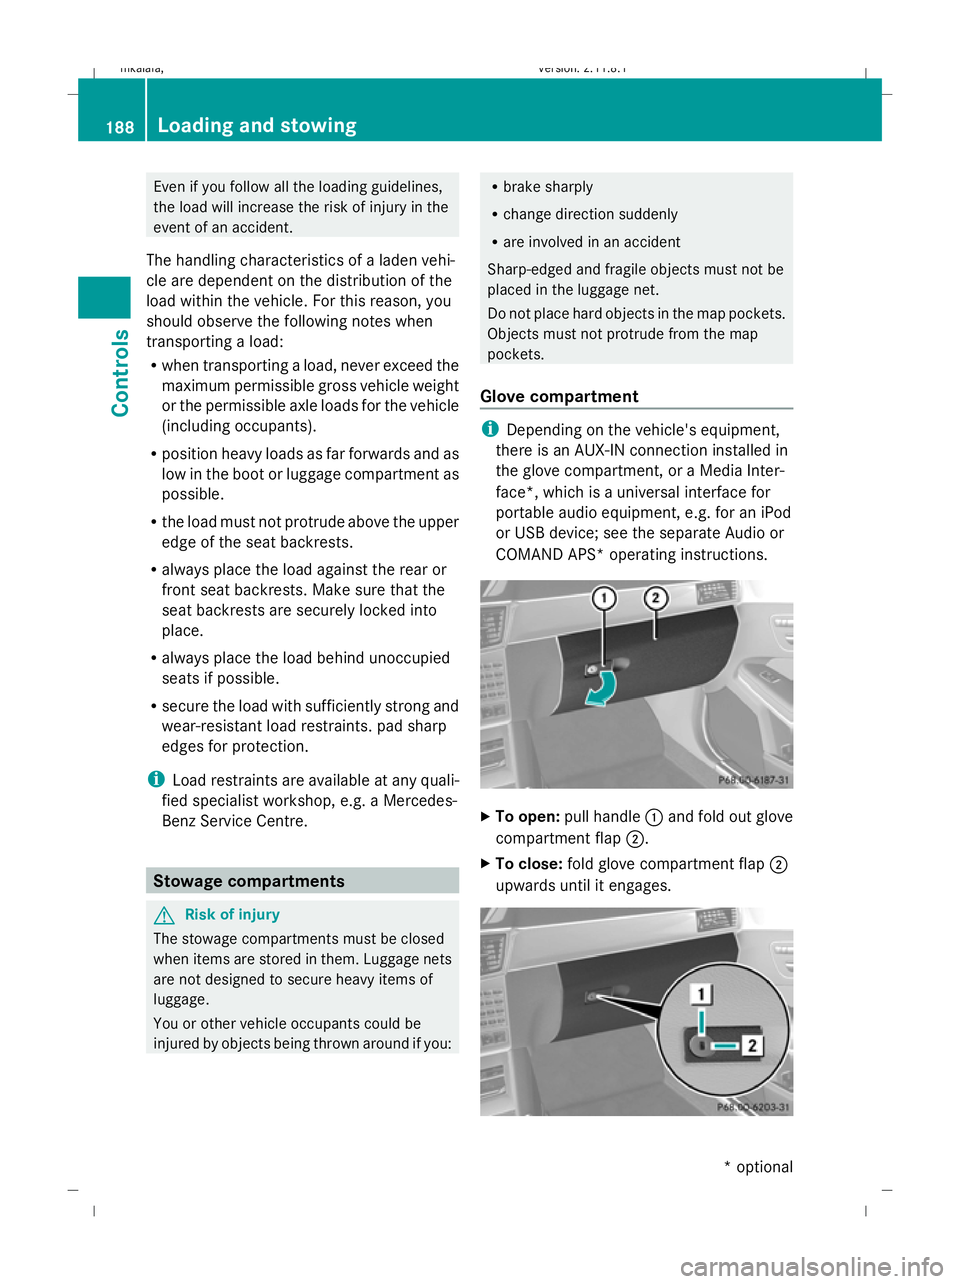
multi-function display, for example: X
Press 6on the steering wheel to accept
an incoming call.
You can accept a call even if you are not in
the Telmenu.
Rejecting or ending a call X
Press the ~button on the steering
wheel.
You can end or reject a call even if you are not
in the Telmenu.
Dialling a number from the phone book If your mobile phone is able to receive calls,
you can search for and dial a number from the
phone book in the audio system or COMAND
APS* at any time.
X
Copy the phone book of your mobile phone
to the audio system or COMAND APS*; see
the separate operating instructions for the
audio system or COMAND APS*.
X Press the =or; button on the steer-
ing wheel to select the Telmenu.
X Press the 9,:ora button to call
up the phone book.
X Press the 9or: button to select the
desired name.
To scroll rapidly, press and hold the 9
or : button for longer than one second.
After a short time, the rapid scroll speeds
up.
Rapid scrolling stops when you release the
button or reach the end of the list. 128
On-board computerControls
* optional
212_AKB; 2; 4, en-GB
mkalafa,
Version: 2.11.8.1 2009-05-05T14:17:16+02:00 - Seite 128
Dateiname: 6515346702_buchblock.pdf; erzeugt am 07. May 2009 14:16:15; WK
Page 135 of 373

i
Vehicles for the United Kingdom: this
function is not available.
The Permanent display: function allows
you to choose whether the multi-function dis-
play always shows the outside temperature
or the speed in mph.
X Press the =or; button on the steer-
ing wheel to select the Settingsmenu.
X Press the :or9 button to select the
Inst. cluster submenu.
X Press the abutton to confirm.
X Press the :or9 button to select the
Permanent display: function.
You will see the selected setting: outside
temperature orDig. speedo [mph].
X Press the abutton to save the setting.
Time/date This submenu is only available on vehicles
with Audio 20.
Your vehicle may be equipped with one of the
following audio systems:
A: Audio 20
B: Audio 50 APS*
C: COMAND APS*
X You can see which audio system is fitted in
your vehicle by referring to the separate
operating instructions.
Depending on the audio system fitted, time
and date are received from GPS satellites and
therefore cannot be set using the on-board
computer. Refer to the following table. A B C
Setting using the on-board com-
puter X
Automatic GPS satellite recep-
tion X X
Set the time zone once – see
separate operating instructions X X In the
Time/date submenu, you can set the
time and date.
Setting the time
X Press the =or; button on the steer-
ing wheel to select the Settingsmenu.
X Press the :or9 button to select the
Time/date submenu.
X Press the abutton to confirm.
X Press the :or9 button to select the
Time: function.
You will see the time currently set.
X Press the abutton to change it.
X Press the =or; button to select the
display to be changed: hours, minutes.
X Press the :or9 button to set the
selected display.
X Press the abutton to store the entry.
Setting the date
X Press the =or; button on the steer-
ing wheel to select the Settingsmenu.
X Press the :or9 button to select the
Time/date submenu.
X Press the abutton to confirm.
X Press the :or9 button to select the
Date: function.
You will see the date currently set.
X Press the abutton to change it.
X Press the =or; button to select the
display to be changed: day, month, year.
X Press the :or9 button to set the
selected display.
X Press the abutton to store the entry.
Lights Switching the daytime driving lights on/
off
If you have activated the
Daytime driving
lamps: function and the light switch is in the
c position the daytime driving lights are
switched on automatically when the engine is 132
On-board computerControls
* optional
212_AKB; 2; 4, en-GB
mkalafa,
Version: 2.11.8.1 2009-05-05T14:17:16+02:00 - Seite 132
Dateiname: 6515346702_buchblock.pdf; erzeugt am 07. May 2009 14:16:16; WK
Page 191 of 373

Even if you follow all the loading guidelines,
the load will increase the risk of injury in the
event of an accident.
The handling characteristics of a laden vehi-
cle are dependent on the distribution of the
load within the vehicle. For this reason, you
should observe the following notes when
transporting a load:
R when transporting a load, never exceed the
maximum permissible gross vehicle weight
or the permissible axle loads for the vehicle
(including occupants).
R position heavy loads as far forwards and as
low in the boot or luggage compartment as
possible.
R the load must not protrude above the upper
edge of the seat backrests.
R always place the load against the rear or
front seat backrests. Make sure that the
seat backrests are securely locked into
place.
R always place the load behind unoccupied
seats if possible.
R secure the load with sufficiently strong and
wear-resistant load restraints. pad sharp
edges for protection.
i Load restraints are available at any quali-
fied specialist workshop, e.g. a Mercedes-
Benz Service Centre. Stowage compartments
G
Risk of injury
The stowage compartments must be closed
when items are stored in them. Luggage nets
are not designed to secure heavy items of
luggage.
You or other vehicle occupants could be
injured by objects being thrown around if you: R
brake sharply
R change direction suddenly
R are involved in an accident
Sharp-edged and fragile objects must not be
placed in the luggage net.
Do not place hard objects in the map pockets.
Objects must not protrude from the map
pockets.
Glove compartment i
Depending on the vehicle's equipment,
there is an AUX-IN connection installed in
the glove compartment, or a Media Inter-
face*, which is a universal interface for
portable audio equipment, e.g. for an iPod
or USB device; see the separate Audio or
COMAND APS* operating instructions. X
To open: pull handle :and fold out glove
compartment flap ;.
X To close: fold glove compartment flap ;
upwards until it engages. 188
Loading and sto
wingControls
* optional
212_AKB; 2; 4, en-GB
mkalafa
,V ersion: 2.11.8.1
2009-05-05T14:17:16+02:00 - Seite 188
Dateiname: 6515346702_buchblock.pdf; erzeugt am 07. May 2009 14:16:34; WK