2009 LINCOLN TOWN CAR reset
[x] Cancel search: resetPage 4 of 280
CONGRATULATIONS
Congratulations on acquiring your new Lincoln. Please take the time to
get well acquainted with your vehicle by reading this handbook. The
more you know and understand about your vehicle, the greater the
safety and pleasure you will derive from driving it.
For more information on Ford Motor Company and its products visit the
following website:
•In the United States: www.ford.com
•In Canada: www.ford.ca
•In Mexico: www.ford.com.mx
•In Australia: www.ford.com.au
Additional owner information is given in separate publications.
ThisOwner’s Guidedescribes every option and model variant available
and therefore some of the items covered may not apply to your
particular vehicle. Furthermore, due to printing cycles it may describe
options before they are generally available.
Remember to pass on theOwner’s Guidewhen reselling the vehicle. It
is an integral part of the vehicle.
WARNING: Fuel pump shut-off switch:In the event of an
accident the safety switch will automatically cut off the fuel
supply to the engine. The switch can also be activated through sudden
vibration (e.g. collision when parking). To reset the switch, refer to the
Fuel pump shut-off switchin theRoadside Emergencieschapter.
2009 Town Car(tow)
Owners Guide, 1st Printing
USA(fus)
Introduction
4
Page 10 of 280
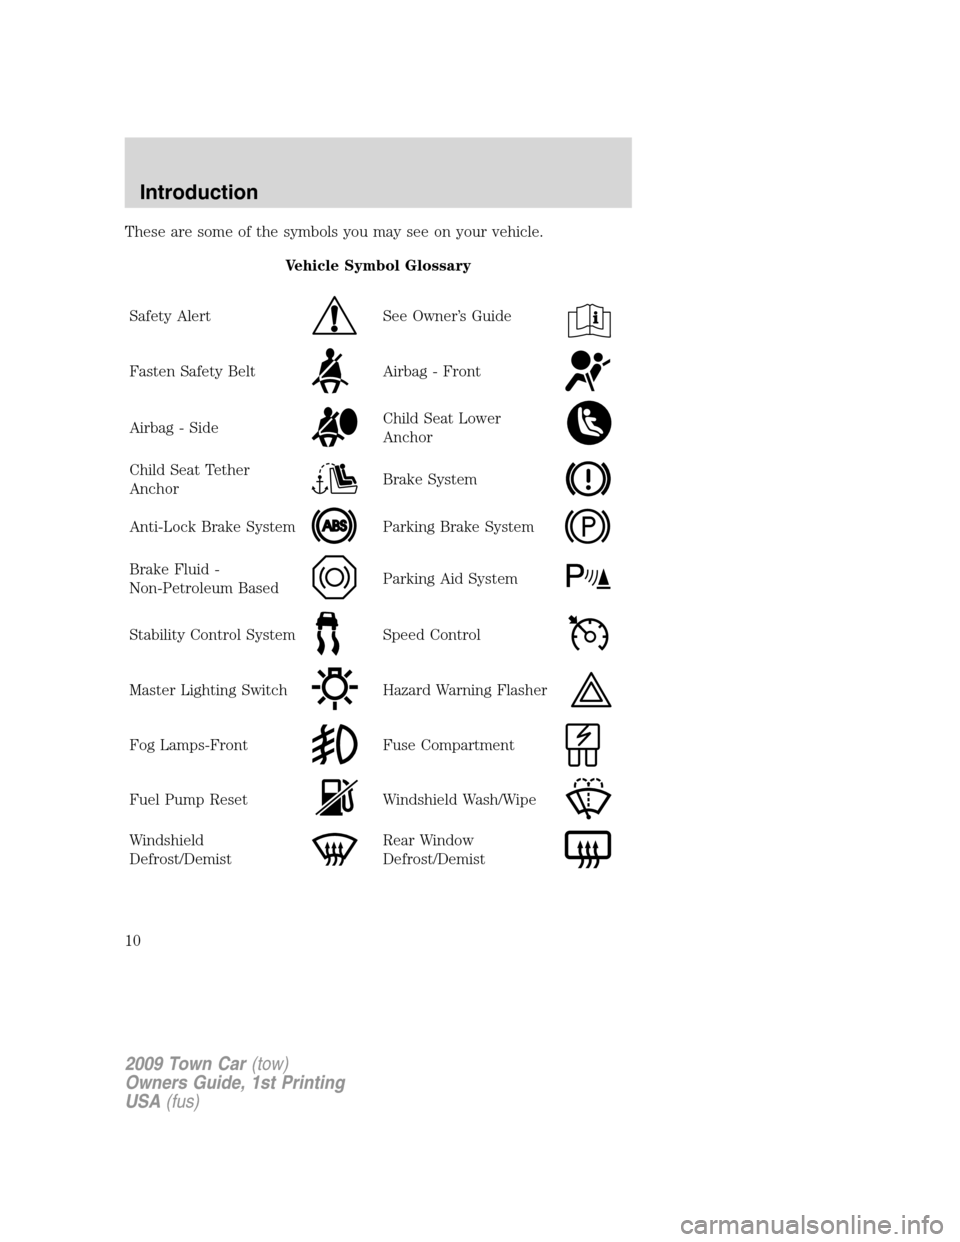
These are some of the symbols you may see on your vehicle.
Vehicle Symbol Glossary
Safety Alert
See Owner’s Guide
Fasten Safety BeltAirbag - Front
Airbag - SideChild Seat Lower
Anchor
Child Seat Tether
AnchorBrake System
Anti-Lock Brake SystemParking Brake System
Brake Fluid -
Non-Petroleum BasedParking Aid System
Stability Control SystemSpeed Control
Master Lighting SwitchHazard Warning Flasher
Fog Lamps-FrontFuse Compartment
Fuel Pump ResetWindshield Wash/Wipe
Windshield
Defrost/DemistRear Window
Defrost/Demist
2009 Town Car(tow)
Owners Guide, 1st Printing
USA(fus)
Introduction
10
Page 17 of 280
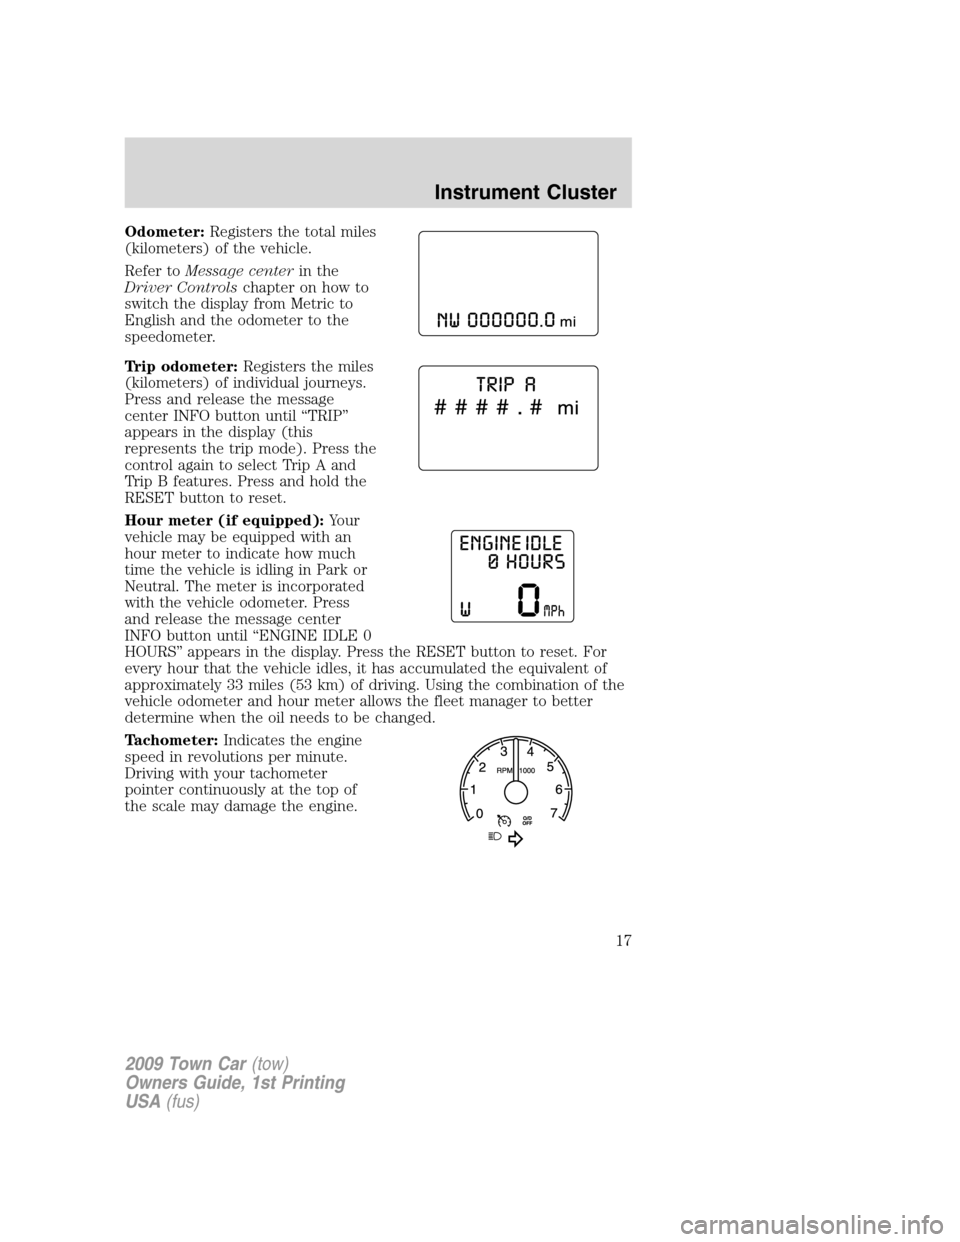
Odometer:Registers the total miles
(kilometers) of the vehicle.
Refer toMessage centerin the
Driver Controlschapter on how to
switch the display from Metric to
English and the odometer to the
speedometer.
Trip odometer:Registers the miles
(kilometers) of individual journeys.
Press and release the message
center INFO button until “TRIP”
appears in the display (this
represents the trip mode). Press the
control again to select Trip A and
Trip B features. Press and hold the
RESET button to reset.
Hour meter (if equipped):Your
vehicle may be equipped with an
hour meter to indicate how much
time the vehicle is idling in Park or
Neutral. The meter is incorporated
with the vehicle odometer. Press
and release the message center
INFO button until “ENGINE IDLE 0
HOURS” appears in the display. Press the RESET button to reset. For
every hour that the vehicle idles, it has accumulated the equivalent of
approximately 33 miles (53 km) of driving. Using the combination of the
vehicle odometer and hour meter allows the fleet manager to better
determine when the oil needs to be changed.
Tachometer:Indicates the engine
speed in revolutions per minute.
Driving with your tachometer
pointer continuously at the top of
the scale may damage the engine.
2009 Town Car(tow)
Owners Guide, 1st Printing
USA(fus)
Instrument Cluster
17
Page 21 of 280
The Federal Communications Commission (FCC) and the Canadian Radio
and Telecommunications Commission (CRTC) recommend that FM radio
broadcasters use RBDS technology to transmit information. FM radio
stations are independently operated and individually elect to use RBDS
technology to transmit station ID and program type as desired.
FIND Program type:Allows you to search RBDS-equipped stations for
a certain category of music format: Classic, Country, Info, Jazz, Oldies,
R&B, Religious, Rock, Soft, Top 40.
With RBDS ON, press MENU until the program type menu is displayed.
One of the various program types will appear. Press
SEL-TEXT
to scroll through music types. Press SEEK or SCAN to search for a
station playing the requested music category.
Show TYPE:Selects between displaying the station’s call letters or
music format when RBDS is enabled. Press and hold MENU until SHOW
XX appears in the display. Press
SEL-TEXTto select NAME or
TYPE.
Compression:Brings soft and loud CD passages together for a more
consistent listening level when in CD mode. Press MENU repeatedly until
COMP (compression) is displayed. Press
SEL-TEXTto enable
the compression feature when COMPRESS OFF is displayed.
Press
SEL-TEXTagain to disable the feature when COMPRESS
ON is displayed. When activated, the compression icon will appear in the
display.
Occupancy mode:(Available only on Audiophile audios): Press MENU
repeatedly until occupancy mode appears in the display.
Press
SEL-TEXTto select ALL, DRIVER or REAR SEAT
occupancy mode.
Autoset:Allows you to set the strongest local radio stations without
losing your original manually set preset stations for AM/FM1/FM2. Press
MENU repeatedly until AUTOSET appears in the display.
Press
SEL-TEXTto toggle ON/OFF. When the six strongest
stations are filled, the station stored in preset 1 will begin playing. If
there are less than six strong stations, the system will store the last one
in the remaining presets.
Speed sensitive volume:Radio volume changes automatically and
slightly with vehicle speed to compensate for road and wind noise.
Recommended level is 1–3. SPEED OFF turns the feature off and level 7
is the maximum setting.
2009 Town Car(tow)
Owners Guide, 1st Printing
USA(fus)
Entertainment Systems
21
Page 23 of 280
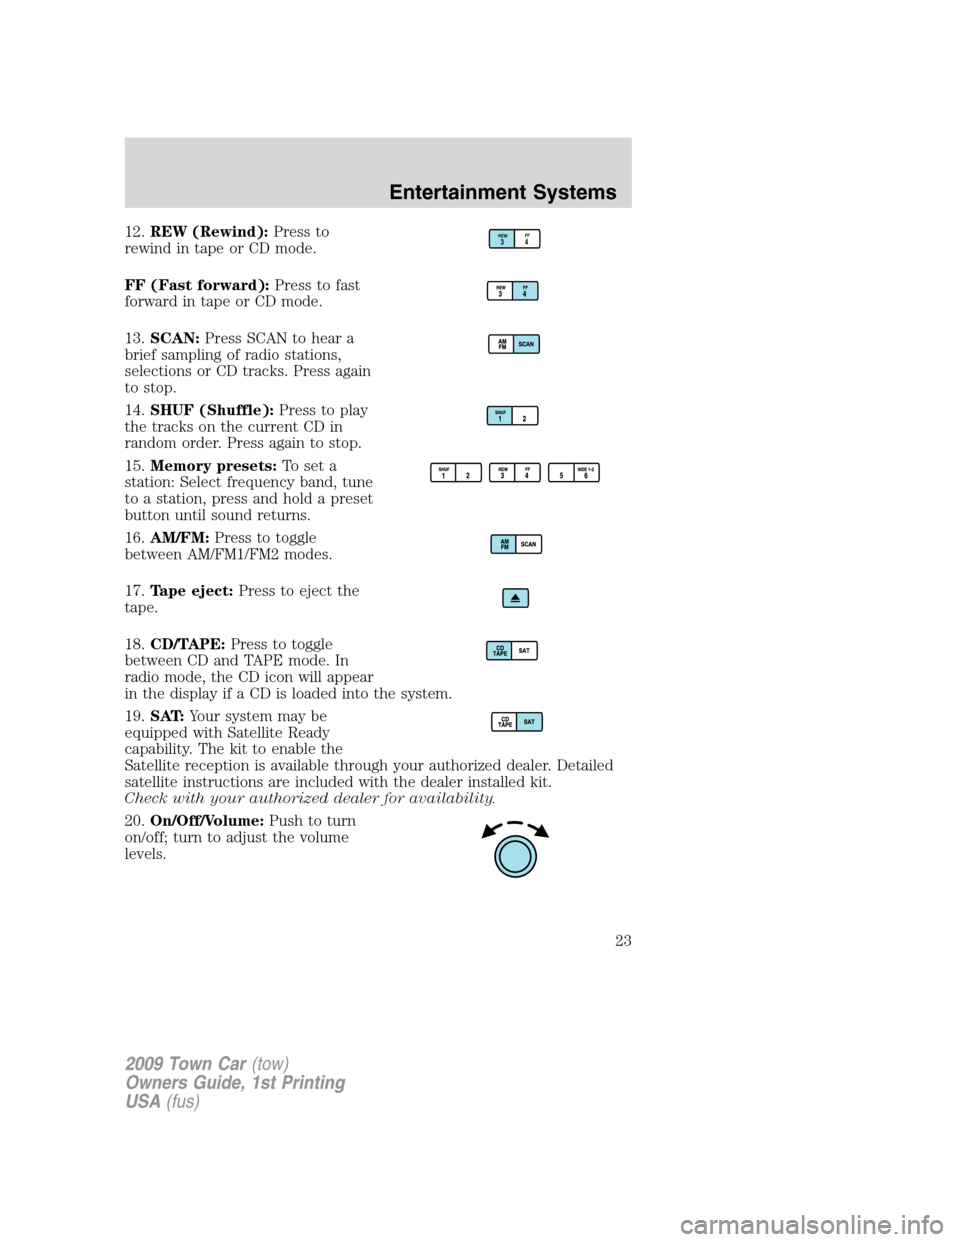
12.REW (Rewind):Press to
rewind in tape or CD mode.
FF (Fast forward):Press to fast
forward in tape or CD mode.
13.SCAN:Press SCAN to hear a
brief sampling of radio stations,
selections or CD tracks. Press again
to stop.
14.SHUF (Shuffle):Press to play
the tracks on the current CD in
random order. Press again to stop.
15.Memory presets:To set a
station: Select frequency band, tune
to a station, press and hold a preset
button until sound returns.
16.AM/FM:Press to toggle
between AM/FM1/FM2 modes.
17.Tape eject:Press to eject the
tape.
18.CD/TAPE:Press to toggle
between CD and TAPE mode. In
radio mode, the CD icon will appear
in the display if a CD is loaded into the system.
19.SAT:Your system may be
equipped with Satellite Ready
capability. The kit to enable the
Satellite reception is available through your authorized dealer. Detailed
satellite instructions are included with the dealer installed kit.
Check with your authorized dealer for availability.
20.On/Off/Volume:Push to turn
on/off; turn to adjust the volume
levels.REWFF34
2009 Town Car(tow)
Owners Guide, 1st Printing
USA(fus)
Entertainment Systems
23
Page 25 of 280
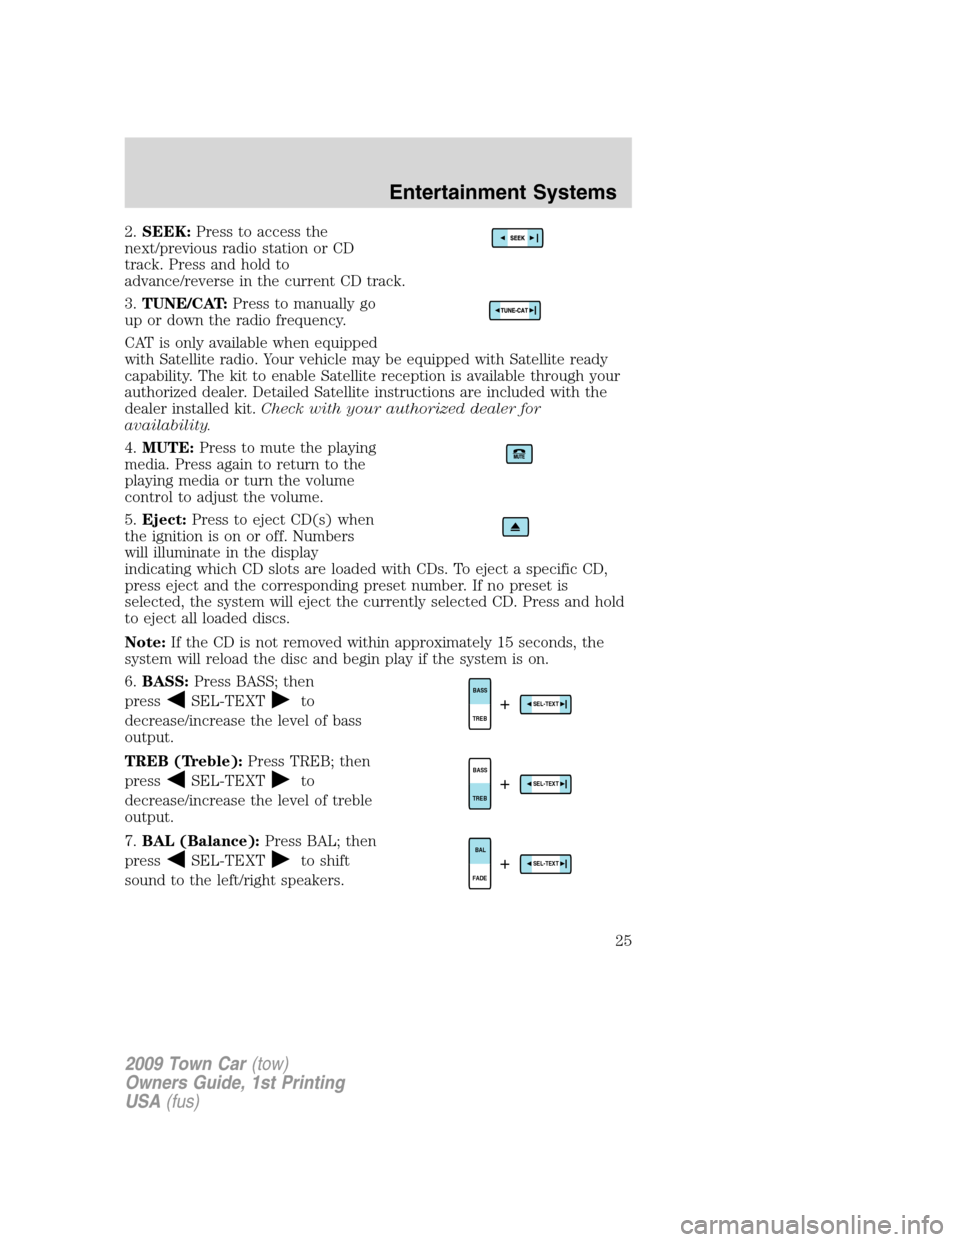
2.SEEK:Press to access the
next/previous radio station or CD
track. Press and hold to
advance/reverse in the current CD track.
3.TUNE/CAT:Press to manually go
up or down the radio frequency.
CAT is only available when equipped
with Satellite radio. Your vehicle may be equipped with Satellite ready
capability. The kit to enable Satellite reception is available through your
authorized dealer. Detailed Satellite instructions are included with the
dealer installed kit.Check with your authorized dealer for
availability.
4.MUTE:Press to mute the playing
media. Press again to return to the
playing media or turn the volume
control to adjust the volume.
5.Eject:Press to eject CD(s) when
the ignition is on or off. Numbers
will illuminate in the display
indicating which CD slots are loaded with CDs. To eject a specific CD,
press eject and the corresponding preset number. If no preset is
selected, the system will eject the currently selected CD. Press and hold
to eject all loaded discs.
Note:If the CD is not removed within approximately 15 seconds, the
system will reload the disc and begin play if the system is on.
6.BASS:Press BASS; then
press
SEL-TEXTto
decrease/increase the level of bass
output.
TREB (Treble):Press TREB; then
press
SEL-TEXTto
decrease/increase the level of treble
output.
7.BAL (Balance):Press BAL; then
press
SEL-TEXTto shift
sound to the left/right speakers.
TREBBASSSEL-TEXT+
TREBBASSSEL-TEXT+
FADEBALSEL-TEXT+
2009 Town Car(tow)
Owners Guide, 1st Printing
USA(fus)
Entertainment Systems
25
Page 27 of 280
PressSEL-TEXTagain to disable the feature when COMPRESS
ON is displayed. When activated, the compression icon will illuminate in
the display.
Occupancy mode:(Available on Audiophile audios only): Press MENU
until occupancy mode appears in the display. Press
SEL-TEXTto
select ALL, DRIVER or REAR SEAT occupancy mode.
Autoset:Allows you to set the strongest local radio stations without
losing your original manually set preset stations for AM/FM1/FM2. Press
MENU until AUTOSET appears in the display. Press
SEL-TEXT
to toggle ON/OFF. When the six strongest stations are filled, the station
stored in preset 1 will begin playing. If there are less than six strong
stations, the system will store the last one in the remaining presets.
When activated, AUTOSET will appear in the display when any of the
preset controls are pressed.
Speed sensitive volume:Radio volume changes automatically and
slightly with vehicle speed to compensate for road and wind noise.
Recommended level is 1–3. Level 0 turns the feature off and level 7 is
the maximum setting.
Press MENU to access and use
SEL-TEXTto adjust the volume
setting. The level will appear in the display.
Armrest ON/OFF:Press MENU repeatedly until Armrest ON/OFF
appears. Use
SEL-TEXTto toggle the rear console audio controls
on or off (if equipped).
Setting the clock:Your vehicle is equipped with an in-dash clock. Refer
toClockin theDriver Controlschapter for instructions on how to set
the time.
10.Memory presets:To set a
station: Select frequency band, tune
to a station, press and hold a preset
button until sound returns.
11.On/Off/Volume:Push to turn
on/off; turn to adjust the volume
levels.
Note:With the ignition and audio
system off, you may press the
volume control to momentarily view the clock.
2009 Town Car(tow)
Owners Guide, 1st Printing
USA(fus)
Entertainment Systems
27
Page 28 of 280
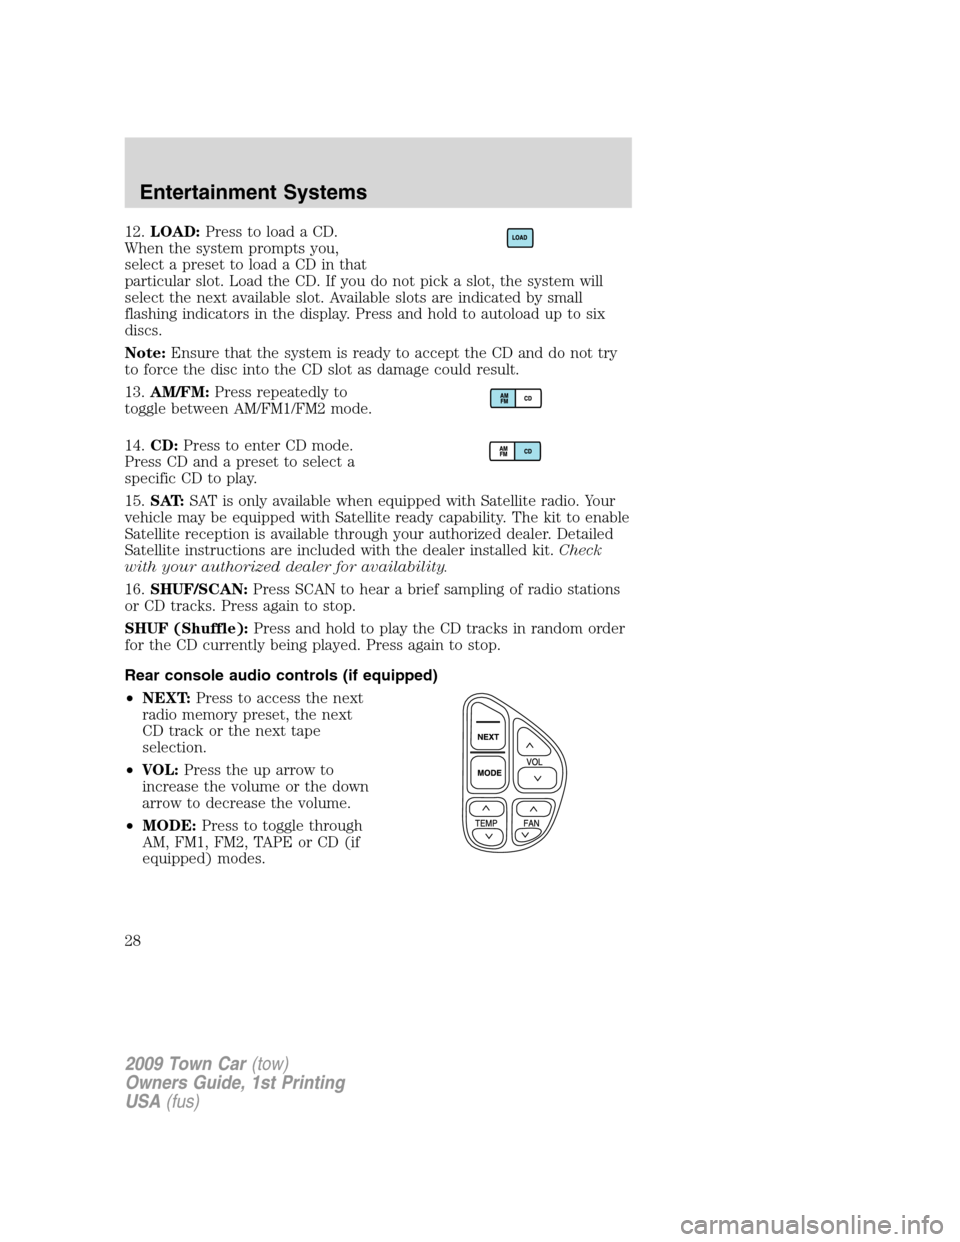
12.LOAD:Press to load a CD.
When the system prompts you,
select a preset to load a CD in that
particular slot. Load the CD. If you do not pick a slot, the system will
select the next available slot. Available slots are indicated by small
flashing indicators in the display. Press and hold to autoload up to six
discs.
Note:Ensure that the system is ready to accept the CD and do not try
to force the disc into the CD slot as damage could result.
13.AM/FM:Press repeatedly to
toggle between AM/FM1/FM2 mode.
14.CD:Press to enter CD mode.
Press CD and a preset to select a
specific CD to play.
15.SAT:SAT is only available when equipped with Satellite radio. Your
vehicle may be equipped with Satellite ready capability. The kit to enable
Satellite reception is available through your authorized dealer. Detailed
Satellite instructions are included with the dealer installed kit.Check
with your authorized dealer for availability.
16.SHUF/SCAN:Press SCAN to hear a brief sampling of radio stations
or CD tracks. Press again to stop.
SHUF (Shuffle):Press and hold to play the CD tracks in random order
for the CD currently being played. Press again to stop.
Rear console audio controls (if equipped)
•NEXT:Press to access the next
radio memory preset, the next
CD track or the next tape
selection.
•VOL:Press the up arrow to
increase the volume or the down
arrow to decrease the volume.
•MODE:Press to toggle through
AM, FM1, FM2, TAPE or CD (if
equipped) modes.
2009 Town Car(tow)
Owners Guide, 1st Printing
USA(fus)
Entertainment Systems
28