2009 LINCOLN TOWN CAR reset
[x] Cancel search: resetPage 74 of 280
POWER TRUNK (IF EQUIPPED)
Your vehicle may be equipped with a power trunk controlled by the
interior trunk control, the key fob or the keypad on the door.
If anything obstructs the power trunk while it is closing, the trunk will
automatically reverse to the open position, provided it meets sufficient
resistance. Resistance must be as strong as the force of the closing
trunk, or stronger. The force of the closing trunk increases as the trunk
approaches the latched position. The trunk will close with the next press
of the interior trunk control or key fob button.
WARNING:Make sure all persons are clear of the luggage
compartment area before using the power trunk control.
If the battery is disconnected, discharged, or a new battery is installed,
the power trunk needs to be reset. To reset the power trunk:
•Reconnect the battery with the trunk closed
•Power activate the trunk with the power interior trunk release, the
key fob or the keypad on the door to the full open position, then
power activate the same power source and fully close the trunk. The
power trunk is now reset.
INTERIOR TRUNK CONTROL
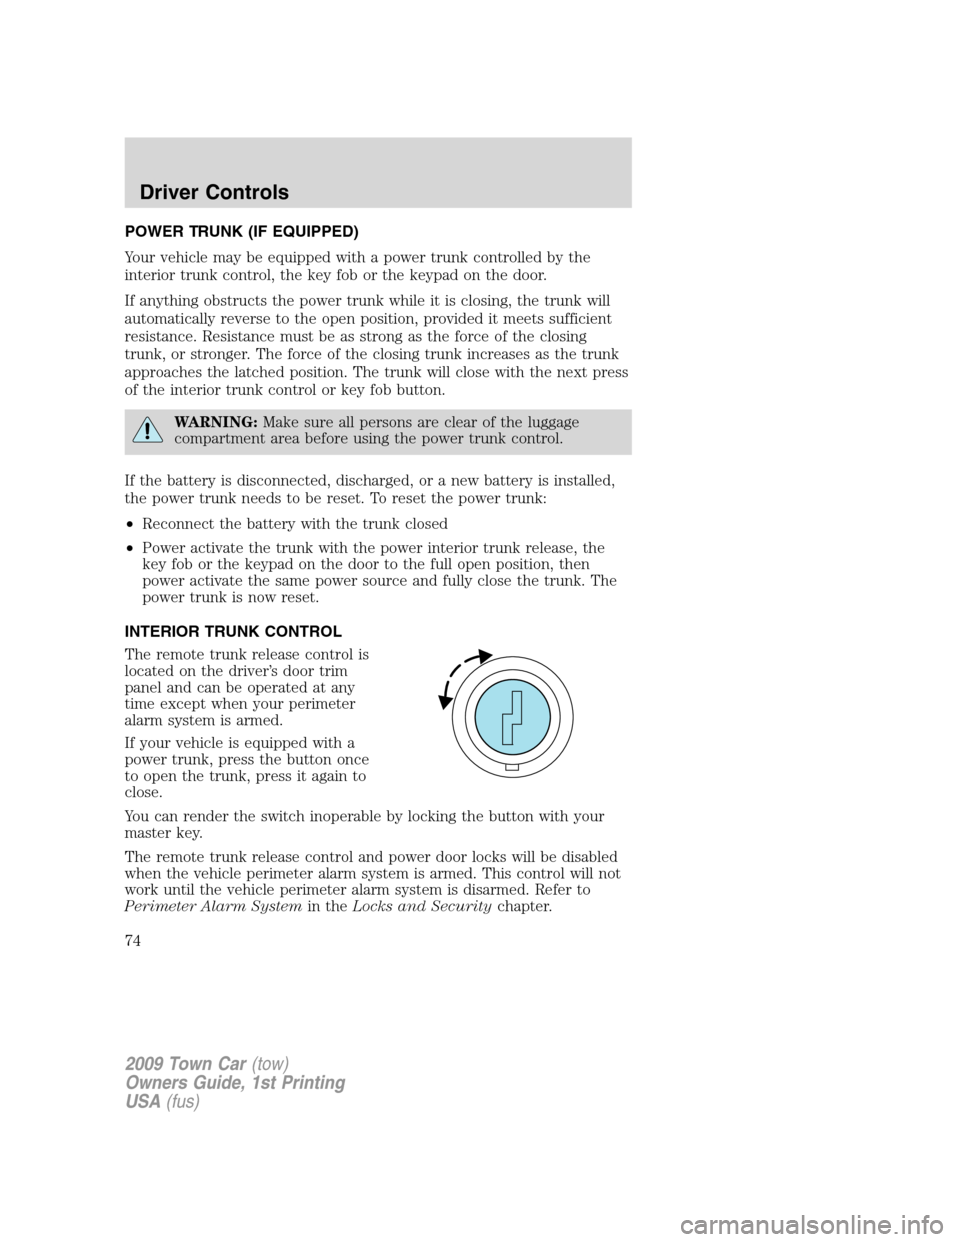
The remote trunk release control is
located on the driver’s door trim
panel and can be operated at any
time except when your perimeter
alarm system is armed.
If your vehicle is equipped with a
power trunk, press the button once
to open the trunk, press it again to
close.
You can render the switch inoperable by locking the button with your
master key.
The remote trunk release control and power door locks will be disabled
when the vehicle perimeter alarm system is armed. This control will not
work until the vehicle perimeter alarm system is disarmed. Refer to
Perimeter Alarm Systemin theLocks and Securitychapter.
2009 Town Car(tow)
Owners Guide, 1st Printing
USA(fus)
Driver Controls
74
Page 99 of 280
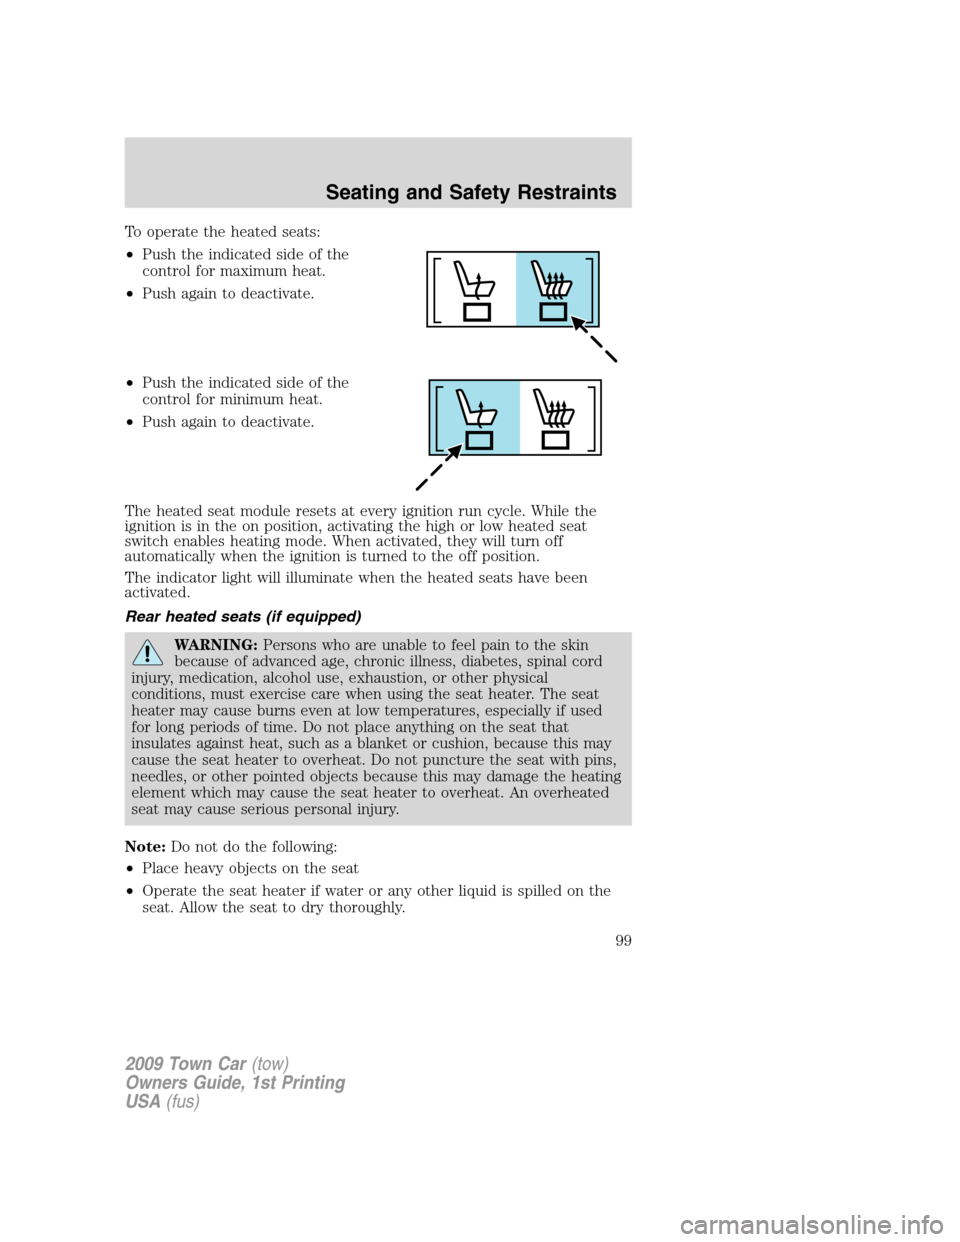
To operate the heated seats:
•Push the indicated side of the
control for maximum heat.
•Push again to deactivate.
•Push the indicated side of the
control for minimum heat.
•Push again to deactivate.
The heated seat module resets at every ignition run cycle. While the
ignition is in the on position, activating the high or low heated seat
switch enables heating mode. When activated, they will turn off
automatically when the ignition is turned to the off position.
The indicator light will illuminate when the heated seats have been
activated.
Rear heated seats (if equipped)
WARNING:Persons who are unable to feel pain to the skin
because of advanced age, chronic illness, diabetes, spinal cord
injury, medication, alcohol use, exhaustion, or other physical
conditions, must exercise care when using the seat heater. The seat
heater may cause burns even at low temperatures, especially if used
for long periods of time. Do not place anything on the seat that
insulates against heat, such as a blanket or cushion, because this may
cause the seat heater to overheat. Do not puncture the seat with pins,
needles, or other pointed objects because this may damage the heating
element which may cause the seat heater to overheat. An overheated
seat may cause serious personal injury.
Note:Do not do the following:
•Place heavy objects on the seat
•Operate the seat heater if water or any other liquid is spilled on the
seat. Allow the seat to dry thoroughly.
2009 Town Car(tow)
Owners Guide, 1st Printing
USA(fus)
Seating and Safety Restraints
99
Page 100 of 280
The rear seat heat controls are located on the rear door panels and
operate like the front heated seats. Refer to theHeated Seatssection in
this chapter.
Easy-access/easy-out feature (if equipped)
This feature automatically moves the driver’s seat rearward 2 in (5 cm)
when:
•the transmission is in N (Neutral) or P (Park)
•the key is removed from the ignition cylinder
The seat will move forward (to the original position) when:
•the transmission is in N (Neutral) or P (Park)
•the key is placed in the ignition cylinder
Seat-mounted cup holders (if equipped)
Your vehicle may be equipped with cupholders in the cushion of the
front center seat and the rear seat . The rear seat cupholder is designed
to over rotate from the seat when subjected to a heavy load. The rear
seat cupholder can be reset by rotating to the closed position.
WARNING:Use only soft cups in the cupholder. Hard objects
can injure you in a collision.
Memory seats/outside rearview mirrors/adjustable pedals
(if equipped)
This system allows automatic
positioning of the driver seat and
outside rearview mirrors to two
programmable positions.
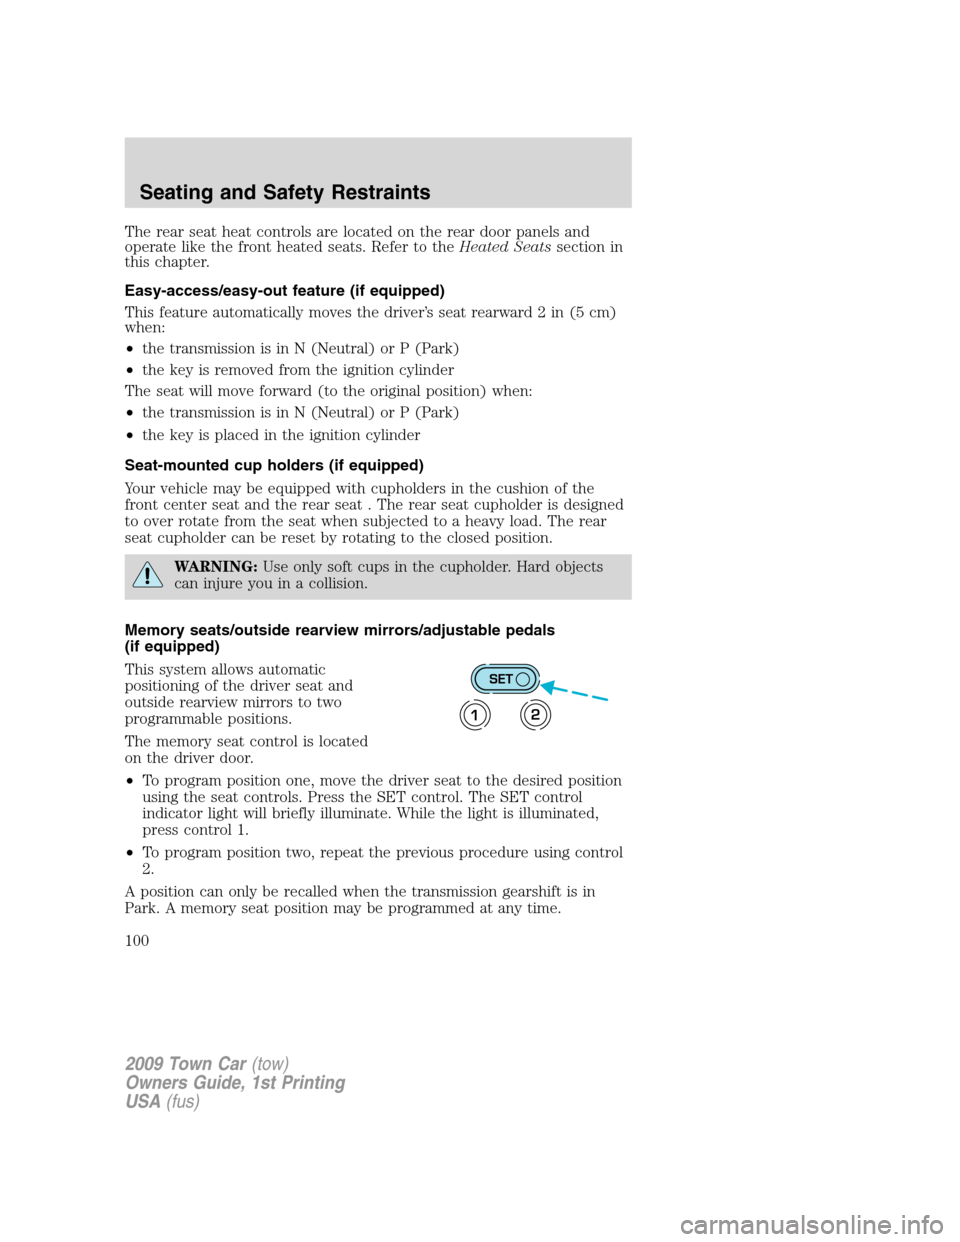
The memory seat control is located
on the driver door.
•To program position one, move the driver seat to the desired position
using the seat controls. Press the SET control. The SET control
indicator light will briefly illuminate. While the light is illuminated,
press control 1.
•To program position two, repeat the previous procedure using control
2.
A position can only be recalled when the transmission gearshift is in
Park. A memory seat position may be programmed at any time.
SET
12
2009 Town Car(tow)
Owners Guide, 1st Printing
USA(fus)
Seating and Safety Restraints
100
Page 195 of 280
FUEL PUMP SHUT-OFF SWITCHFUEL
RESET
The fuel pump shut-off switch is a device intended to stop the electric
fuel pump when your vehicle has been involved in a substantial jolt.
After a collision, if the engine cranks but does not start, the fuel pump
shut-off switch may have been activated.
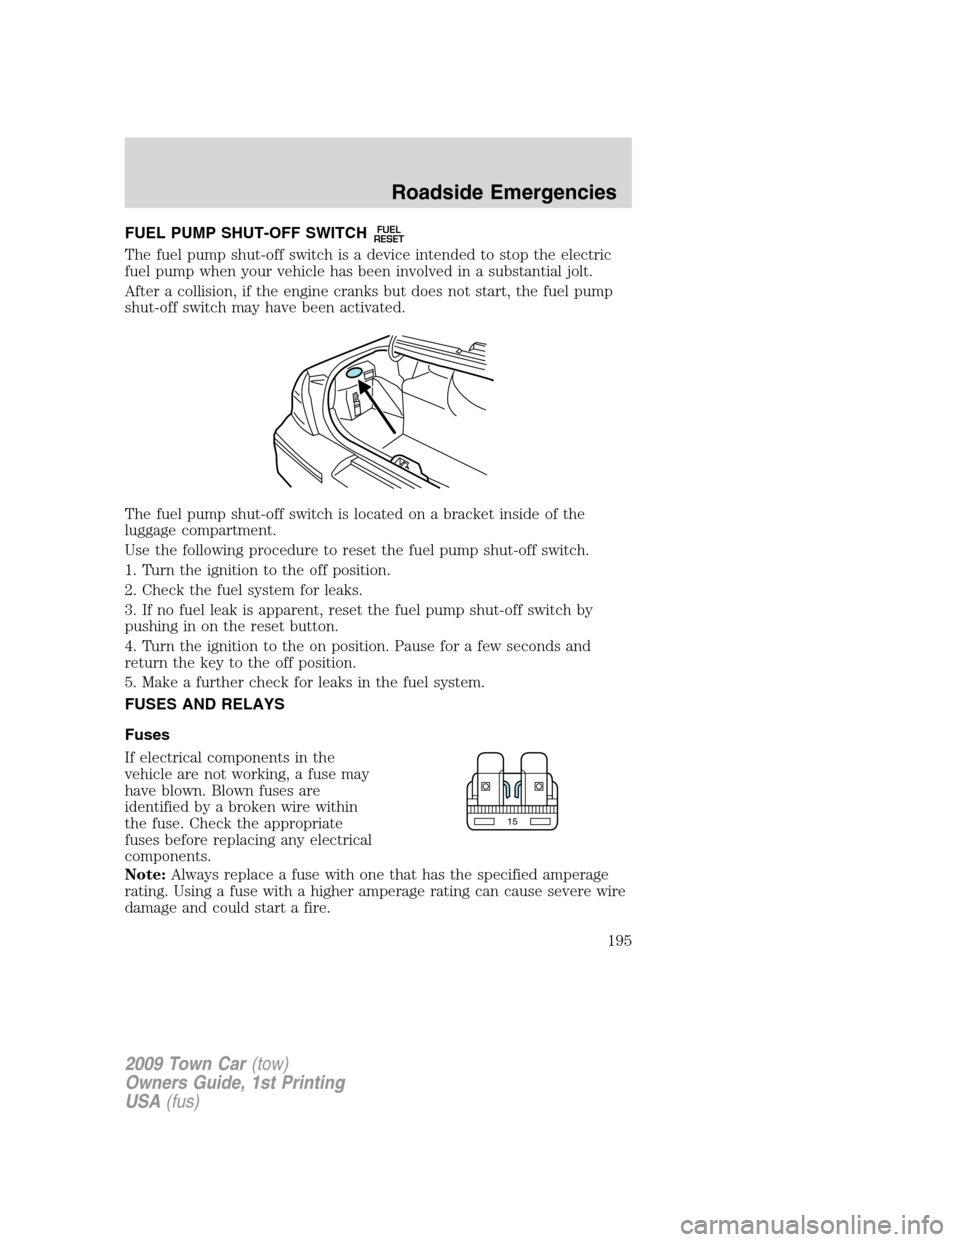
The fuel pump shut-off switch is located on a bracket inside of the
luggage compartment.
Use the following procedure to reset the fuel pump shut-off switch.
1. Turn the ignition to the off position.
2. Check the fuel system for leaks.
3. If no fuel leak is apparent, reset the fuel pump shut-off switch by
pushing in on the reset button.
4. Turn the ignition to the on position. Pause for a few seconds and
return the key to the off position.
5. Make a further check for leaks in the fuel system.
FUSES AND RELAYS
Fuses
If electrical components in the
vehicle are not working, a fuse may
have blown. Blown fuses are
identified by a broken wire within
the fuse. Check the appropriate
fuses before replacing any electrical
components.
Note:Always replace a fuse with one that has the specified amperage
rating. Using a fuse with a higher amperage rating can cause severe wire
damage and could start a fire.
15
2009 Town Car(tow)
Owners Guide, 1st Printing
USA(fus)
Roadside Emergencies
195
Page 241 of 280
WARNING:Keep batteries out of reach of children. Batteries
contain sulfuric acid. Avoid contact with skin, eyes or clothing.
Shield your eyes when working near the battery to protect against
possible splashing of acid solution. In case of acid contact with skin or
eyes, flush immediately with water for a minimum of 15 minutes and
get prompt medical attention. If acid is swallowed, call a physician
immediately.
WARNING:Battery posts, terminals and related accessories
contain lead and lead compounds.Wash hands after handling.
Because your vehicle’s engine is electronically controlled by a computer,
some control conditions are maintained by power from the battery. When
the battery is disconnected or a new battery is installed, the engine must
relearn its idle and fuel trim strategy for optimum driveability and
performance. To begin this process:
1. With the vehicle at a complete stop, set the parking brake.
2. Put the gearshift in P (Park), turn off all accessories and start the
engine.
3. Run the engine until it reaches normal operating temperature.
4. Allow the engine to idle for at least one minute.
5. Turn the A/C on and allow the engine to idle for at least one minute.
6. Release the parking brake. With your foot on the brake pedal and with
the A/C on, put the vehicle in D (Drive) and allow the engine to idle for
at least one minute.
7. Drive the vehicle to complete the relearning process.
•The vehicle may need to be driven 10 miles (16 km) or more to
relearn the idle and fuel trim strategy.
•If you do not allow the engine to relearn its idle trim, the idle
quality of your vehicle may be adversely affected until the idle
trim is eventually relearned.
If the battery has been disconnected or a new battery has been installed,
the clock and radio settings must be reset once the battery is
reconnected.
2009 Town Car(tow)
Owners Guide, 1st Printing
USA(fus)
Maintenance and Specifications
241
Page 247 of 280
•Refer to the chart on the coolant container to ensure the
coolant concentration in your vehicle will provide adequate
protection at the temperatures in which you drive.
Vehicles driven year-round in non-extreme climates should use a 50/50
mixture of engine coolant and distilled water for optimum cooling system
and engine protection.
What you should know about fail-safe cooling
If the engine coolant supply is depleted, this feature allows the vehicle to
be driven temporarily before incremental component damage is incurred.
The “fail-safe” distance depends on ambient temperatures, vehicle load
and terrain.
How fail-safe cooling works
If the engine begins to overheat:
•The engine coolant temperature gauge will move to the H (hot) area.
•The
symbol will display in the message center.
•The message center will display COOLANT OVER TEMPERATURE.
•A chime will sound.
•TheService engine soon
indicator light will illuminate.
If the engine reaches a preset over-temperature condition, the engine
will automatically switch to alternating cylinder operation. Each disabled
cylinder acts as an air pump and cools the engine.
When this occurs the vehicle will still operate. However:
•The engine power will be limited.
•The air conditioning system will be disabled.
Continued operation will increase the engine temperature and the engine
will completely shut down, causing steering and braking effort to
increase.
Once the engine temperature cools, the engine can be re-started. Take
your vehicle to an authorized dealer as soon as possible to minimize
engine damage.
When fail-safe mode is activated
You have limited engine power when in the fail-safe mode, so drive the
vehicle with caution. The vehicle will not be able to maintain high-speed
operation and the engine will run rough. Remember that the engine is
capable of completely shutting down automatically to prevent engine
damage, therefore:
2009 Town Car(tow)
Owners Guide, 1st Printing
USA(fus)
Maintenance and Specifications
247
Page 252 of 280
lightor “check fuel cap” message may not reset immediately; it may
take several driving cycles for the check fuel cap light
or “check fuel
cap” message to turn off. A driving cycle consists of an engine start-up
(after four or more hours with the engine off) followed by city and
highway driving.
Continuing to drive with the check fuel cap light
or “check fuel cap”
message on may cause the
light to turn on as well.
If you must replace the fuel filler cap, replace it with a fuel filler
cap that is designed for your vehicle. The customer warranty may
be void for any damage to the fuel tank or fuel system if the
correct genuine Ford, Motorcraft or other certified fuel filler cap
is not used.
WARNING:The fuel system may be under pressure. If the fuel
filler cap is venting vapor or if you hear a hissing sound, wait
until it stops before completely removing the fuel filler cap. Otherwise,
fuel may spray out and injure you or others.
WARNING:If you do not use the proper fuel filler cap,
excessive vacuum in the fuel tank may damage the fuel system
or cause the fuel cap to disengage in a collision, which may result in
personal injury.
FFV (Flex Fuel Vehicle) fuel cap
If your vehicle is FFV capable, it will have a yellow colored fuel cap.
Choosing the right fuel
If your vehicle is a flexible fuel vehicle (FFV), use only UNLEADED
FUEL and FUEL ETHANOL (Ed75–Ed85).
If your vehicle is not a flexible fuel vehicle (FFV), then only use
UNLEADED fuel or UNLEADED fuel blended with a maximum of 10%
ethanol. Do not use fuel ethanol (E85), diesel, methanol, leaded fuel or
any other fuel.
The use of leaded fuel is prohibited by law and could damage your
vehicle.
Your vehicle was not designed to use fuel or fuel additives with metallic
compounds, including manganese-based additives.
Note:Use of any fuel other than those recommended may cause
powertrain damage, a loss of vehicle performance, and repairs may not
be covered under warranty.
2009 Town Car(tow)
Owners Guide, 1st Printing
USA(fus)
Maintenance and Specifications
252