Page 115 of 375

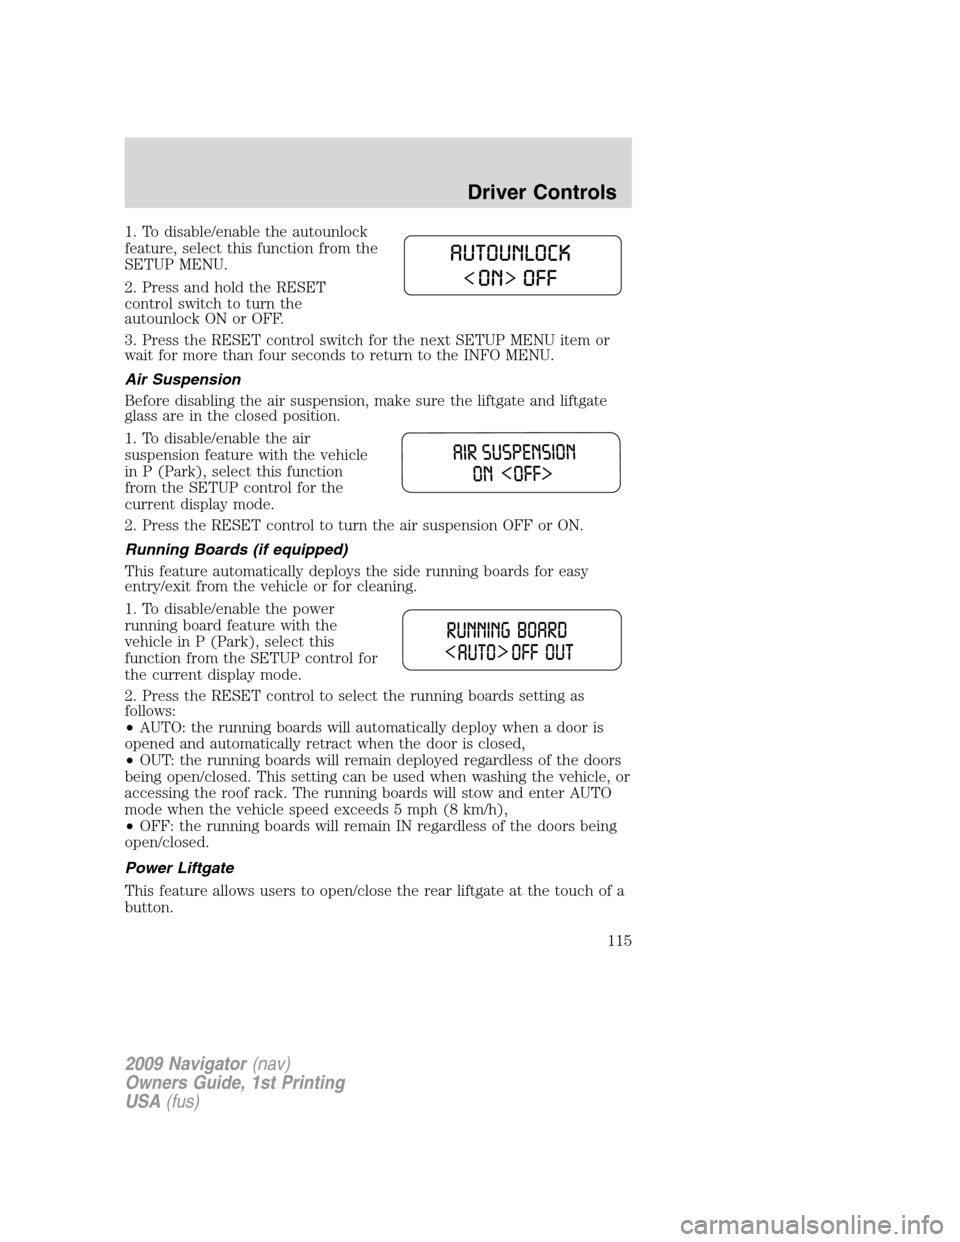
1. To disable/enable the autounlock
feature, select this function from the
SETUP MENU.
2. Press and hold the RESET
control switch to turn the
autounlock ON or OFF.
3. Press the RESET control switch for the next SETUP MENU item or
wait for more than four seconds to return to the INFO MENU.
Air Suspension
Before disabling the air suspension, make sure the liftgate and liftgate
glass are in the closed position.
1. To disable/enable the air
suspension feature with the vehicle
in P (Park), select this function
from the SETUP control for the
current display mode.
2. Press the RESET control to turn the air suspension OFF or ON.
Running Boards (if equipped)
This feature automatically deploys the side running boards for easy
entry/exit from the vehicle or for cleaning.
1. To disable/enable the power
running board feature with the
vehicle in P (Park), select this
function from the SETUP control for
the current display mode.
2. Press the RESET control to select the running boards setting as
follows:
•AUTO: the running boards will automatically deploy when a door is
opened and automatically retract when the door is closed,
•OUT: the running boards will remain deployed regardless of the doors
being open/closed. This setting can be used when washing the vehicle, or
accessing the roof rack. The running boards will stow and enter AUTO
mode when the vehicle speed exceeds 5 mph (8 km/h),
•OFF: the running boards will remain IN regardless of the doors being
open/closed.
Power Liftgate
This feature allows users to open/close the rear liftgate at the touch of a
button.
2009 Navigator(nav)
Owners Guide, 1st Printing
USA(fus)
Driver Controls
115
Page 129 of 375
To move the shelf to the shelf
position, pull up and pivot the shelf
over the channels on the side trim
panels and snap the shelf ends in
the channels.
To move the shelf to the divider
position, pull up and pivot the shelf
over the channels on the side trim
panels and snap vertically in place.
WARNING:Do not load any objects on the shelf that may
obstruct your vision or strike occupants of the vehicle in the
case of a sudden stop or collision.
WARNING:Do not place people or pets on or under the parcel
shelf.
LUGGAGE RACK
Your vehicle is equipped with a roof
rack for transporting items on the
exterior of the vehicle. The
maximum recommended load to be
carried on the roof rack is 200 lb
(90 kg), evenly distributed. The
cross-bars can be adjusted by using
the thumbwheels at each end. Use
the tie-down loops on the
thumbwheels to secure load.
2009 Navigator(nav)
Owners Guide, 1st Printing
USA(fus)
Driver Controls
129
Page 130 of 375
To adjust the position of the
cross-bar (if equipped):
1. Loosen the thumbwheel at both
ends of the cross-bar (both
cross-bars are adjustable).
2. Slide the cross-bar to the desired
location.
3. Firmly retighten the thumbwheels
at each end of the cross-bar.
Be sure to check that the thumbwheels are tight each time load is added
or removed from the roof rack, and periodically while traveling.
Always ensure that the load is secure before traveling.
Ford Motor Company recommends loading the roof rack only when
equipped with (optional) cross-bars, to avoid unintended damage to the
roof panel.
2009 Navigator(nav)
Owners Guide, 1st Printing
USA(fus)
Driver Controls
130
Page 137 of 375

CHILDPROOF DOOR LOCKS
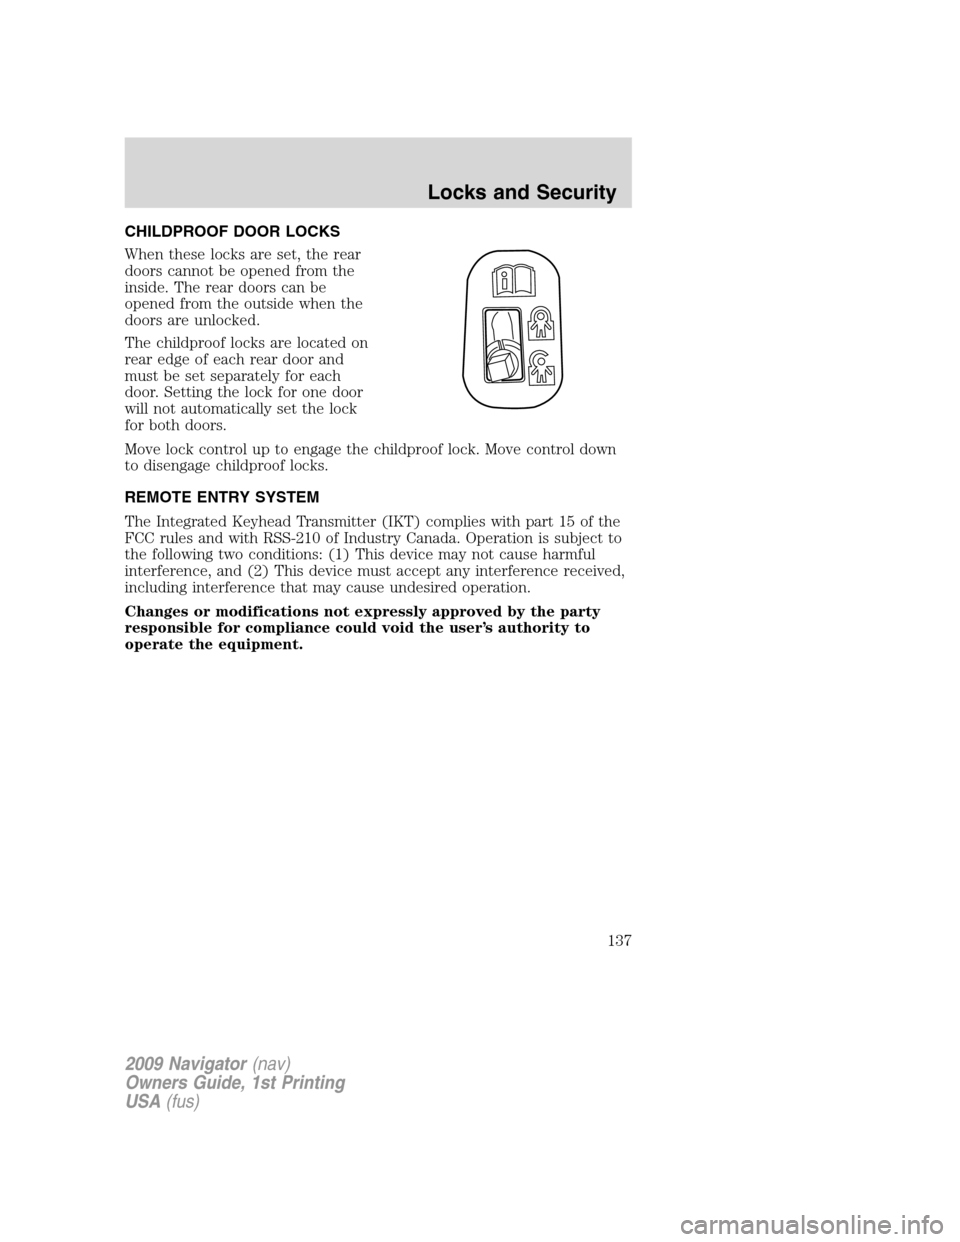
When these locks are set, the rear
doors cannot be opened from the
inside. The rear doors can be
opened from the outside when the
doors are unlocked.
The childproof locks are located on
rear edge of each rear door and
must be set separately for each
door. Setting the lock for one door
will not automatically set the lock
for both doors.
Move lock control up to engage the childproof lock. Move control down
to disengage childproof locks.
REMOTE ENTRY SYSTEM
The Integrated Keyhead Transmitter (IKT) complies with part 15 of the
FCC rules and with RSS-210 of Industry Canada. Operation is subject to
the following two conditions: (1) This device may not cause harmful
interference, and (2) This device must accept any interference received,
including interference that may cause undesired operation.
Changes or modifications not expressly approved by the party
responsible for compliance could void the user’s authority to
operate the equipment.
2009 Navigator(nav)
Owners Guide, 1st Printing
USA(fus)
Locks and Security
137
Page 192 of 375

•Two crash sensors mounted in the front doors (one on each side of
the vehicle).
•Two crash sensors located at the C pillar behind the rear doors (one
on each side of the vehicle).
•Rollover sensor in the restraints control module (RCM).
The Safety Canopy�system, in combination with safety belts, can help
reduce the risk of severe injuries in the event of a significant side impact
collision or rollover event.
Children 12 years old and under should always be properly restrained in
the second or third row seats. The Safety Canopy�will not interfere with
children restrained using a properly installed child or booster seat
because it is designed to inflate downward from the headliner above the
doors along the side window opening.
The Safety Canopy�system is designed to activate when the vehicle
sustains lateral deceleration sufficient to cause the side crash sensor to
close an electrical circuit that initiates Safety Canopy�inflation or when
a certain likelihood of a rollover event is detected by the rollover sensor.
The Safety Canopy�is mounted to roof side-rail sheet metal, behind the
headliner, along the entire side of the vehicle. In certain lateral collisions
or rollover events, the Safety Canopy�system will be activated,
regardless of which seats are occupied. The Safety Canopy�is designed
to inflate between the side window area and occupants to further
enhance protection provided in side impact collisions and rollover events.
The fact that the Safety Canopy�did not activate in a collision does not
mean that something is wrong with the system. Rather, it means the
forces were not of the type sufficient to cause activation. The Safety
Canopy�is designed to inflate in certain side impact collisions or rollover
events, not in rear impact, frontal or near-frontal collisions, unless the
collision causes sufficient lateral deceleration or rollover.
WARNING:Several Safety Canopy�system components get hot
after inflation. Do not touch them after inflation.
2009 Navigator(nav)
Owners Guide, 1st Printing
USA(fus)
Seating and Safety Restraints
192
Page 259 of 375

Pull the release lever to release the
brake. Driving with the parking
brake on will cause the brakes to
wear out quickly and reduce fuel
economy.
ADVANCETRAC�WITH ROLL STABILITY CONTROL™ (RSC�)
STABILITY ENHANCEMENT SYSTEM (IF EQUIPPED)
WARNING:Vehicle modifications involving braking system,
aftermarket roof racks, suspension, steering system, tire
construction and/or wheel/tire size may change the handling
characteristics of the vehicle and may adversely affect the performance
of the AdvanceTrac�with RSC system. In addition, installing any
stereo loudspeakers may interfere with and adversely affect the
AdvanceTrac�with RSC�system. Install any aftermarket stereo
loudspeaker as far as possible from the front center console, the
tunnel, and the front seats in order to minimize the risk of interfering
with the AdvanceTrac�with RSC�sensors. Reducing the effectiveness
of the AdvanceTrac�with RSC�system could lead to an increased risk
of loss of vehicle control, vehicle rollover, personal injury and death.
WARNING:Remember that even advanced technology cannot
defy the laws of physics. It’s always possible to lose control of a
vehicle due to inappropriate driver input for the conditions. Aggressive
driving on any road condition can cause you to lose control of your
vehicle increasing the risk of personal injury or property damage.
Activation of the AdvanceTrac�with RSC�system is an indication that
at least some of the tires have exceeded their ability to grip the road;
this could reduce the operator’s ability to control the vehicle,
potentially resulting in a loss of vehicle control, vehicle rollover,
personal injury and death. If your AdvanceTrac�with RSC�system
activates, SLOW DOWN.
2009 Navigator(nav)
Owners Guide, 1st Printing
USA(fus)
Driving
259
Page 291 of 375
Fuse/Relay
LocationFuse Amp
RatingProtective Circuits
25 10A Demand lamps, Glovebox, Visor
26 10A Instrument panel cluster
27 20A Ignition switch
28 5A Radio
29 5A Instrument panel cluster
30 5A Not used (Spare)
31 10A Not used (Spare)
32 10A Restraints control module
33 10A Not used (Spare)
34 5A Not used (spare)
35 10A Rear park assist, 4x4, rear video
camera
36 5A PATS transceiver
37 10A Climate control
38 20A Subwoofer/Amp (Audiophile
radio), THX Amp/DSP
39 20A Radio
40 20A THX Amp/DSP
41 15A Power windows, Power vents,
Power moonroof, Auto dimming
rear view mirror
42 10A Not used (Spare)
43 10A Rear wiper logic, Rain sensor
44 10A Trailer tow battery charge coil
45 5A Front wiper logic
46 7.5A Climate control, Auxiliary relay
control
47 30A Circuit
BreakerPower windows, Moon roof
48 — Delayed accessory relay
2009 Navigator(nav)
Owners Guide, 1st Printing
USA(fus)
Roadside Emergencies
291
Page 295 of 375

Fuse/Relay
LocationFuse Amp
RatingProtected Circuits
64 30A** Moon roof
65 20A** Auxiliary power point
66 20A** Auxiliary power point
67 40A** Climate controlled seats
68 60A** ABS valves
69 60A** ABS pump
70 40A** Left-hand and right-hand third row
power fold seat
71 20A** Auxiliary power point
72 20A** Auxiliary power point
73 — Not used
74 30A** Driver power seat/DSM
75 20A* PCM – VPWR1
76 20A* PCM – VPWR2
77 15A* VPWR4, Ignition coils
78 — Not used
79 20A* PCM – VPWR3
80 — Not used
81 — Not used
82 — Not used
83 — Not used
84 — Not used
85 — Wiper motor relay
* Mini Fuses ** Cartridge Fuses
CHANGING THE TIRES
If you get a flat tire while driving, do not apply the brake heavily.
Instead, gradually decrease your speed. Hold the steering wheel firmly
and slowly move to a safe place on the side of the road.
Note:The tire pressure monitoring system (TPMS) indicator light will
illuminate when the spare tire is in use. To restore the full functionality
of the monitoring system, all road wheels equipped with tire pressure
monitoring sensors must be mounted on the vehicle.
2009 Navigator(nav)
Owners Guide, 1st Printing
USA(fus)
Roadside Emergencies
295