Page 17 of 28
241
3-3. Using the hands-free phone system (for cellular phone)
3
Interior features
Selecting a cellular phone to be used
Select “Select Phone” by using a voice command or .
Pattern A
Select a cellular phone to be used by either of the following meth-
ods, and select “Confirm” by using a voice command or :
a. Press and say the desired phone name.
b. Press and say “List phones”. While the name of the
desired cellular phone is being read aloud, press .
Pattern B
Select a cellular phone to be used by using .
Changing a registered name
Select “Change Name” by using a voice command or .
Select a name of cellular phone to be changed by either of the
following methods:
a. Press and say the desired phone name, and select
“Confirm” by using a voice command or .
b. Press and say “List phones”. While the desired phone
name is being read aloud, press .
c. Select the desired phone name by using .
STEP1
STEP2
STEP2
STEP1
STEP2
Page 18 of 28

242
3-3. Using the hands-free phone system (for cellular phone)
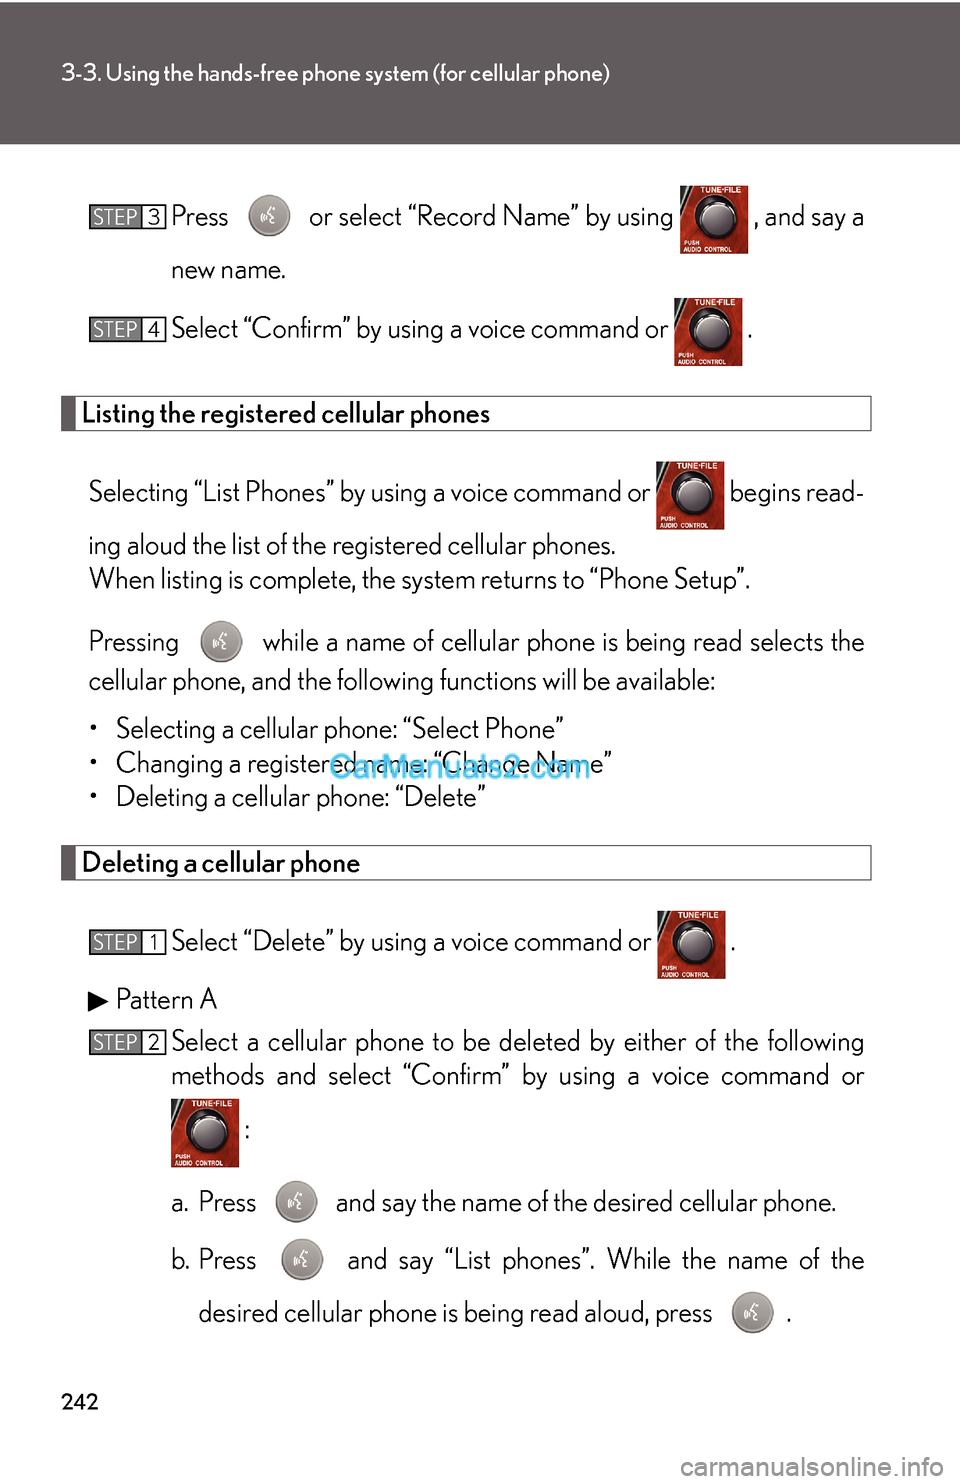
Press or select “Record Name” by using , and say a
new name.
Select “Confirm” by using a voice command or .
Listing the registered cellular phones
Selecting “List Phones” by using a voice command or begins read-
ing aloud the list of the registered cellular phones.
When listing is complete, the system returns to “Phone Setup”.
Pressing while a name of cellular phone is being read selects the
cellular phone, and the following functions will be available:
• Selecting a cellular phone: “Select Phone”
• Changing a registered name: “Change Name”
• Deleting a cellular phone: “Delete”
Deleting a cellular phone
Select “Delete” by using a voice command or .
Pattern A
Select a cellular phone to be deleted by either of the following
methods and select “Confirm” by using a voice command or
:
a. Press and say the name of the desired cellular phone.
b. Press and say “List phones”. While the name of the
desired cellular phone is being read aloud, press .
STEP3
STEP4
STEP1
STEP2
Page 19 of 28
243
3-3. Using the hands-free phone system (for cellular phone)
3
Interior features
Pattern B
Select a desired cellular phone to be deleted by using .
Changing the passkey
Select “Set Passkey” by using a voice command or .
Pattern A
Press , say a 4 to 8-digit number, and select “Confirm” by
using a voice command or .
Pattern B
Select a 4 to 8-digit number by using .
The number should be input 1 digit at a time.
When the entire number to be registered as a passkey has been
input, press once again.
■The number of cellular phone that can be registered
Up to 6 cellular phones can be registered in the system.
STEP2
STEP1
STEP2
STEP2
STEP3
Page 20 of 28
244
3-3. Using the hands-free phone system (for cellular phone)
Security and system setup
Setting or changing the PIN
■Setting a PIN
Select “Set PIN” by using a voice command or .
Enter a PIN by using a voice command or .
When using , input the code 1 digit at a time.
■Changing the PIN
Select “Set PIN” by using a voice command or .
To enter the menu of each setting, follow the steps below:
■Security setting items and operation procedure
●Setting or changing the PIN (Personal Identification Number)
1. “Setup” → 2. “Security” → 3. “Set PIN”
●Locking the phone book
1. “Setup” → 2. “Security” → 3. “Phonebook Lock”
●Unlocking the phone book
1. “Setup” → 2. “Security” → 3. “Phonebook Unlock”
■System setup items and operation procedure
●Setting voice guidance volume
1. “Setup” → 2. “System Setup” → 3. “Guidance Vol”
●Initialization
1. “Setup” → 2. “System Setup” → 3. “Initialize”
can only be used for system setup operation.
STEP1
STEP2
STEP1
Page 21 of 28
245
3-3. Using the hands-free phone system (for cellular phone)
3
Interior features
Enter the registered PIN by using a voice command or .
Enter a new PIN by using a voice command or .
When using , input the code 1 digit at a time.
Locking or unlocking the phone book
Select “Phonebook lock (Phbk Lock)” or “Phonebook unlock
(Phbk Unlock)” by using a voice command or .
Input the PIN by either of the following methods and select “Con-
firm” by using a voice command or :
a. Press and say the registered PIN.
b. Input a new PIN by using .
Setting voice guidance volume
Select “Guidance Vol” by using .
Change the voice guidance volume.
To decrease the volume: Turn counterclockwise.
To increase the volume: Turn clockwise.
STEP2
STEP3
STEP1
STEP2
STEP1
STEP2
Page 22 of 28
246
3-3. Using the hands-free phone system (for cellular phone)
Initialization
Select “Initialize” and then “Confirm” by using .
Select “Confirm” by using again.
■Initialization
●The following data in the system can be initialized:
•Phone book
• Outgoing and incoming history
•Speed dial
• Registered cellular phone data
•Security code
●Once the initialization has been completed, the data cannot be restored to its
original state.
■When the phone book is locked
The following functions cannot be used:
●Dialing by inputting a name
●Speed dialing
●Dialing a number stored in the call history memory
●Using the phone book
STEP1
STEP2
Page 23 of 28
247
3-3. Using the hands-free phone system (for cellular phone)
3
Interior features
Using the phone book
Adding a new phone number
The following methods can be used to add a new phone number:
●Inputting a phone number by using a voice command
●Transferring data from the cellular phone
●Inputting a phone number by using
●Selecting a phone number from outgoing or incoming history
■Adding procedure
Select “Add Entry” by using a voice command or .
To enter the menu of each setting, follow the steps below:
●Adding a new phone number
1. “Phonebook” → 2. “Add Entry”
●Setting speed dial
1. “Phonebook” → 2. “Set Speed Dial (Speed Dial)”
●Changing a registered name
1. “Phonebook” → 2. “Change Name”
●Deleting registered data
1. “Phonebook” → 2. “Delete Entry”
●Deleting speed dial
1. “Phonebook” → 2. “Delete Speed Dial (Del Spd Dial)”
●Listing the registered data
1. “Phonebook” → 2. “List Names”
STEP1
Page 24 of 28

248
3-3. Using the hands-free phone system (for cellular phone)
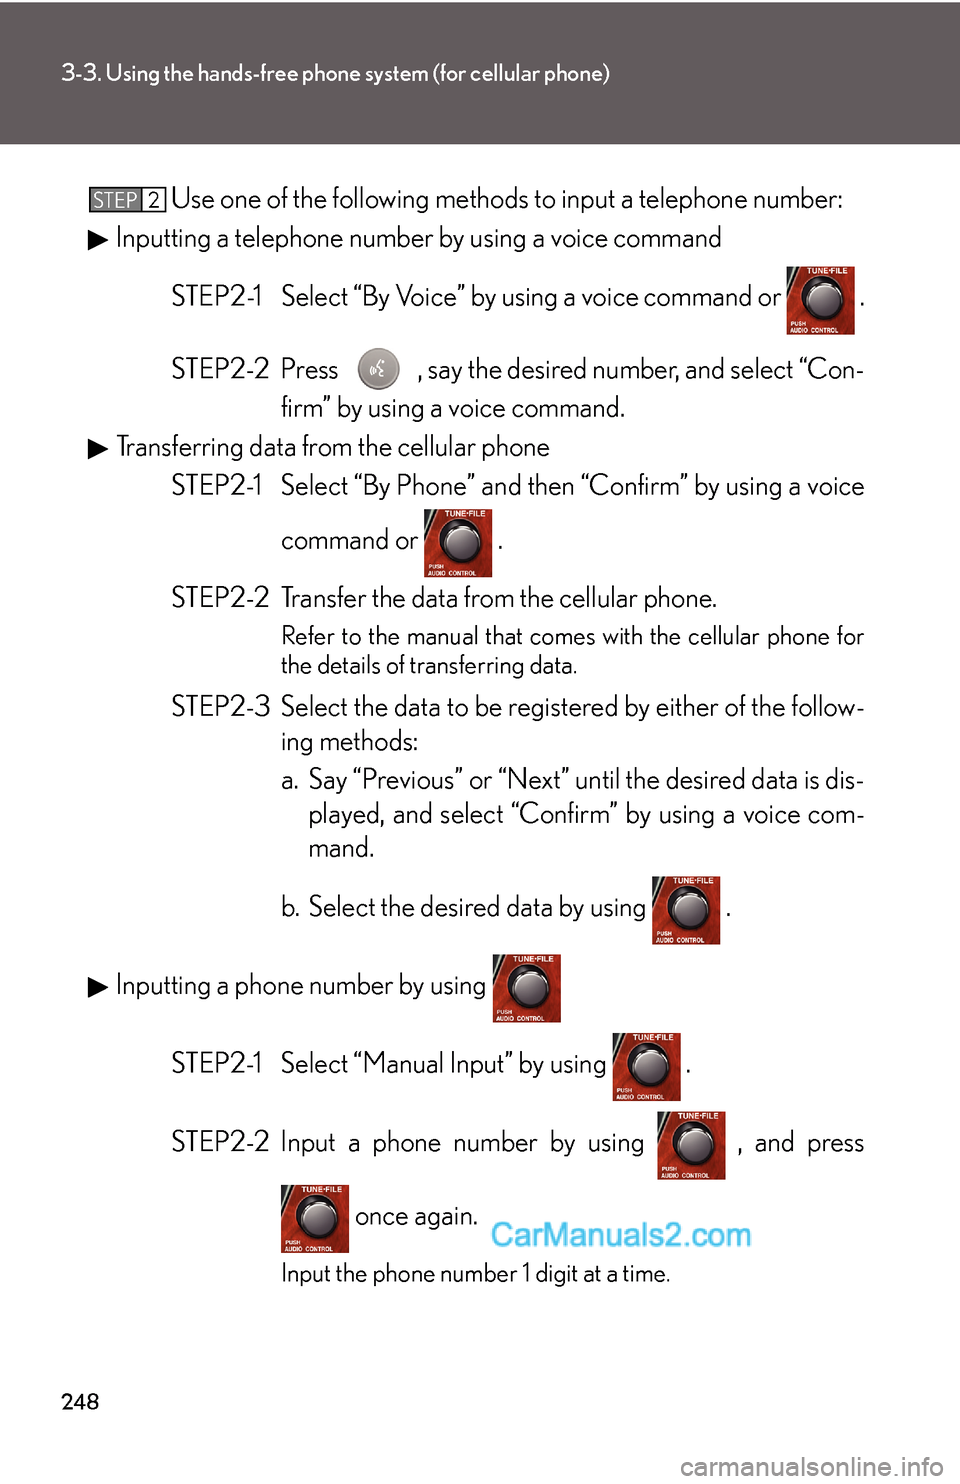
Use one of the following methods to input a telephone number:
Inputting a telephone number by using a voice command
STEP2-1 Select “By Voice” by using a voice command or .
STEP2-2 Press , say the desired number, and select “Con-
firm” by using a voice command.
Transferring data from the cellular phone
STEP2-1 Select “By Phone” and then “Confirm” by using a voice
command or .
STEP2-2 Transfer the data from the cellular phone.
Refer to the manual that comes with the cellular phone for
the details of transferring data.
STEP2-3 Select the data to be registered by either of the follow-
ing methods:
a. Say “Previous” or “Next” until the desired data is dis-
played, and select “Confirm” by using a voice com-
mand.
b. Select the desired data by using .
Inputting a phone number by using
STEP2-1 Select “Manual Input” by using .
STEP2-2 Input a phone number by using , and press
once again.
Input the phone number 1 digit at a time.
STEP2