Page 219 of 371
Driving your vehicle72
4
1
2
3
4
5
6
7
8
9
Temperature conversionIf the battery has been discharged or
disconnected, the temperature mode
will reset to display in Fahrenheit
degrees.
This is a normal system operation
and you can switch the temperature
switch to display Fahrenheit to
Centigrade as follows:
While depressing the AUTO button,
depress the OFF button for 3 sec-
onds or more. The display will
change from Centigrade to
Fahrenheit, or from Fahrenheit to
Centigrade.
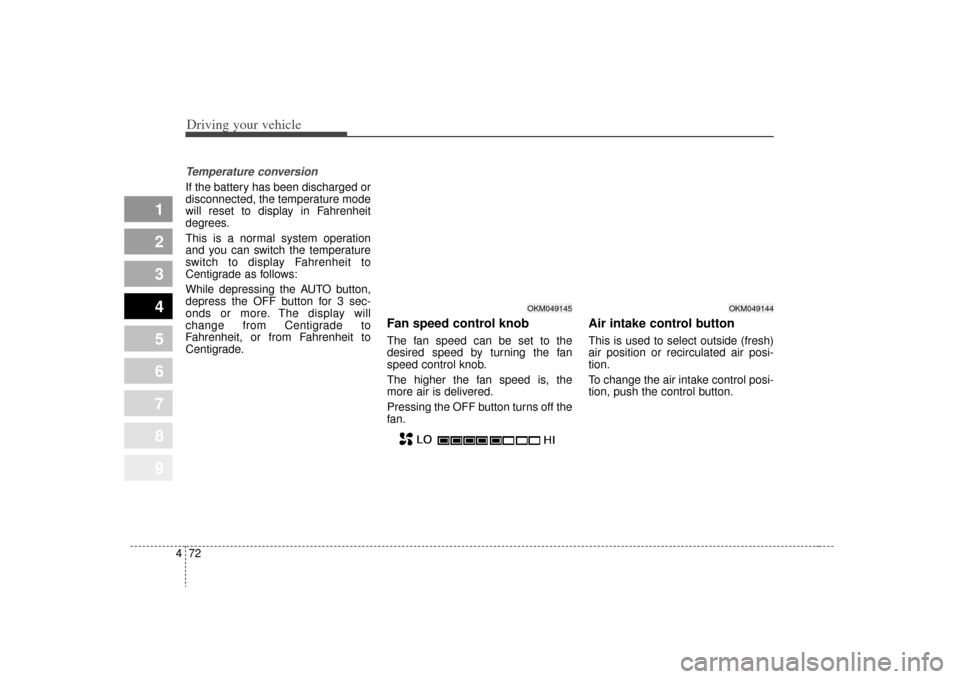
Fan speed control knobThe fan speed can be set to the
desired speed by turning the fan
speed control knob.
The higher the fan speed is, the
more air is delivered.
Pressing the OFF button turns off the
fan.
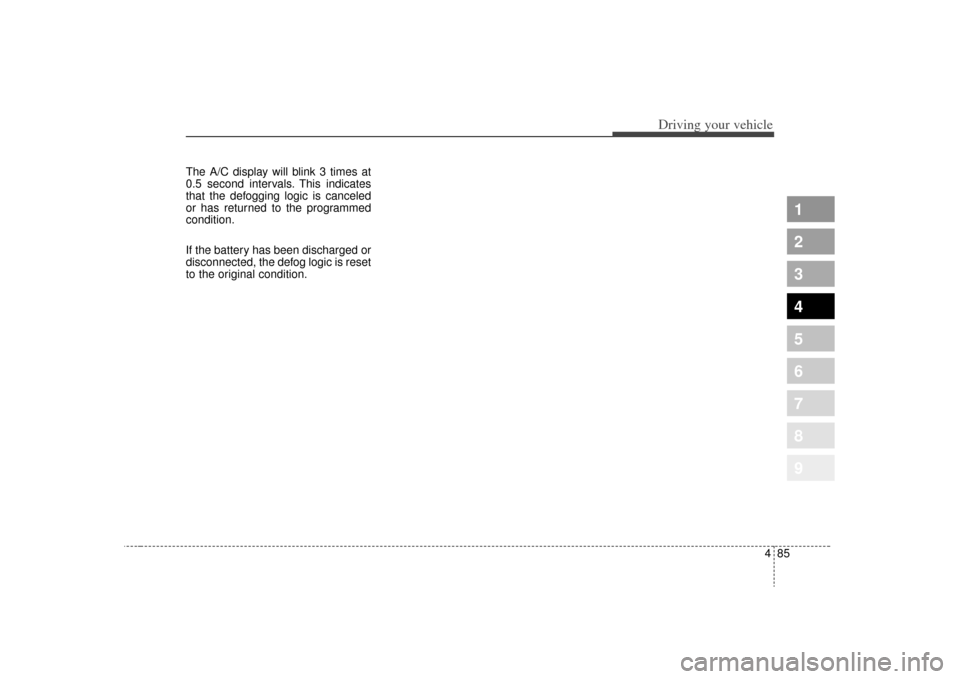
Air intake control button This is used to select outside (fresh)
air position or recirculated air posi-
tion.
To change the air intake control posi-
tion, push the control button.
OKM049145
OKM049144
Page 231 of 371
Driving your vehicle84
4
1
2
3
4
5
6
7
8
9
The indicator light in the air intake
control button will blink 3 times at 0.5
second intervals. This indicates that
the defogging logic is canceled or
has returned to the programmed
condition.
If the battery has been discharged or
disconnected, the defog logic is reset
to the original condition.
Automatic climate control systemTo reduce the probability of fogging
up inside of the windshield, the air
intake control is set to outside (fresh)
air position automatically if any of fol-
lowing occur.
The ignition switch is turned on
while the mode is selected to the
, , .
The OFF button is pushed.
The mode is selected to the , or position.
Press the air intake control button to
select the recirculated air position
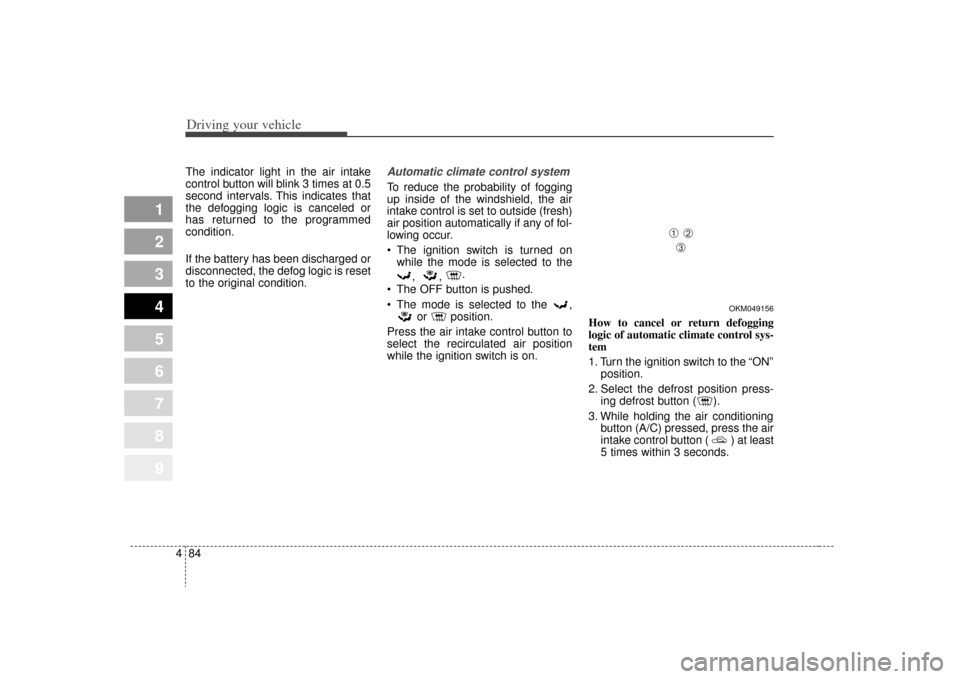
while the ignition switch is on. How to cancel or return defogging
logic of automatic climate control sys-
tem
1. Turn the ignition switch to the “ON”
position.
2. Select the defrost position press- ing defrost button ( ).
3. While holding the air conditioning button (A/C) pressed, press the air
intake control button ( ) at least
5 times within 3 seconds.
OKM049156
➀
➁➂
Page 232 of 371
485
Driving your vehicle
1
2
3
4
5
6
7
8
9
The A/C display will blink 3 times at
0.5 second intervals. This indicates
that the defogging logic is canceled
or has returned to the programmed
condition.
If the battery has been discharged or
disconnected, the defog logic is reset
to the original condition.
Page 242 of 371

Driving tips10
5
1
2
3
4
5
6
7
8
9
Driving in the rain Rain and wet roads can make driving
dangerous, especially if you’re not
prepared for the slick pavement.
Here are a few things to consider
when driving in the rain:
A heavy rainfall will make it harder
to see and will increase the dis-
tance needed to stop your vehicle,
so slow down.
Keep your windshield wiping equipment in good shape. Replace
your windshield wiper blades when
they show signs of streaking or
missing areas on the windshield. If your tires are not in good condi-
tion, making a quick stop on wet
pavement can cause a skid and
possibly lead to an accident. Be
sure your tires are in good shape.
Turn on your headlights to make it easier for others to see you.
Driving too fast through large pud- dles can affect your brakes. If you
must go through puddles, try to
drive through them slowly.
If you believe you may have gotten your brakes wet, apply them lightly
while driving until normal braking
operation returns.
Winter driving We recommend that you carryemergency equipment, including
tire chains, a window scraper,
windshield de-icer, a bag of sand
or salt, flares, a small shovel and
jumper cables.
Make sure you have sufficient eth- ylene-glycol coolant in the radiator.
Check the battery condition and cables. Cold temperatures reduce
the capacity of any battery, so it
must be in excellent condition to
provide enough winter starting
power.
Make sure the engine oil viscosity is suitable for cold weather.
Check the ignition system for loose connections and damage.
Page 278 of 371
Driving tips46
5
1
2
3
4
5
6
7
8
9
ProgrammingYour vehicle may require the ignition
switch to be turned to the ACC posi-
tion for programming and/or opera-
tion of HomeLink. It is also recom-
mended that a new battery be
replaced in the hand-held transmitter
of the device being programmed to
HomeLink for quicker training and
accurate transmission of the radio-
frequency.
Follow these steps to train your
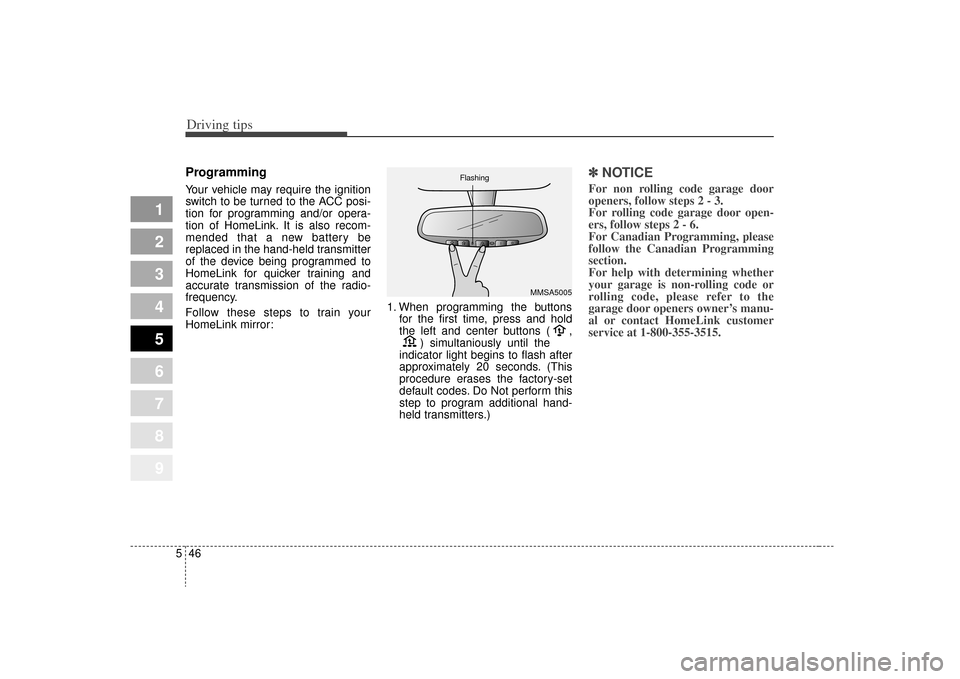
HomeLink mirror: 1. When programming the buttons
for the first time, press and hold
the left and center buttons ( , ) simultaniously until the
indicator light begins to flash after
approximately 20 seconds. (This
procedure erases the factory-set
default codes. Do Not perform this
step to program additional hand-
held transmitters.)
✽ ✽ NOTICEFor non rolling code garage door
openers, follow steps 2 - 3.
For rolling code garage door open-
ers, follow steps 2 - 6.
For Canadian Programming, please
follow the Canadian Programming
section.
For help with determining whether
your garage is non-rolling code or
rolling code, please refer to the
garage door openers owner’s manu-
al or contact HomeLink customer
service at 1-800-355-3515.
MMSA5005
Flashing
Page 288 of 371
In case of an emergency46EMERGENCY STARTING Jump starting Jump starting can be dangerous if
done incorrectly. Therefore, to avoid
harm to yourself or damage to your
vehicle or battery, follow the jump
starting procedures listed on page
6-6. If in doubt, we strongly recom-
mend that you have a competent
technician or towing service jump
start your vehicle.
✽ ✽NOTICEUse only a 12-volt jumper system.
You can damage a 12-volt starting
motor, ignition system, and other
electrical parts beyond repair by use
of a 24-volt power supply (either two
12-volt batteries in series or a 24-
volt motor generator set).
1
2
3
4
5
6
7
8
9
WARNING
- Battery
• Keep all flames or sparks away from the battery. The bat-
tery produces hydrogen gas
which may explode if exposed
to flame or sparks.
Do not attempt to jump start the vehicle if the discharged
battery is frozen or if the elec-
trolyte level is low; the battery
may rupture or explode.
WARNING
- Battery
Never attempt to check the elec-
trolyte level of the battery as
this may cause the battery to
rupture or explode causing seri-
ous injury.
Page 289 of 371
65
In case of an emergency
Connecting jumper cables
1
2
3
4
5
6
7
8
9
1KMN4001
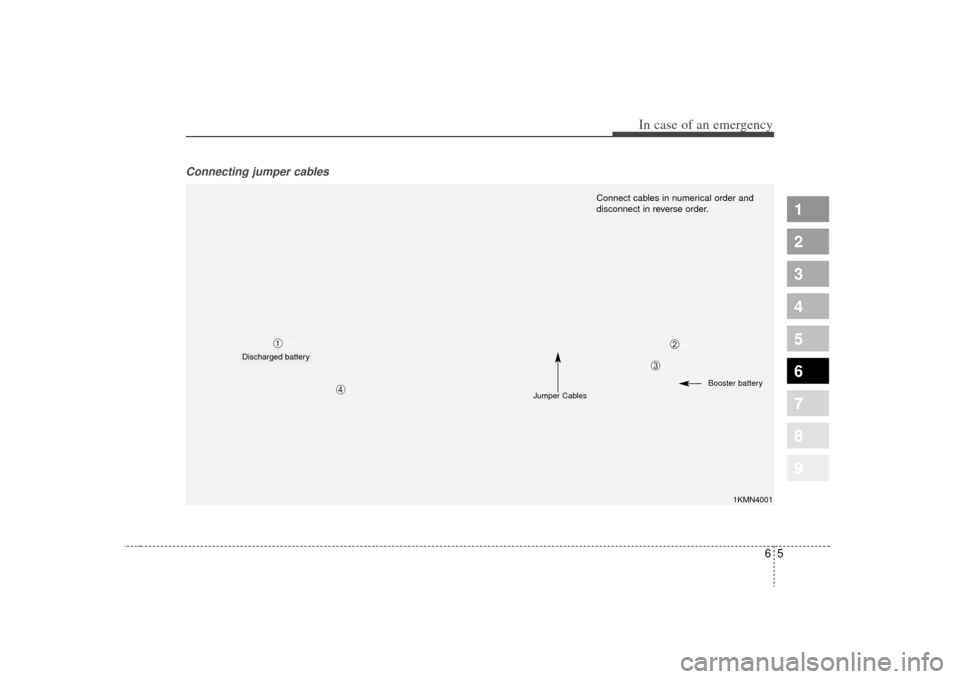
Connect cables in numerical order and
disconnect in reverse order.
Discharged battery(+)
Jumper CablesBooster batter
y
➀
➁
➂
➃(-) (+)
(-)
Page 290 of 371
In case of an emergency66Jump starting procedure 1. Make sure the booster battery is12-volt and that its negative termi-
nal is grounded.
2. If the booster battery is in another vehicle, do not allow the vehicles
to touch.
3. Turn off all unnecessary electrical loads.
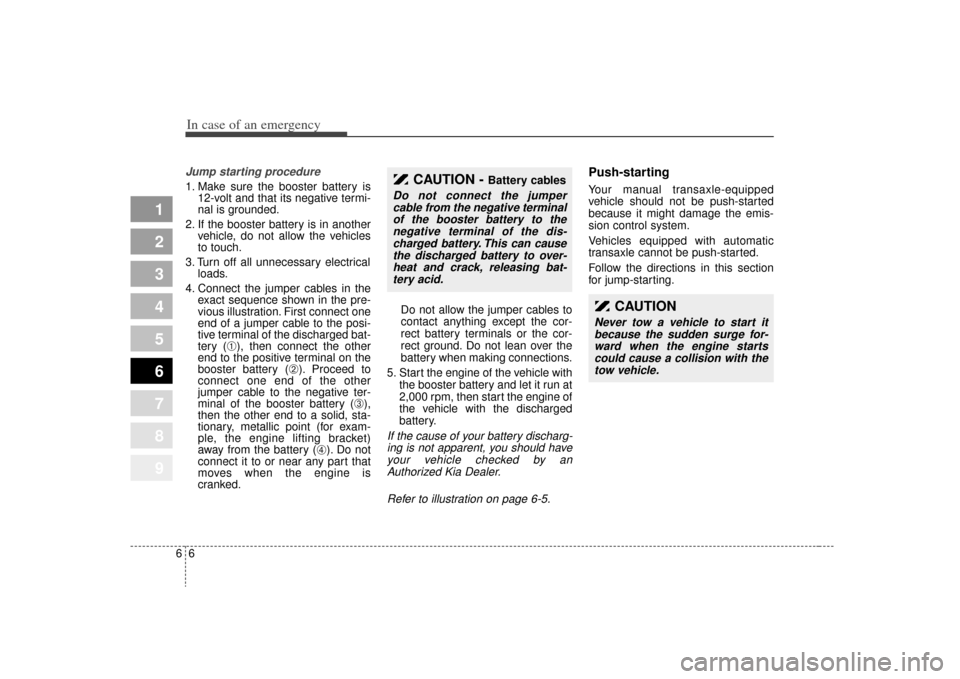
4. Connect the jumper cables in the exact sequence shown in the pre-
vious illustration. First connect one
end of a jumper cable to the posi-
tive terminal of the discharged bat-
tery (
➀), then connect the other
end to the positive terminal on the
booster battery (
➁). Proceed to
connect one end of the other
jumper cable to the negative ter-
minal of the booster battery (
➂),
then the other end to a solid, sta-
tionary, metallic point (for exam-
ple, the engine lifting bracket)
away from the battery (
➃). Do not
connect it to or near any part that
moves when the engine is
cranked. Do not allow the jumper cables to
contact anything except the cor-
rect battery terminals or the cor-
rect ground. Do not lean over the
battery when making connections.
5. Start the engine of the vehicle with the booster battery and let it run at
2,000 rpm, then start the engine of
the vehicle with the discharged
battery.
If the cause of your battery discharg-ing is not apparent, you should haveyour vehicle checked by anAuthorized Kia Dealer.
Refer to illustration on page 6-5.
Push-starting Your manual transaxle-equipped
vehicle should not be push-started
because it might damage the emis-
sion control system.
Vehicles equipped with automatic
transaxle cannot be push-started.
Follow the directions in this section
for jump-starting.
1
2
3
4
5
6
7
8
9
CAUTION
Never tow a vehicle to start itbecause the sudden surge for-ward when the engine startscould cause a collision with thetow vehicle.
CAUTION -
Battery cables
Do not connect the jumpercable from the negative terminalof the booster battery to thenegative terminal of the dis-charged battery. This can causethe discharged battery to over-heat and crack, releasing bat-tery acid.