2009 KIA Rio ECO mode
[x] Cancel search: ECO modePage 2 of 219
iThank you for choosing a Kia vehicle.
When you require service, remember that your dealer knows
your vehicle best. Your dealer has factory-trained technicians,
recommended special tools, genuine Kia replacement parts and
is dedicated to your complete satisfaction.
Because subsequent owners require this important information
as well, this publication should remain with the vehicle if it is
sold.
This manual will familiarize you with operational, mainte-
nance and safety information about your new vehicle. It is sup-
plemented by a Warranty and Consumer Information manual
that provides important information on all warranties regarding
your vehicle. We urge you to read these publications carefully
and follow the recommendations to help assure enjoyable and
safe operation of your new vehicle.
Kia offers a great variety of options, components and features
for its various models.
Therefore, the equipment described in this manual, along with
the various illustrations, may not all be applicable to your par-
ticular vehicle. The information and specifications provided in this manual
were accurate at the time of printing. Kia reserves the right to
discontinue or change specifications or design at any time
without notice and without incurring any obligation. If you
have questions, always check with your Kia Dealer.
We assure you of our continuing interest in your motoring
pleasure and satisfaction in your Kia vehicle.
© 2009 Kia Canada Inc.
All rights reserved. Reproduction by any means, electronic or
mechanical, including photocopying, recording, or by any
information storage and retrieval system or translation in
whole or part is not permitted without written authorization
from Kia Canada Inc..
Printed in KoreaForeword
Page 37 of 219
Knowing your vehicle28
3Safety belt restraint system
We strongly recommend that the driver
and all passengers be properly
restrained at all times by using the safety
belts provided with the vehicle. Proper
use of the safety belts decreases the risk
of severe injury or death in accidents or
sudden stops. In most states, and in
Canada, the law requires their use.
All seats have lap/shoulder belts. Inertial
locks in the safety belt retractors allow all
of the lap/shoulder safety belts to remain
unlocked during normal vehicle opera-
tion. This allows the occupants some
freedom of movement and increased
comfort while using the safety belts. If a
force is applied to the vehicle, such as a
strong stop, a sharp turn, or a collision,
the safety belt retractors will automatical-
ly lock the safety belts.
Since the inertial locks do not require a
collision in order to lock up, you may
become aware of the safety belts locking
while braking or going around sharp cor-
ners.
Always use the rear seat position(s) to
install your child restraint(s). The rear safety belts use a special auto-
lock feature designed to allow a child
restraint to be used in these positions
without an added locking clip. They nor-
mally lock only under extreme or emer-
gency conditions (emergency lock
mode). However they can be adjusted so
that they remain fixed and locked when a
child restraint system is placed in these
positions. (Use this auto-lock mode only
to secure a child restraint, never for pas-
sengers restrained by the safety belts.)
Page 3-42 gives instructions on placing
the safety belt in the auto lock mode.
The drivers safety belt can only operate
in the emergency lock mode.
WARNING
- Safety belts
To minimize the risk of serious or
fatal injury in an accident, the driv-
er and all passengers should use
the appropriate safety restraints for
their age and size. The presence of
air bags does not change the need
to be properly restrained by a safe-
ty belt or size-appropriate child
restraint. In fact, air bags are
designed to work the best when
passengers are correctly restrained
in the vehicle.
Be sure you are familiar with the
information in this section,
including the information on
infant and child restraints.
Read the safety warnings on the sun visors of your vehicle also.
WARNING
- Child restraint
in front seat
Never install a child restraint sys-
tem in the front passenger position,
as an inflating air bag could cause
serious or fatal injury to a child in
that position.
Page 50 of 219
341
Knowing your vehicle
Installing a child restraint system For safety reasons, we recommend that
the child restraint system be used in the
rear seats.
Never place a rear-facing child
restraint in the front passenger seat,
because of the danger that an inflat-
ing passenger side air bag could
impact the rear-facing child restraint
and kill the child.
Since all passenger safety belts move
freely under normal conditions and only
lock under extreme or emergency condi-
tions (emergency lock mode), you must
manually change these safety belts to
the auto lock mode to secure a child
restraint.
(Continued)
If the vehicle’s safety belt will notproperly fit the child, you must
use an appropriate child restraint
or booster seat in the rear.
Never allow a child to stand up or kneel while the vehicle is moving.
Never use an infant carrier or child seat that "hooks" over a
seatback. It will not provide ade-
quate protection in an accident.
Never allow a child to be held while they are in a moving vehi-
cle, as this could result in serious
injury or death to the child in the
event of an accident or sudden
stop. Holding a child in a moving
vehicle does not provide the child
with any protection during an
accident, even if the person hold-
ing the child is wearing a seat
belt.
WARNING
- Child seat
installation
Before installing the child
restraint system, read the instruc-
tions supplied by the child
restraint system manufacturer.
If the safety belt does not operate as described in this section, have
the system checked immediately
by your authorized Kia dealer.
Failure to observe this manual's instructions regarding child
restraint system and the instruc-
tions provided with the child
restraint system could increase
the chance and/or severity of
injury or death in an accident.
Page 90 of 219
381
Knowing your vehicle
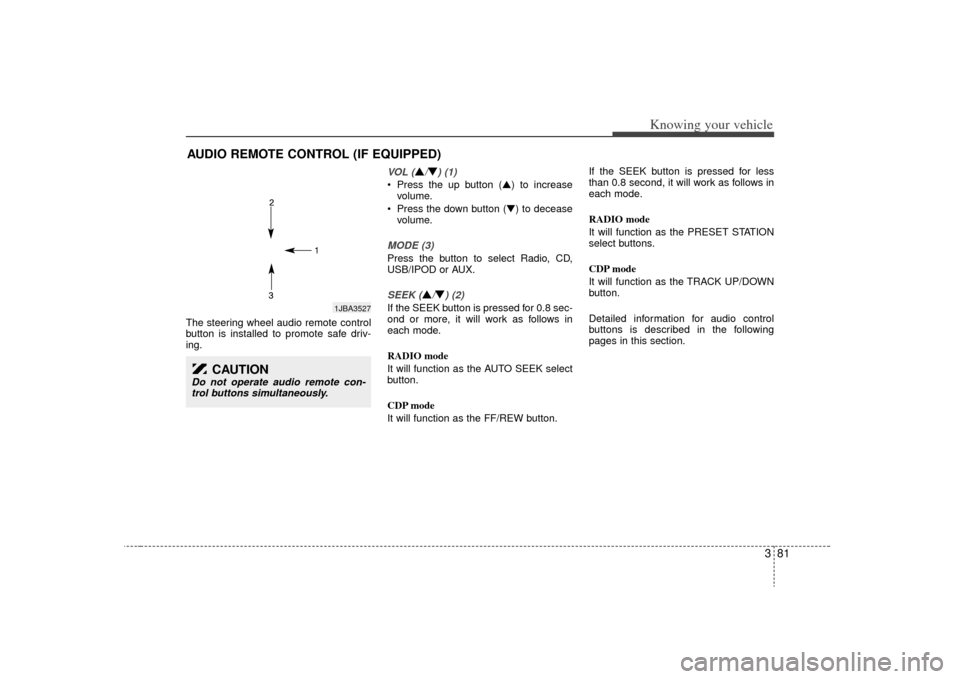
The steering wheel audio remote control
button is installed to promote safe driv-
ing.
VOL (
\b/▼) (1)
Press the up button (\b) to increasevolume.
Press the down button (▼) to decease volume.MODE (3)Press the button to select Radio, CD,
USB/IPOD or AUX.SEEK (
\b/▼) (2)
If the SEEK button is pressed for 0.8 sec-
ond or more, it will work as follows in
each mode.
RADIO mode
It will function as the AUTO SEEK select
button.
CDP mode
It will function as the FF/REW button. If the SEEK button is pressed for less
than 0.8 second, it will work as follows in
each mode.
RADIO mode
It will function as the PRESET STATION
select buttons.
CDP mode
It will function as the TRACK UP/DOWN
button.
Detailed information for audio control
buttons is described in the following
pages in this section.
AUDIO REMOTE CONTROL (IF EQUIPPED)
1JBA3527
CAUTION
Do not operate audio remote con-
trol buttons simultaneously.
Page 95 of 219
Knowing your vehicle86
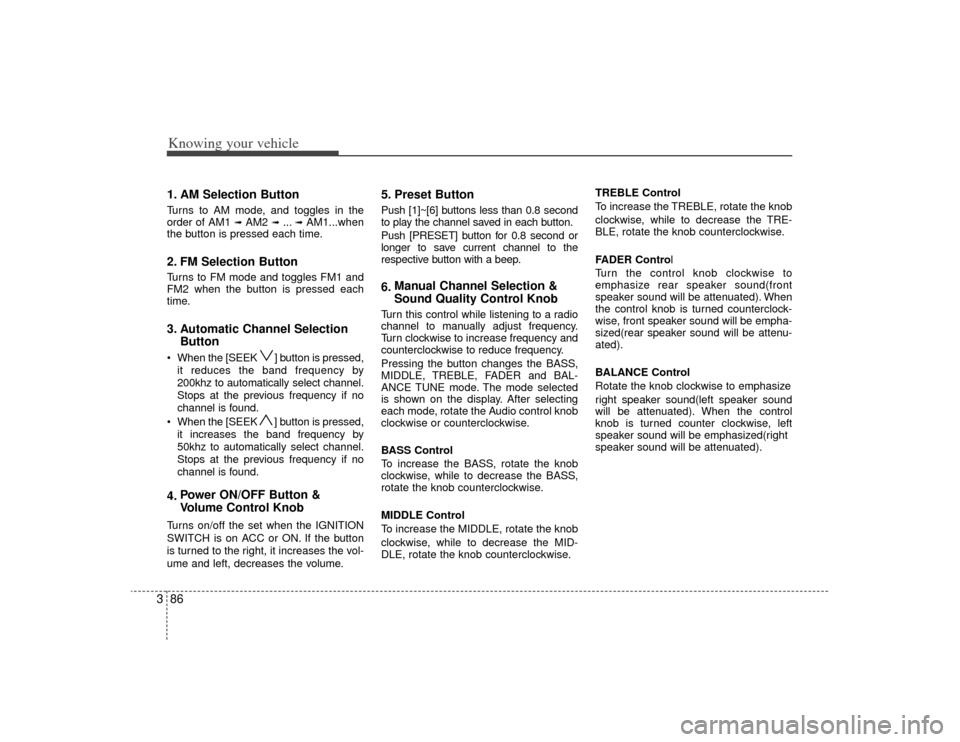
31. AM Selection ButtonTurns to AM mode, and toggles in the
order of AM1
➟ AM2
➟ ...➟ AM1...when
the button is pressed each time.
2. FM Selection ButtonTurns to FM mode and toggles FM1 and
FM2 when the button is pressed each
time.3. Automatic Channel Selection Button When the [SEEK ] button is pressed,
it reduces the band frequency by
200khz to automatically select channel.
Stops at the previous frequency if no
channel is found.
When the [SEEK ] button is pressed, it increases the band frequency by
50khz to automatically select channel.
Stops at the previous frequency if no
channel is found.4. Power ON/OFF Button &
Volume Control KnobTurns on/off the set when the IGNITION
SWITCH is on ACC or ON. If the button
is turned to the right, it increases the vol-
ume and left, decreases the volume.
5. Preset ButtonPush [1]~[6] buttons less than 0.8 second
to play the channel saved in each button.
Push [PRESET] button for 0.8 second or
longer to save current channel to the
respective button with a beep.6.Manual Channel Selection &
Sound Quality Control KnobTurn this control while listening to a radio
channel to manually adjust frequency.
Turn clockwise to increase frequency and
counterclockwise to reduce frequency.
Pressing the button changes the BASS,
MIDDLE, TREBLE, FADER and BAL-
ANCE TUNE mode. The mode selected
is shown on the display. After selecting
each mode, rotate the Audio control knob
clockwise or counterclockwise.
BASS Control
To increase the BASS, rotate the knob
clockwise, while to decrease the BASS,
rotate the knob counterclockwise.
MIDDLE Control
To increase the MIDDLE, rotate the knob
clockwise, while to decrease the MID-
DLE, rotate the knob counterclockwise. TREBLE Control
To increase the TREBLE, rotate the knob
clockwise, while to decrease the TRE-
BLE, rotate the knob counterclockwise.
FADER Control
Turn the control knob clockwise to
emphasize rear speaker sound(front
speaker sound will be attenuated). When
the control knob is turned counterclock-
wise, front speaker sound will be empha-
sized(rear speaker sound will be attenu-
ated).
BALANCE Control
Rotate the knob clockwise to emphasize
right speaker sound(left speaker sound
will be attenuated). When the control
knob is turned counter clockwise, left
speaker sound will be emphasized(right
speaker sound will be attenuated).
Page 96 of 219
387
Knowing your vehicle
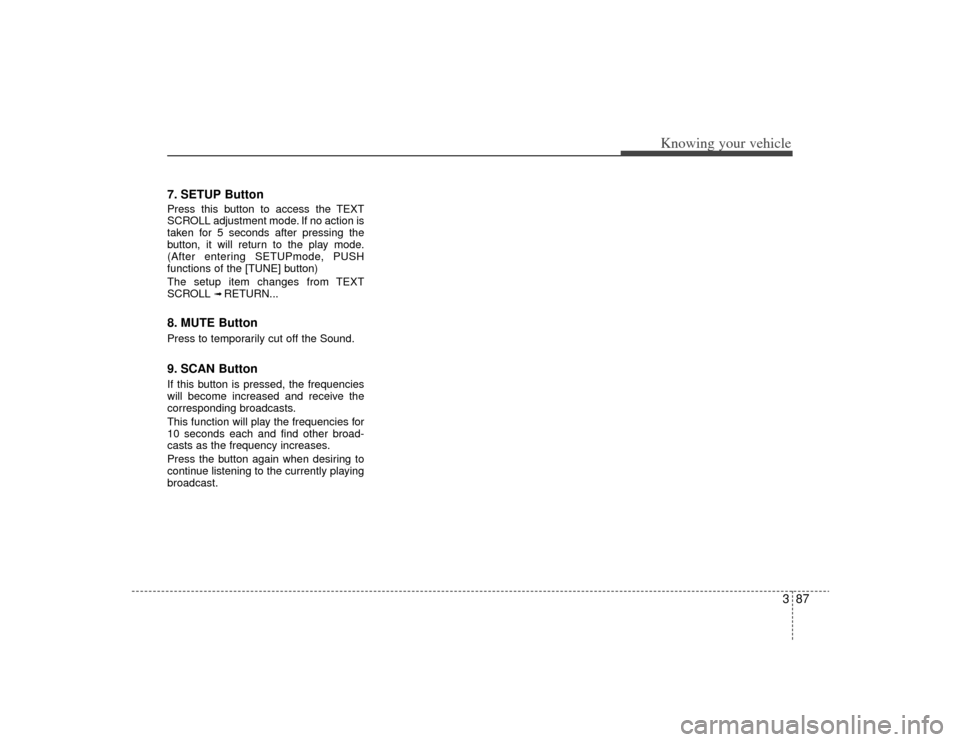
7. SETUP ButtonPress this button to access the TEXT
SCROLL adjustment mode. If no action is
taken for 5 seconds after pressing the
button, it will return to the play mode.
(After entering SETUPmode, PUSH
functions of the [TUNE] button)
The setup item changes from TEXT
SCROLL
➟ RETURN...
8. MUTE ButtonPress to temporarily cut off the Sound.9. SCAN ButtonIf this button is pressed, the frequencies
will become increased and receive the
corresponding broadcasts.
This function will play the frequencies for
10 seconds each and find other broad-
casts as the frequency increases.
Press the button again when desiring to
continue listening to the currently playing
broadcast.
Page 98 of 219
389
Knowing your vehicle
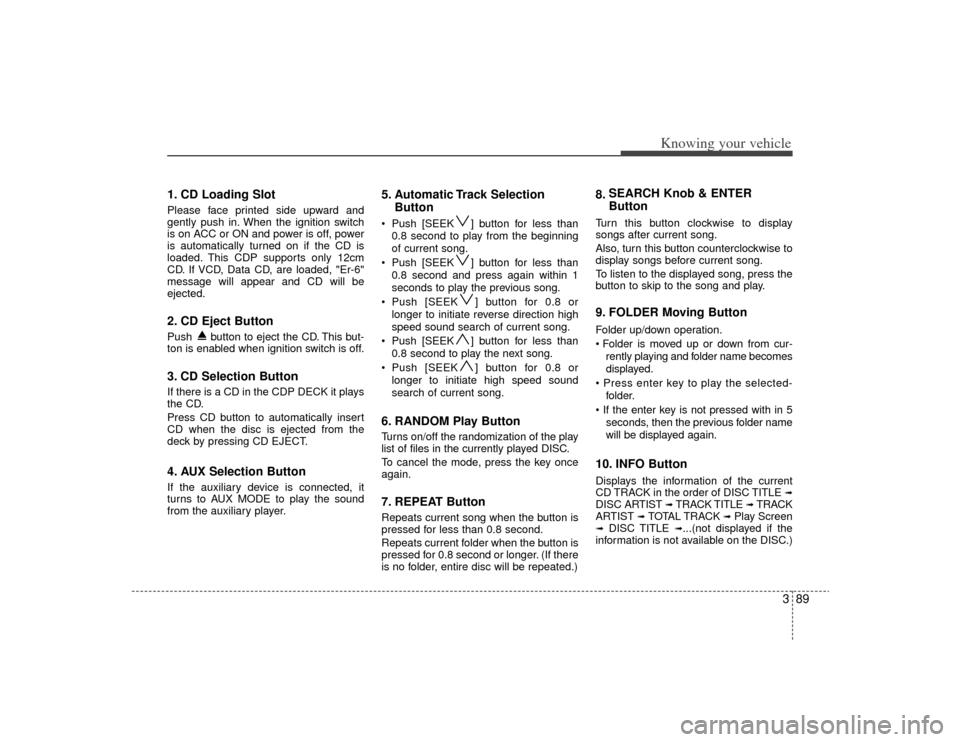
1. CD Loading SlotPlease face printed side upward and
gently push in. When the ignition switch
is on ACC or ON and power is off, power
is automatically turned on if the CD is
loaded. This CDP supports only 12cm
CD. If VCD, Data CD, are loaded, "Er-6"
message will appear and CD will be
ejected.2. CD Eject ButtonPush button to eject the CD. This but-
ton is enabled when ignition switch is off.3. CD Selection ButtonIf there is a CD in the CDP DECK it plays
the CD.
Press CD button to automatically insert
CD when the disc is ejected from the
deck by pressing CD EJECT.4. AUX Selection ButtonIf the auxiliary device is connected, it
turns to AUX MODE to play the sound
from the auxiliary player.
5. Automatic Track SelectionButton Push [SEEK ] button for less than
0.8 second to play from the beginning
of current song.
Push [SEEK ] button for less than 0.8 second and press again within 1
seconds to play the previous song.
Push [SEEK ] button for 0.8 or longer to initiate reverse direction high
speed sound search of current song.
Push [SEEK ] button for less than 0.8 second to play the next song.
Push [SEEK ] button for 0.8 or longer to initiate high speed sound
search of current song.6. RANDOM Play ButtonTurns on/off the randomization of the play
list of files in the currently played DISC.
To cancel the mode, press the key once
again.7. REPEAT ButtonRepeats current song when the button is
pressed for less than 0.8 second.
Repeats current folder when the button is
pressed for 0.8 second or longer. (If there
is no folder, entire disc will be repeated.)
8. SEARCH Knob & ENTER
ButtonTurn this button clockwise to display
songs after current song.
Also, turn this button counterclockwise to
display songs before current song.
To listen to the displayed song, press the
button to skip to the song and play.9. FOLDER Moving ButtonFolder up/down operation.
rently playing and folder name becomes
displayed.
folder.
seconds, then the previous folder name
will be displayed again.10. INFO ButtonDisplays the information of the current
CD TRACK in the order of DISC TITLE
➟
DISC AR TIST
➟ TRACK TITLE
➟ TRACK
ARTIST
➟ TOTAL TRACK
➟ Play Screen
➟
DISC TITLE
➟...(not displayed if the
information is not available on the DISC.)
Page 99 of 219

Knowing your vehicle90
311. SCAN Play ButtonPlays first 10 seconds of each song in
the DISC. To cancel the mode, press the
key once again.12. CD Indicator When car ignition switch is ACC or ON
and if the CD is loaded, this indicator is
lighted. If the CD is ejected the light is
turned off.