2009 KIA Rio ECO mode
[x] Cancel search: ECO modePage 100 of 219
391
Knowing your vehicle
CAUTION IN USING
USB DEVICE
To use an external USB device,
make sure the device is notmounted when starting up the vehicle and mount the deviceafter starting up.
If you start the vehicle when the USB device is mounted, it maydamage the USB device. (USB isnot “ESA”)
If the vehicle is started up or turned off while the external USBdevice is connected, the externalUSB device may not work.
It may not play damaged/corrupt- ed MP3 or WMA files.
1) It can only play MP3 files with the compression rate between8Kbps~320Kbps.
2) It can only play WMA music files with the compression ratebetween 8Kbps~320Kbps.
Take cautions for static electricity when mounting or dismountingthe external USB device.
An encoded MP3 PLAYER is not recognizable.
(Continued)
(Continued) Depending on the condition of the external USB device, the con-nected external USB device can be unrecognizable.
When the formatted byte/sector setting of External USB devices isnot either 512BYTE or 2048BYTE,then the device will not be recog-nized.
Use only a USB device formatted to FAT 12/16/32.
USB devices without USB IF authentication may not be recog-nizable.
Make sure the USB connection terminal does not come in contactwith a human body or any object.
If you repeat mounting or dis- mounting USB device in a shortperiod of time, it may break thedevice.
You might hear a strange noise when mounting or dismounting aUSB device.
(Continued)
(Continued) If you dismount the external USB device during playback in USBmode, the external USB device can be damaged or malfunction.Therefore, mount the external USBdevice when the engine is turnedoff or in another mode.
Depending on the type and capac- ity of the external USB device orthe type of the files stored in thedevice, there is a difference in thetime taken for recognition of the device, but this does not indicatea problem, and you should waitfor the USB device to be recog-nized by the audio system.
Do not use the USB device for other purposes than playing music files.
Use of USB accessories such as the recharger or heater usingUSB I/F may lower performanceor cause trouble.
If you use devices such as the USB hub you purchased sepa-rately, the vehicle’s audio system may not recognize the USBdevice. Connect the USB device directly to the multimedia termi-nal of the vehicle.
(Continued)
Page 103 of 219
Knowing your vehicle94
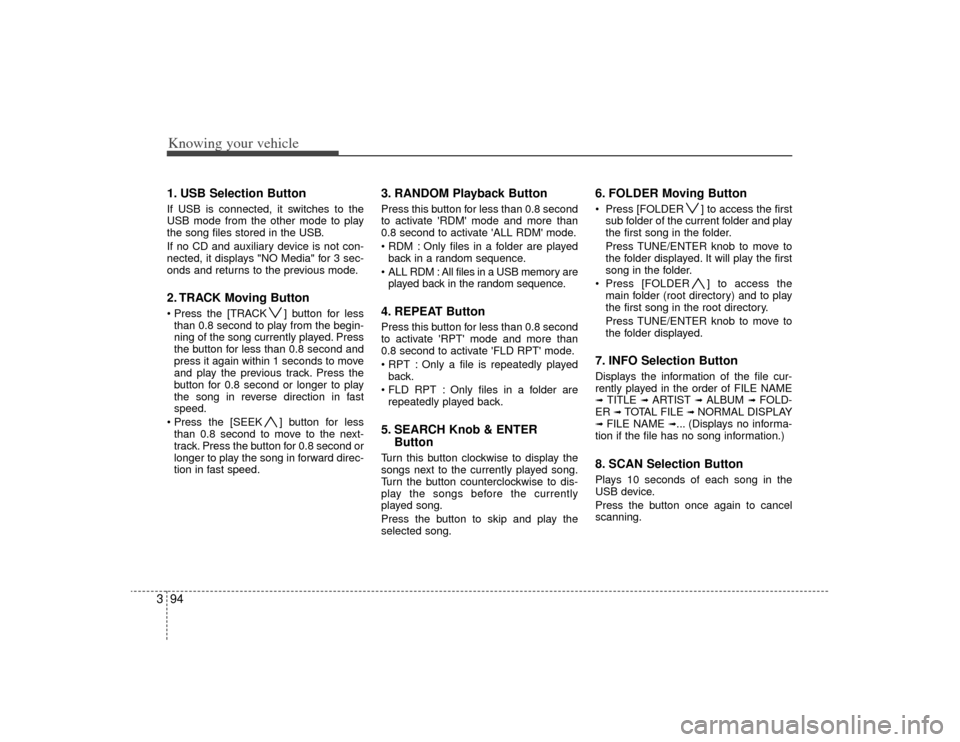
31. USB Selection ButtonIf USB is connected, it switches to the
USB mode from the other mode to play
the song files stored in the USB.
If no CD and auxiliary device is not con-
nected, it displays "NO Media" for 3 sec-
onds and returns to the previous mode.2. TRACK Moving Button ] button for less
than 0.8 second to play from the begin-
ning of the song currently played. Press
the button for less than 0.8 second and
press it again within 1 seconds to move
and play the previous track. Press the
button for 0.8 second or longer to play
the song in reverse direction in fast
speed.
] button for less than 0.8 second to move to the next-
track. Press the button for 0.8 second or
longer to play the song in forward direc-
tion in fast speed.
3. RANDOM Playback ButtonPress this button for less than 0.8 second
to activate 'RDM' mode and more than
0.8 second to activate 'ALL RDM' mode.
Only files in a folder are playedback in a random sequence.
ALL RDM : All files in a USB memory are played back in the random sequence.4. REPEAT ButtonPress this button for less than 0.8 second
to activate 'RPT' mode and more than
0.8 second to activate 'FLD RPT' mode.
Only a file is repeatedly playedback.
Only files in a folder are repeatedly played back.5. SEARCH Knob & ENTER ButtonTurn this button clockwise to display the
songs next to the currently played song.
Turn the button counterclockwise to dis-
play the songs before the currently
played song.
Press the button to skip and play the
selected song.
6. FOLDER Moving Button Press [FOLDER ] to access the first
sub folder of the current folder and play
the first song in the folder.
Press TUNE/ENTER knob to move to
the folder displayed. It will play the first
song in the folder.
Press [FOLDER ] to access the main folder (root directory) and to play
the first song in the root directory.
Press TUNE/ENTER knob to move to
the folder displayed.7. INFO Selection ButtonDisplays the information of the file cur-
rently played in the order of FILE NAME➟ TITLE
➟ ARTIST
➟ ALBUM
➟ FOLD-
ER
➟ TOTAL FILE
➟ NORMAL DISPLAY
➟ FILE NAME
➟... (Displays no informa-
tion if the file has no song information.)
8. SCAN Selection ButtonPlays 10 seconds of each song in the
USB device.
Press the button once again to cancel
scanning.
Page 105 of 219
Knowing your vehicle96
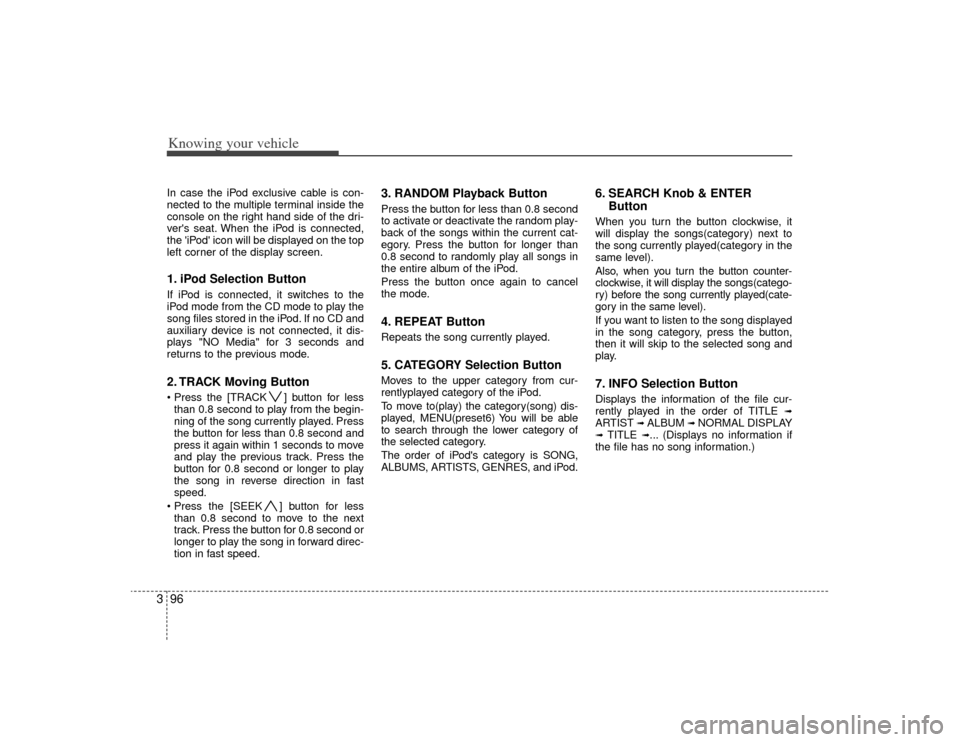
3In case the iPod exclusive cable is con-
nected to the multiple terminal inside the
console on the right hand side of the dri-
ver's seat. When the iPod is connected,
the 'iPod' icon will be displayed on the top
left corner of the display screen.1. iPod Selection ButtonIf iPod is connected, it switches to the
iPod mode from the CD mode to play the
song files stored in the iPod. If no CD and
auxiliary device is not connected, it dis-
plays "NO Media" for 3 seconds and
returns to the previous mode.2. TRACK Moving Button ] button for less
than 0.8 second to play from the begin-
ning of the song currently played. Press
the button for less than 0.8 second and
press it again within 1 seconds to move
and play the previous track. Press the
button for 0.8 second or longer to play
the song in reverse direction in fast
speed.
] button for less than 0.8 second to move to the next
track. Press the button for 0.8 second or
longer to play the song in forward direc-
tion in fast speed.
3. RANDOM Playback ButtonPress the button for less than 0.8 second
to activate or deactivate the random play-
back of the songs within the current cat-
egory. Press the button for longer than
0.8 second to randomly play all songs in
the entire album of the iPod.
Press the button once again to cancel
the mode.4. REPEAT ButtonRepeats the song currently played.5. CATEGORY Selection ButtonMoves to the upper category from cur-
rentlyplayed category of the iPod.
To move to(play) the category(song) dis-
played, MENU(preset6) You will be able
to search through the lower category of
the selected category.
The order of iPod's category is SONG,
ALBUMS, ARTISTS, GENRES, and iPod.
6. SEARCH Knob & ENTER ButtonWhen you turn the button clockwise, it
will display the songs(category) next to
the song currently played(category in the
same level).
Also, when you turn the button counter-
clockwise, it will display the songs(catego-
ry) before the song currently played(cate-
gory in the same level).
If you want to listen to the song displayed
in the song category, press the button,
then it will skip to the selected song and
play.7. INFO Selection ButtonDisplays the information of the file cur-
rently played in the order of TITLE
➟
ARTIST
➟ ALBUM
➟ NORMAL DISPLAY
➟ TITLE
➟... (Displays no information if
the file has no song information.)
Page 114 of 219

Driving your vehicle842 (Second Gear)Use 2 (Second Gear) for more power
when climbing hills and for increased
braking when going down hills. This posi-
tion also helps reduce wheel spin on slip-
pery surfaces. When the shift lever is
placed in 2 (Second Gear), the transaxle
will automatically shift from first to sec-
ond gear.L (Low)Move the shift lever to this position in
hard pulling situations and for climbing
steep grades.
O/D (Over Drive) system
(if equipped)Pressing the O/D system button cancels
and engages the overdrive system.
When the O/D system is cancelled, the
O/D OFF indicator illuminates and the
transaxle gear range is limited to 1st
through 3rd. The transaxle will not shift to
4th gear until the O/D system button is
pressed again to release the switch.
When driving down a sloping road with
the transaxle in O/D (4th), you can
decrease the vehicle speed without using
the brakes by pressing the O/D button.
When the ignition is switched OFF, O/D
OFF mode is automatically cancelled.
O/D OFF Indicator ( ) This indicator light illuminates in the
instrument panel when the O/D mode is
cancelled.Moving up a steep grade from a
standing startTo move up a steep grade from a stand-
ing start, depress the brake pedal, shift
the shift lever to D (Drive). Select the
appropriate gear depending on load
weight and steepness of the grade, and
release the parking brake. Depress the
accelerator gradually while releasing the
service brakes.
O/D
OFF
CAUTION
Do not exceed the recommended
maximum speeds in 2 (SecondGear) or L (Low). Operating the vehicle at speeds above the maxi-mum recommended, for 2 (SecondGear) or L (Low) may cause exces-sive heat to develop which could result in damage to or failure of theautomatic transaxle.
OJB046004
Page 123 of 219
417
Driving your vehicle
Speedometer The speedometer indicates the forward
speed of the vehicle.OdometerThe odometer indicates the total dis-
tance the vehicle has been driven.
TripmeterYou can choose the tripmeter A and trip-
meter B by pressing the tripmeter mode
button.
TRIP A: Tripmeter A (if equipped)
TRIP B: Tripmeter B (if equipped)
The tripmeter indicates the distance of
individual trips selected by the driver.
Tripmeter A and B can be reset to 0 by
pressing the reset button for 1 second or
more, and then releasing.
Tachometer The tachometer indicates the approxi-
mate number of engine revolutions per
minute (rpm).
Use the tachometer to select the correct
shift points and to prevent lugging and/or
over-revving the engine.
The tachometer pointer may move slight-
ly when the ignition switch is in ACC or
ON position with the engine OFF. This
movement is normal and will not affect
the accuracy of the tachometer once the
engine is running.✽ ✽NOTICEDo not operate the engine within the
tachometer's RED ZONE.
This may cause severe engine damage.
GAUGES
OJB049009
Page 142 of 219

Driving your vehicle36
4Air conditioning system opera-
tion tips If the vehicle has been parked in direct
sunlight during hot weather, open the
windows for a short time to let the hot
air inside the vehicle escape.
To help reduce moisture inside of win- dows on rainy or humid days, decrease
the humidity inside the vehicle by oper-
ating the air conditioning system.
During air conditioning system opera- tion, you may occasionally notice a
slight change in engine speed at idle
as the air conditioning compressor
cycles. This is a normal system opera-
tion characteristic.
Use the air conditioning system every month if only for a few minutes to
ensure maximum system perform-
ance.
When using the air conditioning sys- tem, you may notice clear water drip-
ping (or even pudding) on the ground
under the passenger side of the vehi-
cle. This is a normal system operation
characteristic. The air conditioning system includes a
function that automatically turns the air
conditioning compressor off if engine
coolant temperature approaches an
over heating level. The air conditioning
compressor operation will resume
once engine coolant temperature
returns to the normal range. Also, the
air conditioning compressor is auto-
matically turned off for a few seconds
when the accelerator is fully depressed
(wide open throttle).
When operating the air conditioning system use the outside (fresh) air posi-
tion.
Operating the air conditioning system in the recirculated air position does
provide maximum cooling, however,
continual operation in this mode may
cause the air inside the vehicle to
become stale.
Checking the amount of air con-
ditioner refrigerant and compres-
sor lubricantWhen the amount of refrigerant is low,
the performance of the air conditioning is
reduced. Overfilling also has a bad influ-
ence on the air conditioning system.
Therefore, if abnormal operation is
found, have the system inspected by an
authorized Kia dealer.✽ ✽ NOTICEWhen the performance of the air condi-
tioning system is reduced it is important
that the correct type and amount of oil
and refrigerant is used. Otherwise,
damage to the compressor and abnor-
mal system operation may occur.
CAUTION
The air conditioning system should
be serviced by an authorized Kiadealer. Improper service may cause serious injury.
Page 207 of 219
731
Maintenance
Traction - AA, A, B & C The traction grades, from highest to
lowest, are AA, A, B and C. The
grades represent the tires ability to
stop on wet pavement as measured
under controlled conditions on spec-
ified government test surfaces of
asphalt and concrete. A tire marked
C may have poor traction perform-
ance.Temperature -A, B & C The temperature grades are A (the
highest), B and C. The grades repre-
sent the tire’s resistance to the gen-
eration of heat and its ability to dissi-
pate heat when tested under con-
trolled conditions on a specified
indoor laboratory test wheel.
Sustained high temperature can
cause the material of the tires to
degenerate and reduce tires life, and
excessive temperature can lead to
sudden tires failure. Grades A and B
represent higher levels of perform-
ance on the laboratory test wheel
than the minimum required by the
law.All season tires
Kia specifies all season tires on
some models to provide good per-
formance for use all year round,
including snowy and icy road condi-
tions. All season tires are identified
by ALL SEASON and/or M+S (Mud
and Snow) on the tire sidewall. Snow
tires have better snow traction than
all season tires and may be more
appropriate in some areas.Summer tires
Kia specifies summer tires on some
models to provide superior perform-
ance on dry roads. Summer tire per-
formance is substantially reduced in
snow and ice. Summer tires do not
have the tire traction rating M+S
(Mud and Snow) on the tire side wall.
if you plan to operate your vehicle in
snowy or icy conditions. Kia recom-
mends the use of snow tires or all
season tires on all four wheels.
Snow tires
If you equip your car with snow tires,
they should be the same size and
have the same load capacity as the
original tires. Snow tires should be
installed on all four wheels; other-
wise, poor handling may result.
Snow tires should carry 28 kPa (4
psi) more air pressure than the pres-
sure recommended for the standard
tires on the tire label on the driver's
side of the center pillar, or up to the
maximum pressure shown on the tire
sidewall, whichever is less.
Do not drive faster than 120 km/h (75
mph) when your car is equipped with
snow tires.
WARNING
- Tire
temperature
The temperature grade for this
tire is established for a tire that
is properly inflated and not
overloaded. Excessive speed,
underinflation, or excessive
loading, either separately or in
combination, can cause heat
build-up and possible sudden
tire failure. This can cause loss
of vehicle control and serious
injury or death.