2009 KIA Rio fog light
[x] Cancel search: fog lightPage 7 of 219

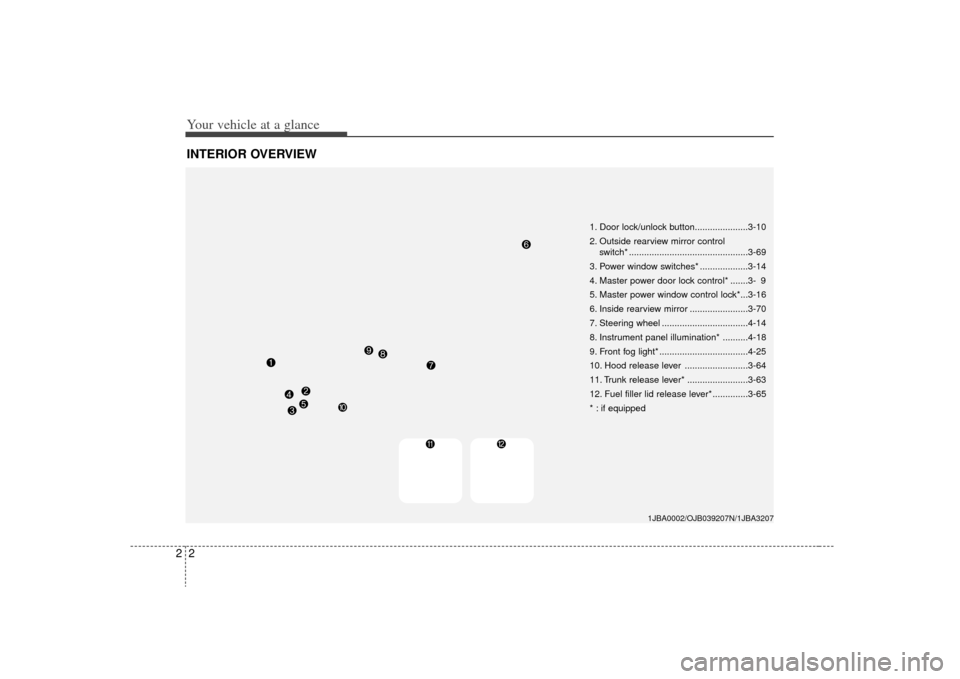
Your vehicle at a glance22INTERIOR OVERVIEW
1. Door lock/unlock button.....................3-10
2. Outside rearview mirror control switch* ...............................................3-69
3. Power window switches* ...................3-14
4. Master power door lock control* .......3- 9
5. Master power window control lock*...3-16
6. Inside rearview mirror .......................3-70
7. Steering wheel ..................................4-14
8. Instrument panel illumination* ..........4-18
9. Front fog light* ...................................4-25
10. Hood release lever .........................3-64
11. Trunk release lever* ........................3-63
12. Fuel filler lid release lever* ..............3-65
* : if equipped
1JBA0002/OJB039207N/1JBA3207
Page 79 of 219

Knowing your vehicle70
3Outside rearview mirror heater
(if equipped) The outside rearview mirror heater is
automatically turned on when the rear
window defroster is turned on. To heat
the outside rearview mirror glass, push
the button for the rear window defroster.
The rearview mirror heater (and rear win-
dow defroster) will not operate unless the
engine is running.
The outside rearview mirror glass will be
heated for defrosting or defogging and
will give you improved rear vision in
inclement weather conditions. Push the
button again to turn the heater off. The
outside rearview mirror heater automati-
cally turns off after 20 minutes.
Inside rearview mirrorAdjust the rearview mirror to center on
the view through the rear window. Make
this adjustment before you start driving.
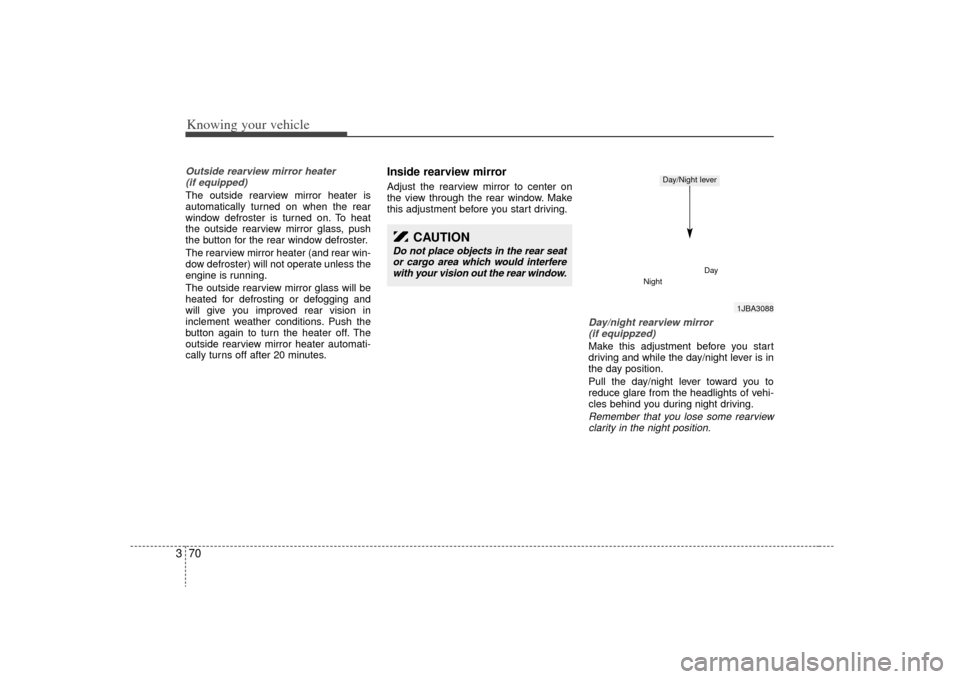
Day/night rearview mirror (if equippzed)Make this adjustment before you start
driving and while the day/night lever is in
the day position.
Pull the day/night lever toward you to
reduce glare from the headlights of vehi-
cles behind you during night driving.Remember that you lose some rearviewclarity in the night position.
1JBA3088
Day
Night
Day/Night lever
CAUTION
Do not place objects in the rear seat or cargo area which would interfere with your vision out the rear window.
Page 107 of 219

4
Ignition switch / 4-2
Starting the engine / 4-3
Manual transaxle / 4-4
Automatic transaxle / 4-6
Brake system / 4-9
Steering wheel / 4-14
Instrument cluster / 4-16
Gauges / 4-17
Warnings and indicators / 4-19
Lighting / 4-23
Wipers and washers / 4-26
Defroster / 4-29
Hazard warning flasher / 4-30
Climate control system / 4-30
Windshield defrosting and defogging / 4-37
Driving your vehicle
Page 131 of 219

425
Driving your vehicle
Turn signals (A)The ignition switch must be on for the
turn signals to function. To turn on the
turn signals, move the lever up or down.
Green arrow indicators on the instrument
panel indicate which turn signal is oper-
ating. They will self-cancel after a turn is
completed. If the indicator continues to
flash after a turn, manually return the
lever to the OFF position.
Lane change signals (B)To signal a lane change, move the turn
signal lever slightly and hold it in position.
The lever will return to the OFF position
when released.
If an indicator stays on and does not
flash or if it flashes abnormally, one of the
turn signal bulbs may be burned out and
will require replacement.✽ ✽NOTICEIf an indicator flash is abnormally quick
or slow, the bulb may be burned out or
have a poor electrical connection in the
circuit.
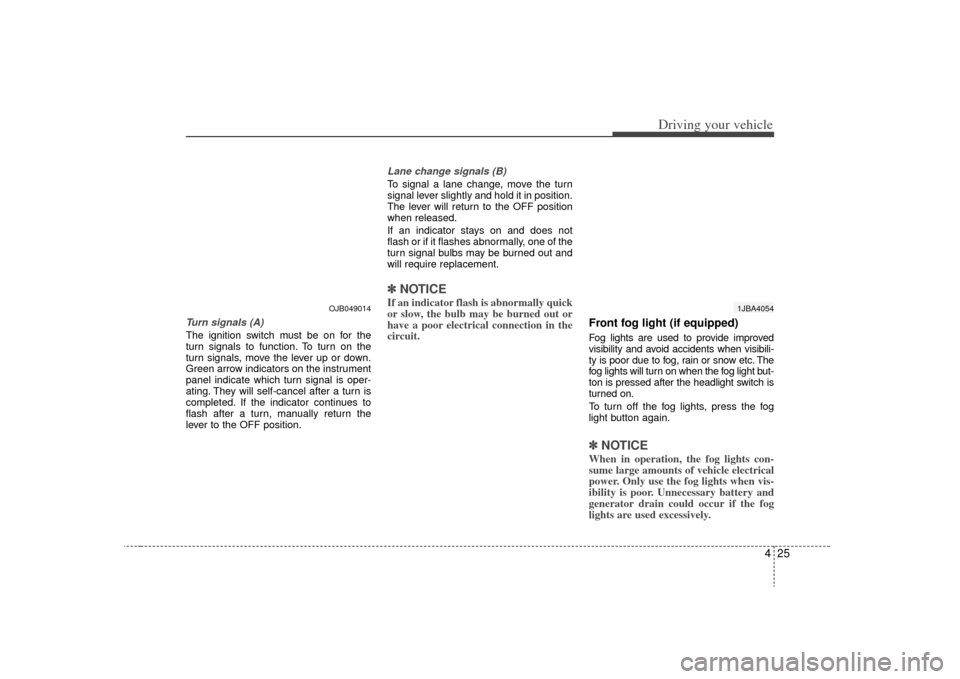
Front fog light (if equipped) Fog lights are used to provide improved
visibility and avoid accidents when visibili-
ty is poor due to fog, rain or snow etc. The
fog lights will turn on when the fog light but-
ton is pressed after the headlight switch is
turned on.
To turn off the fog lights, press the fog
light button again.✽ ✽NOTICEWhen in operation, the fog lights con-
sume large amounts of vehicle electrical
power. Only use the fog lights when vis-
ibility is poor. Unnecessary battery and
generator drain could occur if the fog
lights are used excessively.
1JBA4054
OJB049014
Page 140 of 219

Driving your vehicle34
4Air intake control button This is used to select outside (fresh) air
position or recirculated air position.
To change the air intake control position,
push the control button.Recirculated air position
The indicator light on the but-
ton is illuminated when the
recirculated air position is
selected.
With the recirculated air posi-
tion selected, air from pas-
senger compartment will be
drawn through the heating
system and heated or cooled
according to the function
selected.
Outside (fresh) air position
The indicator light on the but-
ton is not illuminated when
the outside (fresh) air posi-
tion is selected.
With the outside (fresh) air
position selected, air enters
the vehicle from outside and
is heated or cooled according
to the function selected.
✽ ✽
NOTICEIt should be noted that prolonged oper-
ation of the heating in recirculated air
position will cause fogging of the wind-
shield and side windows and the air
within the passenger compartment will
become stale.
In addition, prolonged use of the air
conditioning with the “recirculated air
position” selected, will result in exces-
sively dry air in the passenger compart-
ment.
WARNING
Continued climate control system
operation in the recirculated air
position may allow humidity to
increase inside vehicle which
may fog the glass and obscure
visibility.
Do not sleep in a vehicle with air conditioning or heating system
on. It may cause serious harm or
death due to a drop in the oxygen
level and/or body temperature.
Continued climate control system operation in the recirculated air
position can cause drowsiness or
sleepiness, and loss of vehicle
control. Set the air intake control
to the outside (fresh) air position
as much as possible while driv-
ing.
OJB049205
Page 141 of 219

435
Driving your vehicle
Air conditioning button
(if equipped) Push the A/C button to turn the air condi-
tioning system on (indicator light will illu-
minate). Push the button again to turn the
air conditioning system off.System operationVentilation1. Set the mode to the position.
2. Set the air intake control to the outside(fresh) air position.
3. Set the temperature control to the desired position.
4. Set the fan speed control to the desired speed.
Heating1. Set the mode to the position.
2. Set the air intake control to the outside(fresh) air position.
3. Set the temperature control to the desired position.
4. Set the fan speed control to the desired speed.
5. If dehumidified heating is desired, turn the air conditioning system (if
equipped) on.
If the windshield fogs up, set the mode to the
,
position.
Air conditioning (if equipped) All Kia Air Conditioning Systems are
filled with environmentally friendly
R-134a refrigerant which is not damag-
ing to the ozone layer.
1. Start the engine. Push the air condi- tioning button.
2. Set the mode to the position.
3. Set the air intake control to the outside air or recirculated air position. 4. Adjust the fan speed control and tem-
perature control to maintain maximum
comfort.
When maximum cooling is desired, set the temperature control to the extreme
left position, then set the fan speed
control to the highest speed.
✽ ✽ NOTICE• When using the air conditioning sys-
tem, monitor the temperature indica-
tor closely while driving up hills or in
heavy traffic when outside tempera-
tures are high. Air conditioning sys-
tem operation may cause engine over-
heating. Continue to use the blower
fan but turn the air conditioning sys-
tem off if the temperature indicator
indicates engine overheating.
• When opening the windows in humid weather air conditioning may create
water droplets inside the vehicle.
Since excessive water droplets may
cause damage to electrical equipment,
air conditioning should only be run
with the windows closed.
OJB049204
Page 143 of 219

437
Driving your vehicle
Manual climate control systemTo defog inside windshield 1. Select any fan speed.
2. Select desired temperature.
3. Select the or position.
4. Select the outside(fresh) air position.The air conditioning will be selected.
To reduce the probability of fogging up
the inside of the windshield, the air con-
ditioning will automatically operate if the
mode is selected to the or posi-
tion. If you don't want the air conditioning,
press the corresponding button to cancel
the operation.
To defrost outside windshield 1. Set the fan speed to the “3” or “4” posi- tion.
2. Set the temperature to the extreme hot position.
3. Select the position.
4. Select the outside(fresh) air position. The air conditioning will be selected.
To reduce the probability of fogging up
the inside of the windshield, the air con-
ditioning will automatically operate if the
mode is selected to the or posi-
tion. If you don't want the air conditioning,
press the corresponding button to cancel
the operation. For maximum defrosting, set the tem-
perature control to the extreme
right/hot position and the fan speed
control to the highest speed.
If warm air to the floor is desired while defrosting or defogging, set the mode
to the floor-defrost position.
Before driving, clear all snow and ice from the windshield, rear window, out-
side rear view mirrors, and all side win-
dows.
Clear all snow and ice from the hood and air inlet in the cowl grill to improve
heater and defroster efficiency and to
reduce the probability of fogging up
inside of the windshield.
WINDSHIELD DEFROSTING AND DEFOGGING
CAUTION
Do not use the or position
during cooling operation inextremely humid weather. The dif-ference between the temperature ofthe outside air and that of the wind-shield could cause the outer sur-face of the windshield to fog up,causing loss of visibility. In thiscase, set the mode selection knobto the position and fan speedcontrol knob to the lower speed.
OJB049206
OJB049207
✽
✽ NOTICEIf the mode is selected to the ( ) or ( ) position, the air conditioning will auto-
matically operate, but the air conditioning indicator light does not turn off.
Page 165 of 219

611
In case of an emergency
Driver-side knee bolster
Description Fuse rating Protected component
RR WIPER15A Rear wiper
H/LP(LH) 10A Headlight (left)
FR WIPER 25A Front wiper
BLOWER 10A Blower
H/LP(RH) 10A Headlight (right)
S/ROOF 20A Sunroof
STOP LP 15A Stop light
C/DR LOCK 20A Central door lock
IGN COIL 15A Ignition coil
ABS 10A ABS
B/UP LP 10A Back-up light
SPARE - Spare fuse
C/LIGHTER 25A Cigar lighter
FOLD'G 10A Outside rearview mirror folding
HTD SEAT 20A Seat warmer
AMP 25A Amplifier
FR FOG LP 10A Front fog light
SPARE - Spare fuse
ECU 10A Engine control unit
CLUSTER 10A Cluster
P/WDW RH 25A Power window (right)
AUDIO 10A Audio
RR FOG LP 10A Rear fog light
IGN 10A Ignition
Description Fuse rating Protected component
HTD GLASS30A Rear window defroster
A/BAG 15A Air bag
TCU 10A Automatic transaxle control
SNSR 10A Sensors
SPARE - Spare fuse
MULT B/UP 10A Cluster, ETACS, A/C, Clock,
Room lamp
AUDIO 15A Audio
P/WDW LH 25A Power window (left)
HTD MIRR 10A Outside rearview mirror heater
TAIL LP(LH) 10A Taillight (left)
TAIL LP(RH) 10A Taillight (right)
HAZARD 10A Hazard warning light
T/SIG LP 10A Turn signal light
A/BAG IND 10A Air bag warning
START 10A Start motor