Page 335 of 457
After removing the gas cap, place the gas cap tether cable
over a hook on the inside of the fuel door. This keeps the
gas cap suspended away from and protects the vehicle’s
surface.CAUTION!
•A poorly fitting gas cap may cause the Malfunc-
tion Indicator Light (MIL) to turn on.
•To avoid fuel spillage and overfilling, do not “top
off” the fuel tank after filling.
NOTE:When the fuel nozzle “clicks” or shuts off, the
fuel tank is full.
WARNING!
•Never have any smoking materials lit in or near
the vehicle when the gas cap is removed or the
tank filled.
•Never add fuel when the engine is running. This is
in violation of most state and Federal fire regula-
tions and will cause the Malfunction Indicator
Light (MIL) to turn on.
Fuel Filler Door
STARTING AND OPERATING 333
5
Page 341 of 457

safety. The addition of a friction/hydraulic sway control
also dampens sway caused by traffic and crosswinds and
contributes positively to tow vehicle and trailer stability.
Trailer sway control and a weight distributing (load
equalizing) hitch are recommended for heavier Tongue
Weights (TW) and may be required depending on Vehicle
and Trailer configuration/loading to comply with Gross
Axle Weight Rating (GAWR) requirements.
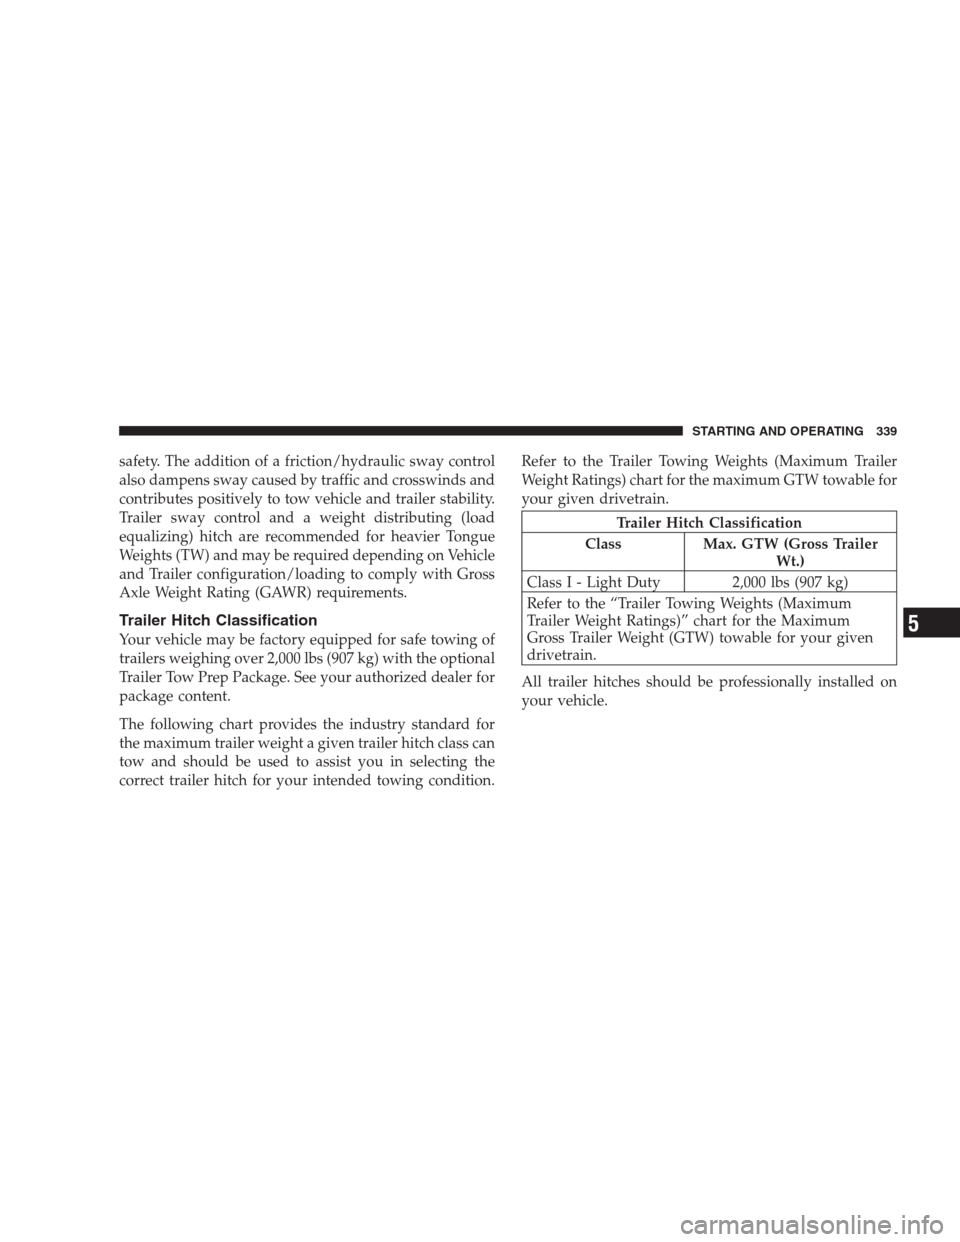
Trailer Hitch Classification
Your vehicle may be factory equipped for safe towing of
trailers weighing over 2,000 lbs (907 kg) with the optional
Trailer Tow Prep Package. See your authorized dealer for
package content.
The following chart provides the industry standard for
the maximum trailer weight a given trailer hitch class can
tow and should be used to assist you in selecting the
correct trailer hitch for your intended towing condition.Refer to the Trailer Towing Weights (Maximum Trailer
Weight Ratings) chart for the maximum GTW towable for
your given drivetrain.
Trailer Hitch Classification
Class Max. GTW (Gross Trailer
Wt.)
Class I - Light Duty 2,000 lbs (907 kg)
Refer to the “Trailer Towing Weights (Maximum
Trailer Weight Ratings)” chart for the Maximum
Gross Trailer Weight (GTW) towable for your given
drivetrain.
All trailer hitches should be professionally installed on
your vehicle.
STARTING AND OPERATING 339
5
Page 347 of 457
WARNING!
Do not connect trailer brakes to your vehicle’s hy-
draulic brake lines. It can overload your brake sys-
tem and cause it to fail. You might not have brakes
when you need them and could have an accident.
Towing any trailer will increase your stopping dis-
tance. When towing you should allow for additional
space between your vehicle and the vehicle in front
of you. Failure to do so could result in an accident.
Towing Requirements — Trailer Lights and Wiring
Whenever you pull a trailer, regardless of the trailer size,
stop lights and turn signals on the trailer are required for
motoring safety.
The Trailer Tow Package may include a 4- and 7-pin
wiring harness. Use a factory approved trailer harness
and connector.
NOTE:Do not cut or splice wiring into the vehicles
wiring harness.
STARTING AND OPERATING 345
5
Page 349 of 457

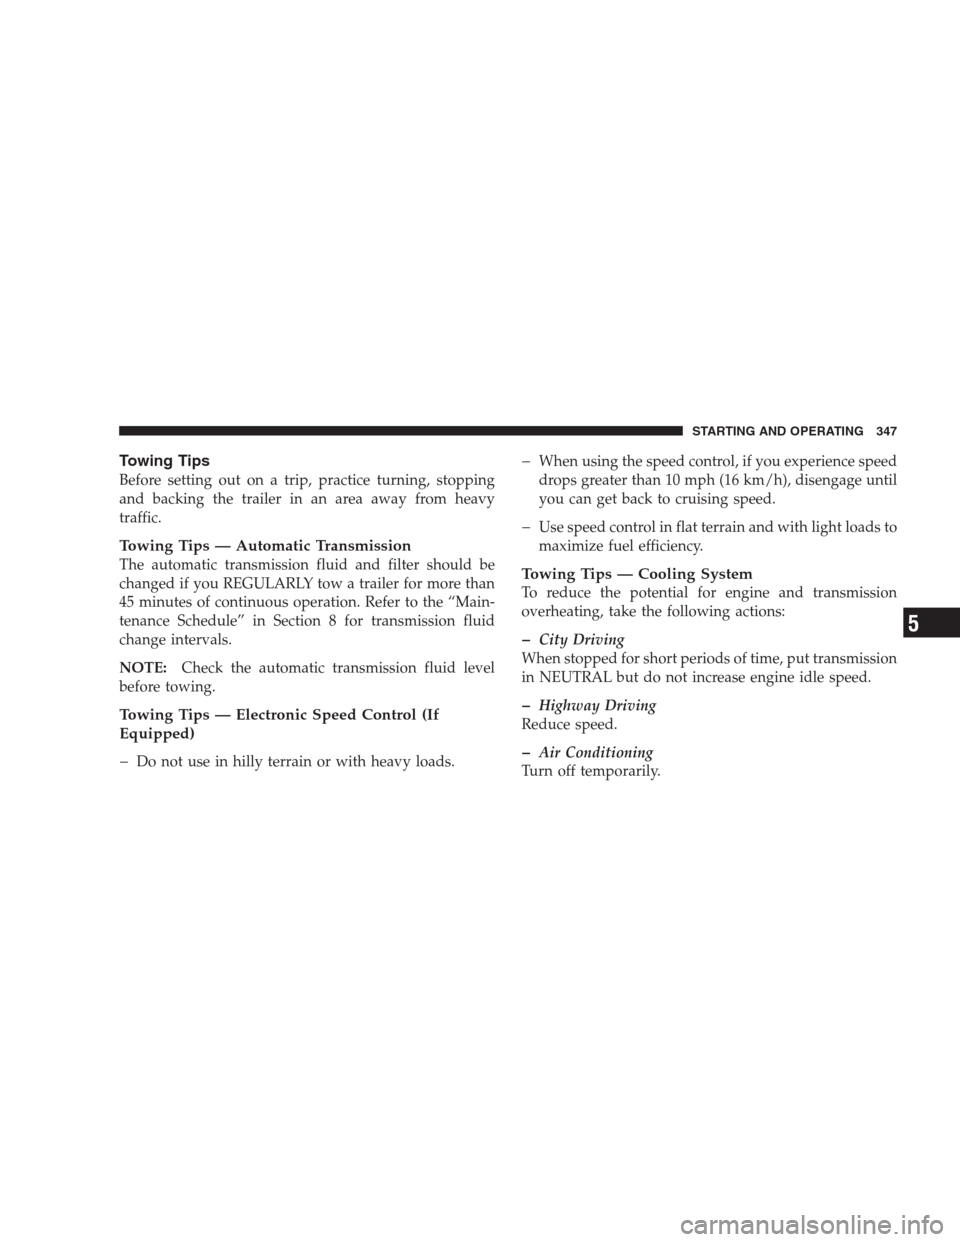
Towing Tips
Before setting out on a trip, practice turning, stopping
and backing the trailer in an area away from heavy
traffic.
Towing Tips — Automatic Transmission
The automatic transmission fluid and filter should be
changed if you REGULARLY tow a trailer for more than
45 minutes of continuous operation. Refer to the “Main-
tenance Schedule” in Section 8 for transmission fluid
change intervals.
NOTE:Check the automatic transmission fluid level
before towing.
Towing Tips — Electronic Speed Control (If
Equipped)
�
Do not use in hilly terrain or with heavy loads.
�When using the speed control, if you experience speed
drops greater than 10 mph (16 km/h), disengage until
you can get back to cruising speed.
�Use speed control in flat terrain and with light loads to
maximize fuel efficiency.
Towing Tips — Cooling System
To reduce the potential for engine and transmission
overheating, take the following actions:
�City Driving
When stopped for short periods of time, put transmission
in NEUTRAL but do not increase engine idle speed.
�Highway Driving
Reduce speed.
�Air Conditioning
Turn off temporarily.
STARTING AND OPERATING 347
5
Page 354 of 457

WARNING!
A hot engine cooling system is dangerous. You or
others could be badly burned by steam or boiling
coolant. You may want to call a service center if your
vehicle overheats. If you decide to look under the
hood yourself, refer to “Maintenance”, Section 7 of
this manual. Follow the warnings under the “Cooling
System Pressure Cap” paragraph.
AUTOMATIC TRANSAXLE OVERHEATING
During sustained high speed driving or trailer towing up
long grades on hot days, the automatic transaxle oil may
become too hot.
If this happens, the transmission overheat in-
dicator light will come on, and the vehicle will
slow slightly until the automatic transaxle
cools down enough to allow a return to therequested speed. If the high speed is maintained, the
overheating will reoccur, as before, in a cyclic fashion.
JACKING AND TIRE CHANGING
WARNING!
•Being under a jacked-up vehicle is dangerous. The
vehicle could slip off the jack and fall on you. You
could be crushed. Never put any part of your body
under a vehicle that is on a jack. Never start or run
the engine while the vehicle is on a jack. If you
need to get under a raised vehicle, take it to a
service center where it can be raised on a lift.
•The jack is designed to use as a tool for changing
tires only. The jack should not be used to lift the
vehicle for service purposes. The vehicle should
be jacked on a firm level surface only. Avoid ice or
slippery areas.
352 WHAT TO DO IN EMERGENCIES
Page 359 of 457

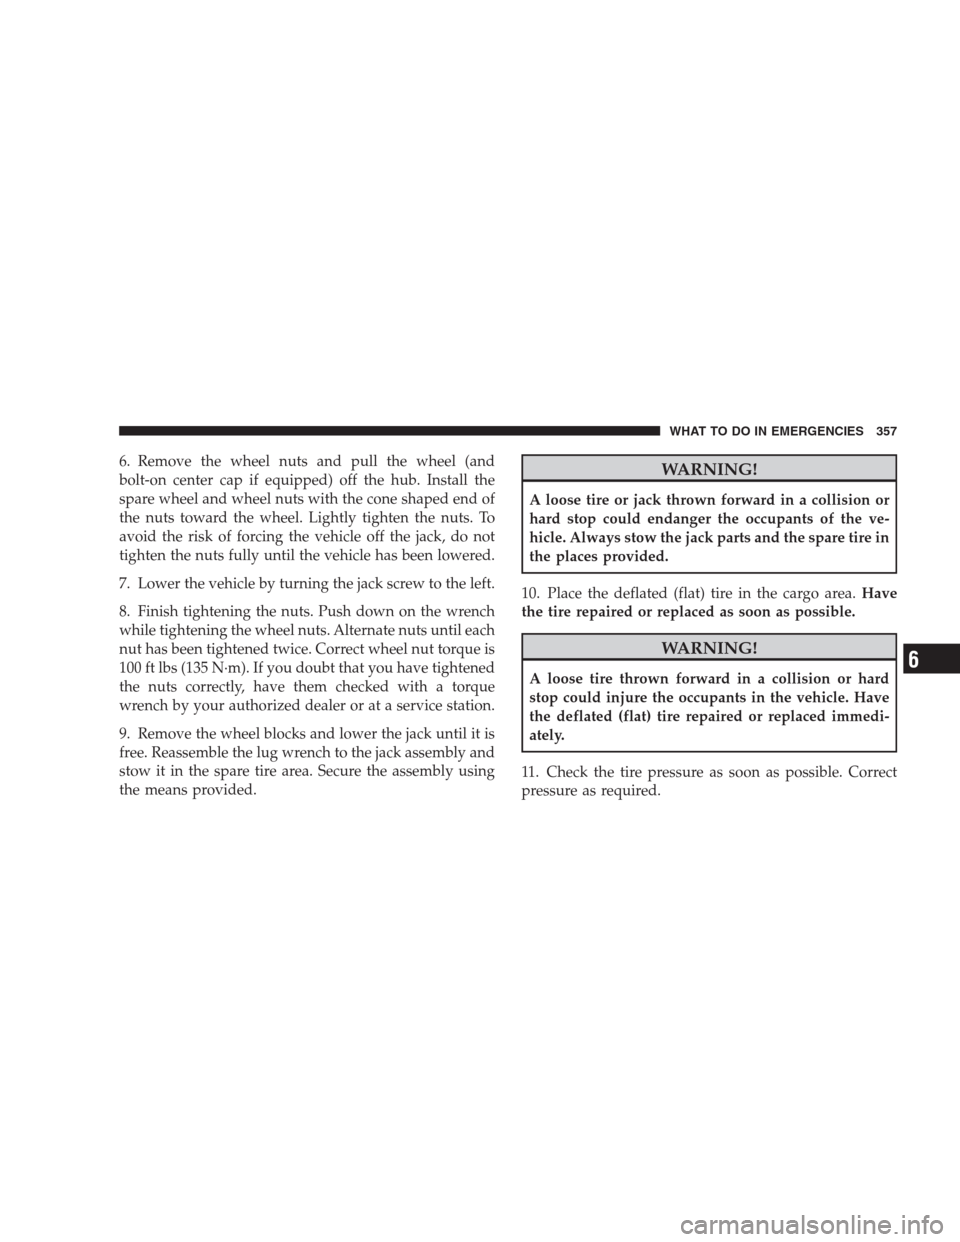
6. Remove the wheel nuts and pull the wheel (and
bolt-on center cap if equipped) off the hub. Install the
spare wheel and wheel nuts with the cone shaped end of
the nuts toward the wheel. Lightly tighten the nuts. To
avoid the risk of forcing the vehicle off the jack, do not
tighten the nuts fully until the vehicle has been lowered.
7. Lower the vehicle by turning the jack screw to the left.
8. Finish tightening the nuts. Push down on the wrench
while tightening the wheel nuts. Alternate nuts until each
nut has been tightened twice. Correct wheel nut torque is
100 ft lbs (135 N·m). If you doubt that you have tightened
the nuts correctly, have them checked with a torque
wrench by your authorized dealer or at a service station.
9. Remove the wheel blocks and lower the jack until it is
free. Reassemble the lug wrench to the jack assembly and
stow it in the spare tire area. Secure the assembly using
the means provided.WARNING!
A loose tire or jack thrown forward in a collision or
hard stop could endanger the occupants of the ve-
hicle. Always stow the jack parts and the spare tire in
the places provided.
10. Place the deflated (flat) tire in the cargo area.Have
the tire repaired or replaced as soon as possible.
WARNING!
A loose tire thrown forward in a collision or hard
stop could injure the occupants in the vehicle. Have
the deflated (flat) tire repaired or replaced immedi-
ately.
11. Check the tire pressure as soon as possible. Correct
pressure as required.
WHAT TO DO IN EMERGENCIES 357
6
Page 360 of 457

JUMP-STARTING PROCEDURES
WARNING!
•Take care to avoid the radiator cooling fan when-
ever the hood is raised. It can start anytime the
ignition switch is on. You can be hurt by the fan.
•Do not attempt to push or tow your vehicle to get
it started. Vehicles equipped with an automatic
transaxle cannot be started this way and may be
damaged. Unburned fuel could enter the catalytic
converter and once the engine has started, ignite
and damage the converter and vehicle. If the
vehicle has a discharged battery, booster cables
may be used to obtain a start from another vehicle.
This type of start can be dangerous if done im-
properly, so follow this procedure carefully.
(Continued)
WARNING! (Continued)
•Wear eye protection and remove any metal jewelry
such as watch bands or bracelets that might make
an inadvertent electrical contact. You could be
seriously injured.
NOTE: Disconnecting the battery with the ignition in
the ON position will cause vehicles with an automatic
transaxle (CVT2) to go into “default mode” and turn on
the Malfunction Indicator Light (MIL). See your autho-
rized dealer to correct this condition.
1. When boosting from a battery in another vehicle, park
that vehicle within booster cable reach but without
letting the vehicles touch. Set the parking brake, place the
automatic transmission in PARK (the manual transmis-
sion in NEUTRAL) and turn the ignition to OFF for both
vehicles.
358 WHAT TO DO IN EMERGENCIES
Page 366 of 457

▫Brake System....................... 384
▫Automatic Transaxle (CVT).............. 386
▫Manual Transaxle.................... 386
▫Rear Drive Assembly (RDA) – AWD/4WD
Models Only........................ 387
▫Power Transfer Unit (PTU) – AWD/4WD
Models Only........................ 388
▫Appearance Care And Protection From
Corrosion.......................... 388
�Fuses.............................. 394
▫Integrated Power Module (IPM).......... 394
�Vehicle Storage....................... 397
�Replacement Bulbs..................... 397�Bulb Replacement..................... 398
▫Headlamps......................... 398
▫Fog Lights......................... 400
▫Tail Lights, Rear Turn Signals And Backup
Lights............................. 400
▫License Lights....................... 401
▫Center High-Mounted Stoplight.......... 402
▫Auxiliary Off-Road Light............... 402
�Fluids And Capacities................... 404
�Fluids, Lubricants, And Genuine Parts....... 405
▫Engine............................ 405
▫Chassis............................ 406
364 MAINTAINING YOUR VEHICLE