Page 146 of 521
.
•The pedals can be adjusted with the ignition OFF.
•The pedals can be adjusted while driving.
•The pedalscannotbe adj")
Press the top of the switch to move the pedals rearward
(toward the driver).
•The pedals can be adjusted with the ignition OFF.
•The pedals can be adjusted while driving.
•The pedalscannotbe adjusted when the vehicle is in
REVERSE (R) or when the Electronic Speed Control is
ON. A message will be displayed in the Electronic
Vehicle Information Center (EVIC) if the pedals are
attempted to be adjusted when the system is locked
out (“Adjustable Pedal Disabled — Cruise Control
Engaged” or “Adjustable Pedal Disabled — Vehicle In
Reverse”). Refer to Electronic Vehicle Information
Center (EVIC) in Section 4 for more information.
CAUTION!
Do not place any article under the adjustable pedal’s
or impede its ability to move as it may cause damage
to the pedal controls. Pedal travel may become lim-
ited if movement is stopped by an obstruction in the
adjustable pedal’s path.
ELECTRONIC SPEED CONTROL — IF EQUIPPED
When engaged, Electronic Speed Control takes over
accelerator operations at speeds greater than 25 mph
(40 km/h) for 3.7L, 4.7L, and 5.7L engines; and 14 mph
(23 km/h) for 3.0L diesel engines.
The Electronic Speed Control lever is located on the right
side of the steering wheel.
144 UNDERSTANDING THE FEATURES OF YOUR VEHICLE
Page 150 of 521
The sensors can detect obstacles from approximately 12
to 59 in (30 to 150 cm) from the rear fascia in the
horizontal direction, depending on the location and
orientation of the obstacle and the type of obstacle.
Rear Park Assist Warning Display
The Rear Park Assist Warning Display, located in the
headliner near the flipper glass, provides both visible and
audible warnings to indicate the distance between the
rear fascia and the detected obstacle.
When the ignition is turned to the ON position, the
warning display will turn ON all of its LEDs for about
one second. Each side of the warning display has six
yellow and two red LEDs. The vehicle is close to the
obstacle when the red LED is ON.
148 UNDERSTANDING THE FEATURES OF YOUR VEHICLE
Page 151 of 521
The system dimly illuminates the two outer most yellow
LEDs when it is ON and detecting no obstacles. The
following chart shows the warning display operation
when the system is detecting an obstacle:
WARNING DISPLAY DISTANCES
DISPLAY LED OBSTACLE DISTANCE FROM: LED COLOR AUDIBLE SIGNAL
REAR CORNERS REAR CENTER
1st LED 59 in (150 cm) Yellow Yes, Half Second
2nd LED 51 in (130 cm) Yellow None
3rd LED 45 in (115 cm) Yellow None
4th LED 31.5 in (80 cm) 39 in (100 cm) Yellow None
5th LED 25.5 in (65 cm) 33.5 in (85 cm) Yellow None
6th LED 20 in (50 cm) 28 in (70 cm) Yellow None
7th LED 16 in (40 cm) 20 in (50 cm) Red Yes, Intermittent
8th LED 6 in (15 cm) 12 in (30 cm) Red Yes, Continuous
NOTE:The Rear Park Assist system will MUTE the
radio, if on, when the system is sounding an audio tone.
UNDERSTANDING THE FEATURES OF YOUR VEHICLE 149
3
Page 152 of 521

Enable/Disable The Rear Park Assist
The Rear Park Assist can be enabled and disabled with a
switch located on the upper switch bank of the instru-
ment panel.When the switch is pressed to disable the system, the
instrument cluster will display the “PARK ASSIST DIS-
ABLED” message. Refer to “Electronic Vehicle Informa-
tion Center (EVIC)” in Section 4 of this manual. When the
shift lever is changed to REVERSE and the system is
disabled, the instrument cluster will actuate a single
chime, once per ignition cycle, and it will display the
message.
The Rear Park Assist Switch LED will be ON when the
Rear Park Assist is disabled or defective. The Rear Park
Assist Switch LED will be OFF when the system is
enabled.
Service The Rear Park Assist
When the Rear Park Assist is defective, the instrument
cluster will actuate a single chime, once per ignition
cycle, and it will display the “SERVICE PARK ASSIST
SYSTEM” message. Refer to “Electronic Vehicle Informa-
tion Center (EVIC)” in Section 4 of this manual.
Rear Park Assist Switch
150 UNDERSTANDING THE FEATURES OF YOUR VEHICLE
Page 154 of 521

•To avoid vehicle damage, the vehicle must be
driven slowly when using the Rear Camera system
to be able to stop in time when an obstacle is seen.
It is recommended that the dri")
CAUTION! (Continued)
•To avoid vehicle damage, the vehicle must be
driven slowly when using the Rear Camera system
to be able to stop in time when an obstacle is seen.
It is recommended that the driver look frequently
over his/her shoulder when using the Rear Camera
system.
NOTE:If snow, ice, mud, or anything else builds up on
the camera lens, clean the lens, rinse with water, and dry
with a soft cloth. Do not cover the lens.
Turning the Rear Camera On or Off — With
Navigation Radio
1. Press the�menu�hard key.
2. Select�system setup�soft key.
3. Press the “camera setup” soft key.4. Enable or disable the rear camera feature by selecting
�enable rear camera in reverse�soft key.
5. Press the “save” soft key.
6. When the vehicle is shifted into REVERSE, an image of
the rear of the vehicle will appear with a caution note to
�check entire surroundings�displayed across the top of
the screen. After five seconds this note will disappear.
7. When the vehicle is shifted out of REVERSE, the rear
camera mode is exited and the navigation or audio screen
appears again.
Turning the Rear Camera On or Off — Without
Navigation Radio
1. Press the�menu�hard key.
2. Select�system setup�soft key.
3. Enable or disable the rear camera feature by selecting
�enable rear camera in reverse�soft key.
152 UNDERSTANDING THE FEATURES OF YOUR VEHICLE
Page 155 of 521
4. When the vehicle is shifted into REVERSE, an image of
the rear of the vehicle will appear with a caution note to
�check entire surroundings�displayed across the top of
the screen. After five seconds this note will disappear.
5. When the vehicle is shifted out of REVERSE, the rear
camera mode is exited and the audio screen appears
again.
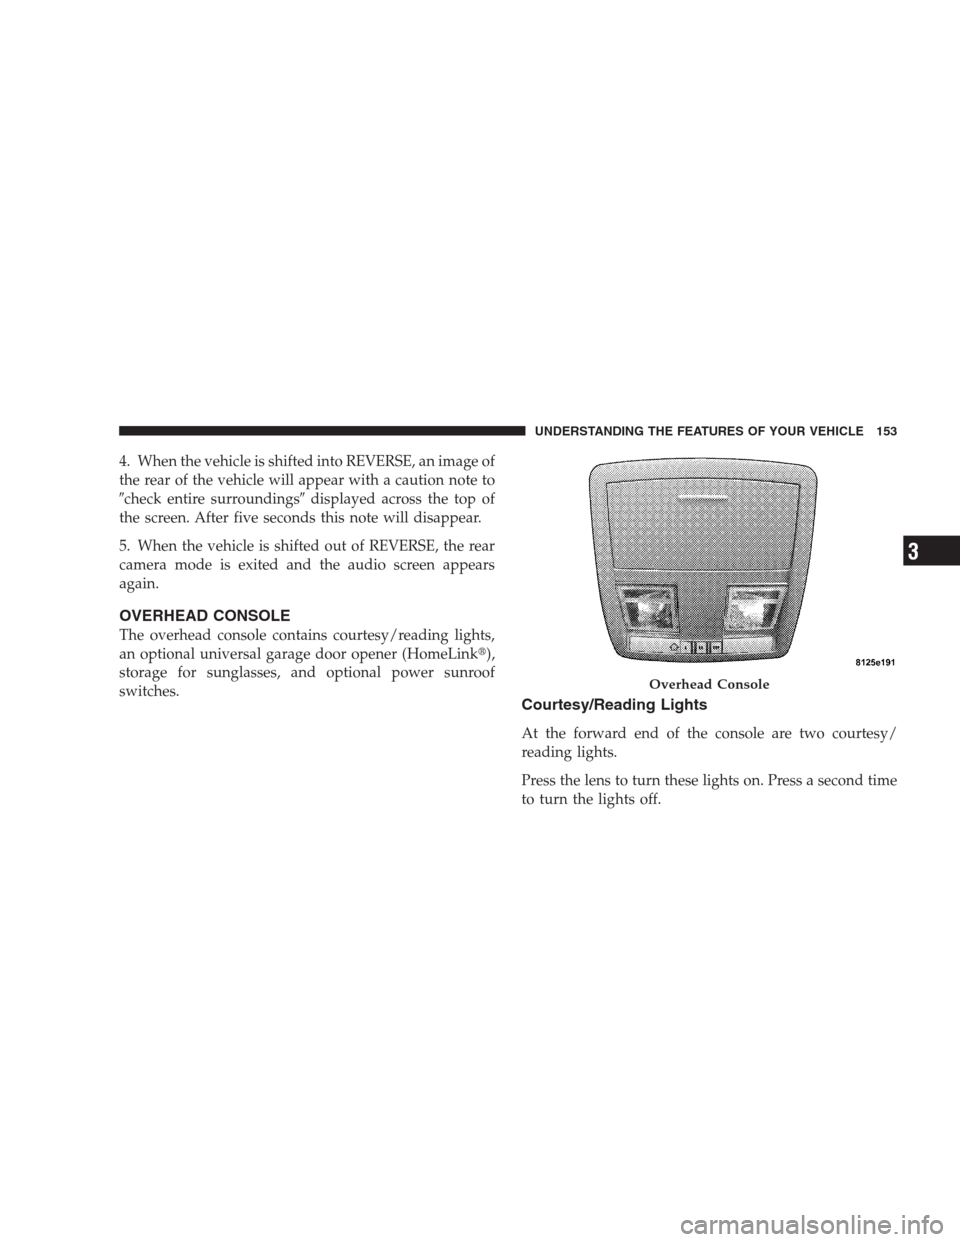
OVERHEAD CONSOLE
The overhead console contains courtesy/reading lights,
an optional universal garage door opener (HomeLink�),
storage for sunglasses, and optional power sunroof
switches.
Courtesy/Reading Lights
At the forward end of the console are two courtesy/
reading lights.
Press the lens to turn these lights on. Press a second time
to turn the lights off.
Overhead Console
UNDERSTANDING THE FEATURES OF YOUR VEHICLE 153
3
Page 157 of 521

WARNING!
•Your motorized door or gate will open and close
while you are training the Universal Transceiver.
Do not train the transceiver if people or pets are in
the path of the door or gate. Only use this trans-
ceiver with a garage door opener that has a “stop
and reverse” feature as required by federal safety
standards. This includes most garage door opener
models manufactured after 1982. Do not use a
garage door opener without these safety features.
Call toll-free 1–800–355–3515 or, on the Internet at
www.HomeLink.com for safety information or as-
sistance.
•Vehicle exhaust contains carbon monoxide, a dan-
gerous gas. Do not run your vehicle in the garage
while training the transceiver. Exhaust gas can
cause serious injury or death.
Programming HomeLink�
Before You Begin
If you have not trained any of the HomeLink�buttons,
erase all channels before you begin training.
To do this, press and hold the two outside buttons for up
to 20 seconds. The EVIC will display “CLEARING
CHANNELS.” Release the buttons when the EVIC mes-
sage states “CHANNELS CLEARED.”
It is recommended that a new battery be placed in the
hand-held transmitter of the device being programmed
to HomeLink�for more efficient training and accurate
transmission of the radio-frequency signal.
Your vehicle should be parked outside of the garage
while training.
1. Turn the ignition switch to the ON/RUN position.
UNDERSTANDING THE FEATURES OF YOUR VEHICLE 155
3
Page 158 of 521

from the HomeLink�buttons while keeping the EVIC
display in view.
For optimal training, point the battery end of the hand-
held transmitter awa")
2. Place the hand-held transmitter 1 to 3 in (3 to 8 cm)
from the HomeLink�buttons while keeping the EVIC
display in view.
For optimal training, point the battery end of the hand-
held transmitter away from the HomeLink�.
3. Simultaneously, press and hold both the chosen
HomeLink�button and the hand-held transmitter button
until the EVIC display changes from “CHANNEL #
TRAINING” to “CHANNEL # TRAINED.”
Then release both the HomeLink�and hand-held trans-
mitter buttons.
If the EVIC display states “DID NOT TRAIN” repeat
Step 3. If the signal is too weak, replace the battery in the
original hand-held transmitter.
It may take up to 30 seconds, or longer, in rare cases. The
garage door may open and close while you train.NOTE:Some gate operators and garage door openers
may require you to replace Step 3 with procedures noted
in the “Gate Operator/Canadian Programming” section.
4. Press and hold the just-trained HomeLink�button. If
the channel has been trained, the EVIC display will now
state “CHANNEL # TRANSMIT.”
If the EVIC display still states “CHANNEL # TRAIN-
ING” repeat Step 3.
NOTE:After training a HomeLink�channel, if the
garage door does not operate with HomeLink�and the
garage door opener was manufactured after 1995, the
garage door opener may have rolling code. If so, proceed
to the heading “Programming A Rolling Code System.”
5. PROGRAMMING A ROLLING CODE SYSTEM
At the garage door opener motor (in the garage), locate
the “learn” or “training” button.
156 UNDERSTANDING THE FEATURES OF YOUR VEHICLE
 from the rear fascia in the
horizontal direction, depending on the location and
orientation of the obstacle and the type")