Page 379 of 521
WARNING! (Continued)
•Improper towing can lead to an injury accident.
Follow these guidelines to make your trailer tow-
ing as safe as possible:
•When hauling cargo or towing a trailer, do not over-
load your vehicle or trailer. Overloading can cause a
loss of control, poor performance or damage to brakes,
axle, engine, transmission, steering, suspension, chas-
sis structure or tires.
•Safety chains must always be used between your
vehicle and trailer. Always connect the chains to the
hook retainers of the vehicle hitch. Cross the chains
under the trailer tongue and allow enough slack for
turning corners.
•Vehicles with trailers should not be parked on a grade.
When parking, apply the parking brake on the tow
vehicle. Put the tow vehicle transmission in PARK. Forfour-wheel drive vehicles, make sure the transfer case
is not in NEUTRAL. Always, block or�chock�the
trailer wheels.
•GCWR must not be exceeded.
•Total weight must be distributed between the tow
vehicle and the trailer such that the following four
ratings are not exceeded:
1. GVWR
2. GTW
3. GAWR
4. Trailer tongue weight rating for the trailer hitch
utilized (This requirement may limit the ability to
always achieve the 10% to 15% range of tongue weight
as a percentage of total trailer weight).
STARTING AND OPERATING 377
5
Page 392 of 521
HAZARD WARNING FLASHERS
The Hazard Warning flasher switch is located on the
switch bank just above the climate controls.
Press the switch to turn on the Hazard Warning
flashers. When the Hazard Warning flasher switch
is activated, all directional turn signals will flash
on and off to warn oncoming traffic of an emergency.
Press the switch a second time to turn off flashers.
This is an emergency warning system and should not be
used when the vehicle is in motion. Use it when your
vehicle is disabled and is creating a safety hazard for
other motorists.
If it is necessary to leave the vehicle to go for service, the
Hazard Warning flasher will continue to operate with the
ignition key removed and the vehicle locked.
NOTE:With extended use, the Hazard Warning flasher
may run down your battery.
IF YOUR ENGINE OVERHEATS
In any of the following situations, you can reduce the
potential for overheating by taking the appropriate ac-
tion.
•On the highways — Slow down.
•In city traffic — While stopped, put the transmission in
NEUTRAL, but do not increase the engine idle speed.
NOTE:There are steps that you can take to slow down
an impending overheat condition. If your air conditioner
is on, turn it off. The air conditioning system adds heat to
the engine cooling system and turning off the A/C
removes this heat. You can also turn the temperature
control to maximum heat, the mode control to floor, and
the fan control to high. This allows the heater core to act
as a supplement to the radiator and aids in removing heat
from the engine cooling system.
390 WHAT TO DO IN EMERGENCIES
Page 395 of 521
Spare Tire Removal
Fit the jack handle extension over the drive nut. Use the
lug wrench to rotate the nut counterclockwise until the
spare is on the ground with enough slack in the cable to
allow you to pull the tire out from under the vehicle.
CAUTION!
•The winch mechanism is designed for use with the
jack extension tube only. Use of an air wrench or
other power tools is not recommended and can
damage the winch.
•When the spare is clear, tilt the retainer at the end
of the cable and pull it through the center of the
wheel.
Preparations For Jacking
1. Park the vehicle on a firm level surface. Avoid ice or
slippery surfaces.Lowering/Raising Spare Tire
WHAT TO DO IN EMERGENCIES 393
6
Page 396 of 521
WARNING!
Do not attempt to change a tire on the side of the
vehicle closest to moving traffic. Pull far enough off
the road to avoid being hit when operating the jack
or changing the wheel.
2. Set the parking brake.
3. Place the shift lever into PARK.
4. Turn the ignition OFF.
5. Turn on the Hazard Warning flasher.
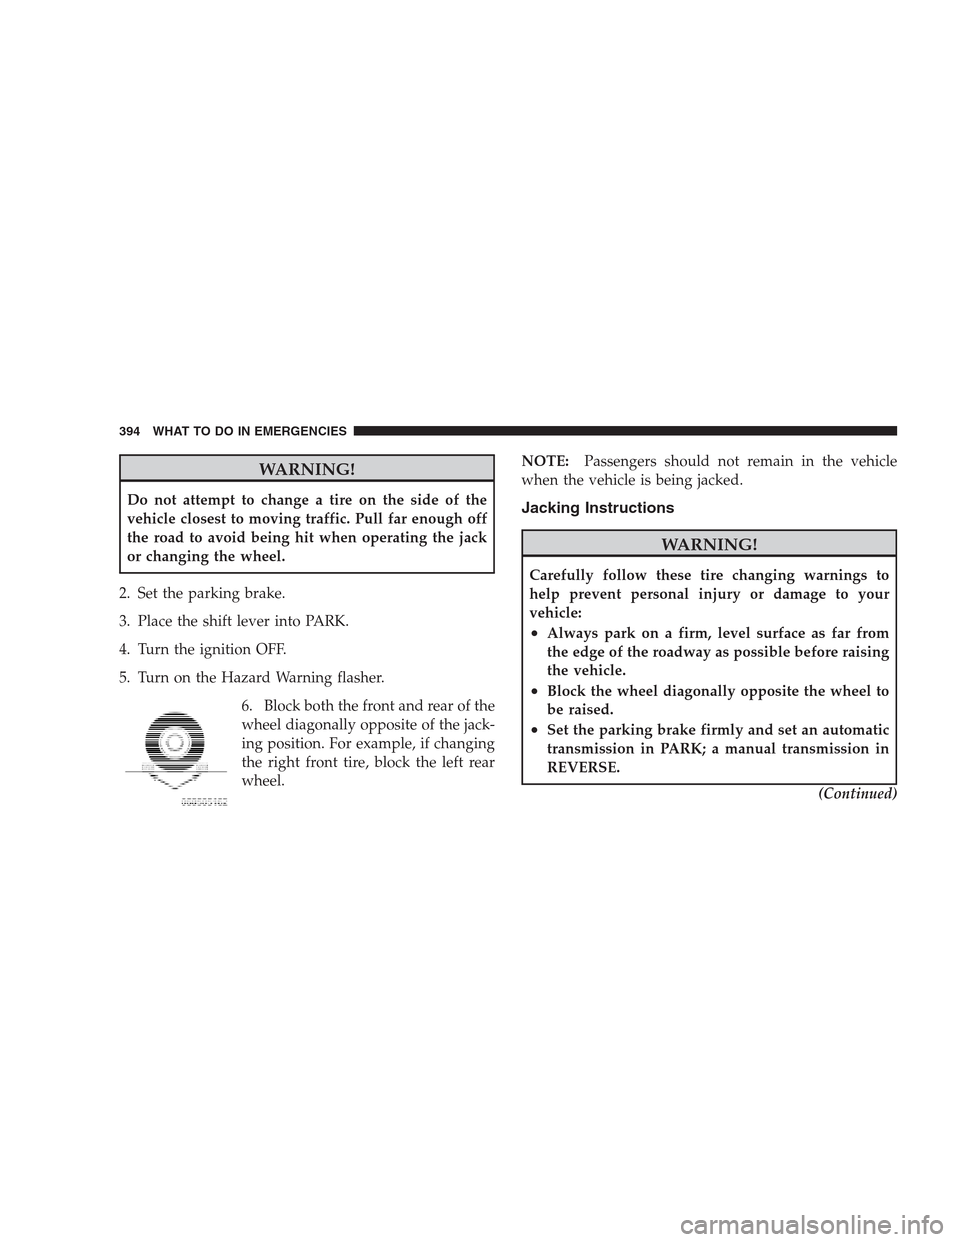
6. Block both the front and rear of the
wheel diagonally opposite of the jack-
ing position. For example, if changing
the right front tire, block the left rear
wheel.NOTE:Passengers should not remain in the vehicle
when the vehicle is being jacked.Jacking Instructions
WARNING!
Carefully follow these tire changing warnings to
help prevent personal injury or damage to your
vehicle:
•Always park on a firm, level surface as far from
the edge of the roadway as possible before raising
the vehicle.
•Block the wheel diagonally opposite the wheel to
be raised.
•Set the parking brake firmly and set an automatic
transmission in PARK; a manual transmission in
REVERSE.
(Continued)
394 WHAT TO DO IN EMERGENCIES
Page 399 of 521
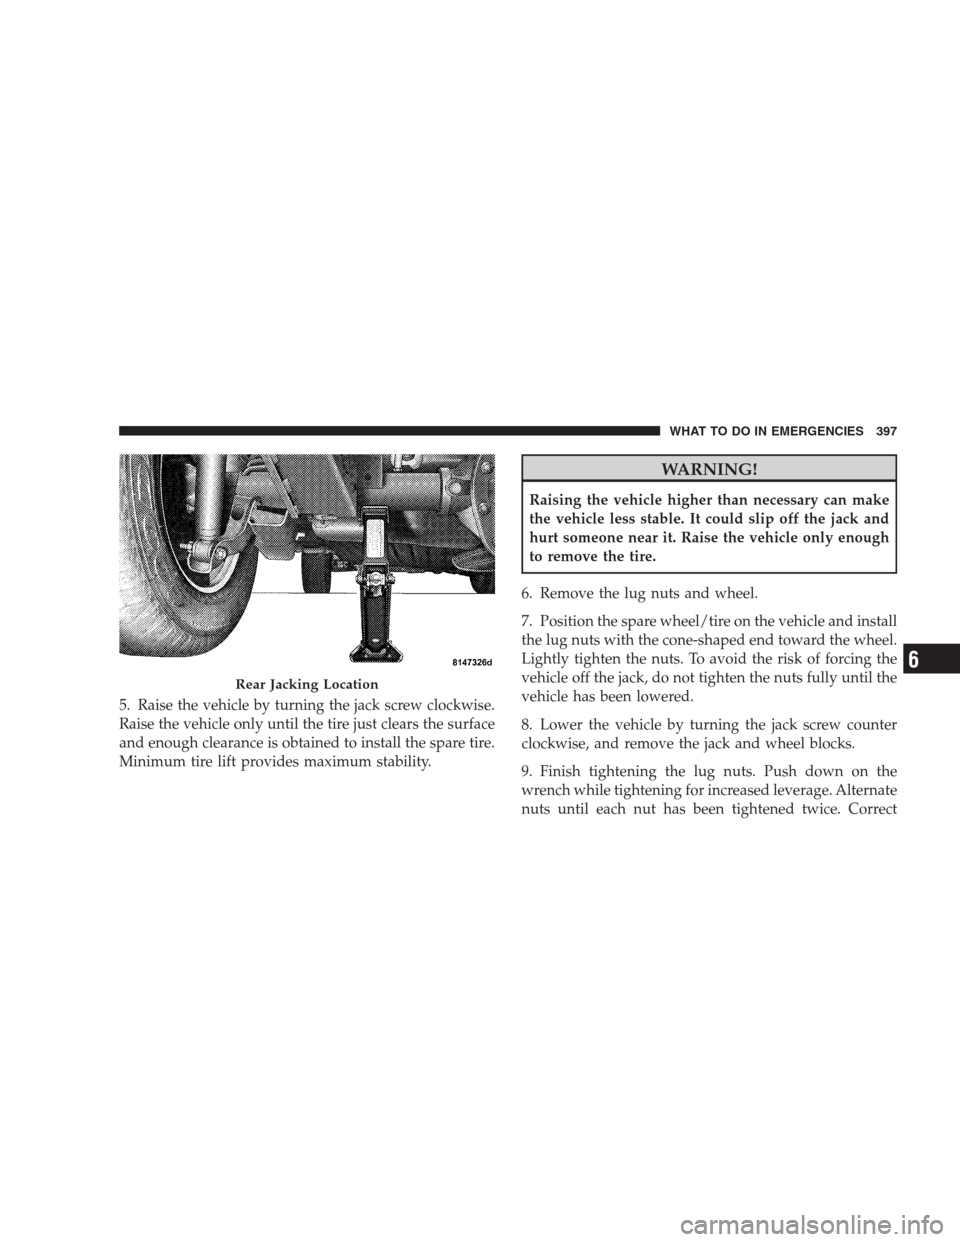
5. Raise the vehicle by turning the jack screw clockwise.
Raise the vehicle only until the tire just clears the surface
and enough clearance is obtained to install the spare tire.
Minimum tire lift provides maximum stability.
WARNING!
Raising the vehicle higher than necessary can make
the vehicle less stable. It could slip off the jack and
hurt someone near it. Raise the vehicle only enough
to remove the tire.
6. Remove the lug nuts and wheel.
7. Position the spare wheel/tire on the vehicle and install
the lug nuts with the cone-shaped end toward the wheel.
Lightly tighten the nuts. To avoid the risk of forcing the
vehicle off the jack, do not tighten the nuts fully until the
vehicle has been lowered.
8. Lower the vehicle by turning the jack screw counter
clockwise, and remove the jack and wheel blocks.
9. Finish tightening the lug nuts. Push down on the
wrench while tightening for increased leverage. Alternate
nuts until each nut has been tightened twice. Correct
Rear Jacking Location
WHAT TO DO IN EMERGENCIES 397
6
Page 422 of 521
WARNING! (Continued)
•The air conditioning system contains refrigerant
under high pressure. To avoid risk of personal
injury or damage to the system, adding refrigerant
or any repair requiring lines to be disconnected
should be done by an experienced repairman.
NOTE:Use only manufacturer approved A/C System
Sealers, Stop Leak Products, Seal Conditioners, Compres-
sor Oil, and Refrigerants.
Refrigerant Recovery and Recycling
R-134a Air Conditioning Refrigerant is a hydrofluoro-
carbon (HFC) that is endorsed by the Environmental
Protection Agency (EPA) and is an ozone-saving product.
However, the manufacturer recommends that air condi-
tioning service be performed by authorized dealers or
other service facilities using recovery and recycling
equipment.
Body Lubrication
Locks and all body pivot points, including such items as
seat tracks, door hinge pivot points and rollers, liftgate,
tailgate, sliding doors and hood hinges, should be lubri-
cated periodically with a lithium based grease such as
MOPAR�Spray White Lube to assure quiet, easy opera-
tion and to protect against rust and wear. Prior to the
application of any lubricant, the parts concerned should
be wiped clean to remove dust and grit; after lubricating
excess oil and grease should be removed. Particular
attention should also be given to hood latching compo-
nents to insure proper function. When performing other
underhood services, the hood latch, release mechanism
and safety catch should be cleaned and lubricated.
The external lock cylinders should be lubricated twice a
year, preferably in the Fall and Spring. Apply a small
amount of a high quality lubricant such as MOPAR�
Lock Cylinder Lubricant directly into the lock cylinder.
420 MAINTAINING YOUR VEHICLE
Page 444 of 521
Cav-
ityCartridge
FuseMini-Fuse Description
3 10 Amp
RedHtd Mirror (EBL)
4 20 Amp
YellowRr Pwr Out (B+)
5 10 Amp
RedRr HVAC (R/O)
(Commander Only)
6 Spare (B+)
7 20 Amp
YellowDoor Locks (B+)
8 Spare (B+)
9 20 Amp
YellowPwr Outlet (B+)Cav-
ityCartridge
FuseMini-Fuse Description
10 10 Amp
RedFinal Drive Control
Module (FDCM),
Heater Ventilation/
Air Conditioning
(HVAC), Rear Heated
Seat Switch, O/H,
Heater Ventilation/
Air Conditioning
(HVAC) Relay, Rear
Park Assist
11 Spare (B+)
12 10 Amp
RedDoor Mods, O/H
Lamps, IP Courtesy
Lamps, Glove Box
Lamp (B+)
13 10 Amp
RedAutowipe (R/A)
442 MAINTAINING YOUR VEHICLE
Page 453 of 521
Headlight
1. Open the hood.
2. Turn the low or high beam bulb one–quarter turn
counterclockwise to remove from housing.
3. Disconnect the electrical connector and replace the
bulb.
1 — High Beam Bulb 3 — Turn Signal Bulb
2 — Low Beam BulbMAINTAINING YOUR VEHICLE 4517