Page 265 of 521
Defrost
Air is directed to the windshield through the
outlets at the base of the windshield. Air is also
directed to the front door windows through the side
window demister grilles. Some airflow is delivered to the
floor while in defrost so that comfort can be maintained.
Defrost/Floor
Air flows through the front and rear floor outlets
and the outlets at the base of the windshield. Air is
also directed to the front door windows through the
side window demister grilles. Some airflow is delivered
to the floor while in defrost so that comfort can be
maintained.
Floor
Air flows through the floor outlets located under
the instrument panel and into the rear seating areathrough vents under the front seats. Some airflow is
delivered to defrost while in the floor mode so that
comfort can be maintained.
Bi-Level
Air flows both through the outlets located in the
instrument panel and those located on the floor. Air
flows through the registers in the back of the center
console, and under the front seats to the rear seat
passengers. These registers can be closed to partially
block airflow. The center console outlets deliver condi-
tioned air while the floor outlets deliver heated air.
Panel
Air flows through the outlets located in the instru-
ment panel. Air flows through the registers in the
back of the center console to the rear seat passengers.
These registers can be closed to block airflow.
UNDERSTANDING YOUR INSTRUMENT PANEL 263
4
Page 266 of 521
Recirculation
The recirculation feature can be selected with
the mode control knob. You may choose be-
tween Bi-Level Recirculation and Panel Recir-
culation air outlets while in this mode. Nor-
mally, air enters from outside the vehicle. However, when
in “Recirculation” mode air inside the vehicle is re-used.
Use this mode to rapidly cool the inside of the vehicle.
The “Recirculation” mode can also be used to tempo-
rarily block out outside odors, smoke, and dust.
Air Conditioning
To turn on the Air Conditioning, set the fan control
at any speed and press the snowflake button
located on the control panel. Conditioned air will
be directed through the outlets selected by the mode
control. A light in the snowflake button shows that the air
conditioning is on.Slight changes in engine speed or power may be noticed
when the air conditioning compressor is on. This is a
normal occurrence as the compressor will cycle on and
off to maintain comfort and increase fuel economy.
Automatic Temperature Control — If Equipped
The Automatic Temperature Control System automati-
cally maintains the interior comfort level desired by the
driver and passenger.
264 UNDERSTANDING YOUR INSTRUMENT PANEL
Page 271 of 521
NOTE:Regardless of the type of operation, when a
temperature knob is set to the full clockwise or full
counterclockwise position, the system will deliver full
hot or full cold air out of the ducts, respectively.
The operator can override the AUTO mode setting and
select the direction of the air by rotating the right mode
knob to one of the following positions. When the Mode is
set to any position other than AUTO, the automatic
control of air temperature is disabled. The user must
adjust the temperature knobs to obtain the desired tem-
perature.
Defrost
Air is directed to the windshield through the
outlets at the base of the windshield. Air is also
directed to the front door windows through the side
window demister grilles. Some airflow is delivered to the
floor while in defrost so that comfort can be maintained.NOTE:The defrost mode is not automatically selected.
It must be manually selected, when desired.
Defrost/Floor
Air flows through the front and rear floor outlets
and the outlets at the base of the windshield. Air is
also directed to the front door windows through the
side window demister grilles. Some airflow is delivered
to the floor while in defrost so that comfort can be
maintained.
Floor
Air flows through the floor outlets located under
the instrument panel and into the rear seating area
through vents under the front seats. Some airflow is
delivered to defrost while in floor mode, so that comfort
can be maintained.
UNDERSTANDING YOUR INSTRUMENT PANEL 269
4
Page 272 of 521
Bi-Level
Air flows both through the outlets located in the
instrument panel and those located on the floor. Air
flows through the registers in the back of the center
console, and under the front seats to the rear seat
passengers. These registers can be closed to block airflow.
The center console outlets deliver conditioned air while
the floor outlets deliver heated air.
Panel
Air flows through the outlets located in the instru-
ment panel. Air flows through the registers in the
back of the center console to the rear seat passengers.
These registers can be closed to block airflow.
Air Conditioning
Press this button to turn the air conditioning on
and off during manual operation only. Condi-
tioned outside air is then directed through theoutlets selected on the mode control dial. The button
includes an LED that illuminates when manual operation
is selected.
NOTE:To manually control the air conditioning, the
mode selector must be moved out of the AUTO position.
Recirculation
This button can be used to block out smoke,
odors, dust, high humidity, or if rapid cooling
is desired. The “Recirculation” mode should
only be used temporarily. The button includes
an LED that illuminates, which indicates that the “Recir-
culation” mode is active. You may use this feature
separately.
NOTE:Extended use of recirculation may cause the
windows to fog. If the interior of the windows begins to
fog, press the “Recirculate” button to return to outside
air. Some temperature/humidity conditions will cause
270 UNDERSTANDING YOUR INSTRUMENT PANEL
Page 277 of 521
STARTING AND OPERATING
CONTENTS
�Starting Procedure..................... 280
▫Normal Starting..................... 280
▫Extremely Cold Weather (Below�20°F Or
�29°C)............................ 281
▫If Engine Fails To Start................ 281
▫After Starting....................... 282
▫Normal Starting — Diesel Engines........ 282
�Engine Block Heater — If Equipped........ 285
�Automatic Transmission................. 286▫Brake/Transmission Shift Interlock System . . 287
▫Brake/Transmission Interlock Manual
Override.......................... 287
▫Five–Speed Automatic Transmission....... 288
▫Gear Ranges........................ 288
▫Rocking The Vehicle.................. 295
�Four-Wheel Drive Operation............. 296
▫Quadra-Trac I�Operating
Instructions/Precautions — If Equipped.... 296
5
Page 278 of 521
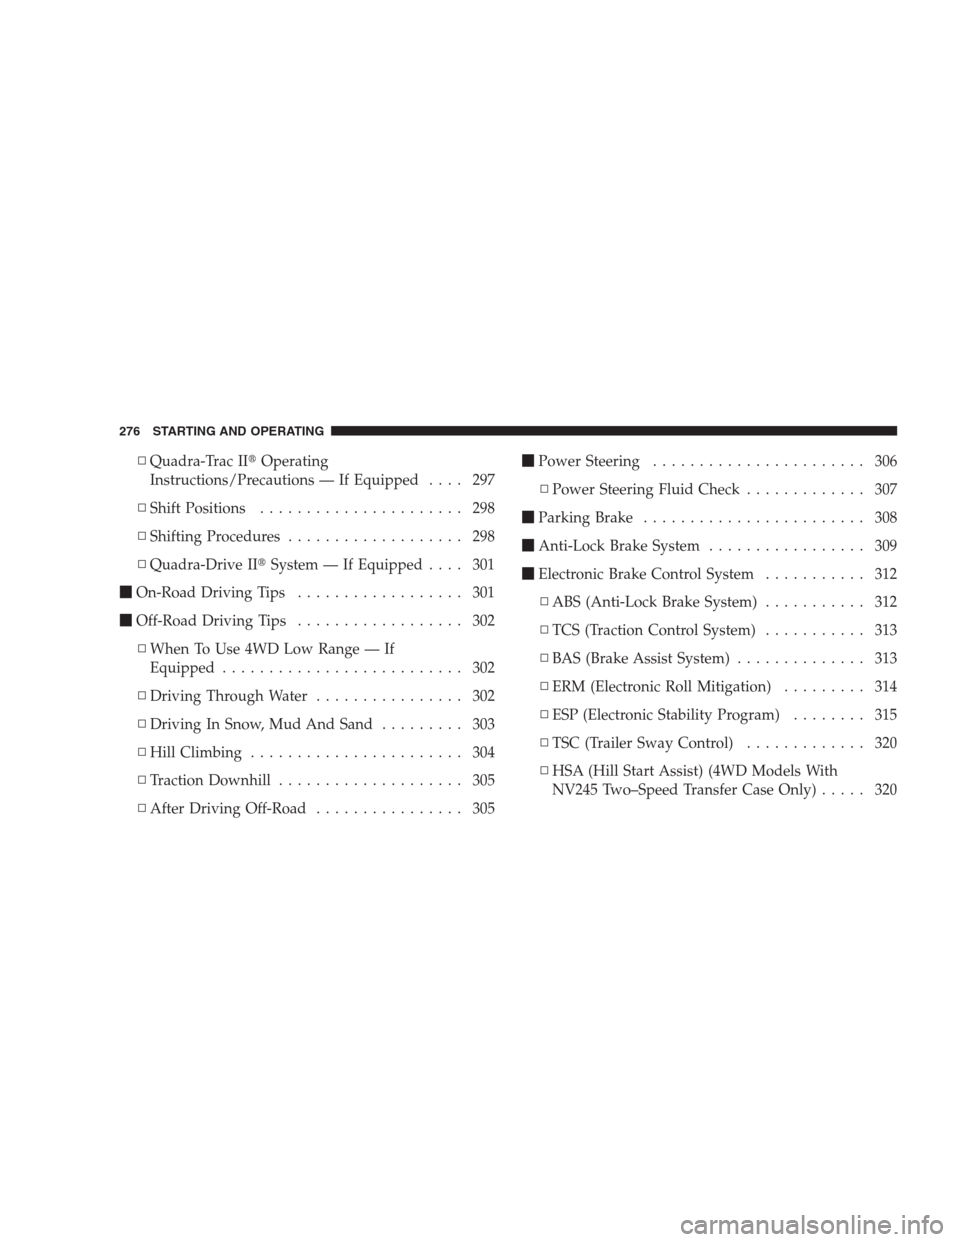
▫Quadra-Trac II�Operating
Instructions/Precautions — If Equipped.... 297
▫Shift Positions...................... 298
▫Shifting Procedures................... 298
▫Quadra-Drive II�System — If Equipped.... 301
�On-Road Driving Tips.................. 301
�Off-Road Driving Tips.................. 302
▫When To Use 4WD Low Range — If
Equipped.......................... 302
▫Driving Through Water................ 302
▫Driving In Snow, Mud And Sand......... 303
▫Hill Climbing....................... 304
▫Traction Downhill.................... 305
▫After Driving Off-Road................ 305�Power Steering....................... 306
▫Power Steering Fluid Check............. 307
�Parking Brake........................ 308
�Anti-Lock Brake System................. 309
�Electronic Brake Control System........... 312
▫ABS (Anti-Lock Brake System)........... 312
▫TCS (Traction Control System)........... 313
▫BAS (Brake Assist System).............. 313
▫ERM (Electronic Roll Mitigation)......... 314
▫ESP (Electronic Stability Program)........ 315
▫TSC (Trailer Sway Control)............. 320
▫HSA (Hill Start Assist) (4WD Models With
NV245 Two–Speed Transfer Case Only)..... 320
276 STARTING AND OPERATING
Page 282 of 521

STARTING PROCEDURE
Before starting your vehicle, adjust your seat, adjust the
inside and outside mirrors, fasten your seat belt, and if
present, instruct all other occupants to buckle their seat
belts.
WARNING!
•Never leave children alone in a vehicle. Leaving
unattended children in a vehicle is dangerous for a
number of reasons. A child or others could be
seriously or fatally injured. Do not leave the key in
the ignition. A child could operate power win-
dows, other controls, or move the vehicle.
•Do not leave animals or children inside parked
vehicles in hot weather; interior heat buildup may
cause serious injury or death.
Normal Starting
Tip Start
NOTE:Normal starting of either a cold or a warm
engine is obtained without pumping or depressing the
accelerator pedal.
Do notpress the accelerator. Use the Fob with Integrated
Key to briefly turn the ignition switch to the START
position and release it as soon as the starter engages. The
starter motor will continue to run, and it will disengage
automatically when the engine is running. If the engine
fails to start, the starter will disengage automatically in
10 seconds. If this occurs, turn the ignition switch to the
LOCK position, wait 10 to 15 seconds, then repeat the
normal starting procedure.
280 STARTING AND OPERATING
Page 283 of 521
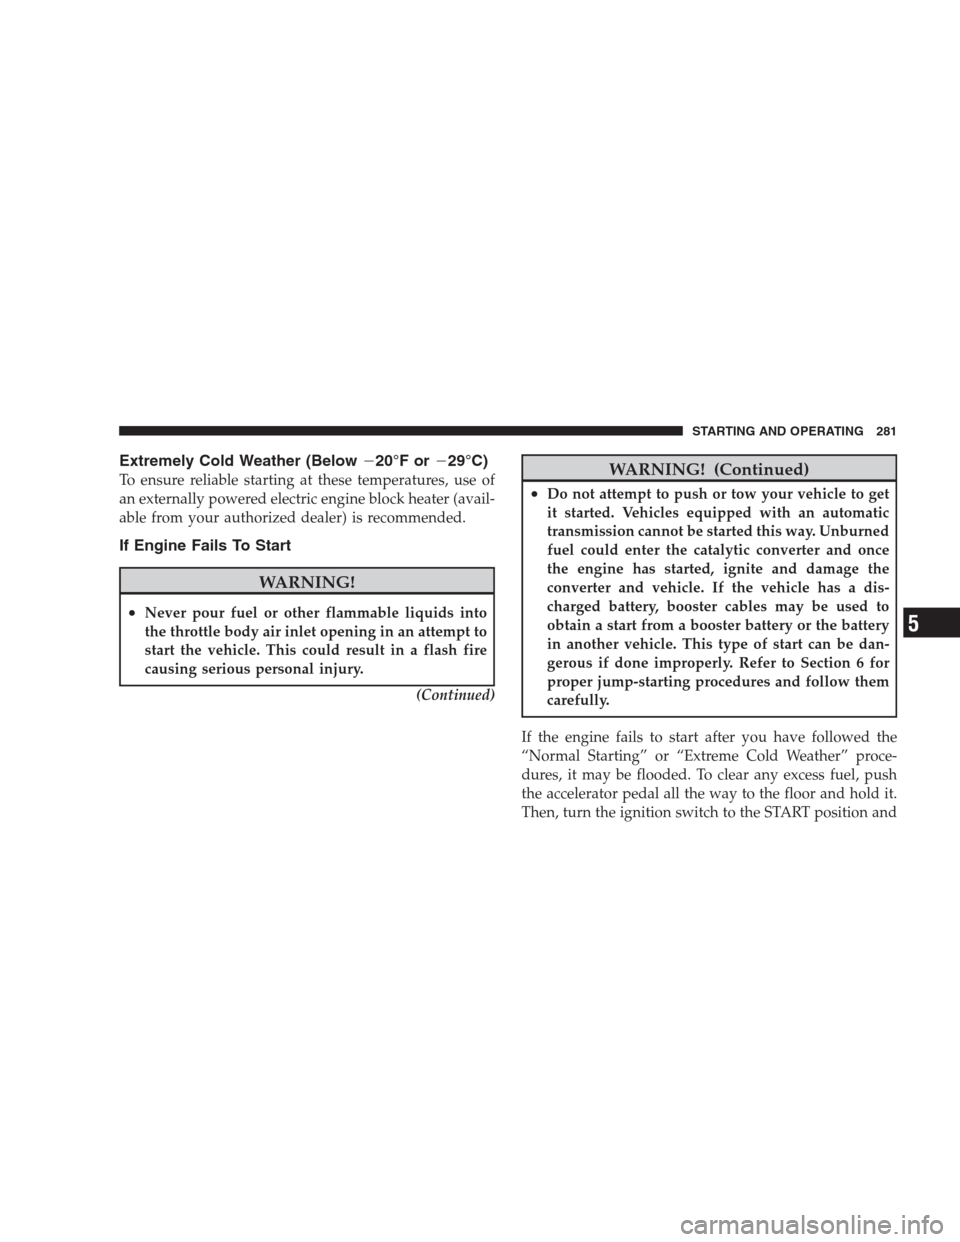
Extremely Cold Weather (Below�20°F or�29°C)
To ensure reliable starting at these temperatures, use of
an externally powered electric engine block heater (avail-
able from your authorized dealer) is recommended.
If Engine Fails To Start
WARNING!
•Never pour fuel or other flammable liquids into
the throttle body air inlet opening in an attempt to
start the vehicle. This could result in a flash fire
causing serious personal injury.
(Continued)
WARNING! (Continued)
•Do not attempt to push or tow your vehicle to get
it started. Vehicles equipped with an automatic
transmission cannot be started this way. Unburned
fuel could enter the catalytic converter and once
the engine has started, ignite and damage the
converter and vehicle. If the vehicle has a dis-
charged battery, booster cables may be used to
obtain a start from a booster battery or the battery
in another vehicle. This type of start can be dan-
gerous if done improperly. Refer to Section 6 for
proper jump-starting procedures and follow them
carefully.
If the engine fails to start after you have followed the
“Normal Starting” or “Extreme Cold Weather” proce-
dures, it may be flooded. To clear any excess fuel, push
the accelerator pedal all the way to the floor and hold it.
Then, turn the ignition switch to the START position and
STARTING AND OPERATING 281
5