2009 Hyundai Santa Fe tow
[x] Cancel search: towPage 71 of 353
1FEATURES OF YOUR HYUNDAI60
o For cleaning the air bag pad covers,
use only a soft, dry cloth or one which
has been moistened with plain water.
Solvents or cleaners could adversely
affect the air bag covers and proper
deployment of the system.
o No objects should be placed over or
near the air bag modules on the steer-
ing wheel, instrument panel, and the
front passenger's panel above the
glove box, because any such object
could cause harm if the vehicle is in a
crash severe enough to cause the air
bags to inflate.
o If the air bags inflate, they must be
replaced by an authorized Hyundai
dealer.
o Do not tamper with or disconnect SRS
wiring, or other components of the
SRS system. Doing so could result in
injury, due to accidental inflation of
the air bags or by rendering the SRS
inoperative.
!
WARNING:
!
WARNING:
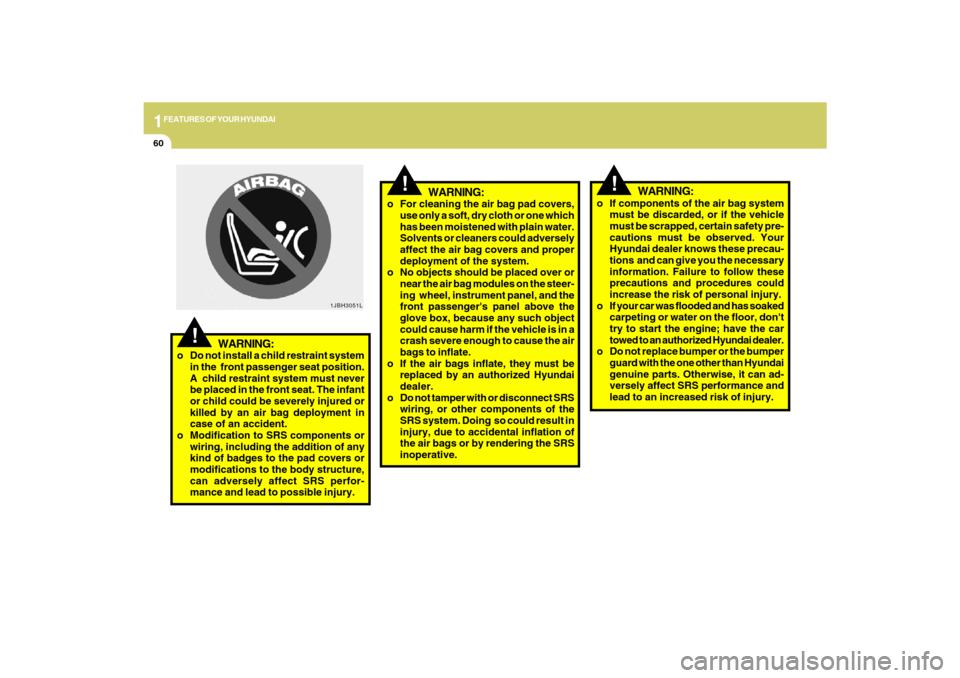
o Do not install a child restraint system
in the front passenger seat position.
A child restraint system must never
be placed in the front seat. The infant
or child could be severely injured or
killed by an air bag deployment in
case of an accident.
o Modification to SRS components or
wiring, including the addition of any
kind of badges to the pad covers or
modifications to the body structure,
can adversely affect SRS perfor-
mance and lead to possible injury.
1JBH3051L
!
o If components of the air bag system
must be discarded, or if the vehicle
must be scrapped, certain safety pre-
cautions must be observed. Your
Hyundai dealer knows these precau-
tions and can give you the necessary
information. Failure to follow these
precautions and procedures could
increase the risk of personal injury.
o If your car was flooded and has soaked
carpeting or water on the floor, don't
try to start the engine; have the car
towed to an authorized Hyundai dealer.
o Do not replace bumper or the bumper
guard with the one other than Hyundai
genuine parts. Otherwise, it can ad-
versely affect SRS performance and
lead to an increased risk of injury.
WARNING:
Page 78 of 353
1
FEATURES OF YOUR HYUNDAI
67
The brake fluid level warning light indi-
cates that the brake fluid level in the brake
master cylinder is low and hydraulic brake
fluid conforming to DOT 3 or DOT 4 speci-
fications should be added. After adding
fluid, if no other trouble is found, the car
should be immediately and carefully driven
to a Hyundai dealer for inspection. If further
trouble is experienced, the vehicle should
not be driven at all but taken to a dealer by
a professional towing service.
Your Hyundai is equipped with dual-di-
agonal braking systems. This means you
still have braking on two wheels even if
one of the dual systems should malfunc-
tion. With only one of the dual systems
working, more than normal pedal travel
and greater pedal pressure are required to
stop the car. Also, the car will not stop in as
short a distance with only half of the brake
system working. If the brakes malfunction
while you are driving, shift to a lower gear
for additional engine braking and stop the
car as soon as it is safe to do so.
B260J02TG-AAT
Charging System Warning
Light
The charging system warning light should
illuminate when the ignition is turned on,
then go out when the engine is running. If
the light stays on while the engine is run-
ning, there is a malfunction in the electrical
charging system. If the light illuminates
while you are driving, have the system
checked by your Hyundai dealer as soon
as possible.Parking brake warning chime
(if installed)The parking brake warning chime sounds
to remind you that the parking brake is
applied when your are driving above
6mph(10km/h). Always release the park-
ing brake before you drive.
B260G02A-AAT
Low Oil Pressure Warning
Light
CAUTION:
If the low oil pressure warning light stays
on while the engine is running, serious
engine damage may result. The oil pres-
sure warning light comes on whenever
there is insufficient oil pressure. In nor-
mal operation, it should illuminate when
the ignition switch is turned on, then go
out when the engine is started. If the oil
pressure warning light stays on while
the engine is running, there is a serious
malfunction.
If this happens, stop the car as soon as
it is safe to do so, turn off the engine and
check the oil level. If the oil level is low,
fill the engine oil to the proper level and
start the engine again. If the light stays
on with the engine running, turn the en-
gine off immediately. In any instance
where the oil light stays on when the
engine is running, the engine should be
checked by a Hyundai dealer before the
car is driven again.
!
Page 87 of 353
1FEATURES OF YOUR HYUNDAI76
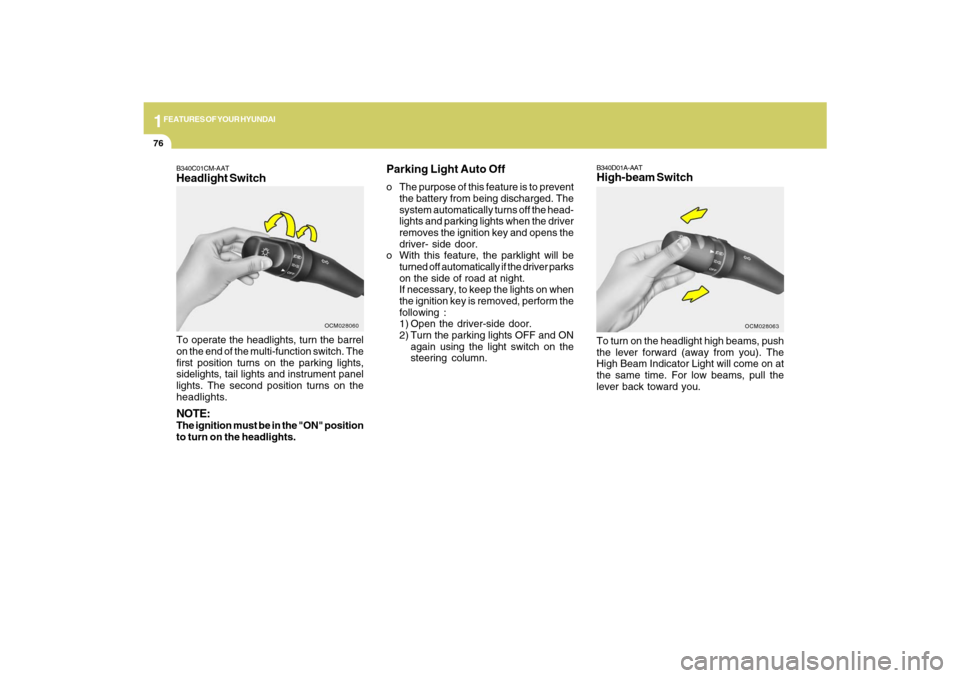
B340D01A-AATHigh-beam SwitchTo turn on the headlight high beams, push
the lever forward (away from you). The
High Beam Indicator Light will come on at
the same time. For low beams, pull the
lever back toward you.
OCM028063
B340C01CM-AATHeadlight SwitchTo operate the headlights, turn the barrel
on the end of the multi-function switch. The
first position turns on the parking lights,
sidelights, tail lights and instrument panel
lights. The second position turns on the
headlights.NOTE:The ignition must be in the "ON" position
to turn on the headlights.
OCM028060
Parking Light Auto Offo The purpose of this feature is to prevent
the battery from being discharged. The
system automatically turns off the head-
lights and parking lights when the driver
removes the ignition key and opens the
driver- side door.
o With this feature, the parklight will be
turned off automatically if the driver parks
on the side of road at night.
If necessary, to keep the lights on when
the ignition key is removed, perform the
following :
1) Open the driver-side door.
2) Turn the parking lights OFF and ON
again using the light switch on the
steering column.
Page 88 of 353
1
FEATURES OF YOUR HYUNDAI
77
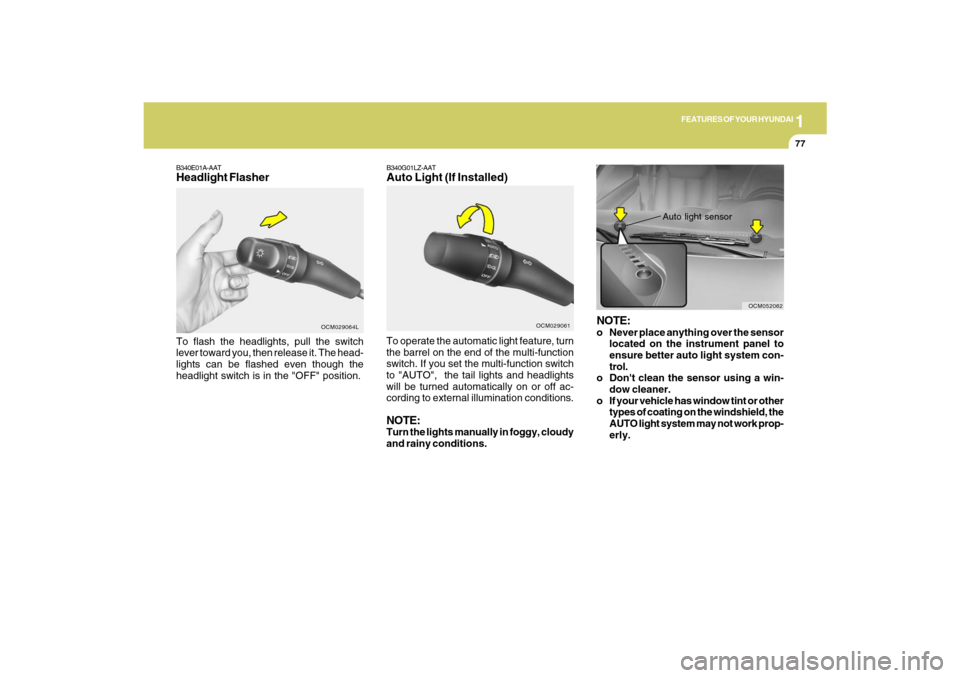
B340E01A-AATHeadlight FlasherTo flash the headlights, pull the switch
lever toward you, then release it. The head-
lights can be flashed even though the
headlight switch is in the "OFF" position.
OCM029064L
B340G01LZ-AATAuto Light (If Installed)
OCM029061
To operate the automatic light feature, turn
the barrel on the end of the multi-function
switch. If you set the multi-function switch
to "AUTO", the tail lights and headlights
will be turned automatically on or off ac-
cording to external illumination conditions.NOTE:Turn the lights manually in foggy, cloudy
and rainy conditions.
NOTE:o Never place anything over the sensor
located on the instrument panel to
ensure better auto light system con-
trol.
o Don't clean the sensor using a win-
dow cleaner.
o If your vehicle has window tint or other
types of coating on the windshield, the
AUTO light system may not work prop-
erly.
Auto light sensor
OCM052062
Page 92 of 353
1
FEATURES OF YOUR HYUNDAI
81
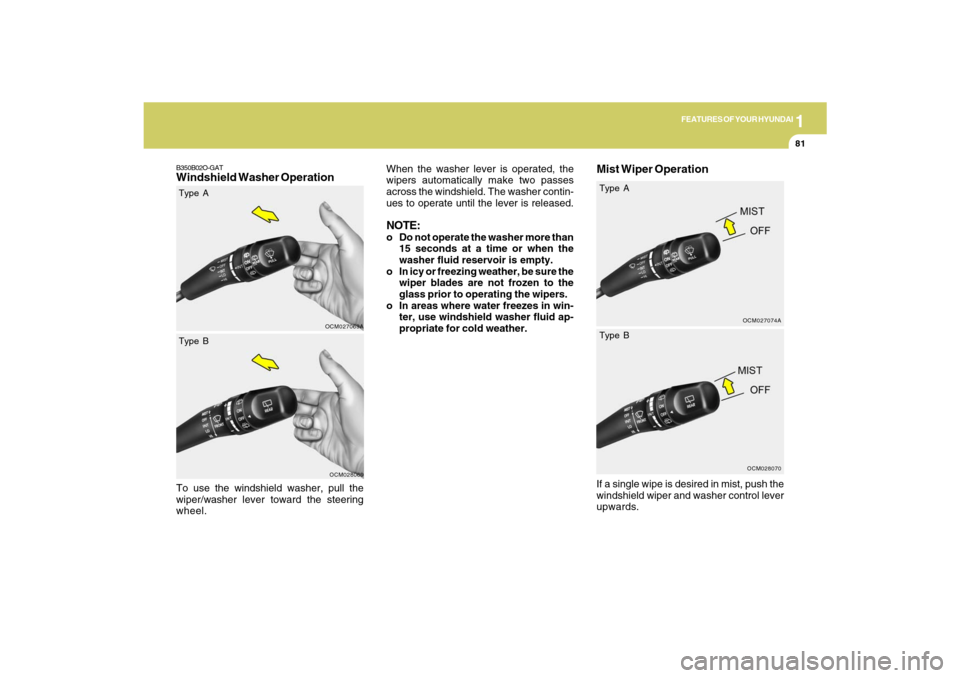
Mist Wiper Operation
OCM027074A
When the washer lever is operated, the
wipers automatically make two passes
across the windshield. The washer contin-
ues to operate until the lever is released.NOTE:o Do not operate the washer more than
15 seconds at a time or when the
washer fluid reservoir is empty.
o In icy or freezing weather, be sure the
wiper blades are not frozen to the
glass prior to operating the wipers.
o In areas where water freezes in win-
ter, use windshield washer fluid ap-
propriate for cold weather.
If a single wipe is desired in mist, push the
windshield wiper and washer control lever
upwards.
OCM028070
Type A
Type B
B350B02O-GATWindshield Washer OperationTo use the windshield washer, pull the
wiper/washer lever toward the steering
wheel.
OCM027069AOCM028069
Type A
Type B
Page 109 of 353
1FEATURES OF YOUR HYUNDAI98
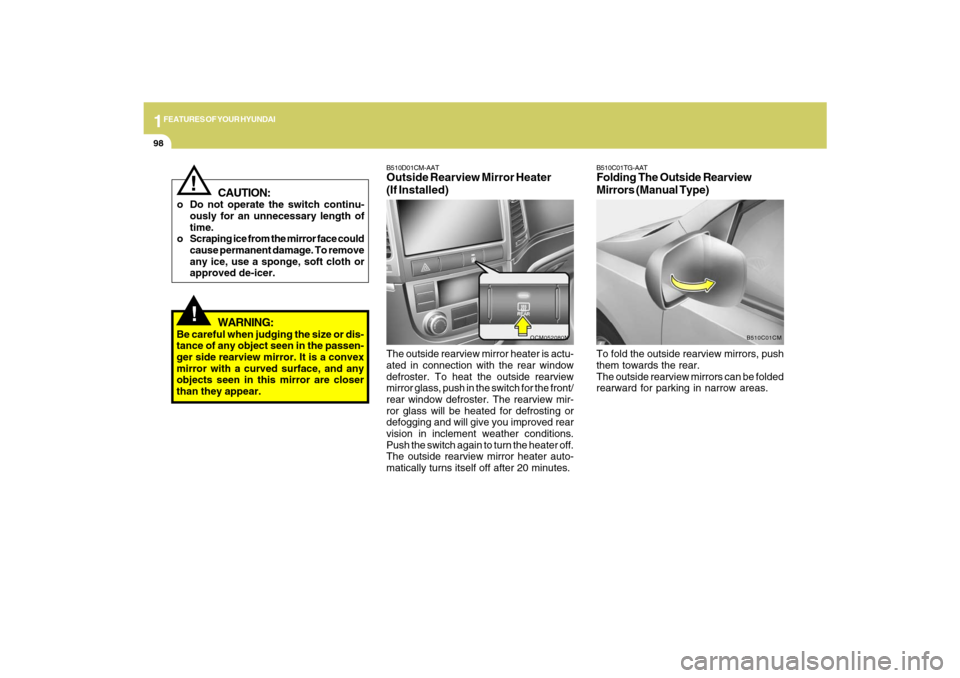
The outside rearview mirror heater is actu-
ated in connection with the rear window
defroster. To heat the outside rearview
mirror glass, push in the switch for the front/
rear window defroster. The rearview mir-
ror glass will be heated for defrosting or
defogging and will give you improved rear
vision in inclement weather conditions.
Push the switch again to turn the heater off.
The outside rearview mirror heater auto-
matically turns itself off after 20 minutes.B510D01CM-AATOutside Rearview Mirror Heater
(If Installed)
OCM052080N
B510C01TG-AATFolding The Outside Rearview
Mirrors (Manual Type)To fold the outside rearview mirrors, push
them towards the rear.
The outside rearview mirrors can be folded
rearward for parking in narrow areas.
B510C01CM
!
CAUTION:
o Do not operate the switch continu-
ously for an unnecessary length of
time.
o Scraping ice from the mirror face could
cause permanent damage. To remove
any ice, use a sponge, soft cloth or
approved de-icer.
!
WARNING:
Be careful when judging the size or dis-
tance of any object seen in the passen-
ger side rearview mirror. It is a convex
mirror with a curved surface, and any
objects seen in this mirror are closer
than they appear.
Page 110 of 353
1
FEATURES OF YOUR HYUNDAI
99
!
WARNING:
Do not adjust or fold the outside rearview
mirrors while the vehicle is moving. This
could result in loss of control, and an
accident causing death, serious injury
or property damage.
CAUTION:
If the mirror is jammed with ice, do not
adjust the mirror by force. Use an ap-
proved spray de-icer (not radiator anti-
freeze) to release the frozen mecha-
nism or move the vehicle to a warm
place and allow the ice to melt.
!
DAY/NIGHT INSIDE REAR-
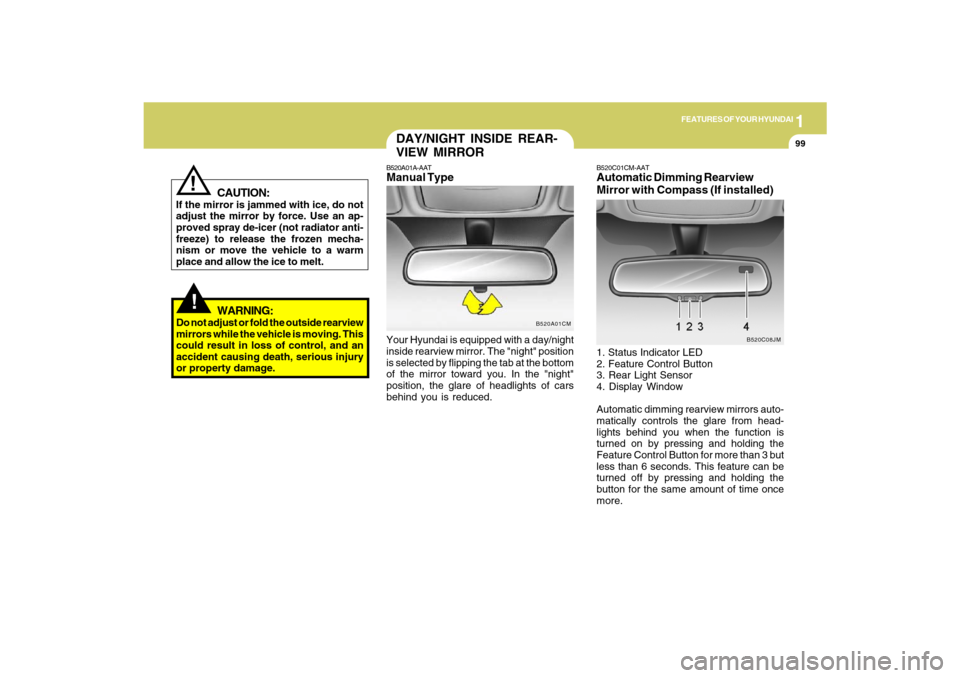
VIEW MIRRORB520A01A-AATManual TypeYour Hyundai is equipped with a day/night
inside rearview mirror. The "night" position
is selected by flipping the tab at the bottom
of the mirror toward you. In the "night"
position, the glare of headlights of cars
behind you is reduced.
B520A01CM
B520C01CM-AATAutomatic Dimming Rearview
Mirror with Compass (If installed)1. Status Indicator LED
2. Feature Control Button
3. Rear Light Sensor
4. Display Window
Automatic dimming rearview mirrors auto-
matically controls the glare from head-
lights behind you when the function is
turned on by pressing and holding the
Feature Control Button for more than 3 but
less than 6 seconds. This feature can be
turned off by pressing and holding the
button for the same amount of time once
more.
B520C08JM
Page 112 of 353
1
FEATURES OF YOUR HYUNDAI
101
CAUTION:
o Do not install a ski rack, antenna, etc.
which are attached to the vehicle by
means of a magnet. They affect the
operation of the compass.
o If the compass deviates from the cor-
rect indication soon after repeated
adjustment, have the compass
checked at an authorized dealer.
o The compass may not indicate the
correct indication in tunnels or while
driving up or down a steep hill.(The
compass returns to the correct com-
pass point when the vehicle moves to
an area where the geomagnetism is
stabilized.)
o When cleaning the mirror, use a paper
towel or similar material dampened
with glass cleaner. Do not spray glass
cleaner directly on the mirror as that
may cause the liquid cleaner to enter
the mirror housing.
!
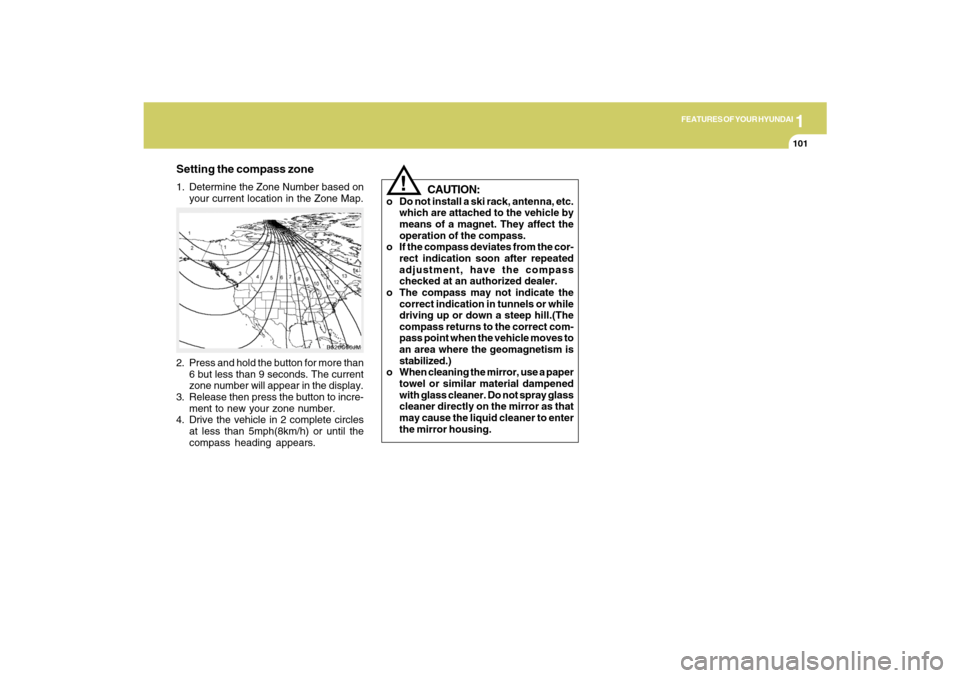
2. Press and hold the button for more than
6 but less than 9 seconds. The current
zone number will appear in the display.
3. Release then press the button to incre-
ment to new your zone number.
4. Drive the vehicle in 2 complete circles
at less than 5mph(8km/h) or until the
compass heading appears.
B520C06JM
Setting the compass zone1. Determine the Zone Number based on
your current location in the Zone Map.