Page 37 of 269

1FEATURES OF YOUR HYUNDAI
26
!
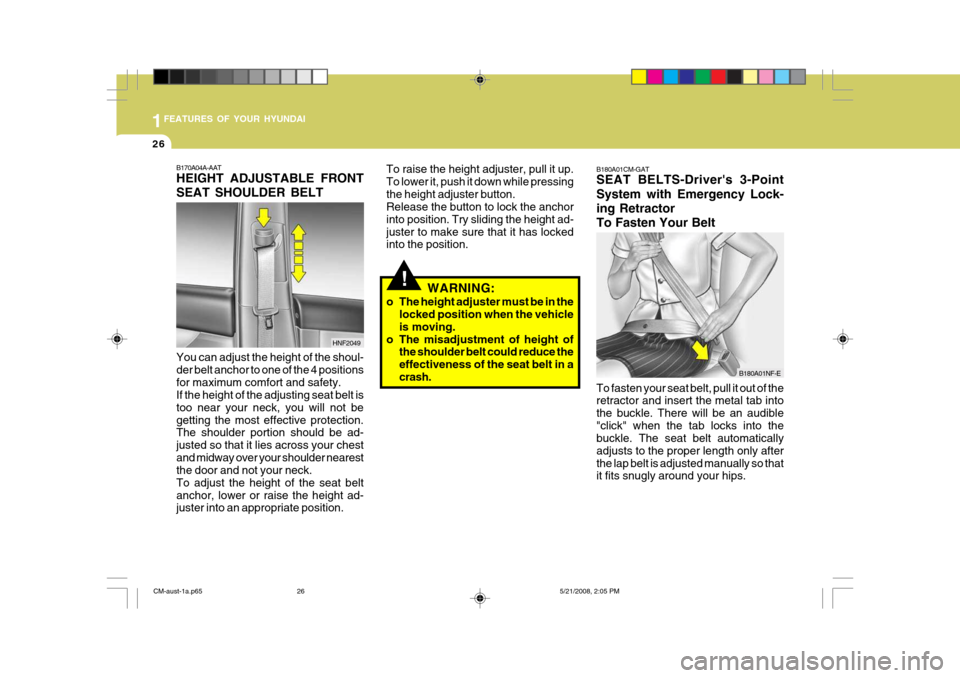
To raise the height adjuster, pull it up. To lower it, push it down while pressingthe height adjuster button. Release the button to lock the anchor into position. Try sliding the height ad-juster to make sure that it has locked into the position.
WARNING:
o The height adjuster must be in the locked position when the vehicle is moving.
o The misadjustment of height of the shoulder belt could reduce theeffectiveness of the seat belt in acrash. B180A01CM-GAT SEAT BELTS-Driver's 3-Point System with Emergency Lock- ing RetractorTo Fasten Your Belt To fasten your seat belt, pull it out of the retractor and insert the metal tab into the buckle. There will be an audible"click" when the tab locks into the buckle. The seat belt automatically adjusts to the proper length only afterthe lap belt is adjusted manually so that it fits snugly around your hips.
B170A04A-AAT HEIGHT ADJUSTABLE FRONT SEAT SHOULDER BELT You can adjust the height of the shoul- der belt anchor to one of the 4 positionsfor maximum comfort and safety. If the height of the adjusting seat belt is too near your neck, you will not begetting the most effective protection. The shoulder portion should be ad- justed so that it lies across your chestand midway over your shoulder nearest the door and not your neck. To adjust the height of the seat beltanchor, lower or raise the height ad- juster into an appropriate position.
HNF2049
B180A01NF-E
CM-aust-1a.p65
5/21/2008, 2:05 PM
26
Page 41 of 269

1FEATURES OF YOUR HYUNDAI
30
!
B230F02A-DAT Installation on the Centre of the Rear Seat
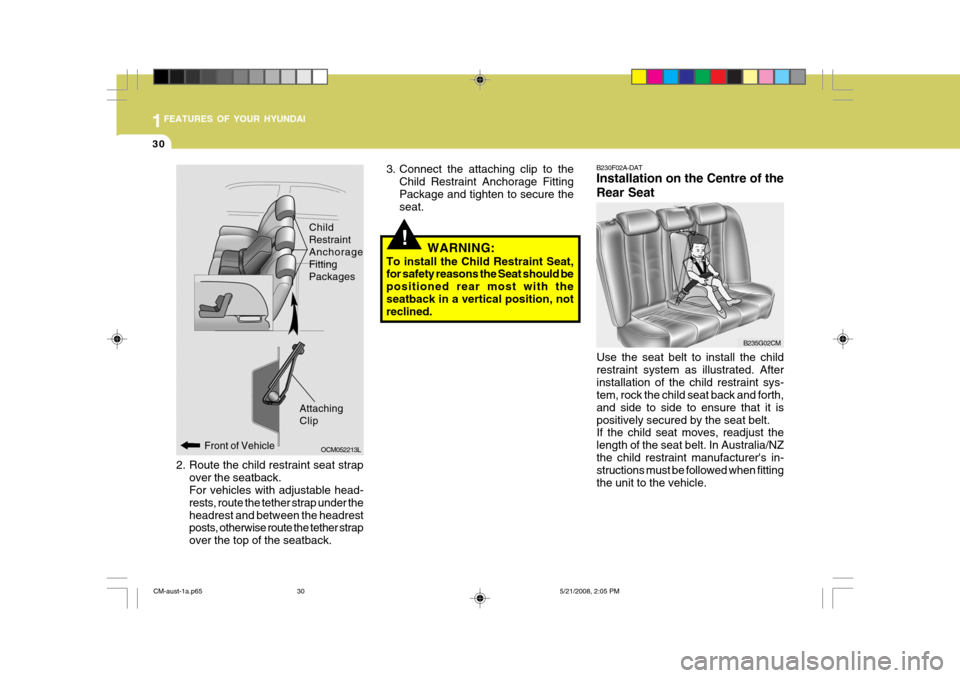
3. Connect the attaching clip to the
Child Restraint Anchorage Fitting Package and tighten to secure the seat.
WARNING:
To install the Child Restraint Seat,for safety reasons the Seat should be positioned rear most with theseatback in a vertical position, not reclined.
Front of Vehicle
Attaching Clip ChildRestraintAnchorageFittingPackages
2. Route the child restraint seat strap
over the seatback. For vehicles with adjustable head- rests, route the tether strap under theheadrest and between the headrest posts, otherwise route the tether strap over the top of the seatback. OCM052213L
Use the seat belt to install the childrestraint system as illustrated. Afterinstallation of the child restraint sys- tem, rock the child seat back and forth, and side to side to ensure that it ispositively secured by the seat belt. If the child seat moves, readjust the length of the seat belt. In Australia/NZthe child restraint manufacturer's in- structions must be followed when fitting the unit to the vehicle.
B235G02CM
CM-aust-1a.p65
5/21/2008, 2:05 PM
30
Page 91 of 269

1FEATURES OF YOUR HYUNDAI
80
CAUTION:
o Do not operate the switch continu- ously for an unnecessary length of time.
o Scraping ice from the mirror face could cause permanent damage.To remove any ice, use a sponge,soft cloth or approved de-icer.
!
!WARNING:
Be careful when judging the size or distance of any object seen in the passenger side rearview mirror. It isa convex mirror with a curved sur- face. Any objects seen in this mirror are closer than they appear.
!
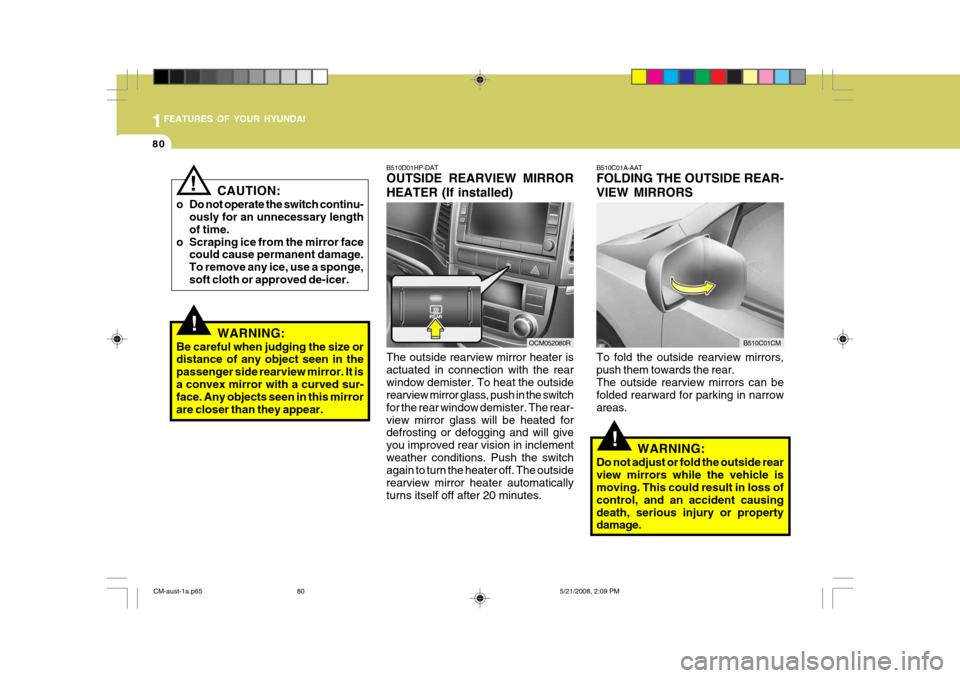
B510D01HP-DAT OUTSIDE REARVIEW MIRROR HEATER (If installed) The outside rearview mirror heater is actuated in connection with the rearwindow demister. To heat the outside rearview mirror glass, push in the switch for the rear window demister. The rear-view mirror glass will be heated for defrosting or defogging and will give you improved rear vision in inclementweather conditions. Push the switch again to turn the heater off. The outside rearview mirror heater automaticallyturns itself off after 20 minutes. B510C01A-AAT FOLDING THE OUTSIDE REAR- VIEW MIRRORS To fold the outside rearview mirrors, push them towards the rear.The outside rearview mirrors can be folded rearward for parking in narrow areas.
WARNING:
Do not adjust or fold the outside rearview mirrors while the vehicle is moving. This could result in loss of control, and an accident causingdeath, serious injury or property damage.
OCM052080RB510C01CM
CM-aust-1a.p65 5/21/2008, 2:09 PM
80
Page 98 of 269

1
FEATURES OF YOUR HYUNDAI
87HIGH-MOUNTED REAR STOP LIGHT
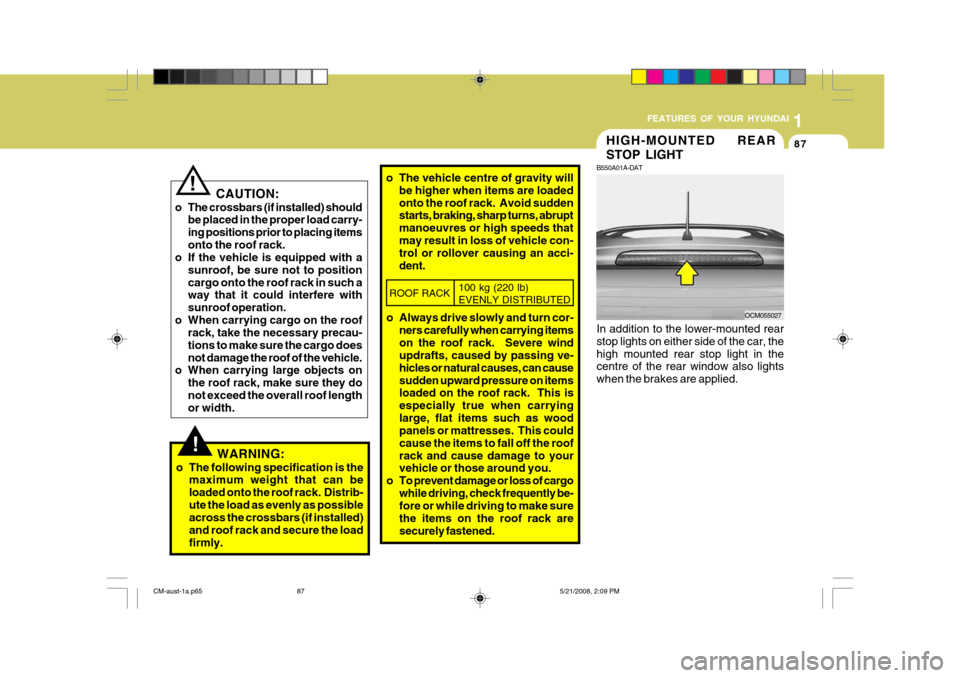
B550A01A-DAT In addition to the lower-mounted rear stop lights on either side of the car, the high mounted rear stop light in the centre of the rear window also lights when the brakes are applied. OCM055027
!WARNING:
o The following specification is the maximum weight that can be loaded onto the roof rack. Distrib-ute the load as evenly as possible across the crossbars (if installed) and roof rack and secure the loadfirmly. o The vehicle centre of gravity will
be higher when items are loadedonto the roof rack. Avoid sudden starts, braking, sharp turns, abrupt manoeuvres or high speeds thatmay result in loss of vehicle con- trol or rollover causing an acci- dent.
CAUTION:
o The crossbars (if installed) should be placed in the proper load carry-ing positions prior to placing itemsonto the roof rack.
o If the vehicle is equipped with a
sunroof, be sure not to positioncargo onto the roof rack in such a way that it could interfere with sunroof operation.
o When carrying cargo on the roof rack, take the necessary precau-tions to make sure the cargo doesnot damage the roof of the vehicle.
o When carrying large objects on
the roof rack, make sure they donot exceed the overall roof length or width.
!
ROOF RACK 100 kg (220 lb) EVENLY DISTRIBUTED
o Always drive slowly and turn cor-
ners carefully when carrying items on the roof rack. Severe wind updrafts, caused by passing ve- hicles or natural causes, can causesudden upward pressure on items loaded on the roof rack. This is especially true when carryinglarge, flat items such as wood panels or mattresses. This could cause the items to fall off the roofrack and cause damage to your vehicle or those around you.
o To prevent damage or loss of cargo while driving, check frequently be-fore or while driving to make sure the items on the roof rack aresecurely fastened.
CM-aust-1a.p65 5/21/2008, 2:09 PM
87
Page 261 of 269
9VEHICLE SPECIFICATIONS
2
4650 (183.1) 4675 (184.1)1890 (74.4) 1725 (67.9)1795 (70.7)
2700 (106.3) 1615 (63.6) 1620 (63.7)
J010A01CM-GAT DIMENSIONS
Overall length Overall width Overall height Wheel baseWheel tread
mm (in.)
Standard Option Standard with Roof Rack Front Rear
J030A01CM-DAT
TYRE
Full
Temporary Size
Type Inflation pressure kPa (psi)
235/65R17 235/60R18
T165/90R17 NORMAL
LOAD MAXIMUM
LOAD
220(32) 420(60)
210(30)420(60)
J060A01CM-DAT FUEL SYSTEM
Fuel tank capacity
75 litres
J050A01CM-GAT BRAKE
Dual hydraulic with brake booster Ventilated discDisc typeCable operated on rear wheel
TypeFront brake typeRear brake typeParking brake
CM-aust-9.p65
5/19/2008, 6:41 PM
2